

I grabbed a jar of almond butter and a bag of oats on a weekday afternoon, planning to make something fast that wouldn’t fall apart the next day. These no-bake granola bars are exactly that: they come together in minutes, firm up in the fridge, and taste like toasted oats, warm nut butter, and a whisper of honey. They slice cleanly into bars with a slightly chewy center and a satisfying, compact bite.
What makes these worth making right now is how reliably portable they are. Whether you stash them in a lunchbox or reach for one after a run, they hold together without baking and require no thermometers or extra bowls. If you like straightforward snack bars, they’re a better-than-store option—and they pair well with other no-bake treats like my healthy chewy granola bars.
Why You’ll Love This Recipe
- No cooking required: everything is mixed cold, so the nut butter and honey simply bind the oats into a dense, chewy bar.
- Balanced sweetness: 1/2 cup of honey or maple syrup keeps these pleasantly sweet without being cloying—chocolate chips or dried fruit add pockets of extra sweetness.
- Textural contrast: the oats give a toothy chew while seeds or chocolate chips add crunch and melt-in-your-mouth moments.
- Fast make-ahead snack: press, chill for 30 minutes, slice—then keep on hand for quick breakfasts or after-school snacks.
- Clean slices: when properly chilled, bars cut into neat rectangles without crumbling, making them great for gifting or packing alongside fruit and yogurt.
- No-bake presentation: they hold their shape for serving at casual gatherings, similar in ease to a simple no-bake cheesecake bar.
The Story Behind This Recipe
I wanted a straightforward, reliable bar that didn’t require measuring a dozen extras—just oats, nut butter, and a sweetener—so I kept the method tight and flexible; if you enjoy a coconut twist, check a similar take in this coconut Mounds bars recipe.
What It Tastes Like
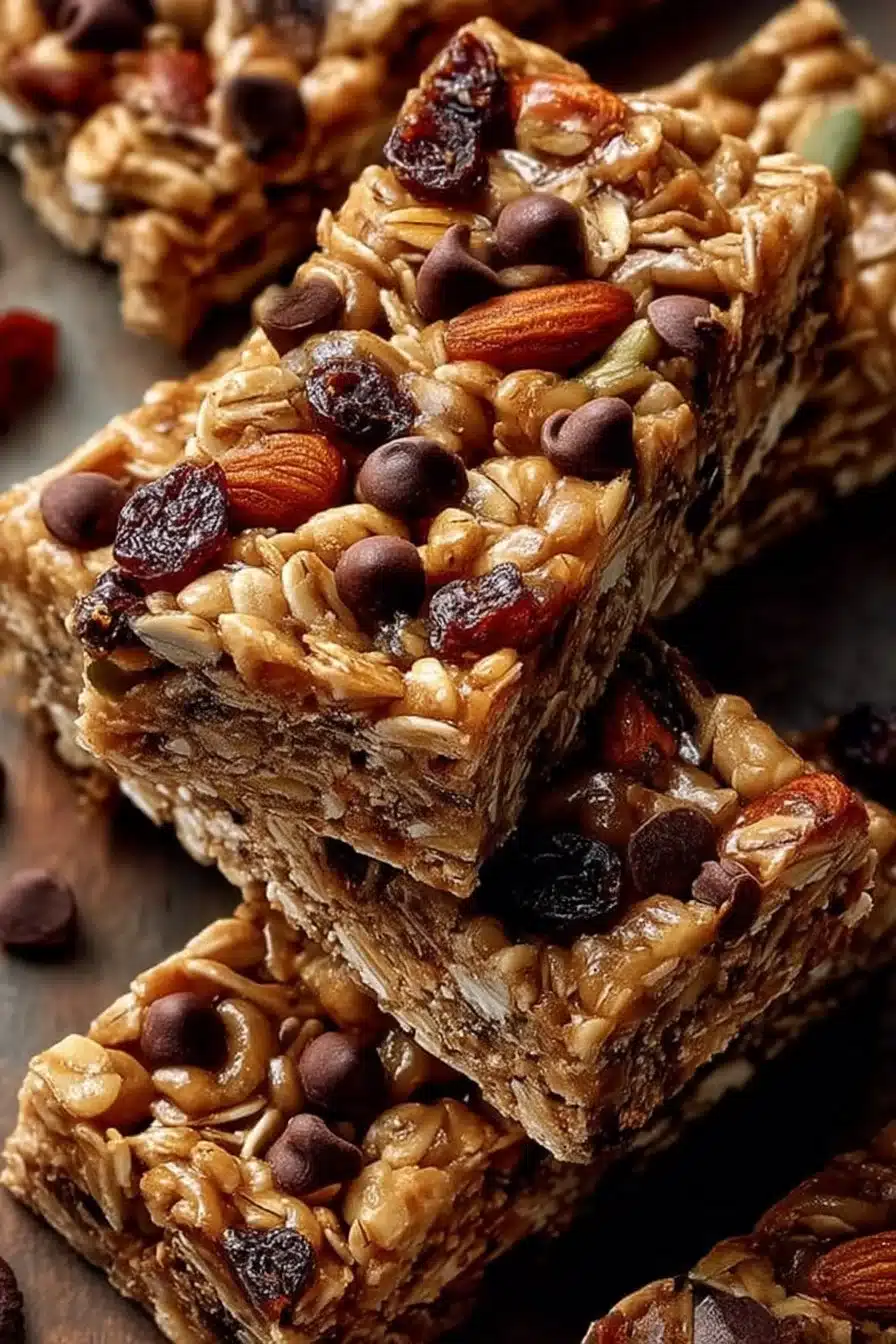
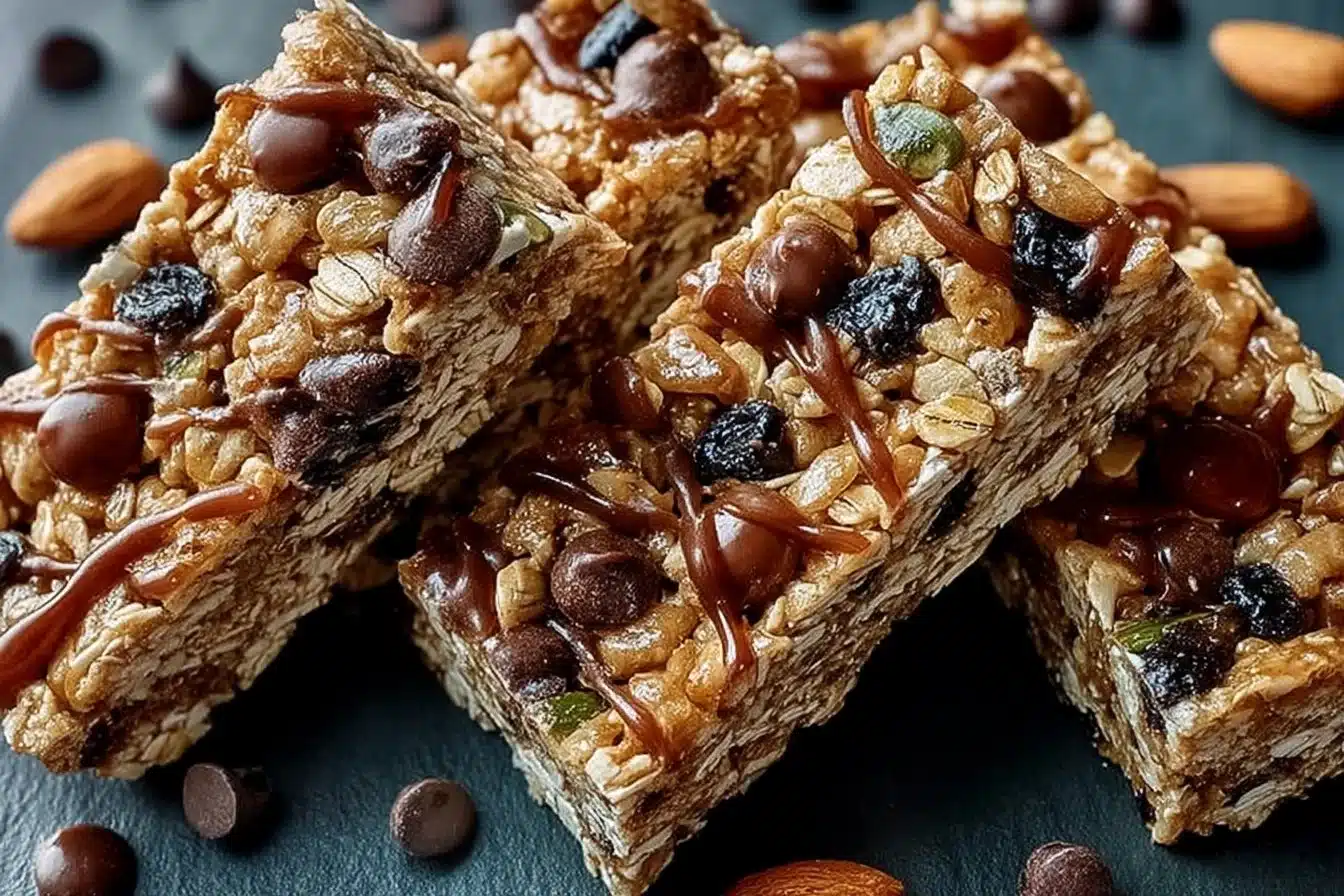
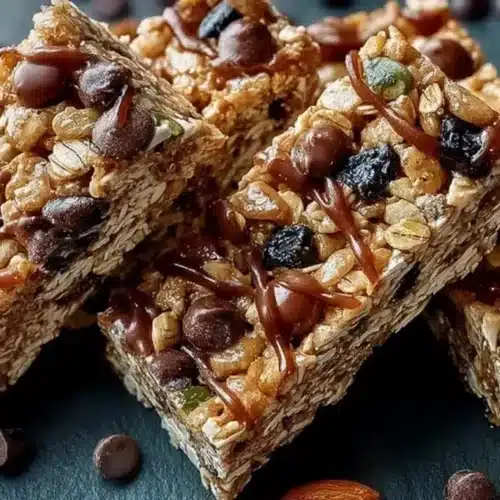
These bars are moderately sweet with the toasted aroma of oats and the savory warmth of nut butter up front. The honey or maple syrup adds sticky gloss and chew, while optional chocolate chips melt into soft pockets and dried fruit gives bright, chewy bursts. The overall mouthfeel is dense and satisfying—not cakey—so one bar feels like a proper snack.
Ingredients You’ll Need
Start with good building blocks: the oats provide the chew and bulk, the nut butter contributes richness and acts as the binder, and the honey or maple syrup gives stickiness and shine so the mixture sets without heat. Chocolate chips, dried fruit, and seeds are optional but pick them wisely—larger chunks need more pressing to stay in the bars.
- 2 cups oats
- 1 cup nut butter (e.g., almond or peanut butter)
- 1/2 cup honey or maple syrup
- 1/2 cup chocolate chips (optional)
- 1/2 cup dried fruits (optional)
- 1/4 cup seeds (optional)
How to Make Homemade No-Bake Granola Bars
- Combine the base. In a large bowl, scoop in the oats, nut butter, and honey (or maple syrup). Stir with a sturdy spoon or spatula until everything is evenly coated and the mixture pulls together into a thick, slightly glossy mass. You should still see whole oats—don’t overwork into a paste.
- Fold in mix-ins. Add chocolate chips, dried fruits, and/or seeds and fold gently until distributed. If your nut butter is very runny, the mix will be looser—hold back a tablespoon of honey or give it a quick 5–10 minute chill to firm slightly.
- Press firmly into the dish. Line a baking dish with parchment so you can lift the slab out later. Transfer the mixture and press it down firmly with the back of a spatula or the bottom of a measuring cup until the surface is compact and even; this pressure is what helps the bars hold together once chilled.
- Chill until set. Refrigerate for at least 30 minutes. The surface should feel firm and no longer tacky to the touch—this is what “set” looks like.
- Cut and serve. Lift the slab from the dish, place on a cutting board, and slice into bars. For the cleanest edges, run your knife under hot water, dry it, then slice; repeat heating between cuts if needed.
Chef’s note: if your bars are crumbly after chilling, press them more firmly before the final chill next time or add a tablespoon or two more nut butter to increase binding.
Tips for Best Results
- Use room-temperature nut butter and stir any separated oil back in first; this keeps the mixture smooth and easier to press.
- If you want uniformly sized bars, chill the slab fully, then use a ruler to score straight guide lines before slicing.
- Don’t overload with chunky mix-ins—too many large pieces prevent the bars from compacting. Chop large nuts or dried fruits to distribute them evenly.
- For shinier bars, warm the honey slightly (10–15 seconds in the microwave) so it blends more smoothly with the nut butter.
- To avoid sticking, lift the slab from the lined dish by the parchment paper; it makes slicing and storage neater. For a coconut-forward take, see this coconut Mounds bars for inspiration.
Variations and Substitutions
- Swap honey for maple syrup for a milder, earthier sweetness—texture will be similar but slightly less glossy.
- Use almond, cashew, or peanut butter; natural nut butter may require an extra stir or brief chill to firm.
- For a candy-inspired version, fold in chopped candy pieces and a pinch of flaky salt—ideas in this Snickers-style cheesecake bars show similar flavor pairings (texture will be denser with candy added).
How to Serve It
Cut into bars and serve at room temperature so the nut butter is soft but the slab remains intact. Pair with plain yogurt, a sliced apple, or a small smear of extra nut butter for a balanced snack.
How to Store It
- Refrigerator: Store bars in an airtight container for up to one week; chilling keeps them firmer and easier to pack.
- Freezer: For longer storage, freeze individual bars wrapped in parchment and placed in a freezer bag for up to 3 months. Thaw in the fridge or at room temperature before eating.
- Make-ahead: Press and chill the entire slab, then wrap and refrigerate for up to 3 days before slicing—slicing cold yields the cleanest edges.
- Toppings: If adding a chocolate drizzle or extra seeds, do it just before serving to preserve texture.
Final Thoughts
These no-bake granola bars are honest and straightforward—the texture is chewy, the flavor sings of toasted oats and nut butter, and the whole process takes barely any active time. Once you press and chill them properly, they slice and travel beautifully.
Conclusion
For more ideas and inspiration on granola bar variations, check this Homemade Granola Bars Recipe – Love and Lemons that explores different mix-ins. If you want a peanut-butter-rich, no-bake alternative, see the No Bake Granola Bars with Peanut Butter and Oats – Well Plated for a similar approach. For a chocolate-peanut twist and assembly tips, refer to Easy Homemade Granola Bars {No Bake} – CakeWhiz.
No-Bake Granola Bars
Ingredients
Base Ingredients
- 2 cups oats Provides chew and bulk.
- 1 cup nut butter (e.g., almond or peanut) Acts as the binder; use room temperature.
- 1/2 cup honey or maple syrup Gives stickiness and shine.
Optional Mix-ins
- 1/2 cup chocolate chips Optional for added sweetness.
- 1/2 cup dried fruits Optional for chewy bursts.
- 1/4 cup seeds Optional for crunch.
Instructions
Preparation
- In a large bowl, combine the oats, nut butter, and honey (or maple syrup). Stir until evenly coated.
- Fold in optional ingredients like chocolate chips, dried fruits, or seeds, distributing them evenly.
Pressing
- Line a baking dish with parchment paper and transfer the mixture into it.
- Press down firmly using a spatula or measuring cup to create a compact and even surface.
Chilling
- Refrigerate for at least 30 minutes until firm.
Slicing
- Lift the slab from the dish and slice into bars using a knife dipped in hot water for clean edges.


