
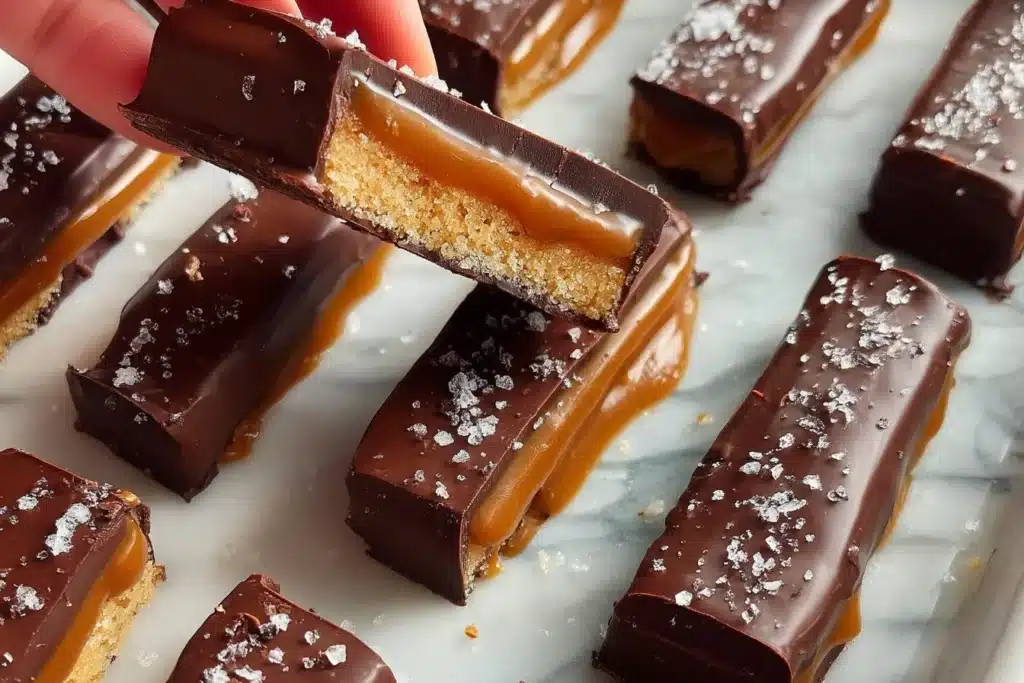
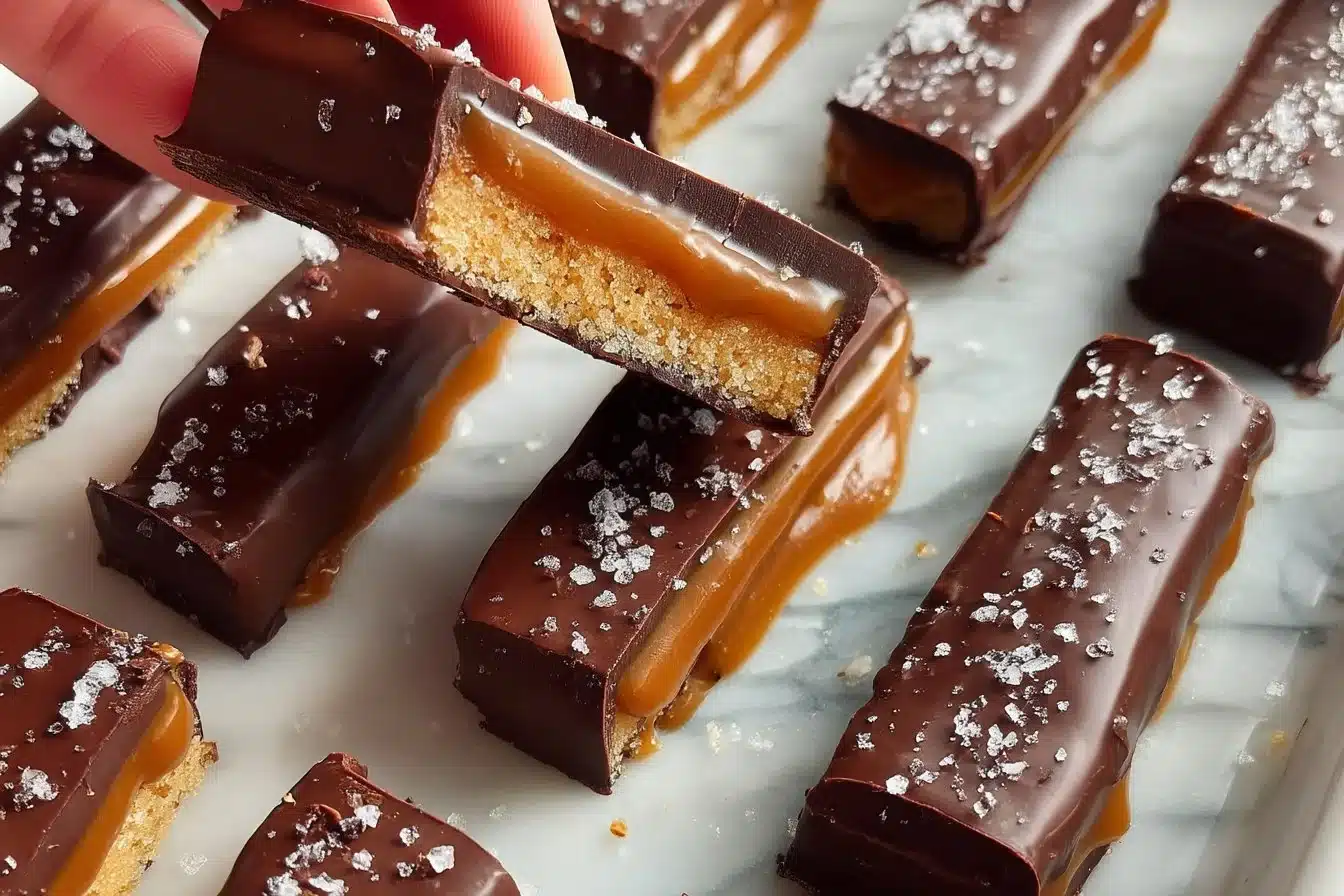
There are few things more satisfying than a tidy bar with a crisp, shortbread base, a glossy ribbon of caramel, and a thin snap of chocolate on top. These homemade Twix bars do exactly that — the base bakes up pale-golden and slightly sandy, the caramel is buttery and pulls in long ribbons, and the chocolate sets with a shiny, clean snap. If you’re short on time, the straightforward assembly makes them a great weekend project.
One quick note: if you like the idea but want a lighter version, I’ve also tested a lower-sugar approach and written about it here healthy Twix bars. For the recipe below, follow the measurements and method for reliably even layers every time.
Why You’ll Love This Recipe
- Crisp, shortbread-like base: the dough bakes to a tender, sandy texture that holds the caramel without becoming soggy.
- Butter-forward caramel: the 6 tablespoons of butter plus cream give a deep, buttery caramel that pulls and coats the back of a spoon — not grainy or too stiff.
- Easy, pantry-forward chocolate finish: 6 ounces of chopped semi-sweet chocolate with a splash of coconut oil melts to a glossy, thin coating that snaps when chilled.
- Straightforward timing: bake the base for 15–20 minutes and simmer the caramel about 5 minutes — no tempering, no long cooling.
- Great for gifting and make-ahead: the bars slice cleanly after chilling and keep well in the fridge; for a protein-forward twist, try ideas from my protein Twix bars experiments.
The Story Behind This Recipe
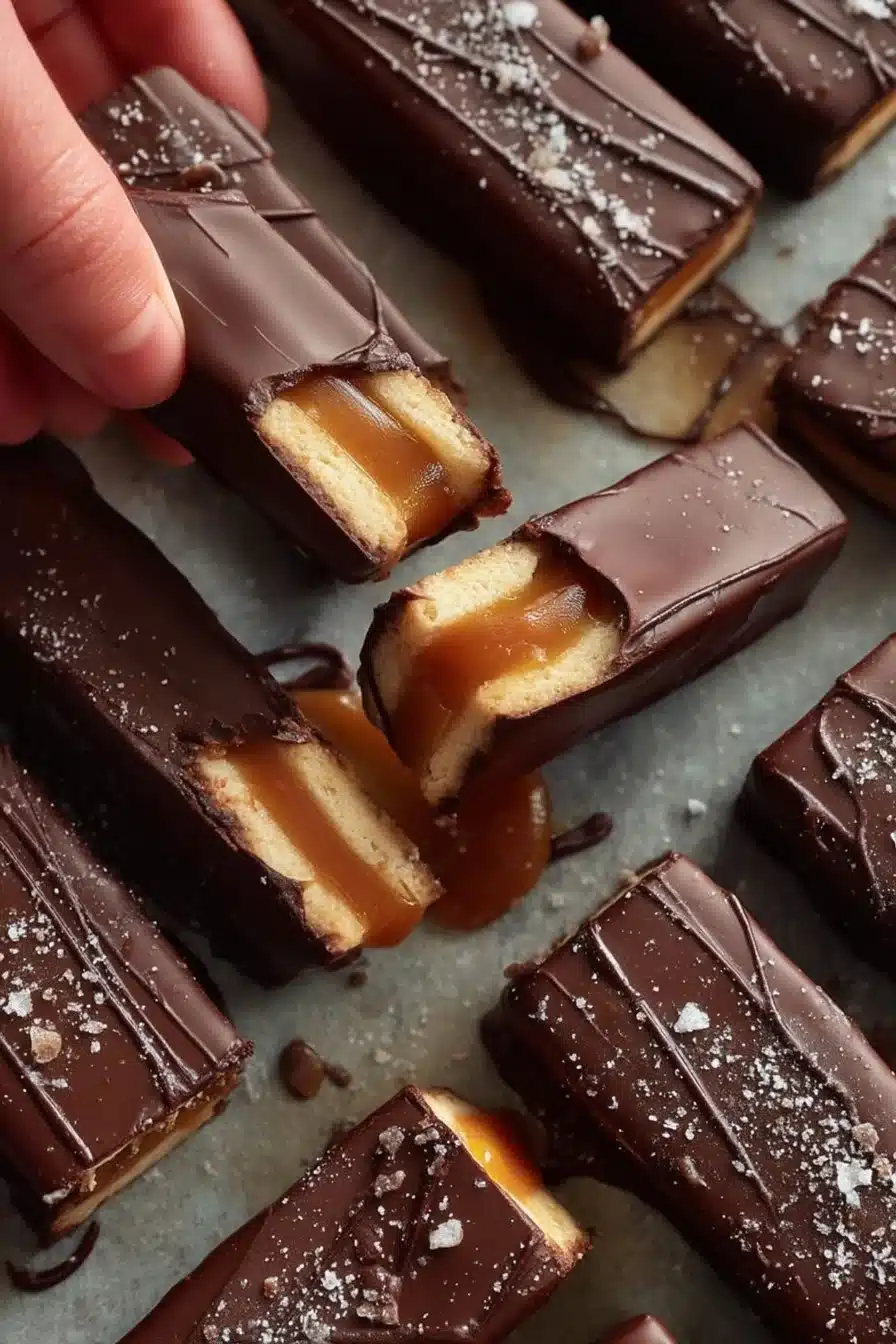
This is a focused, no-frills Twix bar inspired by candy-shop proportions: a thin, buttery biscuit, a generous caramel, and a tidy chocolate top. I tested the balance so the caramel isn’t so thick it overpowers the base, and you can see how the layers hold their shape — if you want coconut in the mix, try this variation I tested alongside it homemade coconut mounds bars.
What It Tastes Like
These bars are moderately sweet with a clear buttery backbone from both the shortbread and the caramel. The caramel smells of toasted butter and light cream, and has a soft chew that contrasts with the sandy biscuit and the cool, snappy chocolate. The semi-sweet chocolate adds a slightly bitter counterpoint so the bar never tastes cloying.
Ingredients You’ll Need
The key parts are the buttery shortbread, a smooth, creamy caramel, and glossy chocolate. Use room-temperature butter for the base so it creams properly; the caramel relies on full-fat cream and butter for richness and a silky texture; and the small amount of coconut oil in the chocolate helps it set shinier and thinner.
- 1/2 cup butter, room temperature
- 1/2 cup granulated sugar
- 1 egg yolk
- 1 1/4 cups all purpose flour
- 1/4 teaspoon salt
- 6 ounces semi-sweet chocolate, finely chopped
- 1 Tablespoon coconut oil
- 1 cup sugar
- 6 Tablespoons butter
- 6 Tablespoons heavy cream
- 1/2 teaspoon salt
- 1 teaspoon vanilla extract
For another caramel-forward bar approach I tested, see this related recipe for technique notes homemade coconut mounds bars (version 2).
How to Make Homemade Twix Bars
- Preheat and prep: Preheat your oven to 350°F (175°C). Line an 8×8-inch (or similar) baking dish with parchment so the dough can be pressed evenly and the finished slab lifts out easily. Lightly grease the pan if the parchment doesn’t lay flat.
- Make the shortbread dough: In a mixing bowl, cream together 1/2 cup room-temperature butter and 1/2 cup granulated sugar until the mixture is pale and slightly fluffy — about 2–3 minutes with a hand mixer. Scrape down the bowl and beat in the egg yolk until combined. The mixture should look smooth and slightly glossy.
- Add dry ingredients and press: Gradually stir in 1 1/4 cups all-purpose flour and 1/4 teaspoon salt just until a cohesive dough forms; avoid overmixing so it stays tender. Press the dough evenly into the bottom of the prepared pan — you want a uniform layer about 1/3 inch thick. Use the bottom of a measuring cup to smooth the surface.
- Bake the base: Bake for 15–20 minutes or until the edges are a light golden brown and the center has set; it should look dry on top but not dark. A toothpick in the center will come out mostly clean. Let the baked base cool in the pan on a rack until completely cool to the touch — this prevents the caramel from seeping into the still-warm shortbread.
- Make the caramel layer: While the base cools, combine 1 cup sugar, 6 tablespoons butter, 6 tablespoons heavy cream, and 1/2 teaspoon salt in a medium saucepan. Cook over medium heat, stirring constantly until the sugar dissolves and the mixture comes to a rolling boil. Reduce heat slightly and simmer for about 5 minutes, continuing to stir — the caramel will thicken and gain a deeper color and a sheen. It should coat the back of a spoon; if stirred, it will leave a visible ribbon that slowly smooths out. Remove from heat and stir in 1 teaspoon vanilla extract. Warning: caramel is very hot — handle with care to avoid splatters.
- Pour caramel over the base: Immediately pour the hot caramel evenly over the cooled biscuit layer and tilt the pan if needed to spread. The caramel will settle into a smooth, glossy sheet. Let it cool at room temperature until it is tacky and slightly set at the edges — about 20–30 minutes — but not fully firm.
- Melt the chocolate: Place 6 ounces finely chopped semi-sweet chocolate and 1 tablespoon coconut oil in a heatproof bowl. Melt gently over simmering water (double boiler) or in 20–30 second bursts in the microwave, stirring between intervals until smooth and glossy. The coconut oil helps the chocolate set to a thinner, shinier coating. If the chocolate looks grainy or thick, add a tiny splash of oil and stir until smooth.
- Top with chocolate: Once the caramel has set enough to hold its shape, pour the melted chocolate over the top and spread with an offset spatula to an even layer. Look for a smooth, reflective surface — that sheen means the chocolate is distributed evenly.
- Chill and slice: Refrigerate until fully set, at least 1 hour. When cold and firm, lift the slab from the pan using the parchment and slice into bars with a sharp knife; warming the blade under hot water and wiping it dry between cuts gives the cleanest edges.
Tips for Best Results
- Press the dough evenly into the pan so the shortbread bakes uniformly; a shallow, dense layer will crisp rather than puff.
- Stir the caramel constantly while it simmers to prevent hot spots and graininess; if you see darker specks, lower the heat.
- Cool the base completely before adding caramel — a warm base invites the caramel to soak in and ruins the clean layers.
- Chill fully before slicing; the chocolate and caramel should be firm to the touch for neat bars. Warm your knife between cuts for polished edges.
- Store bars chilled — they slice cleaner when cold and the contrast of cool chocolate and chewy caramel is best.
Variations and Substitutions
- Swap semi-sweet for dark chocolate for a less sweet bar; expect slightly more bitterness that pairs well with the buttery caramel.
- For a softer caramel, simmer 1–2 minutes less; for firmer, add an extra minute, watching to avoid burning.
- Coconut oil can be omitted, but the chocolate may set with a duller finish — the texture of the bar remains similar.
- I don’t recommend replacing the heavy cream with milk — the caramel won’t set the same and may be grainier.
How to Serve It
Serve chilled or at cool room temperature so the chocolate stays firm and the caramel remains chewy — a single bite reveals the sandy shortbread, a tender chew of caramel, and a crisp chocolate snap. Pair with strong coffee to balance the sweetness, or slice into small fingers for a party platter. For a playful platter, arrange with shortbread cookies and salted nuts for contrast.
How to Store It
- Refrigerator: Store bars in an airtight container layered with parchment for up to 1 week. Chilled bars slice and serve cleaner.
- Freezer: Wrap the slab tightly in plastic, then foil, and freeze for up to 2 months. Thaw in the fridge before slicing.
- Make-ahead: You can make through the chocolate step and refrigerate; slices are best cut shortly before serving to preserve the chocolate sheen.
Final Thoughts
These homemade Twix bars are straightforward but precise: pay attention to cooling the base and watching the caramel while it simmers, and you’ll have clean layers and a professional snap. They travel well and make a great homemade gift when stacked in a box.
Conclusion
For other variations and tutorials, you may find useful references like Homemade Twix Bars – Tastes Better from Scratch, the cookie-bar approach at Homemade Twix Cookie Bars – I Heart Naptime, and another tested take at Homemade Twix Bars Recipe | Girl Vs Dough.
Twix Bars
Ingredients
Shortbread Base
- 1/2 cup butter, room temperature Use room-temperature butter for proper creaming.
- 1/2 cup granulated sugar
- 1 large egg yolk
- 1 1/4 cups all-purpose flour
- 1/4 teaspoon salt
Caramel Layer
- 1 cup granulated sugar
- 6 tablespoons butter For a rich caramel.
- 6 tablespoons heavy cream Use full-fat cream for silky texture.
- 1/2 teaspoon salt
- 1 teaspoon vanilla extract
Chocolate Topping
- 6 ounces semi-sweet chocolate, finely chopped
- 1 tablespoon coconut oil Helps the chocolate to set shinier and thinner.
Instructions
Preparation
- Preheat your oven to 350°F (175°C) and line an 8×8-inch baking dish with parchment.
- In a mixing bowl, cream together 1/2 cup butter and 1/2 cup sugar until pale and fluffy.
- Beat in the egg yolk until smooth.
- Stir in the flour and salt until a cohesive dough forms.
- Press the dough evenly into the bottom of the prepared pan.
Baking
- Bake for 15 to 20 minutes until the edges are light golden brown.
- Let the baked base cool in the pan on a wire rack.
Caramel Preparation
- Combine 1 cup sugar, 6 tablespoons butter, 6 tablespoons heavy cream, and 1/2 teaspoon salt in a saucepan.
- Cook over medium heat while stirring until the mixture comes to a rolling boil.
- Simmer for about 5 minutes until thickened, then stir in the vanilla extract.
- Pour the hot caramel over the cooled biscuit layer and let it cool until tacky.
Chocolate Topping
- Melt the chopped chocolate with 1 tablespoon coconut oil in a heatproof bowl.
- Spread the melted chocolate evenly over the caramel layer.
Chill and Serve
- Refrigerate the assembled bars until fully set, at least 1 hour.
- Lift the bars from the pan using parchment and slice into bars.


