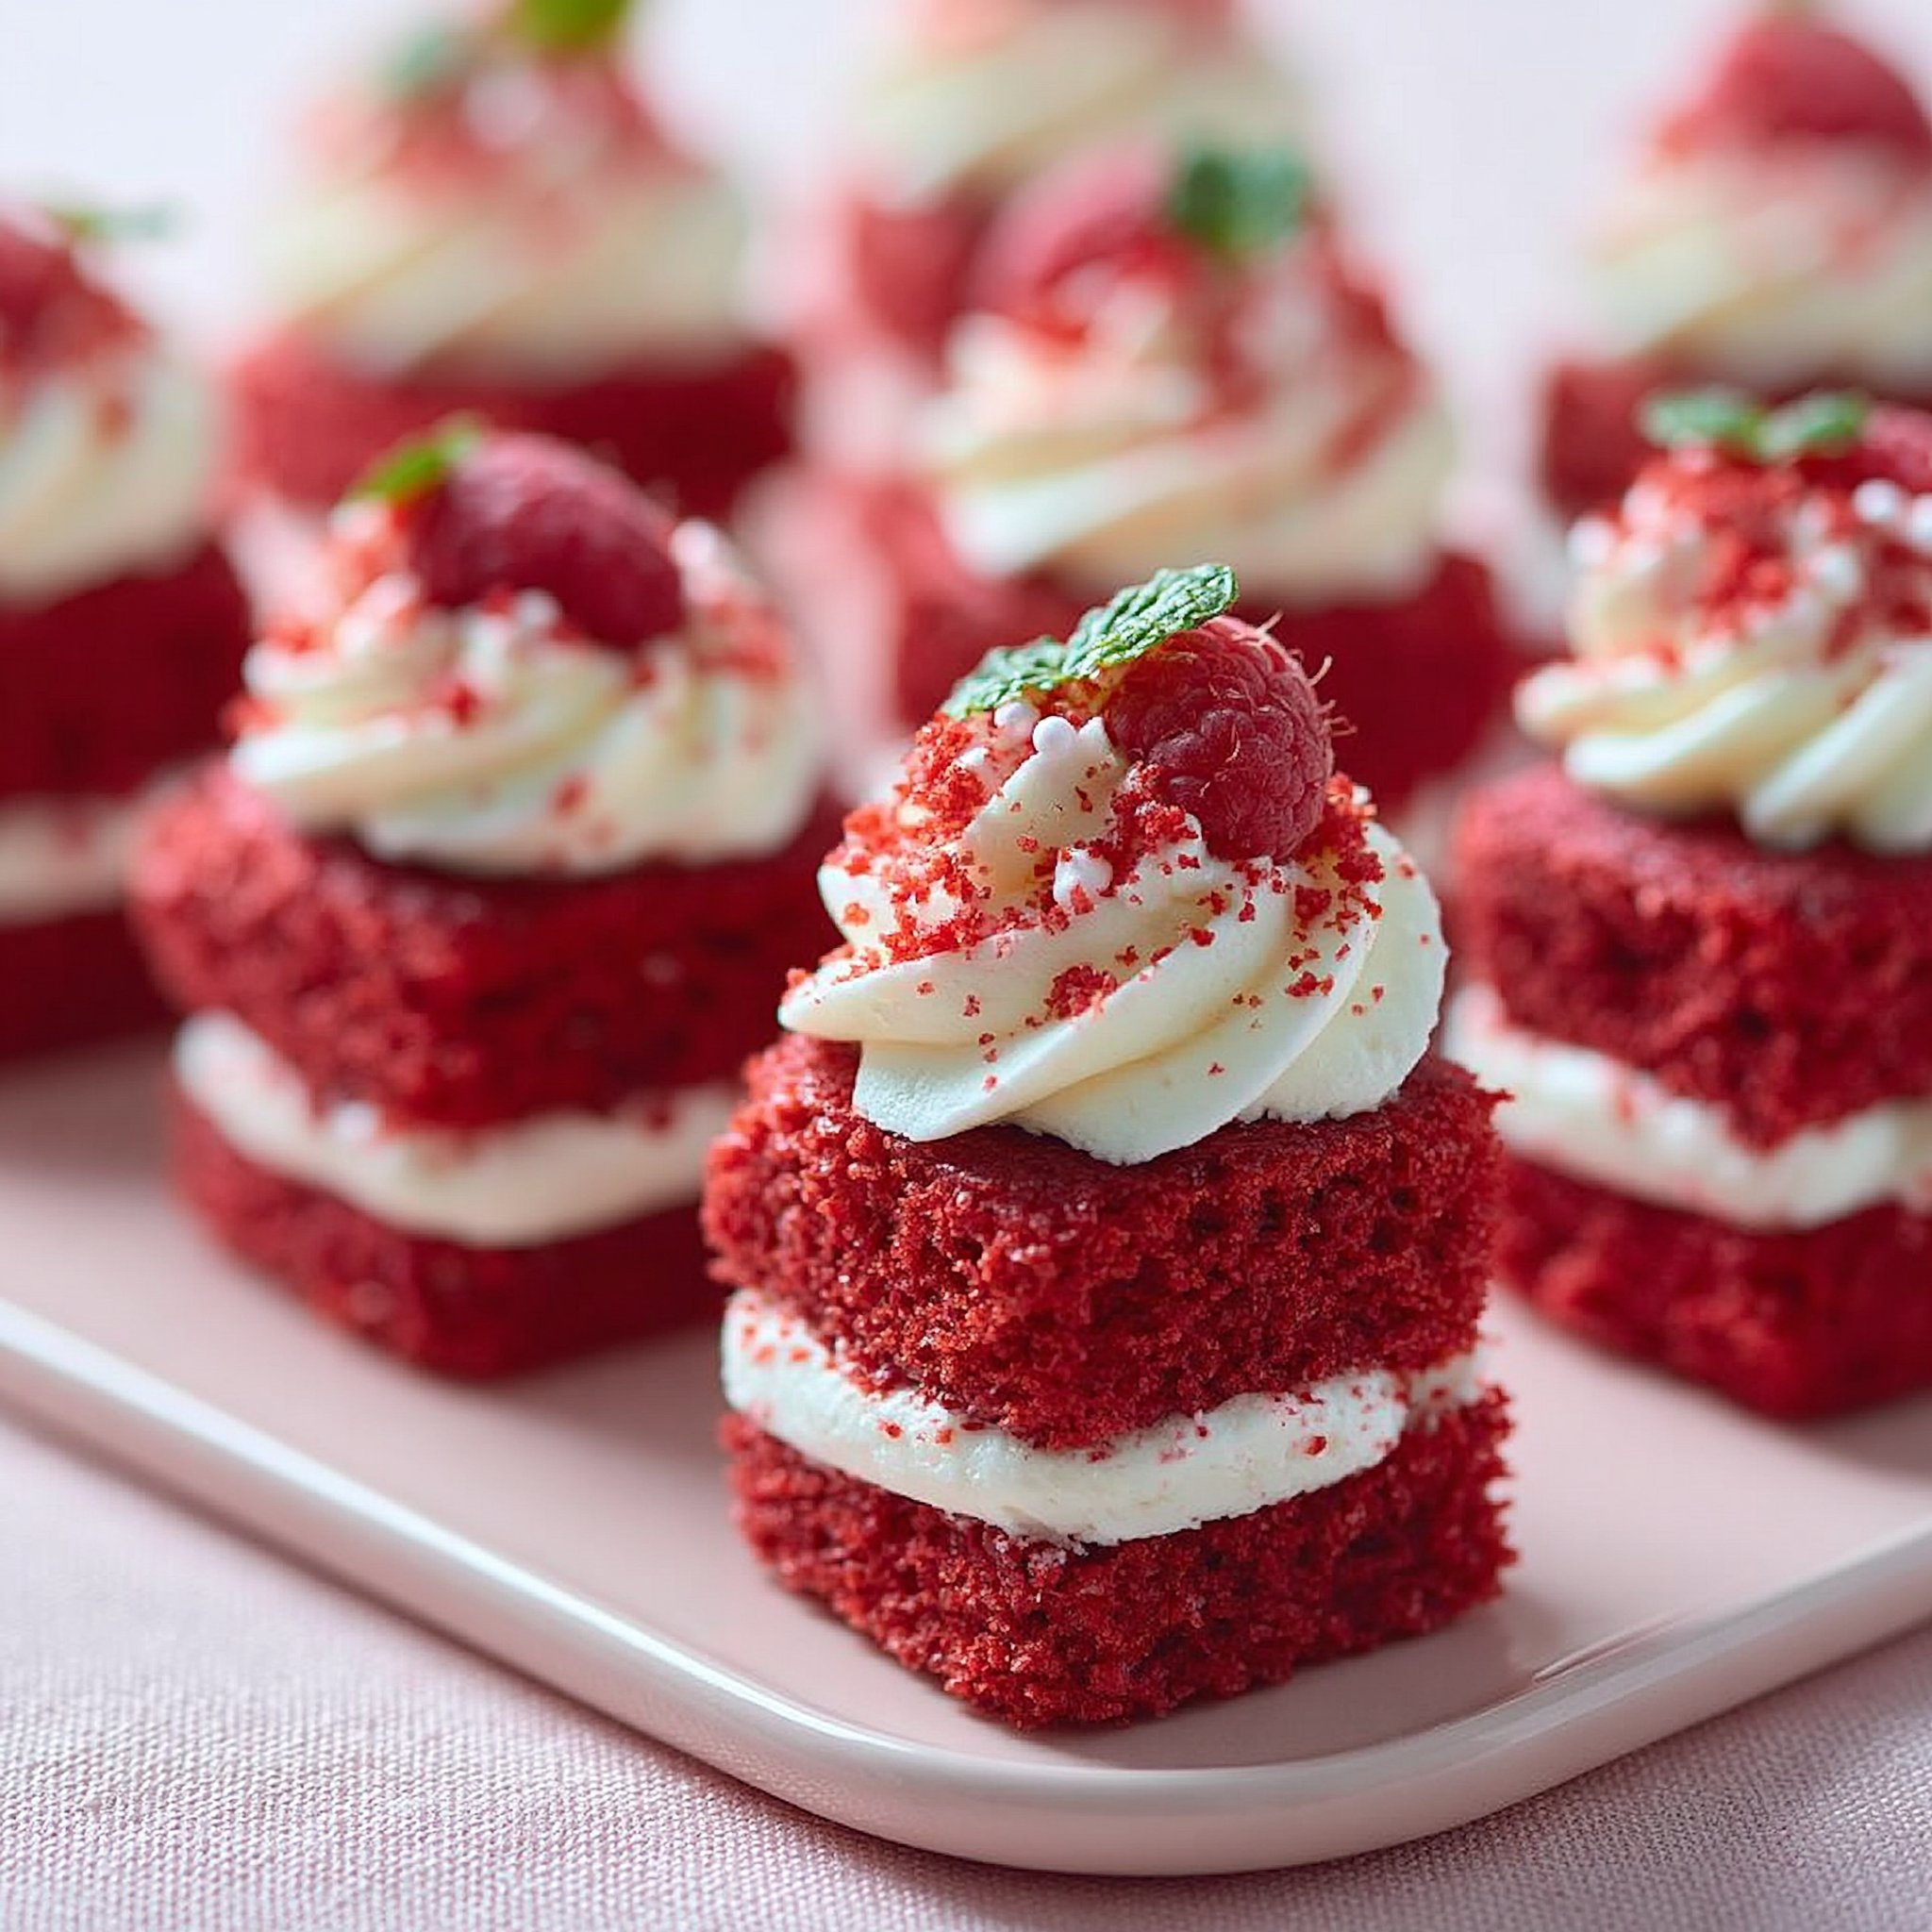
When you want red velvet cake but don’t want to commit to slicing, plating, and crumbs everywhere, these mini cakes are the answer. They bake up in a mini muffin tin with tall little domes, a cocoa-forward red velvet aroma, and that signature tang from buttermilk and a splash of vinegar.
The best part is how “complete” each bite feels: soft, moist crumb from the oil and buttermilk, a gentle chocolate note from cocoa powder (not a full-on chocolate cake), and a cool, creamy cap of cream cheese frosting. If you love red velvet desserts, these are a fun companion to my red velvet cake pops—same vibe, even easier to portion.
Why You’ll Love This Recipe
- Mini, bakery-style portions: Each liner holds a perfect two-bite cake that looks instantly party-ready once frosted.
- Moist for days: The vegetable oil + buttermilk combo keeps the crumb plush instead of dry or crumbly.
- Real red velvet flavor: Cocoa powder, vanilla, buttermilk, and vinegar give that classic lightly chocolate, lightly tangy profile.
- Quick mixing, no fuss: Two bowls, a whisk, and you’re done—just don’t overmix once wet meets dry.
- Pretty color payoff: 2 tablespoons of red food coloring gives a bold, unmistakable red velvet look even in tiny cakes.
- Easy to decorate: Cream cheese frosting sits nicely on the flat-ish mini tops once they’re fully cooled.
The Story Behind This Recipe
I developed these for days when I needed something that looked special but didn’t require leveling layers or pulling out a stand mixer—mini muffin cakes are forgiving, fast, and you can frost only what you plan to serve (which is especially handy if you’re also baking something richer like mini red velvet cheesecake for the same table).
What It Tastes Like
These taste like classic red velvet in a concentrated little package: sweet but not cloying, with a gentle cocoa bitterness and a noticeable tang from the buttermilk and vinegar that keeps the flavor “bright.” The crumb is tender and moist (oil does that beautifully), and once topped, the cream cheese frosting adds a cool, creamy contrast that makes the chocolate notes pop.
Ingredients You’ll Need
A few ingredients do the heavy lifting here. Buttermilk (room temp) brings tang and tenderness, and vinegar nudges the cake into that true red velvet territory while helping the baking soda do its job. Unsweetened cocoa powder gives color depth and a mild chocolate backbone—this shouldn’t taste like a brownie. And because this batter uses oil, the minis stay moist even after they’ve cooled. If your eggs and buttermilk are cold, let them sit out briefly—this batter comes together smoother and bakes more evenly.
- 1 cup all-purpose flour
- 1 cup granulated sugar
- 1/2 cup unsweetened cocoa powder
- 1 teaspoon baking soda
- 1/2 teaspoon salt
- 1 cup vegetable oil
- 1 cup buttermilk, room temperature
- 2 large eggs, room temperature
- 2 tablespoons red food coloring
- 1 teaspoon vanilla extract
- 1 teaspoon white vinegar
- Cream cheese frosting (for topping)
How to Make Red Velvet Cake Minis
- Prep the oven and pan. Heat your oven to 350°F (175°C). Line a mini muffin tin with paper liners—this batter is moist, so liners make clean removal easy.
- Mix the dry ingredients. In a large bowl, stir together the flour, sugar, cocoa powder, baking soda, and salt. Take a moment to break up any cocoa lumps so the batter doesn’t end up streaky.
- Whisk the wet ingredients. In a second bowl, whisk the vegetable oil, room-temperature buttermilk, room-temperature eggs, red food coloring, vanilla, and vinegar until the mixture looks smooth and evenly tinted.
- Combine—gently. Pour the wet mixture into the dry ingredients and mix just until you stop seeing dry flour. The batter should look smooth and fairly fluid; stop mixing as soon as it comes together to keep the minis tender.
- Fill the liners. Spoon batter into each cup, filling about 2/3 full. This gives them room to rise without overflowing (and keeps the tops nicely rounded).
- Bake. Bake for 15–20 minutes, until the tops look set and a toothpick inserted in the center comes out clean. They should spring back lightly when touched, not feel wet or wobbly in the middle.
- Cool completely. Let the minis cool fully before frosting—warm cakes will melt cream cheese frosting and it’ll slide right off.
- Frost and serve. Top with cream cheese frosting right before serving (or once they’re fully cooled), then enjoy. If you’re planning a red-velvet dessert spread, these also pair well with marbled red velvet cheesecake bars for a mix of fluffy cake and creamy bar textures.
Tips for Best Results
- Use room-temperature buttermilk and eggs. Cold ingredients can make the batter look slightly separated; room temp helps it whisk up smooth and bake evenly.
- Don’t overmix after combining. Once wet meets dry, mix only until the flour disappears—overmixing can make the minis bake up tougher instead of soft.
- Aim for 2/3 full. With mini muffin pans, a little overfilling quickly turns into mushroom tops that are harder to frost neatly.
- Check at 15 minutes. Mini cakes can go from perfect to dry fast; pull them as soon as a toothpick comes out clean.
- Cool before frosting—completely. You want the tops at room temp so the cream cheese frosting stays thick and defined instead of glossy and runny.
Variations and Substitutions
- Make it full-size: This batter works beautifully as a regular cake concept too—if you want a classic sliceable version, see my red velvet cake for a more traditional presentation.
- Color intensity: The 2 tablespoons of red food coloring gives a bold red velvet look. If you use less, expect a deeper burgundy-brown tone (still tasty, just less dramatic).
How to Serve It
Serve these chilled or at cool room temperature, topped generously with cream cheese frosting. For a clean look, frost in a simple swirl or a thick dollop—mini cakes don’t need much to feel finished. They’re also an easy add-on next to something extra decadent like a red velvet cheesecake showstopper when you want variety on a dessert table.

How to Store It
Because these are topped with cream cheese frosting, I store frosted minis in the refrigerator. If you want the best texture, bake the cakes ahead, let them cool completely, and frost closer to serving so the tops stay plush and the frosting looks fresh. If they’ve been chilled, give them a few minutes at room temperature before eating—the crumb softens and the cocoa-vanilla aroma comes back through.
Final Thoughts
These red velvet cake minis hit that sweet spot between “easy weeknight bake” and “cute enough for guests,” and the flavor is exactly what I want from red velvet: cocoa-kissed, tangy, and super moist. If you make them, take an extra minute to cool them fully before frosting—you’ll be rewarded with neat, creamy tops and tender little cakes underneath.
Conclusion
If you’re in the mood to browse other takes and decorating ideas for mini red velvet cakes, I also like comparing notes with Sprinkle Bakes’ red velvet cake minis, Amycakes Bakes’ super-moist mini red velvet cakes, and Sugar & Sparrow’s small batch red velvet cake—they’re all great inspiration sources alongside this simple, two-bowl version.