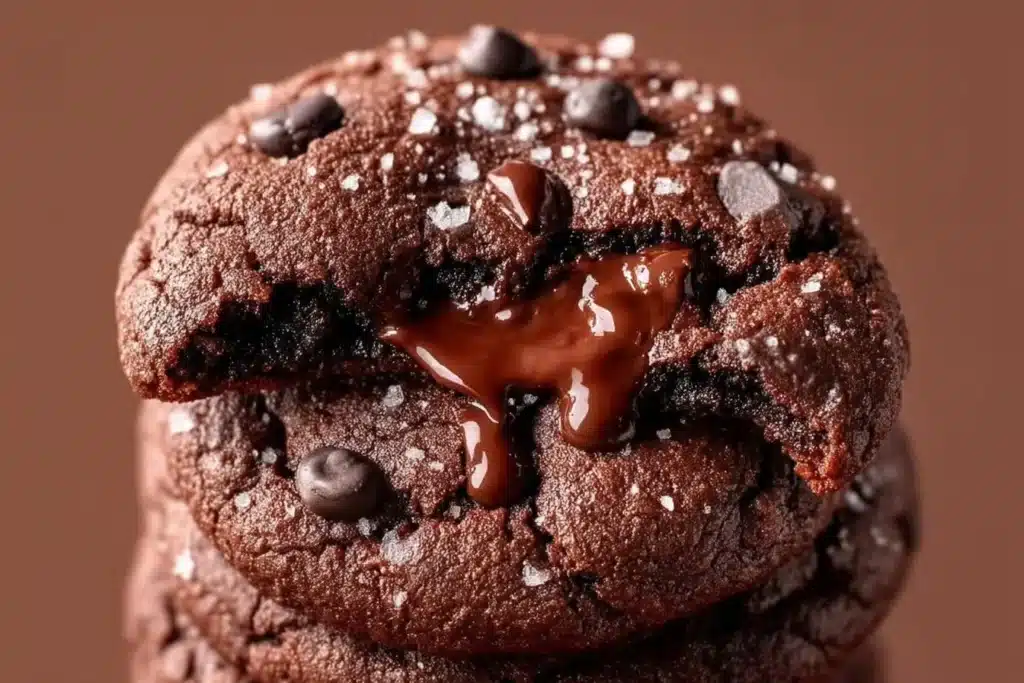
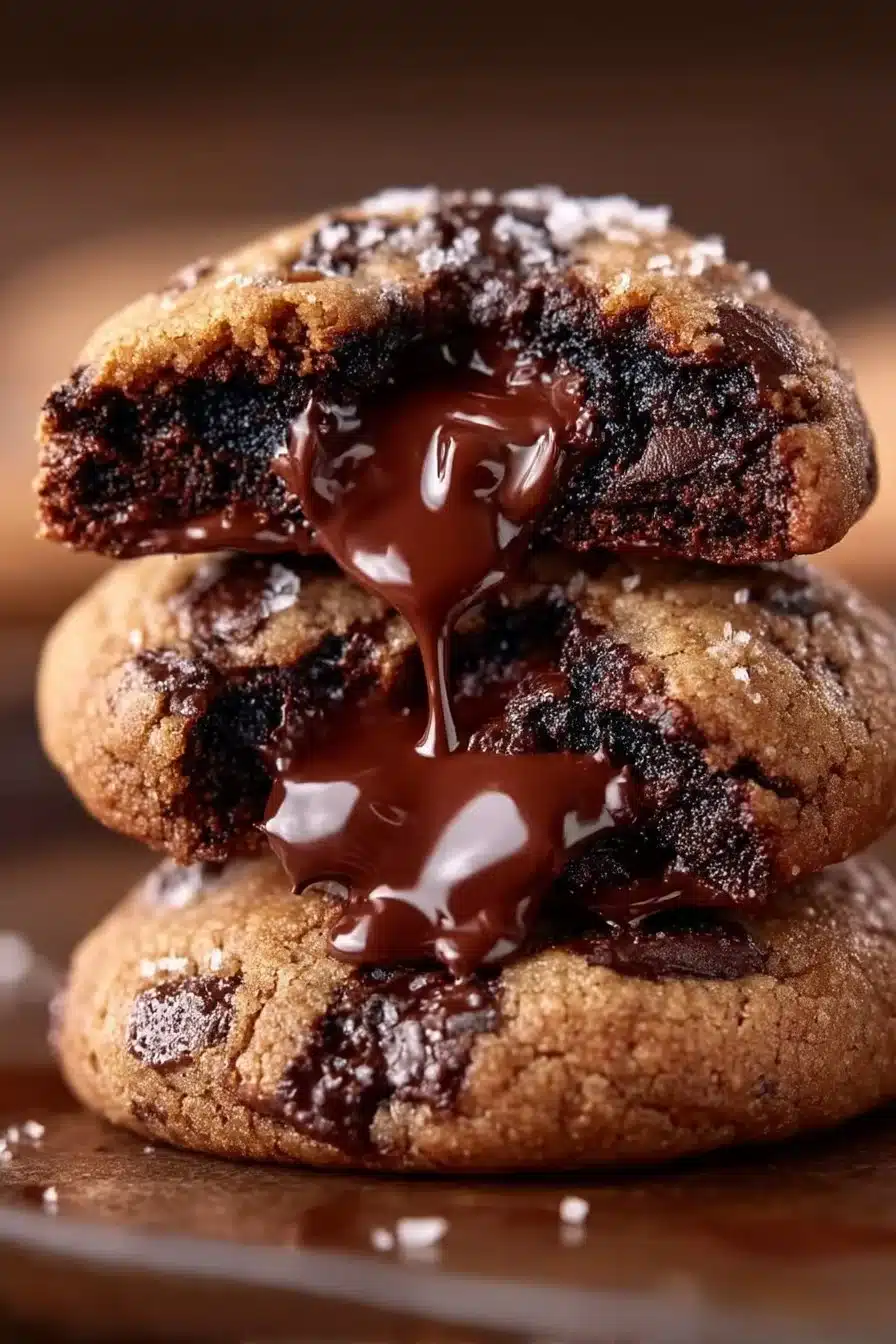
I make these Gooey Lava Cookies when I want that brownie-meets-cookie moment without hauling out a mixer or chilling dough. The batter comes together in two bowls, and the payoff is real: crisped edges, a soft center, and little pockets of melted chocolate chips that feel like “lava” when they’re still warm.
They’re deeply chocolatey thanks to cocoa powder in the dough, but not bitter—brown sugar keeps the flavor round and cozy. If you love a molten-style cookie, you’ll probably also enjoy my chocolate peanut butter lava cookies on days you’re craving that same gooey center with a different twist.
Why You’ll Love This Recipe
- True “lava” texture without stuffing: the centers stay soft and glossy simply by baking until the edges set (10–12 minutes).
- Cocoa-forward cookie dough: the 1/4 cup cocoa powder makes the dough taste like a chewy brownie top, not just a chocolate chip cookie.
- Melted butter = quick mixing: no creaming step—melted butter + sugars whisk smooth fast.
- Balanced sweetness: brown sugar brings caramel notes while the 1/4 cup granulated sugar keeps the cookie from tasting heavy.
- Chocolate in every bite: 1/2 cup chocolate chips melt into little puddles that make the center feel extra gooey.
The Story Behind This Recipe
This one started as a “use what’s in the pantry” cookie: cocoa powder for depth, chocolate chips for melty pockets, and melted butter because I didn’t want to wait for anything to soften. After a couple rounds, the sweet spot was pulling them when the edges looked set but the middle still looked slightly underdone—exactly what gives that lava-like bite.
What It Tastes Like
These taste like a fudgy cocoa cookie with caramel-brown-sugar aroma and bursts of melted chocolate chips. They’re sweet but not cloying, with the richest part right in the center—soft, gooey, and a little sticky in the best way—while the outer ring bakes up more structured so you get contrast in every bite.
Ingredients You’ll Need
A few details matter here: melted unsalted butter helps the dough mix smoothly and bake up with glossy, chewy centers; brown sugar boosts moisture and that toffee-like flavor; and cocoa powder turns the base into a deep chocolate dough so the chips don’t have to do all the work. If you only have semi-sweet chips, they’re perfect here—the cocoa dough can handle it.
- 1 cup all-purpose flour
- 1/2 teaspoon baking soda
- 1/4 teaspoon salt
- 1/4 cup cocoa powder
- 1/2 cup unsalted butter, melted
- 1/2 cup brown sugar
- 1/4 cup granulated sugar
- 1 teaspoon vanilla extract
- 1 large egg
- 1/2 cup chocolate chips
How to Make Gooey Lava Cookies
- Heat the oven. Preheat to 350°F (175°C). Line a baking sheet (this keeps the bottoms from over-browning and makes cleanup easy).
- Mix the dry ingredients. In a medium bowl, stir together the flour, baking soda, salt, and cocoa powder until the cocoa looks evenly distributed (no streaky light patches).
- Whisk the wet ingredients until smooth. In a separate bowl, combine the melted butter, brown sugar, granulated sugar, and vanilla. Mix until it looks glossy and uniform. Add the egg and mix until the batter looks smooth and slightly thick.
- Combine—gently. Add the dry mixture to the wet mixture gradually, stirring just until you don’t see dry flour anymore. The dough will be soft and chocolate-brown; stop mixing as soon as it comes together to keep the centers tender.
- Fold in the chocolate chips. Stir just enough to distribute them without overworking the dough.
- Portion onto the baking sheet. Drop spoonfuls of dough onto the lined sheet, leaving space between each one. (They’ll spread a bit as they bake.)
- Bake for 10–12 minutes. You’re looking for edges that look set and slightly darker, while the centers still look soft—not fully matte. If you bake until the middle looks completely firm, you’ll lose the lava effect.
- Cool briefly, then serve warm. Let the cookies cool slightly on the pan so they finish setting around the edges, then enjoy while the center is still gooey.
Tips for Best Results
- Pull them when the centers look a little underdone. At 10–12 minutes, the middle should still look soft; it will set up as it cools, but stay gooey inside.
- Mix the cocoa powder thoroughly with the flour. If cocoa clumps remain, you’ll get bitter dark spots instead of an even chocolate flavor.
- Don’t overmix after adding the dry ingredients. Overmixing can make these bake up tougher and less molten in the middle.
- Use a lined baking sheet. It helps the bottoms bake evenly while the centers stay soft—especially important for that lava texture.
- Let them cool “slightly,” not fully. The chocolate-chip pockets are at their meltiest in the first few minutes after baking.
Variations and Substitutions
- Chocolate chips: Use whatever chocolate chips you like best (semi-sweet, milk, or dark). The bake time stays the same, but darker chips will taste a little more intense against the sweet dough.
- Vanilla: You can leave it out in a pinch, but it does add a little warmth that makes the cocoa taste rounder.
How to Serve It
These are best served warm, when the chips are still molten and the centers feel like thick fudge. I like them plain (they’re already rich), but they’re also great next to something simple like a glass of milk or coffee. If you’re building a cookie plate, pair them with something lighter—my 3-ingredient sugar cookies are a nice contrast.
How to Store It
Store cooled cookies in an airtight container at room temperature so they don’t dry out too quickly. If you want the “lava” feeling again later, serve them slightly warm—just enough to soften the chips and loosen the center. For other easy cookie options that keep well, you can also check out my 3-ingredient Funfetti cake mix cookies.

Final Thoughts
If you’ve ever wished a cookie could eat like a brownie in the middle, these deliver—set edges, soft cocoa center, and melted chocolate in every bite. Make a batch, watch them closely at the 10-minute mark, and let that slightly underbaked center do its thing.
Conclusion
If you’re curious how other bakers approach the molten-cookie idea, I also like reading Crumbl molten lava cookie inspiration, comparing techniques with a gooey chocolate lava cookie version, and nerding out over the why behind the texture in a molten cookie breakdown. And if you’re baking for pups too, my 3-ingredient sweet potato dog cookies are a fun, simple side project—just keep the chocolate strictly for the humans.