

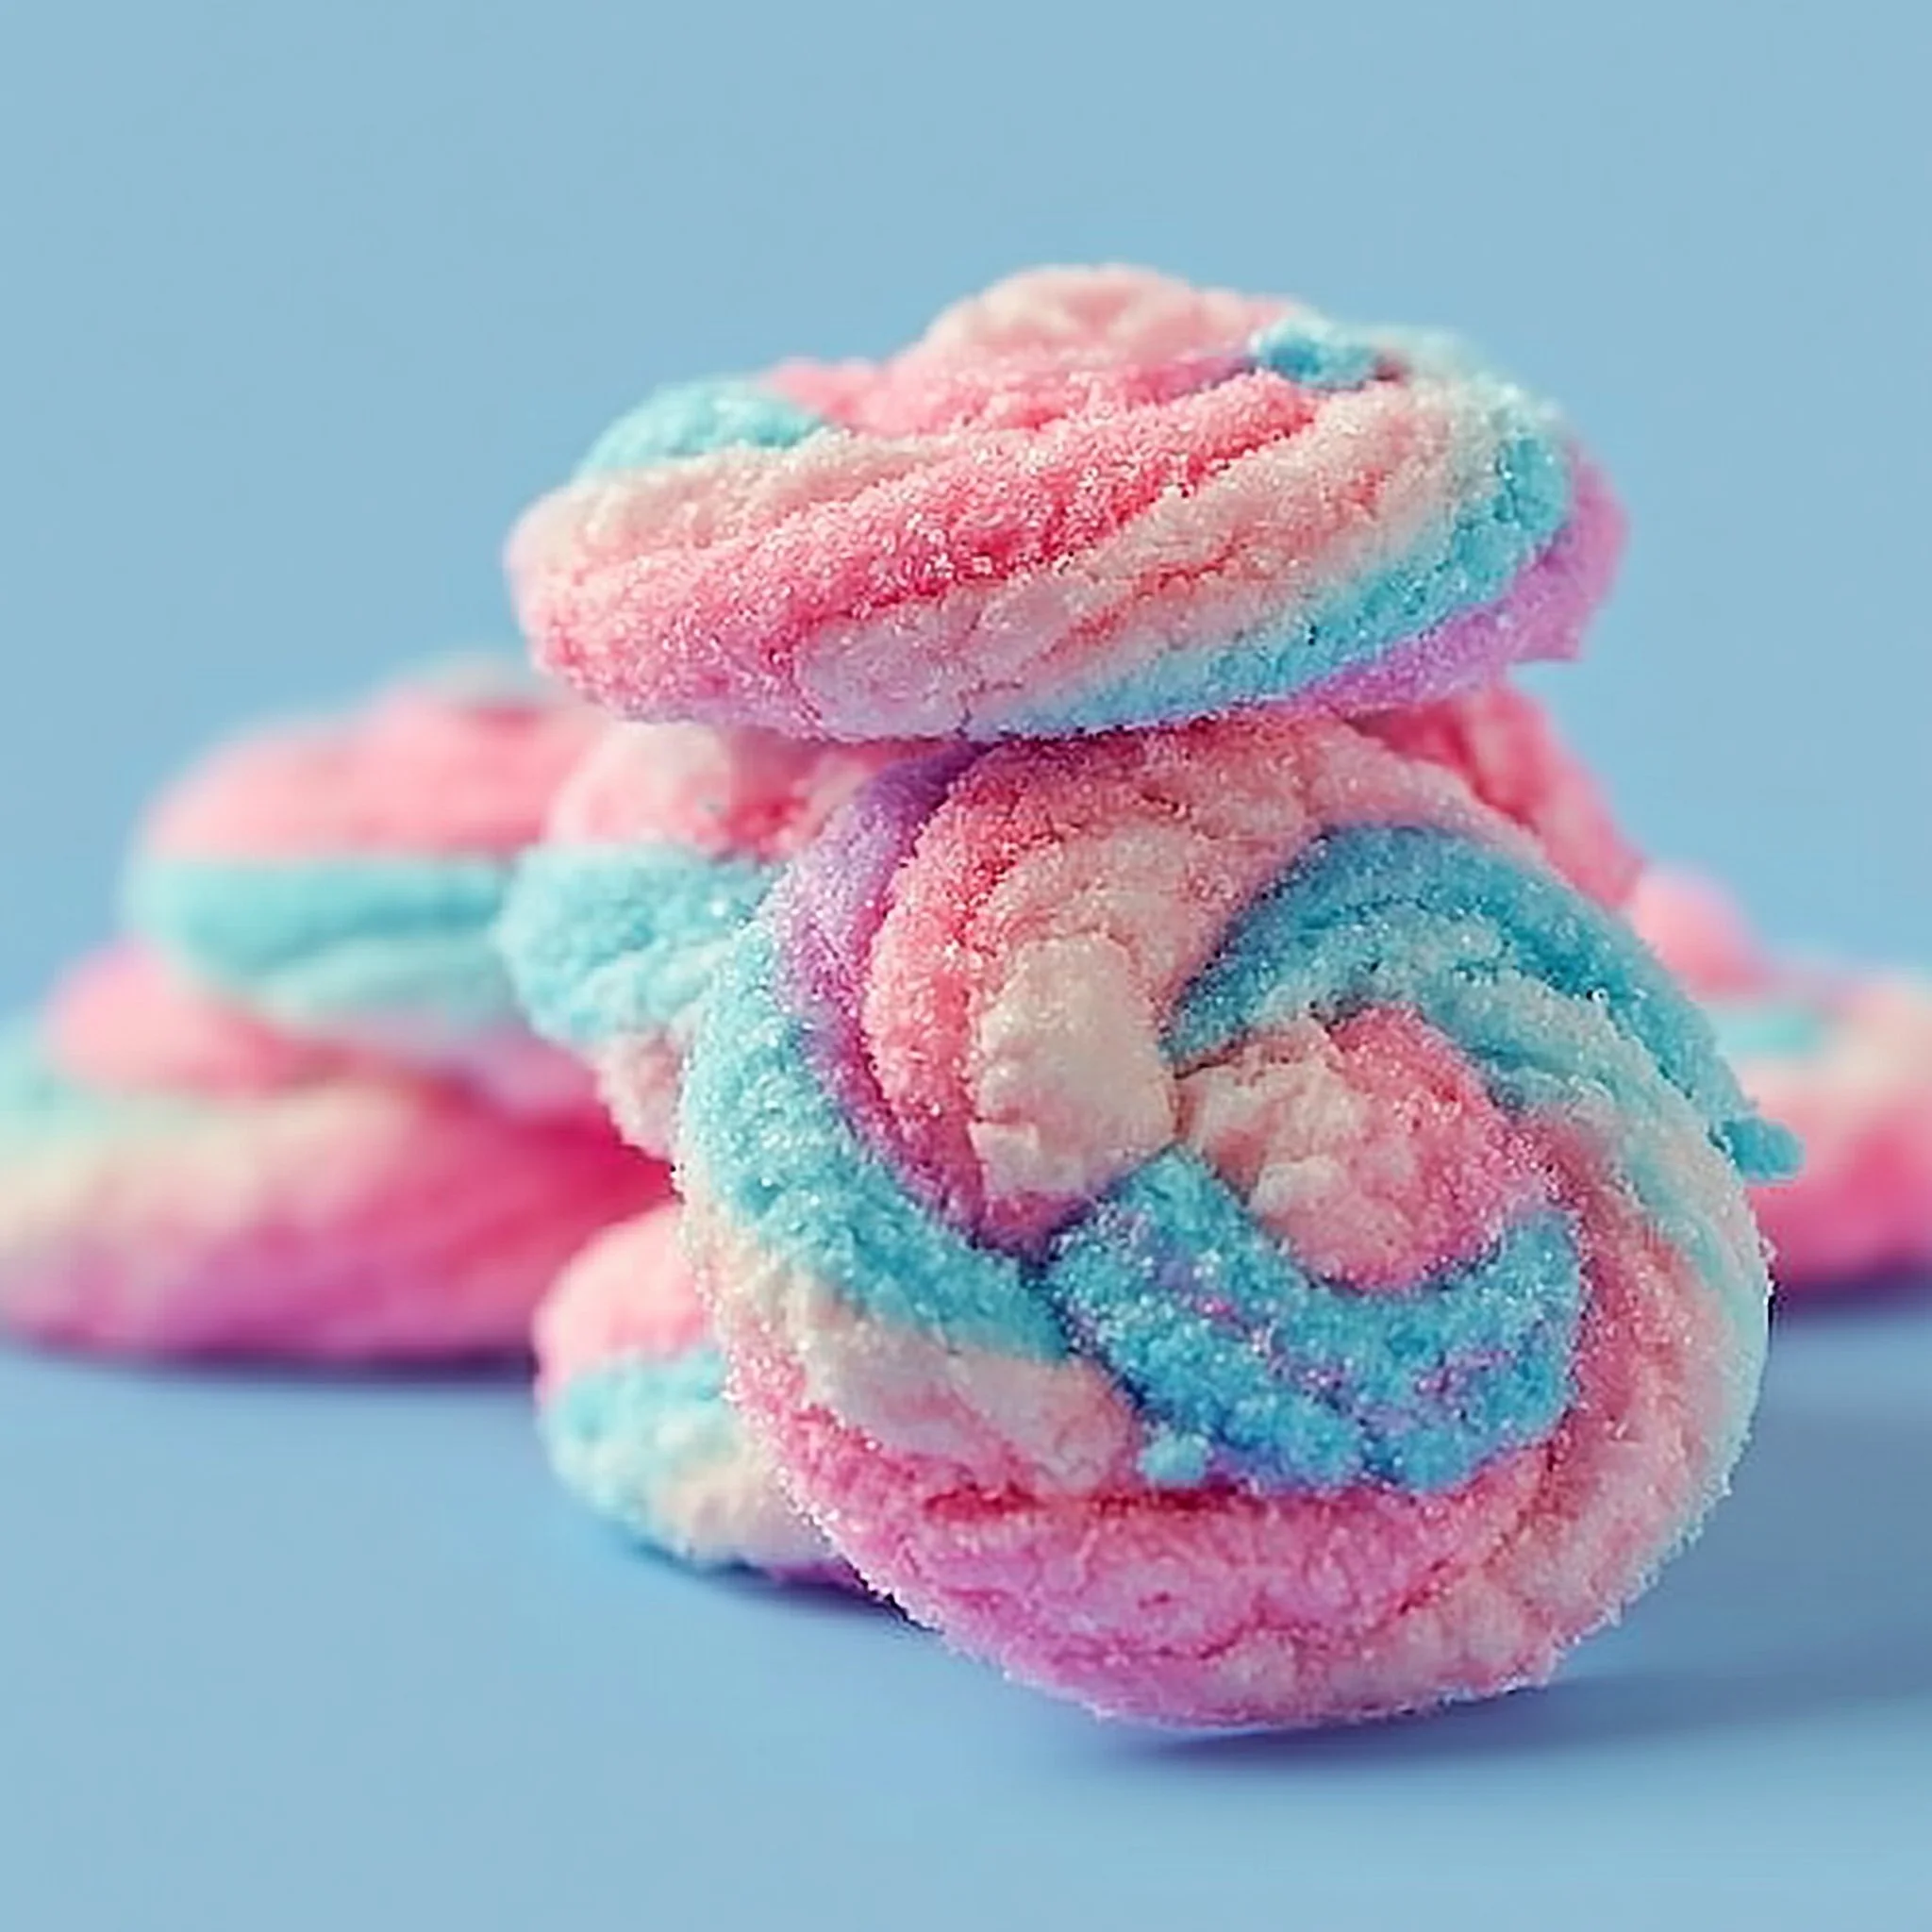
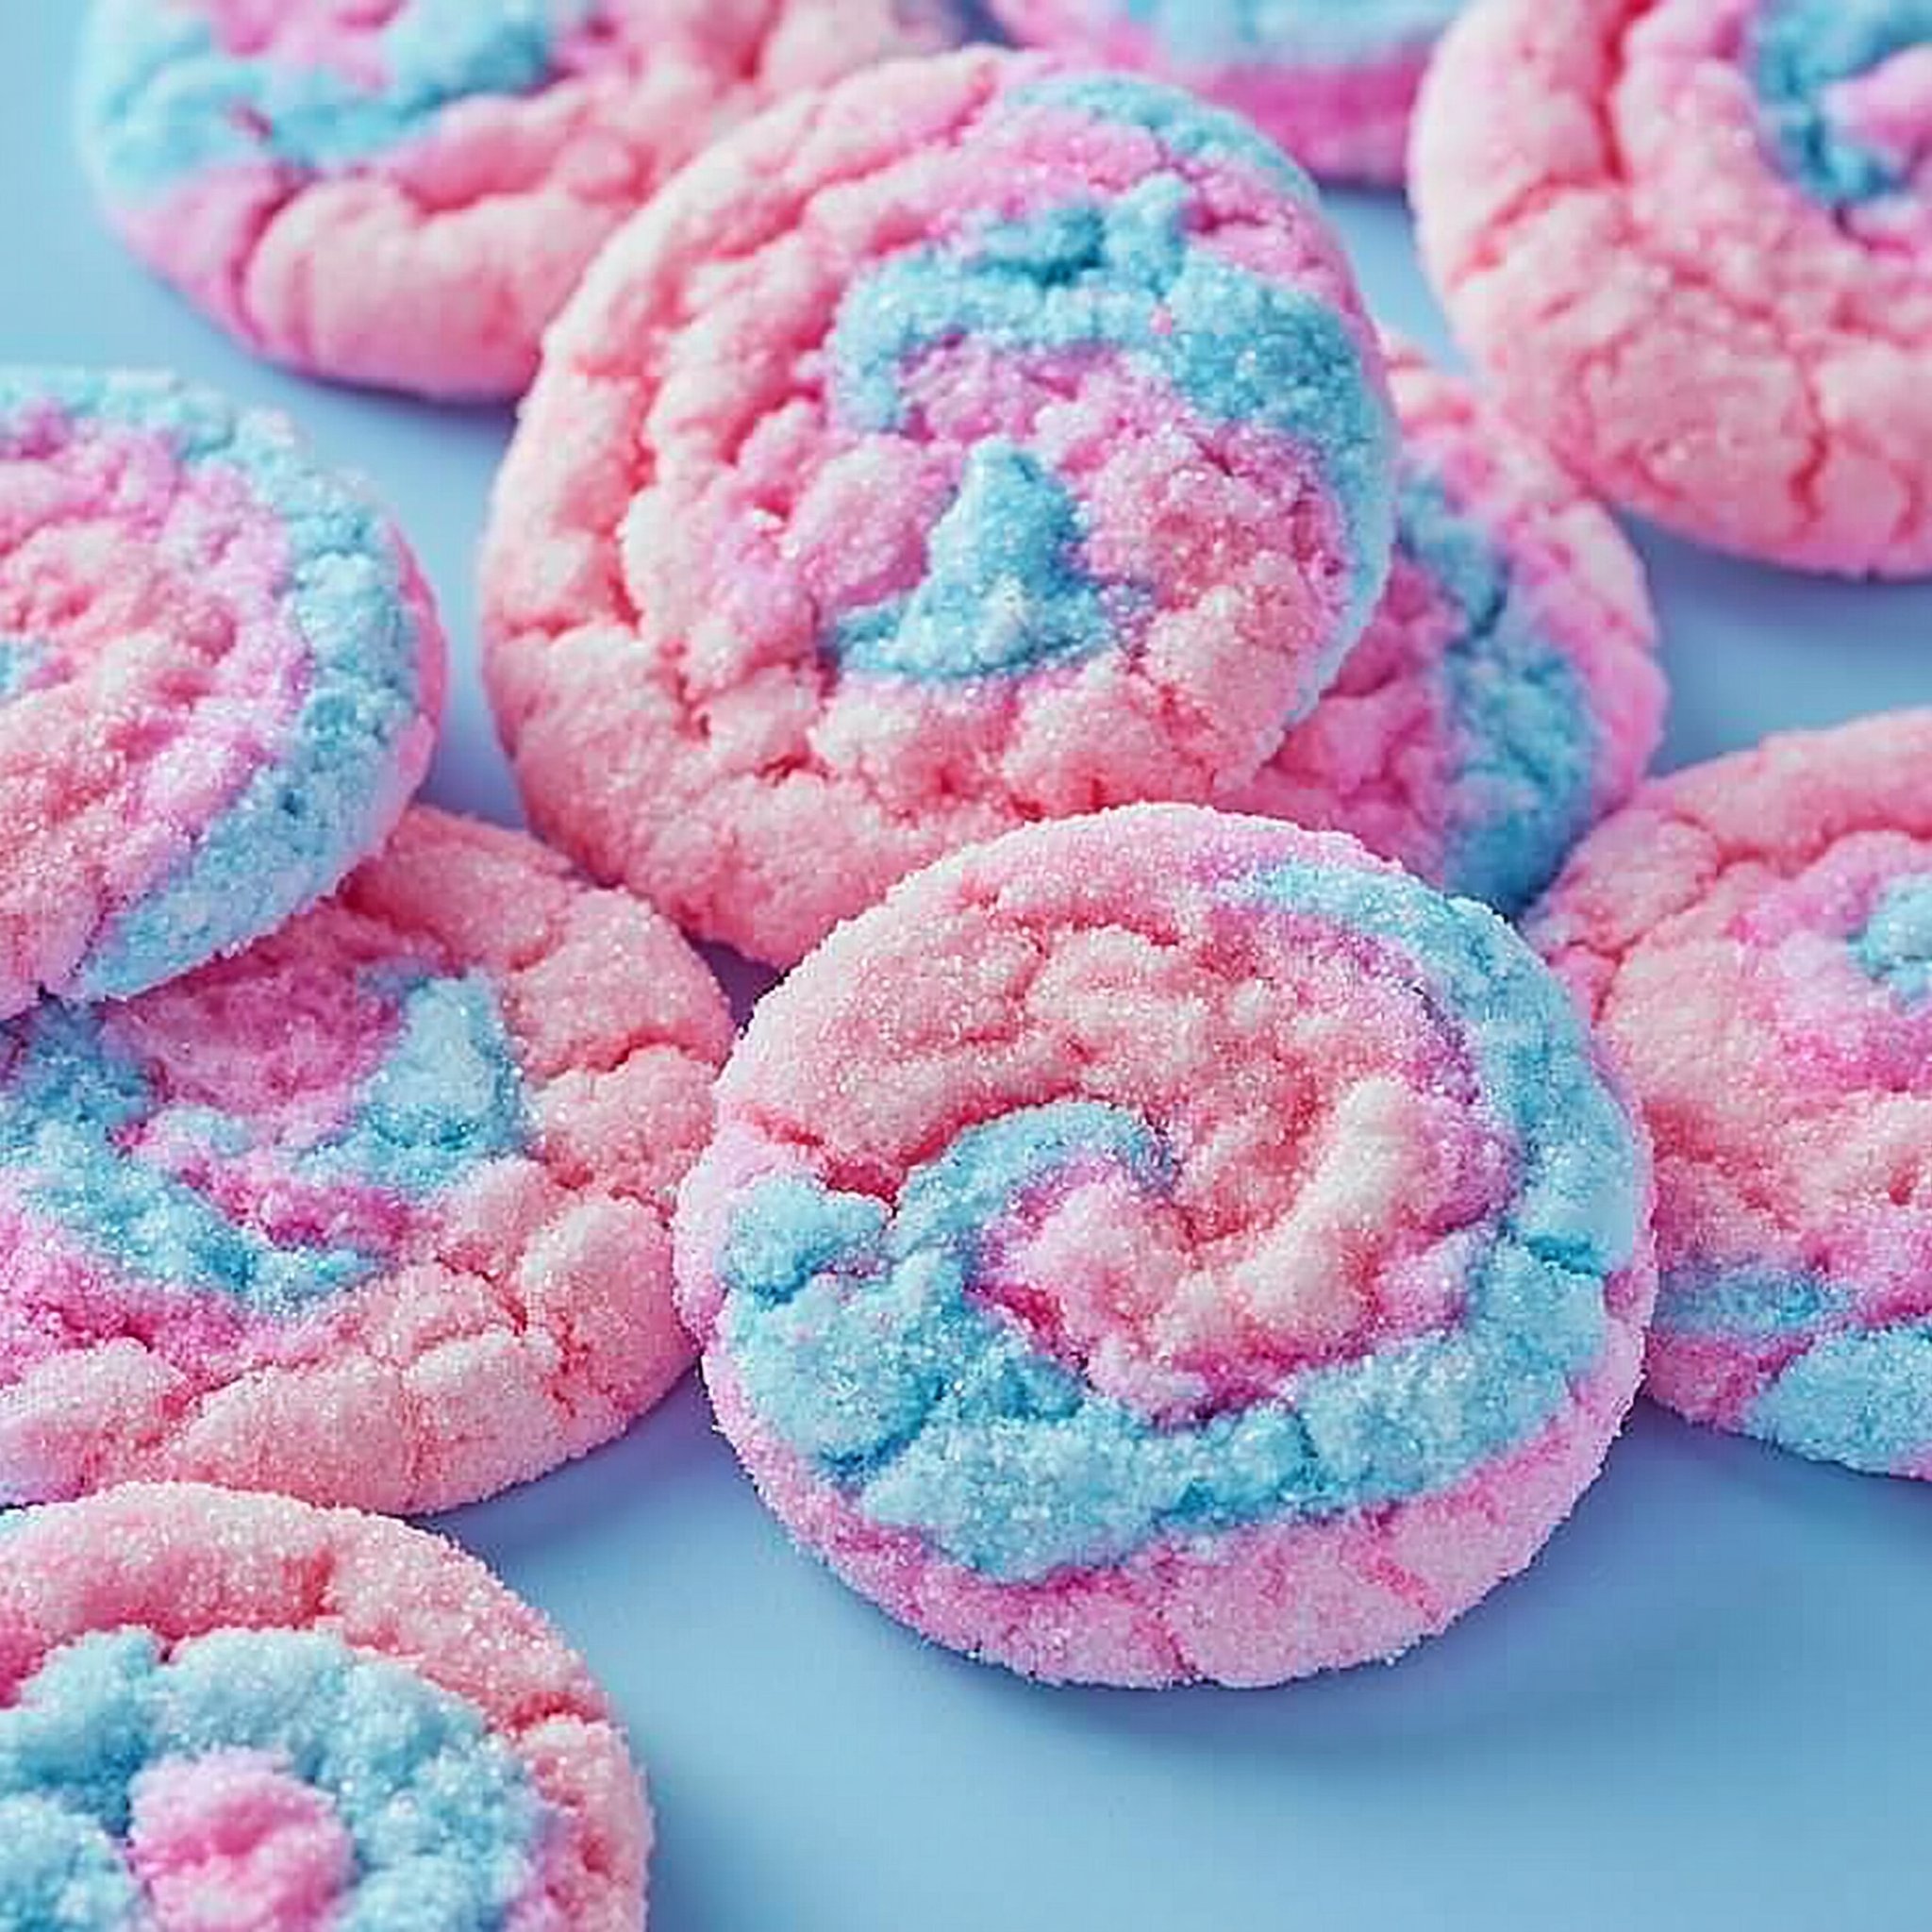
The easiest way to make a cookie table look instantly festive is to bring in color—and these cotton candy cookies do it without any fussy decorating. The dough gets divided and tinted pink and blue with gel food coloring, then gently swirled together so every cookie bakes up with its own little tie-dye pattern. I keep a printable version bookmarked at my cotton candy cookies page because they’re a reliable “wow” for birthdays and bake sales.
What I love most is how straightforward the base dough is: butter, sugar, buttermilk, and vanilla for a soft bite, plus a touch of baking powder and baking soda for lift. If you add cotton candy flavoring, it perfumes the whole batch—sweet, airy, and candy-like—without changing the texture.
Why You’ll Love This Recipe
- Eye-catching color with minimal effort: gel coloring gives bold pink-and-blue swirls without thinning the dough.
- Soft, tender crumb: buttermilk keeps the cookies plush instead of dry or crumbly.
- Balanced sweetness: they’re clearly a “fun” cookie, but not cloying—especially if you go light on optional flavoring.
- Easy to customize the look: swirl lightly for marbled streaks or twist more for a stronger tie-dye effect.
- No special equipment needed: just bowls, a mixer for creaming, and a baking sheet.
- Party-friendly pairing: these fit right in next to other colorful treats like soft chewy jello sugar cookies.
The Story Behind This Recipe
I built this recipe as a simple, dependable cookie dough that could “carry” color and a hint of cotton candy flavor without turning cakey or fragile—so you can swirl, bake, and stack them for a party platter and they still look crisp and bright.
What It Tastes Like
These cookies smell like warm vanilla with a sweet, spun-sugar note if you use cotton candy flavoring. The centers bake up soft and tender (thanks to the buttermilk), with lightly set edges that keep the cookie from feeling flimsy. The overall sweetness is in the classic sugar-cookie zone—comfortable and familiar—while the optional flavoring nudges it into true cotton-candy territory.
Ingredients You’ll Need
This dough is built around softened unsalted butter and granulated sugar creamed together for a light, smooth base. Buttermilk adds tenderness and a gentle tang that keeps the sweetness in check; if you don’t have it, the milk-plus-acid swap works well. Gel food coloring is key here because it gives strong color without watering down the dough, and cotton candy flavoring is optional but adds that unmistakable candy-shop aroma.
- 2 1/2 cups all-purpose flour
- 1 cup granulated sugar
- 1/2 teaspoon baking powder
- 1/4 teaspoon baking soda
- 1/4 teaspoon salt
- 1/2 cup unsalted butter (softened)
- 1/4 cup buttermilk (you can substitute with 1/4 cup milk mixed with 1 teaspoon lemon juice or vinegar if you don’t have buttermilk)
- 1 large egg
- 1 teaspoon vanilla extract
- Gel food coloring (pink and blue)
- Cotton candy flavoring (optional, for an added burst of that nostalgic cotton candy flavor)
How to Make Cotton Candy Cookies Recipe – Fun & Colorful Treats
Preheat the oven.
Get your oven heating before you start mixing so the dough can go straight from bowl to bake. (A fully preheated oven helps the cookies set evenly and keeps the swirls looking crisp.)Mix the dry ingredients.
In a bowl, whisk together the flour, baking powder, baking soda, and salt until evenly combined. You’re looking for a uniform mixture—no little pockets of leavener.Cream the butter and sugar.
In a separate bowl, beat the softened butter and granulated sugar until it looks lighter in color and creamy (not greasy or separated). This step helps the cookies bake up tender instead of dense.Add the wet ingredients.
Beat in the egg, then mix in the buttermilk and vanilla extract. If you’re using cotton candy flavoring, add it here. The mixture may look a bit looser at this stage—that’s normal.Combine dry and wet.
Add the dry ingredients to the wet and mix just until you no longer see dry flour streaks. Stop as soon as the dough comes together; overmixing can make the cookies bake up tougher.Divide and color the dough.
Split the dough into two portions. Tint one portion pink and the other blue using gel food coloring. Mix each portion until the color is even and vibrant. (Gel color builds quickly—add a little, then adjust.)Form the cotton candy cookies.
Pinch off small pieces of each color and gently press them together, then roll lightly to create a marbled ball. For clear swirls, don’t over-knead the colors together—stop while you still see distinct pink and blue streaks.Bake.
Place the dough portions on your baking sheet with a bit of space between them. Bake until the cookies look set on top and the edges are just starting to firm up, while the centers still look soft. Avoid waiting for deep browning—you’ll lose that soft bite.Cool and serve.
Let the cookies cool until they’re firm enough to lift cleanly, then move them to finish cooling. The swirls pop most once they’ve cooled and the surface is fully set. If you’re planning a colorful dessert spread, they’re especially cute next to cotton candy rice krispy treats.
Tips for Best Results
- Use truly softened butter: it should press easily but still hold its shape. If it’s melted, the dough can feel greasy and the cookies may spread unevenly.
- Go easy on the swirl: twist just enough to marble. Overmixing turns the dough purple and mutes that cotton-candy look.
- Add gel color gradually: a toothpick-sized dab goes further than you think, and it’s easier to deepen color than back it off.
- Stop mixing when the flour disappears: once the dough looks cohesive, quit—this keeps the cookie tender.
- If using cotton candy flavoring, keep it subtle: it can read “candy-sweet” fast; a light hand keeps the vanilla and butter flavor present.
Variations and Substitutions
- No buttermilk? Use the provided substitute: 1/4 cup milk mixed with 1 teaspoon lemon juice or vinegar. Let it sit briefly, then use as directed.
- Skip the cotton candy flavoring: you’ll get a vanilla-forward sugar cookie with the same soft texture and bright swirls.
- Change the color palette: keep the same method but swap pink/blue for any two gel colors; for more ideas, I also love the look of these colorful sugar cookies on a party tray.
How to Serve It
Pile them on a platter so the pink-and-blue marbling shows—these are “grab one” cookies. They’re great with a cold glass of milk, or served alongside other playful sweets for a birthday spread. If you’re packing them for a party, stack them with the swirls facing up so the color stays the star.
How to Store It
Store the cooled cookies in an airtight container at room temperature so they stay soft. If you’re making them ahead, bake and cool completely before sealing—any trapped warmth can create steam and soften the surface too much. For longer storage, freeze the cookies well-sealed; thaw at room temperature so the texture returns to tender and the colors stay bright.
Final Thoughts
If you want a cookie that’s genuinely easy but still looks like you spent extra time, this is the one: a simple buttermilk-vanilla dough, a quick color split, and a swirl that makes every cookie unique. Keep the mixing gentle, bake just until set, and let the colors do all the work.
Conclusion
If you’re building a playful dessert table, pair these with Rainbow Rice Krispie Treat Pinwheels for even more color, add a crunchy sweet option like No-Bake Circus Cookie Bark, or serve them with scoops of No Churn Cotton Candy Ice Cream for the full cotton-candy vibe.


