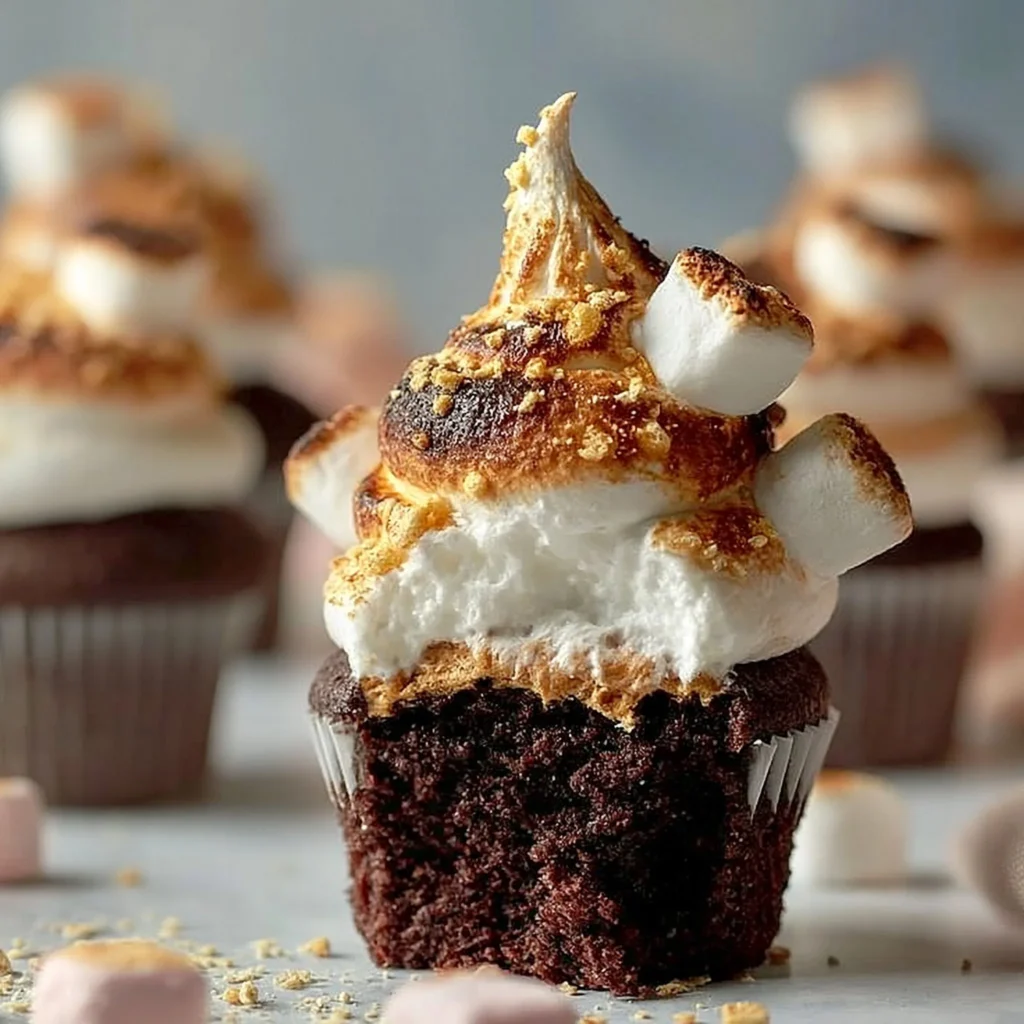
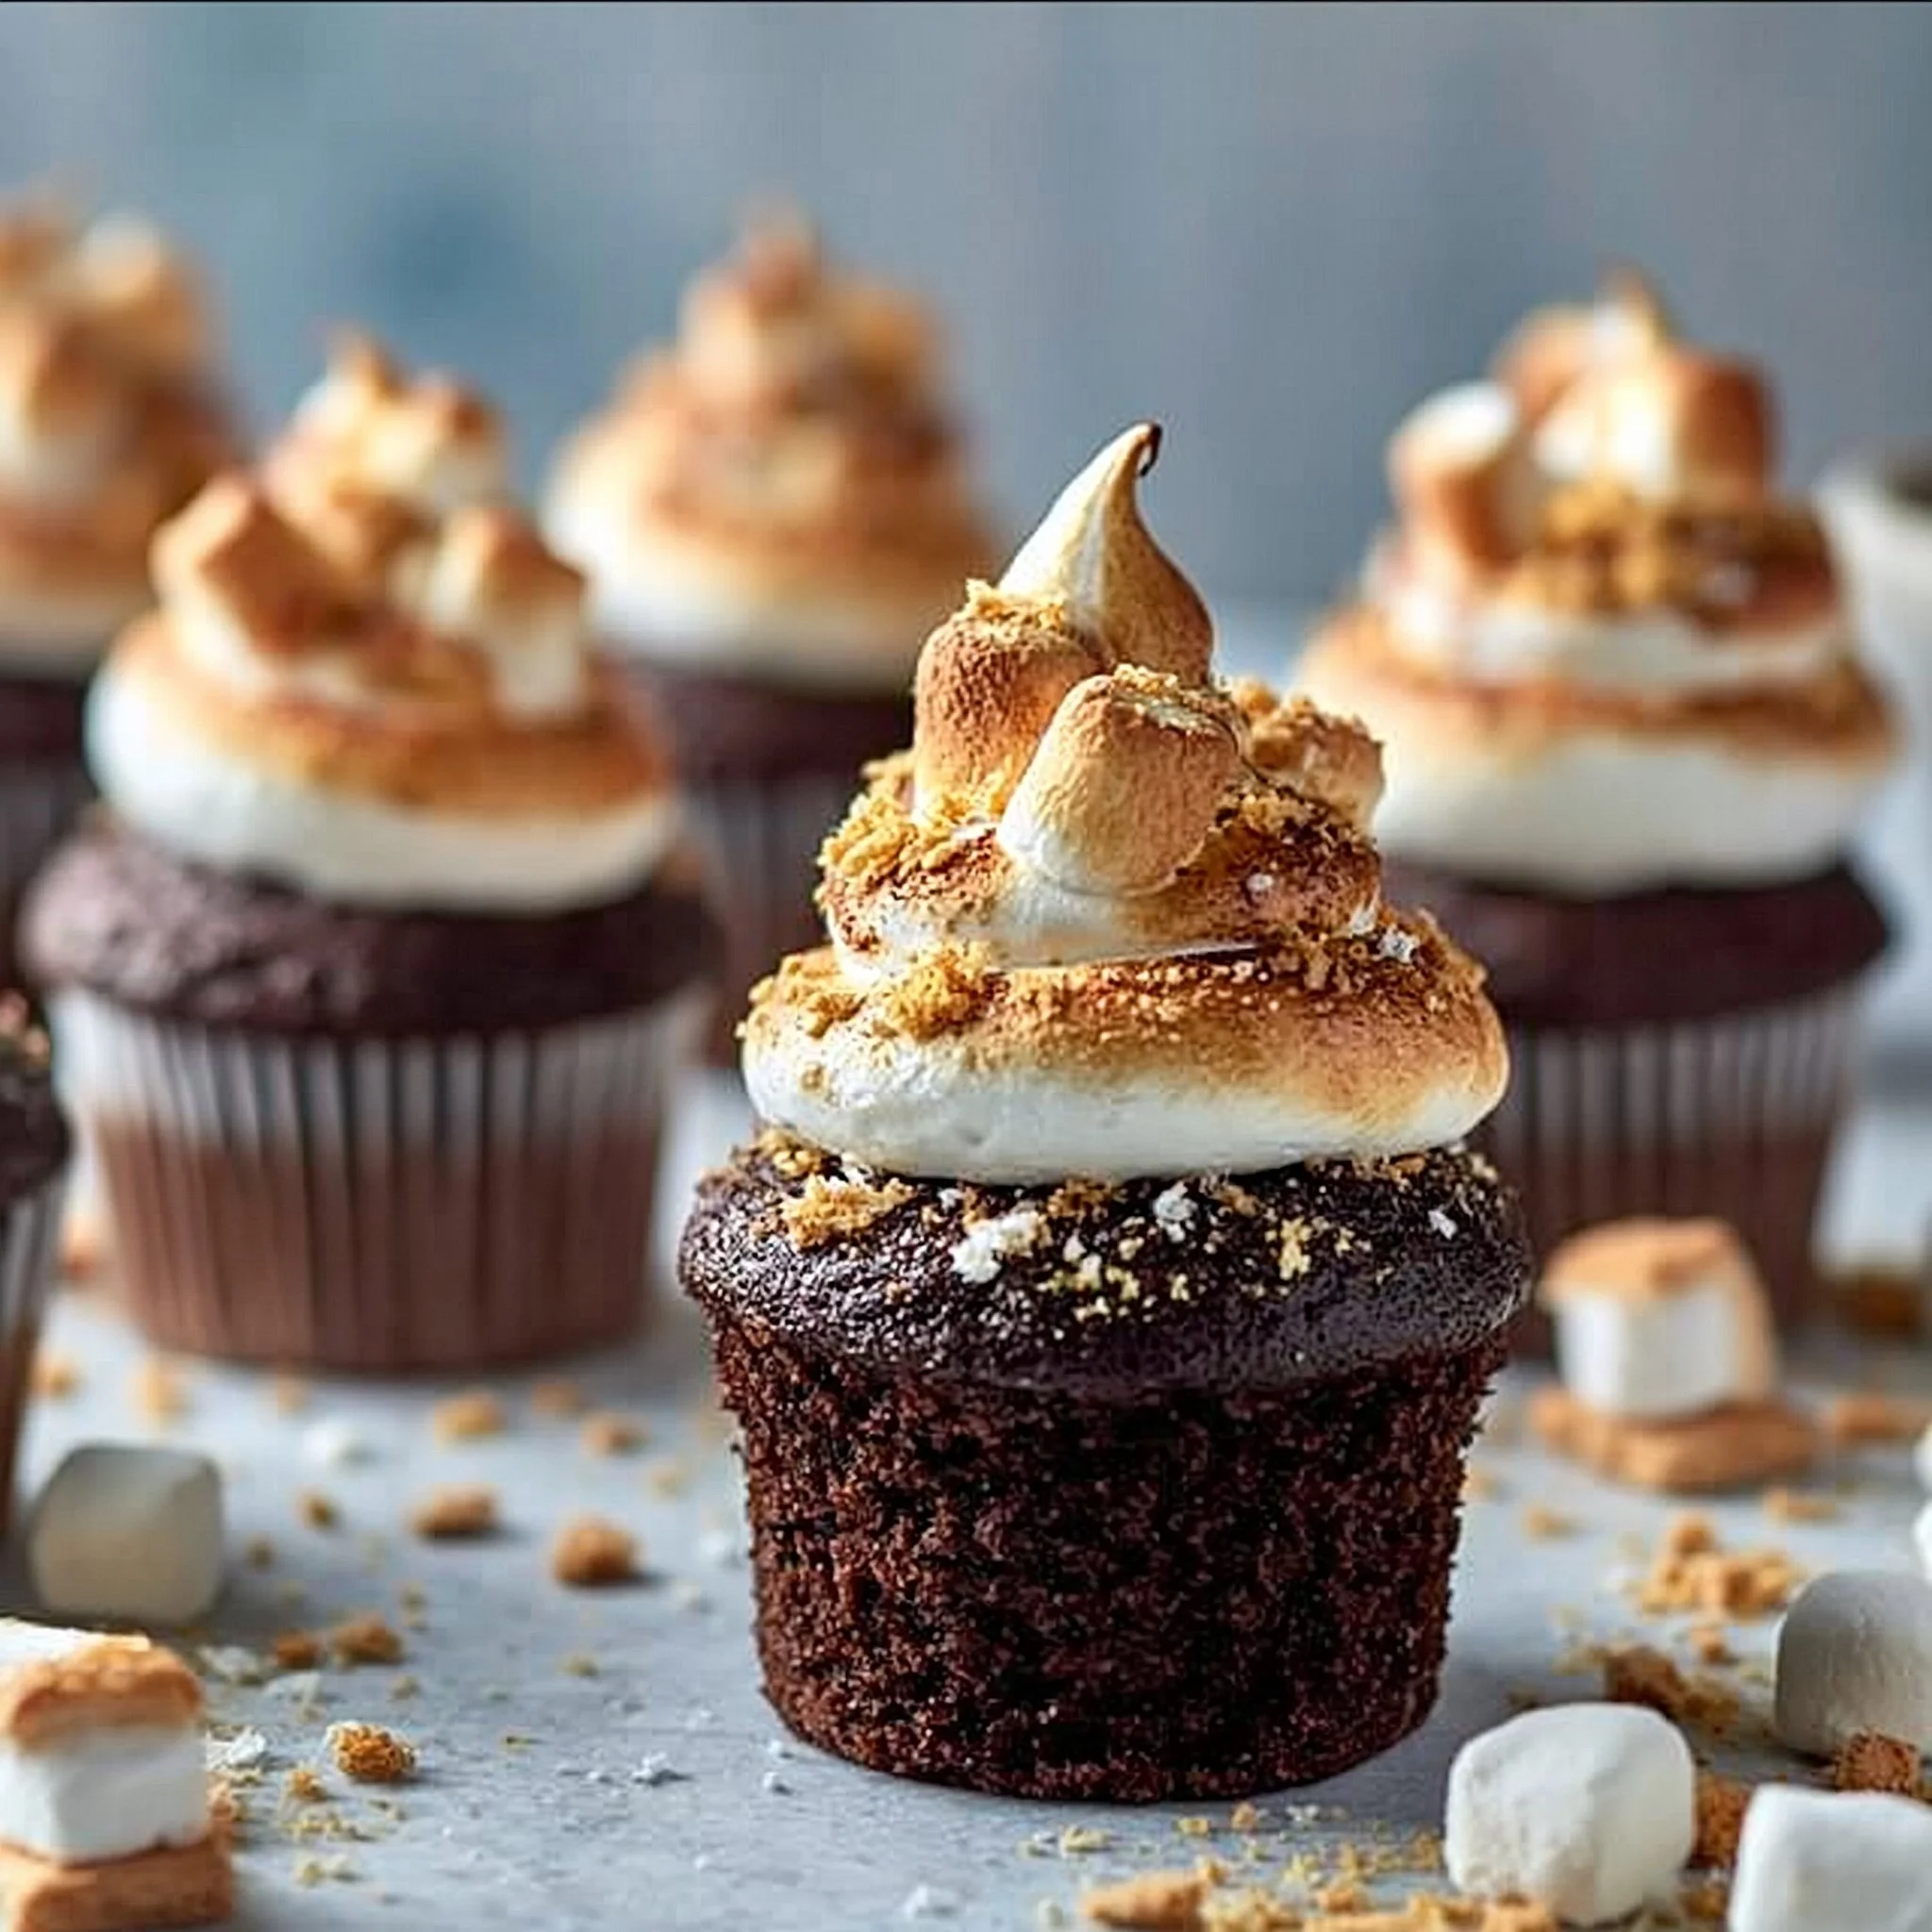
The quickest way to make a batch of cupcakes feel like a full-on event is to give them a real crust and a towering top. These Homemade S’mores Cupcakes do both: a buttery graham cracker base that actually stays crisp, a cocoa-dark cupcake that bakes up soft, and a glossy marshmallow frosting you can torch into peaks and swirls.
If you already love my moist chocolate cupcakes, this one’s in the same family—deep chocolate flavor without being heavy—only now you get that sandy-sweet graham crunch underneath and a marshmallow cap that tastes like warm vanilla sugar.
Why You’ll Love This Recipe
- The graham crust is pre-baked for 6 minutes, so it sets into a toasty, cookie-like layer instead of turning soggy under the batter.
- Dutch-processed cocoa gives the cupcakes a darker color and smoother chocolate flavor (less sharp, more brownie-like).
- The hot water blooms the cocoa, making the batter look almost glossy and keeping the crumb tender.
- Marshmallow frosting is made Swiss-meringue style (warmed egg whites + sugar), so it turns shiny and stable with clean, pipeable peaks.
- Optional espresso powder doesn’t make the cupcakes taste like coffee—it just nudges the chocolate forward.
- The finished cupcakes look bakery-tall with almost no extra effort: crust + scoop batter + pile on frosting.
The Story Behind This Recipe
I wanted the “real s’mores” contrast—crisp graham, dark chocolate, and a marshmallow top you can toast—without adding fillings or extra components, so the crust does the crunch work and the frosting does the campfire job.
What It Tastes Like
These land on the sweet-but-not-toothache side: the cupcake itself is chocolatey and lightly bitter (thanks, cocoa), the graham base adds a caramel-y brown sugar note, and the marshmallow frosting tastes like warm vanilla with a fluffy, satin texture. Torch it and you’ll get that faintly toasted aroma and a little chew on the outside, while the inside stays cloud-soft.
Ingredients You’ll Need
The graham crust is just crumbs, melted butter, brown sugar, and salt—simple, but the ratio makes it pressable and crisp after a quick bake. For the cupcakes, measure the flour carefully (too much can make them dense), and don’t skip the buttermilk—it’s what keeps the crumb soft with the cocoa and baking soda. For the frosting, room-temperature egg whites whip higher and faster; warming them with the sugar ensures the frosting turns smooth and not grainy.
Graham Cracker Crust
- 1 ⅓ cup graham cracker crumbs
- 6 tablespoons unsalted butter (melted)
- ¼ cup light brown sugar
- ¼ teaspoon salt
Chocolate Cupcakes
- 1 cup all-purpose flour (well measured)
- ⅓ cup Dutch-processed cocoa powder
- Pinch of espresso powder (optional)
- 1 teaspoon baking soda
- 1 teaspoon salt
- 3/4 cup granulated sugar
- ½ cup vegetable oil
- ½ cup buttermilk
- 1 large egg (room temperature)
- ½ cup hot water
- 1 teaspoon vanilla extract
Marshmallow Frosting
- 4 eggs whites (room temperature)
- 1 cup granulated sugar
- ½ teaspoon cream of tartar
- ½ teaspoon vanilla extract
- Pinch of salt
How to Make Homemade S’mores Cupcakes
Prep the pan and oven.
Heat the oven to 300°F and line a cupcake pan with liners. Having the liners in place matters here—the graham crust gets pressed right into them.Mix and press the graham crust.
In a small bowl, stir together the graham cracker crumbs, melted butter, brown sugar, and salt until the mixture looks like damp sand and holds together when you pinch it.
Spoon a little into each liner and press gently into an even layer. Use the back of a spoon to smooth it without compacting it into a rock-hard puck.Pre-bake the crust (so it stays crisp).
Bake the crusts for about 6 minutes. You’re looking for a slightly darker, toasty smell—nothing dramatic, just “set.” Let the pan cool a bit while you make the batter.Whisk the dry ingredients.
In a large bowl, whisk together the flour, Dutch-processed cocoa, baking soda, salt, and granulated sugar until the cocoa is evenly distributed (no dark streaks). This helps the cupcakes bake up evenly.Add the wet ingredients—gently.
Stir in the egg, vegetable oil, and buttermilk until just combined. The batter will be thick at this stage. Stop mixing as soon as you don’t see dry pockets—overmixing can make the cupcakes lose that soft, springy bite.Bloom the cocoa with hot water.
Stir the vanilla (and the optional espresso powder) into the hot water, then pour it into the bowl. Mix until smooth; the batter should loosen and look darker and more glossy.Fill the liners.
Spoon the batter over the baked crusts until the liners are a little over halfway full. An ice cream scoop makes portioning fast and keeps the cupcakes even, which matters for bake time.Bake.
Bake for about 17 minutes, until a toothpick inserted in the center comes out clean. The tops should look set (not wet) and spring back lightly when you touch them. Cool in the pan for a few minutes, then move to a wire rack and cool completely before frosting.Start the marshmallow frosting (warm the whites + sugar).
In a heatproof bowl, combine the egg whites, sugar, cream of tartar, vanilla, and a pinch of salt. Set the bowl over simmering water and whisk constantly until the mixture feels warm and the sugar has dissolved. (Rub a little between your fingers—if it feels gritty, keep whisking.)Whip to stiff, glossy peaks.
Transfer to a mixer and beat on low, then gradually increase to high speed until you have stiff, shiny peaks. It should look thick and marshmallowy and hold its shape when you lift the whisk. Scrape the sides once or twice to catch any sneaky sugar.Frost and toast (optional).
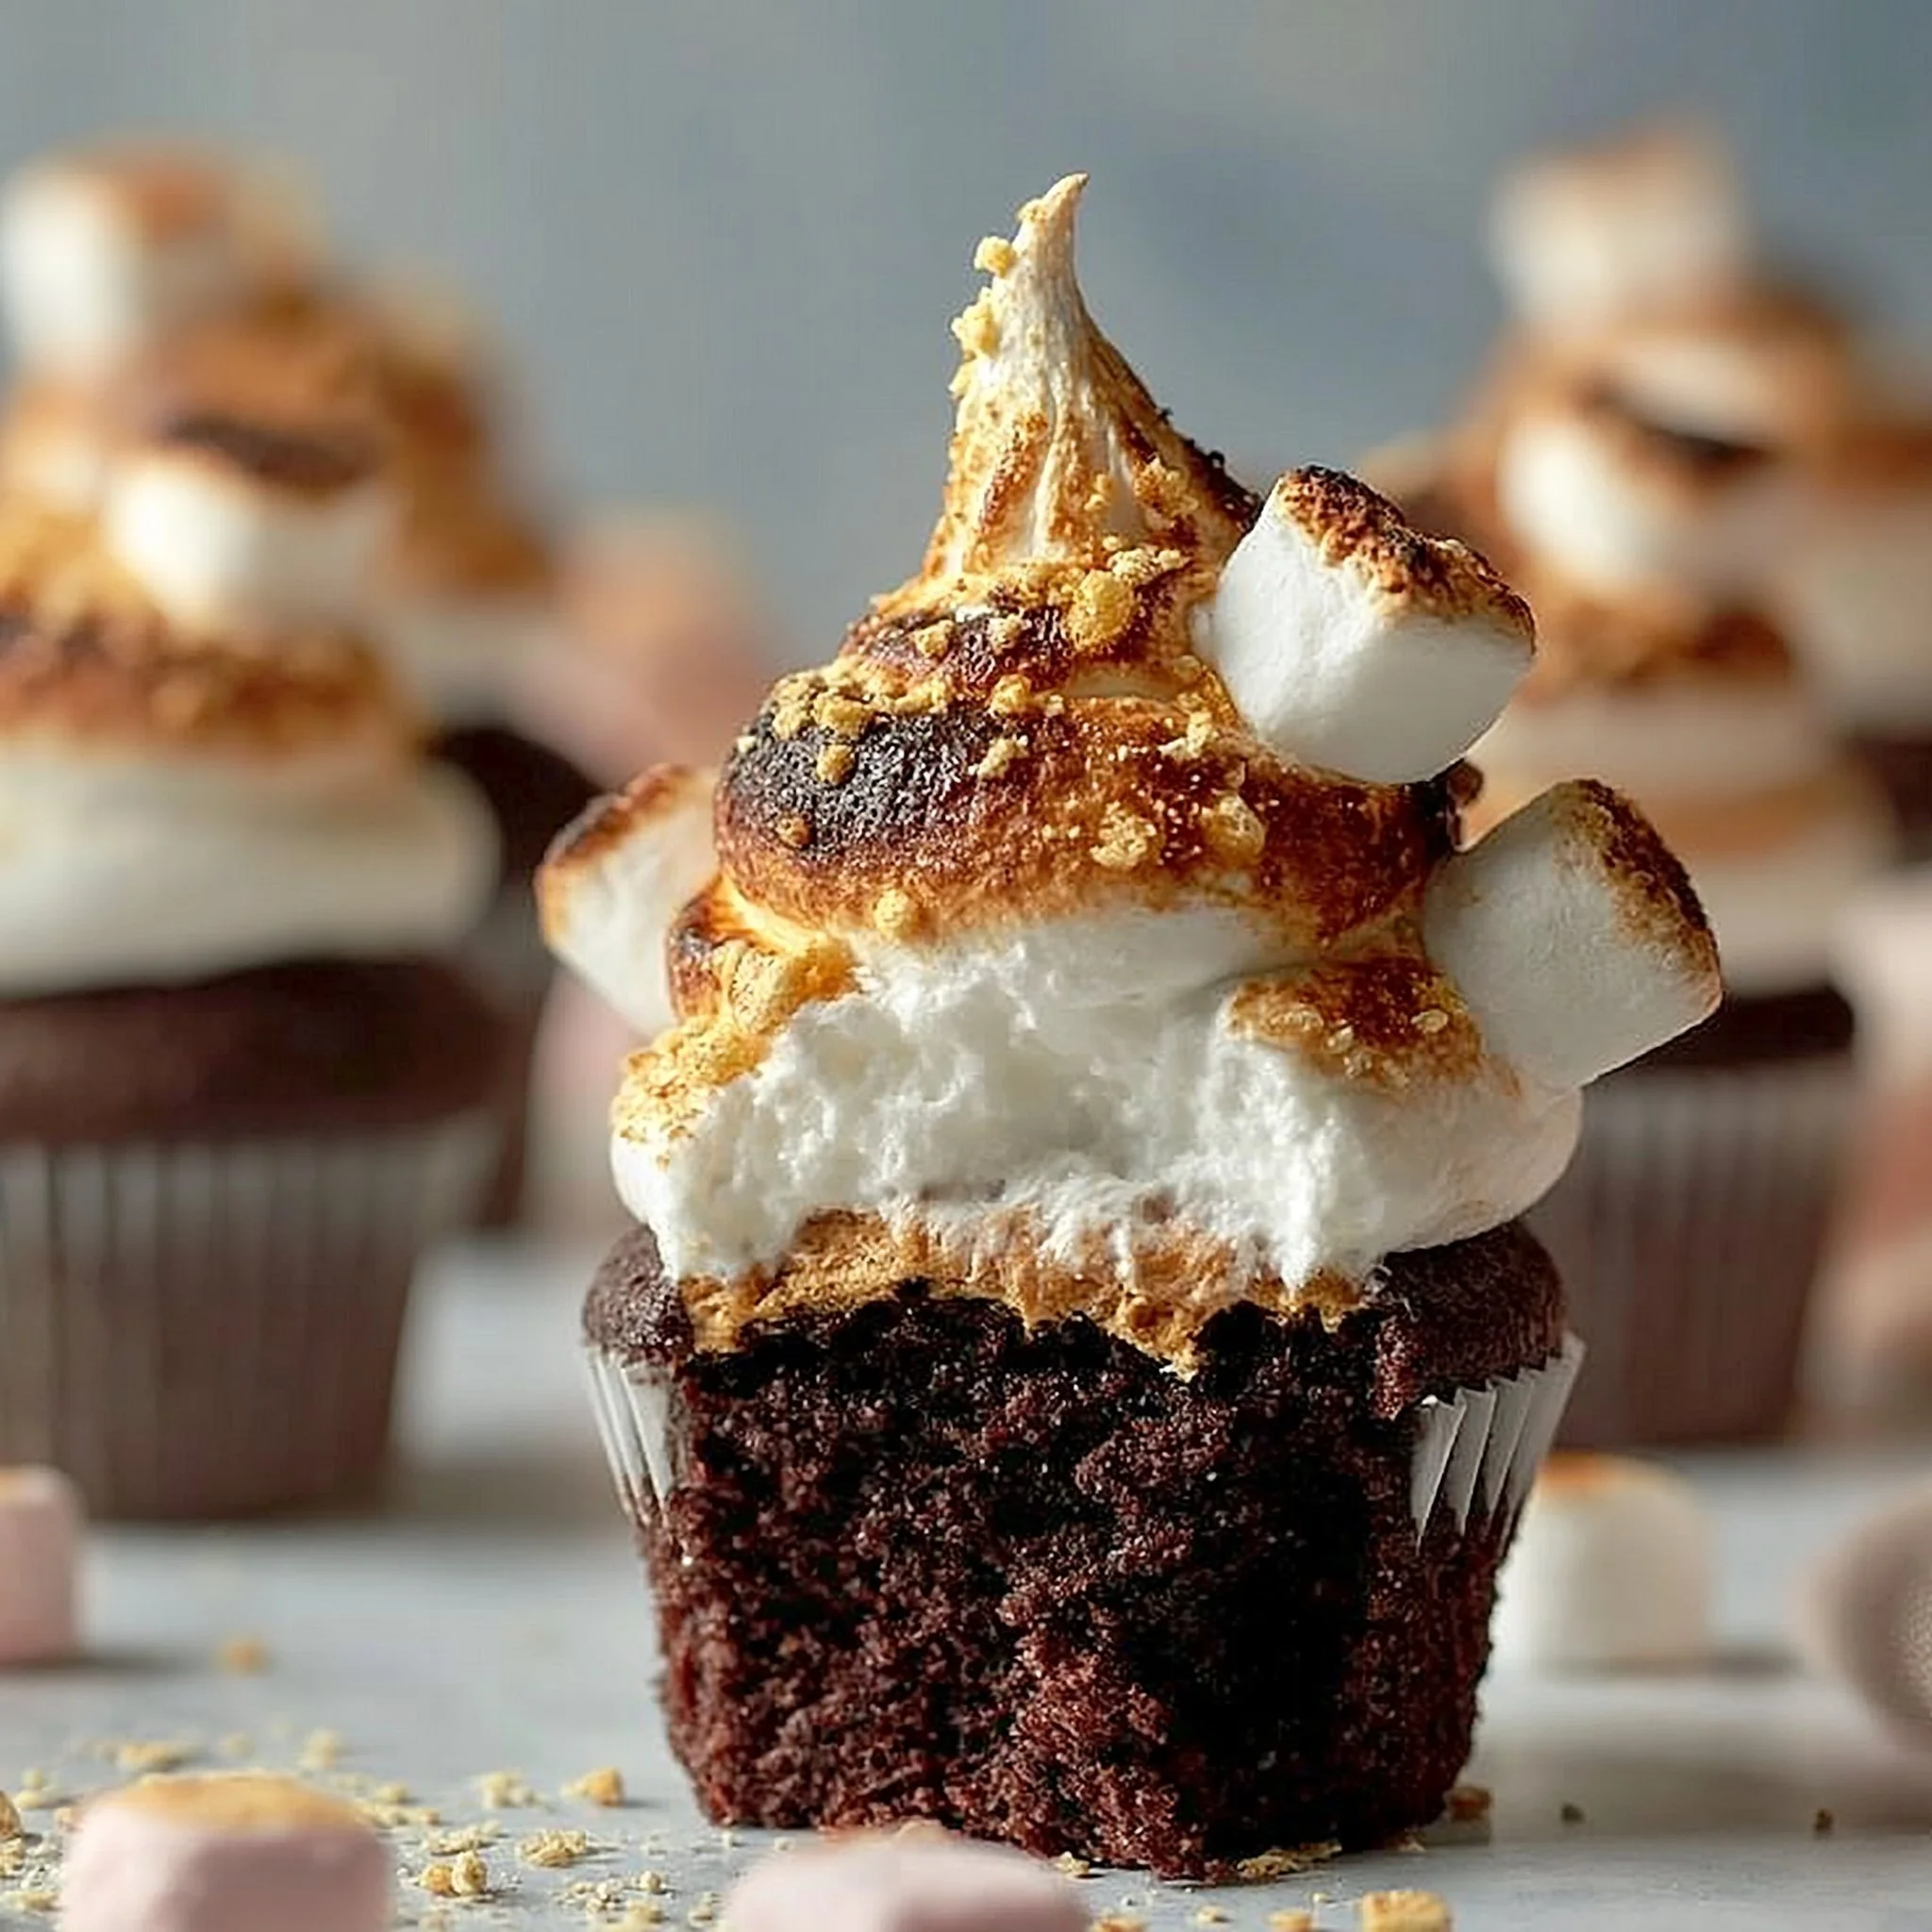
Pipe or spoon frosting generously on each cooled cupcake—make swirls, make peaks, make it rustic. If you want the classic s’mores finish, use a kitchen torch and keep the flame moving so you get even golden-brown edges without scorching one spot. No torch is totally fine; the frosting is delicious as-is.
Tips for Best Results
- Measure the flour carefully. With only 1 cup in the recipe, a heavy hand can shift the texture from tender to bready fast.
- Don’t pack the crust too hard. Press it flat, but keep it gentle—over-compressing makes the base tough instead of crisp.
- Wait until the cupcakes are fully cool before frosting. Warm cupcakes will melt the marshmallow frosting and you’ll lose those clean peaks.
- Use room-temp egg whites. They whip up faster and give you a taller, lighter frosting (especially helpful if you’re piling it high).
- Stop whisking the egg whites once the sugar dissolves. Warm and smooth is the goal—overheating can reduce volume later.
Variations and Substitutions
- Skip the espresso powder if you don’t have it; the cupcakes will still taste deeply chocolatey.
- Spoon instead of pipe for a more casual look—big swoops and peaks toast beautifully.
- If you’re into playful cupcake spreads, these fit right alongside homemade funfetti cupcakes on a party table—same easy portioning, totally different vibe.
How to Serve It
Serve these at room temperature so the graham base stays crisp and the frosting stays fluffy. If you torch the tops, I like serving them within an hour while that toasted-marshmallow aroma is still noticeable. For a cupcake lineup, pair with something fruity like banana split cupcakes or something creamy like banana cream cupcakes to balance the chocolate.
How to Store It
Because the topping is a marshmallow-style meringue, these are best the day they’re frosted. If you need to get ahead, bake the cupcakes (with crust) and cool completely, then frost closer to serving. If you do store them, keep them in the fridge to protect the frosting, and expect the graham base to soften slightly over time. Torch just before serving for the cleanest look and freshest toasted flavor.
Final Thoughts
If you love the idea of s’mores but want something neat, tall, and party-ready, this cupcake hits the sweet spot: crisp graham bottom, soft chocolate middle, and that glossy marshmallow crown you can toast to your liking.
Conclusion
If you’re curious how other bakers build their s’mores cupcake layers, this S’mores Cupcakes guide is a fun compare-and-contrast read. For another approach to marshmallow-topped cupcakes, you can also check out this S’mores Cupcakes Recipe walkthrough. And if you want more s’mores cupcake inspiration with a slightly different method, this S’More cupcake recipe is worth a look before you pick your favorite style.