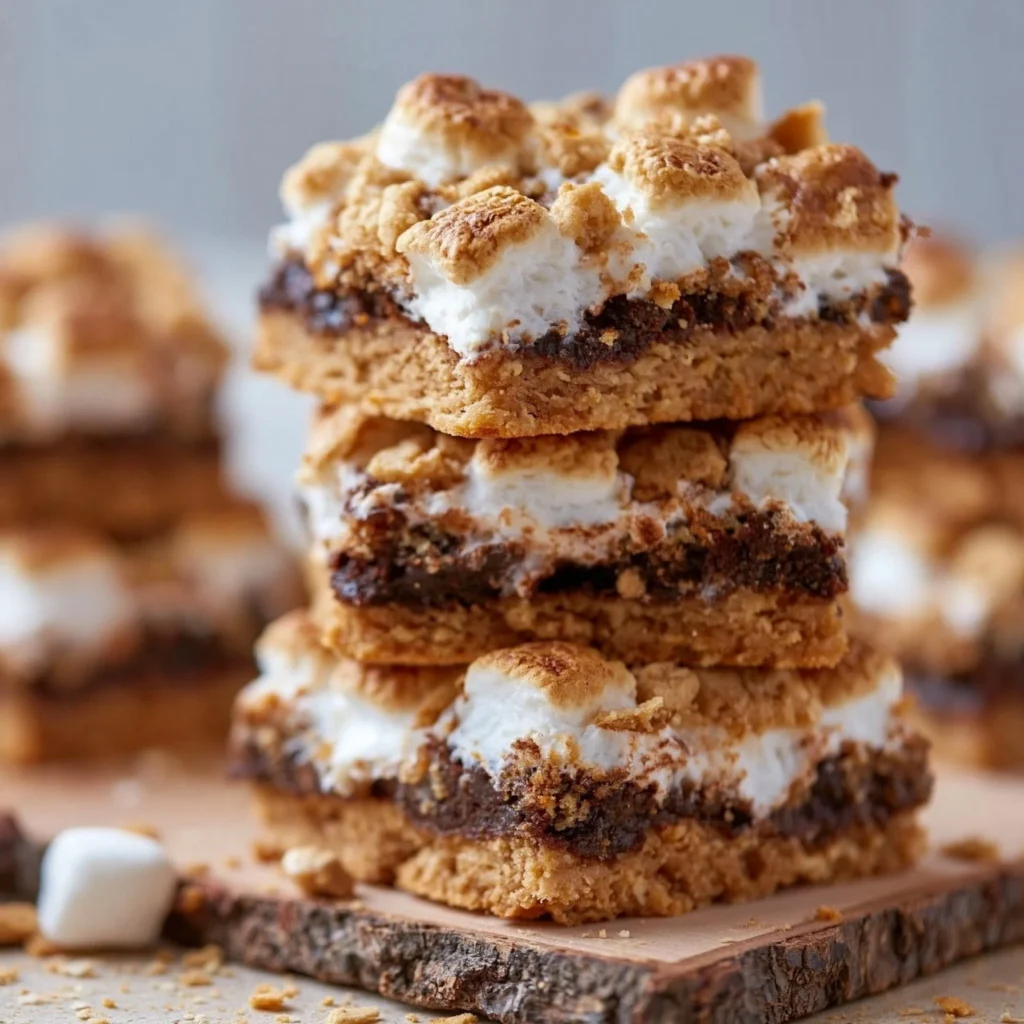
I love a dessert that looks like you fussed… but actually comes together in one bowl and a pan. These S’mores Cookie Bars are exactly that: a thick, buttery cookie base with graham cracker crumbs baked right in, a gooey marshmallow layer, and just enough chocolate to give you that classic campfire combo without leaving your kitchen. If you’re the kind of baker who bookmarks anything “bar cookie,” you’ll also probably like my blueberry cheesecake swirl cookies—same bakery-style payoff, different vibe.
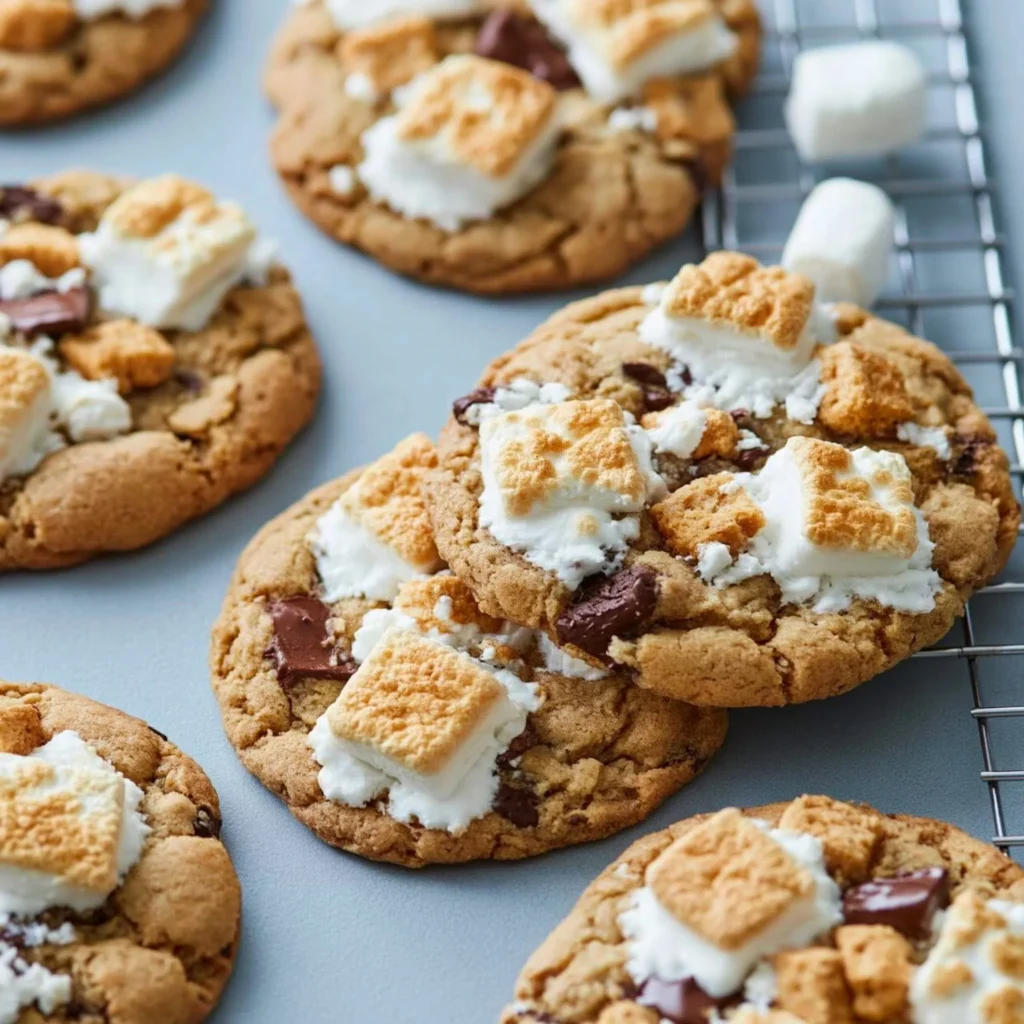
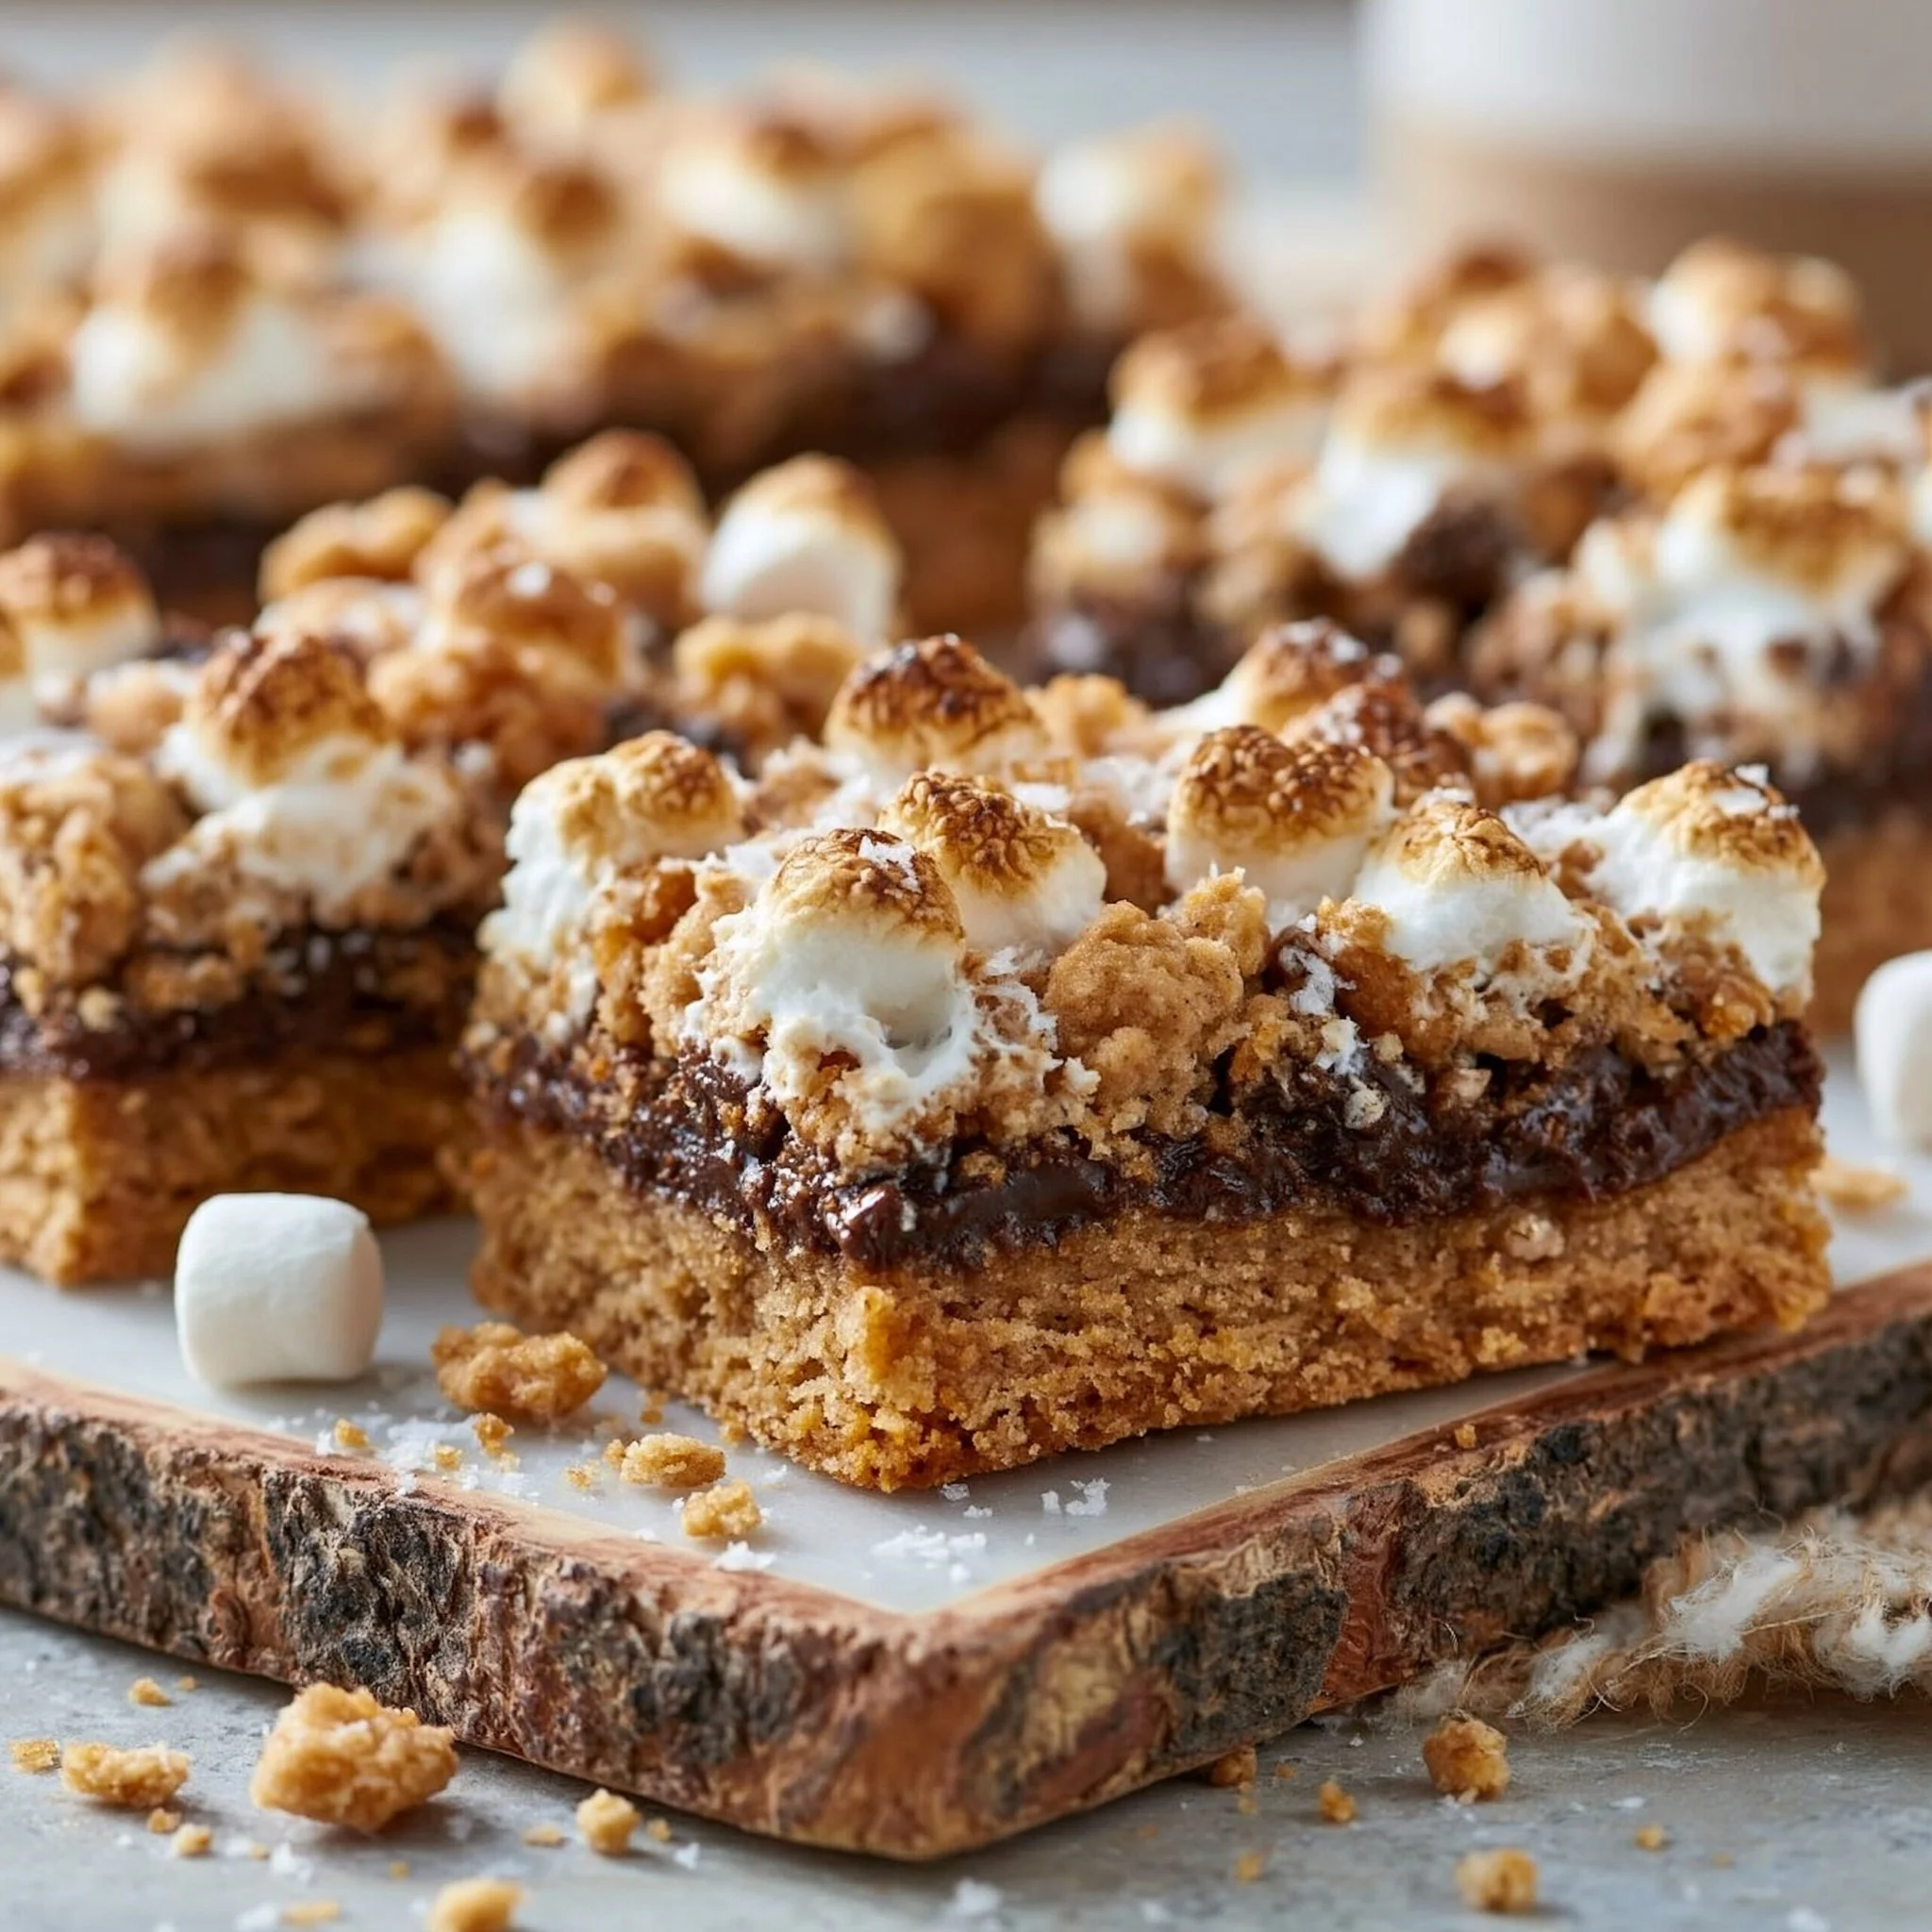
What makes these worth making right away is the texture contrast. The edges bake up golden and a little crisp, the center stays soft (not raw), and the marshmallows melt into a stretchy layer that pulls when you lift a bar. I finish the top with extra chocolate chips and mini marshmallows so they look like a bakery case treat—no frosting required.
Why You’ll Love This Recipe
- Real s’mores flavor without the mess: graham cracker crumbs are mixed into the dough, so every bite tastes “toasted-cracker” sweet instead of plain cookie.
- Two-layer build that actually holds together: pressing two-thirds of the dough into the pan creates a sturdy base for the marshmallow layer.
- Mini marshmallows melt evenly: they soften into a gooey layer instead of leaving huge air pockets (and they’re easier to slice through than big marshmallows).
- Tops itself beautifully: that final handful of chocolate chips and marshmallows bakes into a bumpy, tempting surface—no decorating skills needed.
- Feeds a crowd cleanly: baked in a 9×13 pan and sliced into 16 bars, it’s an easy potluck or party dessert.
- Make-ahead friendly: the bars slice best once fully cooled, so you can bake them earlier and serve later.
The Story Behind This Recipe
I wanted a s’mores dessert that didn’t require a torch, a campfire, or balancing chocolate on melting marshmallows—so I built it like a bakery bar cookie: thick dough, a defined marshmallow layer, and a generous top sprinkle so you can tell what it is the second you open the container.
What It Tastes Like
These are sweet (in a classic cookie-bar way), with deep caramel notes from packed brown sugar and a warm vanilla aroma the moment you cut in. The graham crumbs give the dough a sandy, toasty edge, the chocolate chips stay melty in pockets, and the mini marshmallows bake into that soft, stretchy chew that makes s’mores so satisfying—especially against the buttery, slightly crisp corners.
Ingredients You’ll Need
Softened butter is the backbone here—it needs to cream well with the brown and granulated sugars so the bars bake up thick and tender instead of dense. Graham cracker crumbs mix right into the dough for that unmistakable “cracker” flavor, and mini marshmallows create the gooey middle layer. Stick with semi-sweet chocolate chips for the right balance; milk chocolate can tip these too sweet.
- 1 cup Unsalted butter (softened)
- 1 cup Brown sugar (packed)
- 1/2 cup Granulated sugar
- 2 large Eggs
- 1 teaspoon Vanilla extract
- 2 1/2 cups All purpose flour
- 1 teaspoon Baking soda
- 1/2 teaspoon Salt
- 1 cup Graham cracker crumbs
- 1 cup Semi sweet chocolate chips
- 1 cup Mini marshmallows
- 1/4 cup Chocolate chips (for topping)
- 1/4 cup Mini marshmallows (for topping)
How to Make S’mores Cookie Bars: 7 Irresistible Bakery Secrets
Prep the pan for clean slices.
Preheat your oven to 350°F (175°C). Line a 9×13-inch metal baking pan with parchment, leaving overhang on the long sides so you can lift the bars out later. (That overhang is your best friend for neat edges—similar to how I handle layered treats like cookie dough bark.)Cream butter + sugars until noticeably fluffy.
In a large bowl, beat the softened butter, packed brown sugar, and granulated sugar for 2–3 minutes. You’re looking for a lighter color and a texture that looks aerated and creamy—not greasy or separated.Add eggs and vanilla for a smooth, glossy batter.
Mix in the eggs one at a time, fully incorporating each before adding the next. Stir in the vanilla. The mixture should look cohesive and slightly glossy.Whisk dry ingredients separately (for even lift).
In a separate bowl, whisk together the flour, baking soda, and salt. This prevents salty or soda-heavy pockets in the final bars.Combine just until the flour disappears.
Gradually add the dry ingredients to the wet mixture and mix until just combined. Stop when you no longer see streaks of flour—the dough will be thick, like a classic chocolate chip cookie dough.Fold in graham crumbs and chocolate chips.
Fold in the graham cracker crumbs and 1 cup semi-sweet chocolate chips until evenly distributed. The dough will feel slightly more “sandy” (in a good way) from the crumbs.Layer for that true s’mores bite.
Press two-thirds of the dough evenly into the prepared pan to form the base layer. Sprinkle 1 cup mini marshmallows evenly over the dough, keeping them a little away from the edges (marshmallows love to stick and darken at the sides). Dollop the remaining dough over the top and gently spread—no need for perfection; a few peeks of marshmallow are fine.Finish the top like a bakery tray bake.
Sprinkle 1/4 cup chocolate chips and 1/4 cup mini marshmallows over the top. This gives you those visible chocolate-and-marshmallow bumps once baked—very “grab me” on a dessert table (the same reason I’m generous with mix-ins on butter pecan chocolate chip cookies).Bake until golden at the edges and softly set in the center.
Bake for 25–30 minutes. The edges should be golden brown, and the center should look set but still a little soft—think “puffed and no longer wet,” not fully firm. Overbaking is the fastest way to lose that gooey marshmallow pull.Cool completely before slicing (seriously).
Cool in the pan for at least 1 hour. Then lift out using the parchment overhang and slice into 16 bars. If you cut too early, the marshmallow layer will drag and the bars can look messy (still tasty, just not as clean).
Tips for Best Results
- Use truly softened butter. If it’s still cool and firm, the butter won’t cream properly and your bars can bake up heavier instead of thick-tender.
- Keep marshmallows off the edges. Leaving a small border helps prevent sticky, over-browned marshmallow “glue” on the pan sides.
- Don’t over-spread the top layer. Dolloping and gently nudging the remaining dough is enough; pressing too hard can smear marshmallows into the dough and reduce the gooey layer.
- Watch the center, not just the timer. At 25 minutes, check for a center that’s set but soft; if the middle still looks shiny-wet, give it a few more minutes.
- Cool for clean bars. That one-hour cool time isn’t optional if you want neat slices and defined layers (it’s the same patience game as with crème brûlée cookies when you want clean texture).
Variations and Substitutions
- Make them more chocolate-forward: use the full amount of topping chips (don’t skimp)—it gives you more melty puddles on top without changing the structure.
- Dial up the “s’mores” look: scatter the topping marshmallows a little heavier in the center so they melt into bigger patches (keeping edges clearer for easier removal).
- Softer bars: bake closer to 25 minutes for a slightly softer middle; go closer to 30 for firmer slices and deeper golden edges.
How to Serve It
Serve these once fully cooled so the marshmallow layer has time to settle. I like them cut into 16 generous bars for a party tray, or into smaller rectangles if you’re pairing with other sweets (they’re rich). They’re especially good slightly warm—just enough to make the chocolate soft—alongside coffee or a cold glass of milk. If you’re bringing them somewhere, the extra chocolate chips and marshmallows on top make them instantly recognizable.
How to Store It
Store the bars tightly covered at room temperature so the cookie base stays soft. For the cleanest slices, you can bake them ahead, cool completely, and keep them in the pan until you’re ready to lift and cut. If you want the top marshmallows to look their best, avoid stacking the bars directly on top of each other—those mini marshmallows can compress and stick.

Final Thoughts
If you want a s’mores-style dessert that’s sturdy enough to pack, pretty enough to serve, and still gives you that gooey marshmallow pull, these bars hit the mark—no special tools, no fussy steps, just smart layering and a good bake.
Conclusion
If you’re in a s’mores mood, it’s fun to compare formats—these bars are thick and sliceable, while S’mores Cookies from Alaska from Scratch lean more like classic cookies. For a deeper dive into what makes cookies stay chewy and soft, I also like this take on the secret to the best chewy chocolate chip cookies. And if stuffed cookies are more your thing than bar cookies, this S’mores Cookies Recipe is a great alternative style to try next.