The Memory Behind This Treat
The first time I baked these Red Velvet Sugar Cookies, it was a snowy Valentine’s Day evening. My husband and I were snowed in, and the world outside seemed wrapped in a cozy blanket. We decided to make the most of our time together by baking something special. Red velvet felt like the perfect choice—vibrant and romantic. As the cookies baked, the kitchen filled with the sweet scent of vanilla and cocoa, enveloping us in warmth and anticipation.
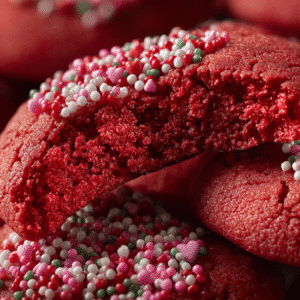
These cookies quickly became our little tradition. Every Valentine’s Day since, we whip up a batch to share with our neighbors and friends. There’s something magical about the way the red color and festive sprinkles bring joy to everyone who receives them. They’re not just a treat for the taste buds; they’re a token of love and connection. Plus, they’re so easy to make, even on a bustling day filled with Valentine’s events.
I remember one year, adding a bit of extra cocoa by accident. The result was unexpectedly delightful, giving the cookies a slightly richer chocolate flavor. This little mishap taught me that even small mistakes can lead to wonderful surprises in the kitchen. So, when you embark on your journey with these cookies, know that it’s about more than just following a recipe—it’s about creating moments and memories that are as sweet as the cookies themselves.
How To Make It (Mix & Ingredients)
Creating these delightful Red Velvet Sugar Cookies is a breeze, and your sweetheart will adore the effort you put into making them! First, you’ll want to preheat your oven to 350°F (175°C) and get those baking sheets lined with parchment paper. Trust me, this little step saves you from sticky situations later on.
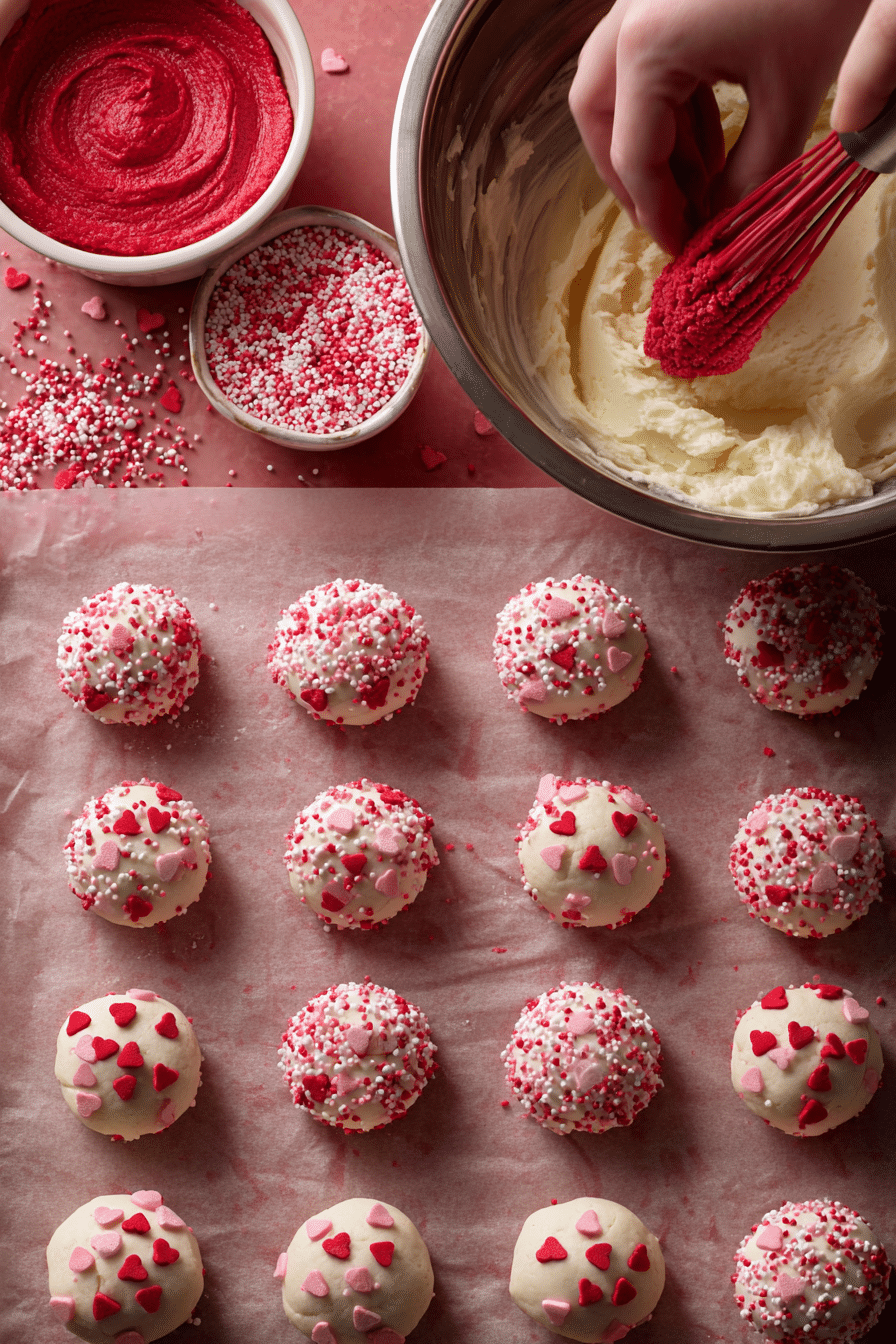
Instructions Process of Red Velvet Sugar Cookies
Begin by whisking together your dry ingredients—all-purpose flour, unsweetened cocoa powder, baking powder, and salt—in a medium bowl. This ensures everything is evenly distributed, so your cookies bake up perfectly every time. Set this aside because we’re diving into the buttery goodness next.In a large bowl, cream the softened butter with granulated sugar until it’s light and fluffy. This part is key! It’s what gives your cookies that melt-in-your-mouth texture. Beat in the egg, vanilla extract, and a generous tablespoon of red food coloring. If you’re like me and tend to go overboard with the color, don’t worry—a little extra red never hurt anyone! Gradually mix in the dry ingredients until just combined. Scoop tablespoon-sized balls of dough onto your prepared baking sheets, flatten them slightly, and sprinkle with festive Valentine-themed sprinkles. Bake for 10-12 minutes, or until the edges are just set. Let them cool, then share with your favorite person—or, let’s be real, enjoy a few yourself!
Make-Ahead & Storage
Planning ahead for a special occasion like Valentine’s Day? These Red Velvet Sugar Cookies are perfect for preparing in advance. You can easily make the dough a day or two before baking. Simply prepare the dough as instructed, cover it tightly with plastic wrap, and store it in the refrigerator. When you’re ready to bake, let the dough sit at room temperature for about 10-15 minutes to make it easier to scoop and shape.
Once baked, these cookies store beautifully. Keep them in an airtight container at room temperature for up to 5 days. This not only preserves their delightful chewiness but also makes them convenient for last-minute gifting. If you want to extend their shelf life, you can freeze them. Simply layer the cookies between sheets of parchment paper in a freezer-safe container. They’ll keep for up to 3 months, letting you enjoy a taste of romance whenever the mood strikes.
If you’re freezing the dough instead of baked cookies, roll it into balls first. This way, you can bake just a few at a time whenever you want a fresh batch. Just add an extra minute or two to the baking time if they’re going straight from the freezer to the oven. These little steps ensure that your Red Velvet Sugar Cookies are always ready to impress!
Best Ingredients & Party Variations
Choosing the best ingredients can make all the difference in your Red Velvet Sugar Cookies. Start with high-quality unsalted butter—it provides a rich, creamy base for your cookies. Don’t skimp on the cocoa powder either; a high-quality, unsweetened variety will enhance the red velvet flavor, making it deeper and more chocolatey. For that vibrant red hue, opt for a gel-based red food coloring. It’s more concentrated, so you’ll need less, and it won’t alter the texture of your dough. Lastly, top your cookies with Valentine-themed sprinkles. They add a delightful crunch and a festive touch that’s perfect for any romantic occasion.
Now, let’s talk about some delightful variations to make these cookies the star of your party. If you’re feeling adventurous, try adding a teaspoon of espresso powder to the dry ingredients. It boosts the chocolate flavor without overpowering the classic red velvet taste. For those who love a bit of tanginess, incorporate cream cheese chips into the dough for a twist that nods to the traditional red velvet cake frosting. Hosting a themed gathering? Shape your cookies into hearts before baking for an extra touch of love.
These cookies aren’t just for Valentine’s Day. By swapping the sprinkles for colorful candy-coated chocolates or edible glitter, you can easily adapt them to fit any celebration. Whether you’re sharing them with a sweetheart or serving them at a festive soiree, these Red Velvet Sugar Cookies are sure to enchant all who taste them.

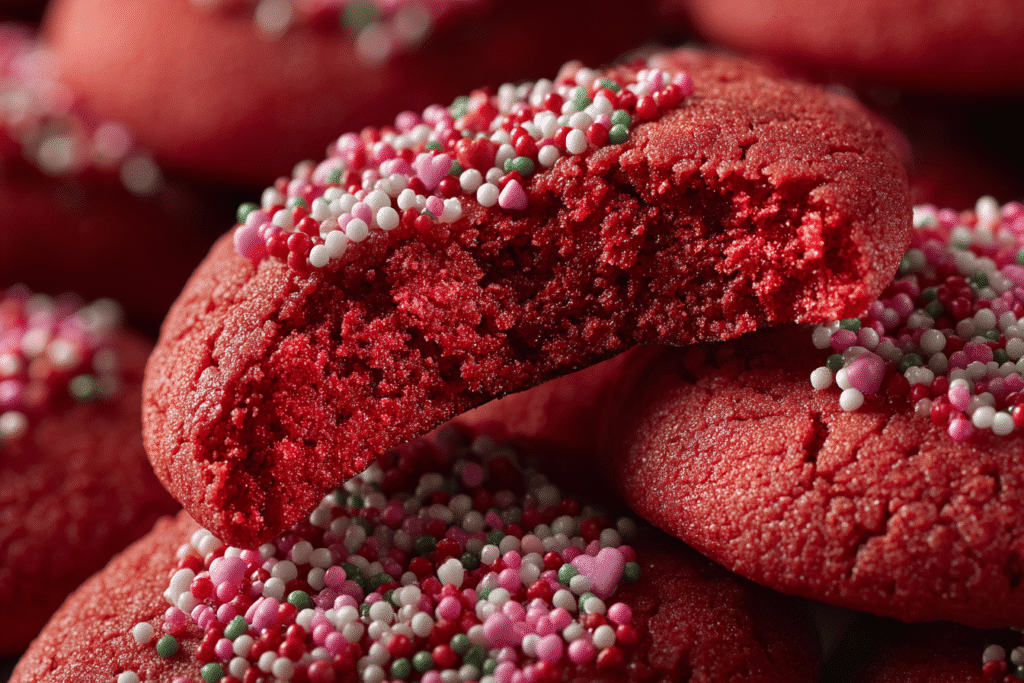
Serving of Red Velvet Sugar Cookies
Conclusion
Baking these Red Velvet Sugar Cookies is like wrapping a little love note in every bite. Whether you’re making them for a special occasion or just because you want to brighten someone’s day, these cookies offer a delightful way to connect with those you care about. The vibrant color, soft texture, and subtle chocolate flavor create a moment of pure bliss, perfect for sharing.
I hope you find as much joy in baking these cookies as I do. They are a testament to how a simple recipe can bring people together and create lasting memories. If you haven’t already, gather your ingredients, preheat that oven, and give these a try. I promise, your sweetheart—and your taste buds—will thank you.
For more delicious recipes like this, follow us on social media! Let’s keep filling our kitchens with warmth and sweetness together.
Can I use natural food coloring for these cookies?
Absolutely! You can substitute natural food coloring in your Red Velvet Sugar Cookies if you prefer. Keep in mind that the natural option might produce a **less vibrant red**, but the taste and texture will remain just as delightful. Using plant-based dyes, like beet juice, can give you a more subdued shade while keeping it all-natural. It’s a great choice if you’re looking to avoid synthetic ingredients.
How should I store Red Velvet Sugar Cookies?
To keep your Red Velvet Sugar Cookies fresh, store them in an **airtight container at room temperature** for up to 5 days. If you need to keep them longer, you can freeze the cookies for up to 2 months. Just make sure they’re fully cooled before freezing to maintain their texture. When ready to enjoy, let them thaw at room temperature and they’ll taste just as delicious as the day you baked them.
Recipe
Red Velvet Sugar Cookies
Ingredients
Ingredients
- 2 1/4 cups all-purpose flour
- 1/4 cup unsweetened cocoa powder
- 1 teaspoon baking powder
- 1/2 teaspoon salt
- 3/4 cup unsalted butter softened
- 1 cup granulated sugar
- 1 large egg
- 1 tablespoon red food coloring
- 1 teaspoon vanilla bean paste
- Valentine-themed sprinkles for decoration
Instructions
- Preheat your oven to 350°F (175°C) and line two baking sheets with parchment paper.
- In a medium bowl, whisk together flour, cocoa powder, baking powder, and salt; set aside.
- In a large bowl, cream the butter and sugar together until light and fluffy.
- Add the egg, vanilla bean paste, and red food coloring to the butter mixture, beating until combined.
- Gradually add the dry ingredients to the wet ingredients, mixing until just combined.
- Scoop tablespoon-sized balls of dough onto the prepared baking sheets, flatten slightly, and top with sprinkles. Bake for 10-12 minutes, or until edges are set. Cool before serving.
Notes
- Store baked cookies in an airtight container for up to 5 days.