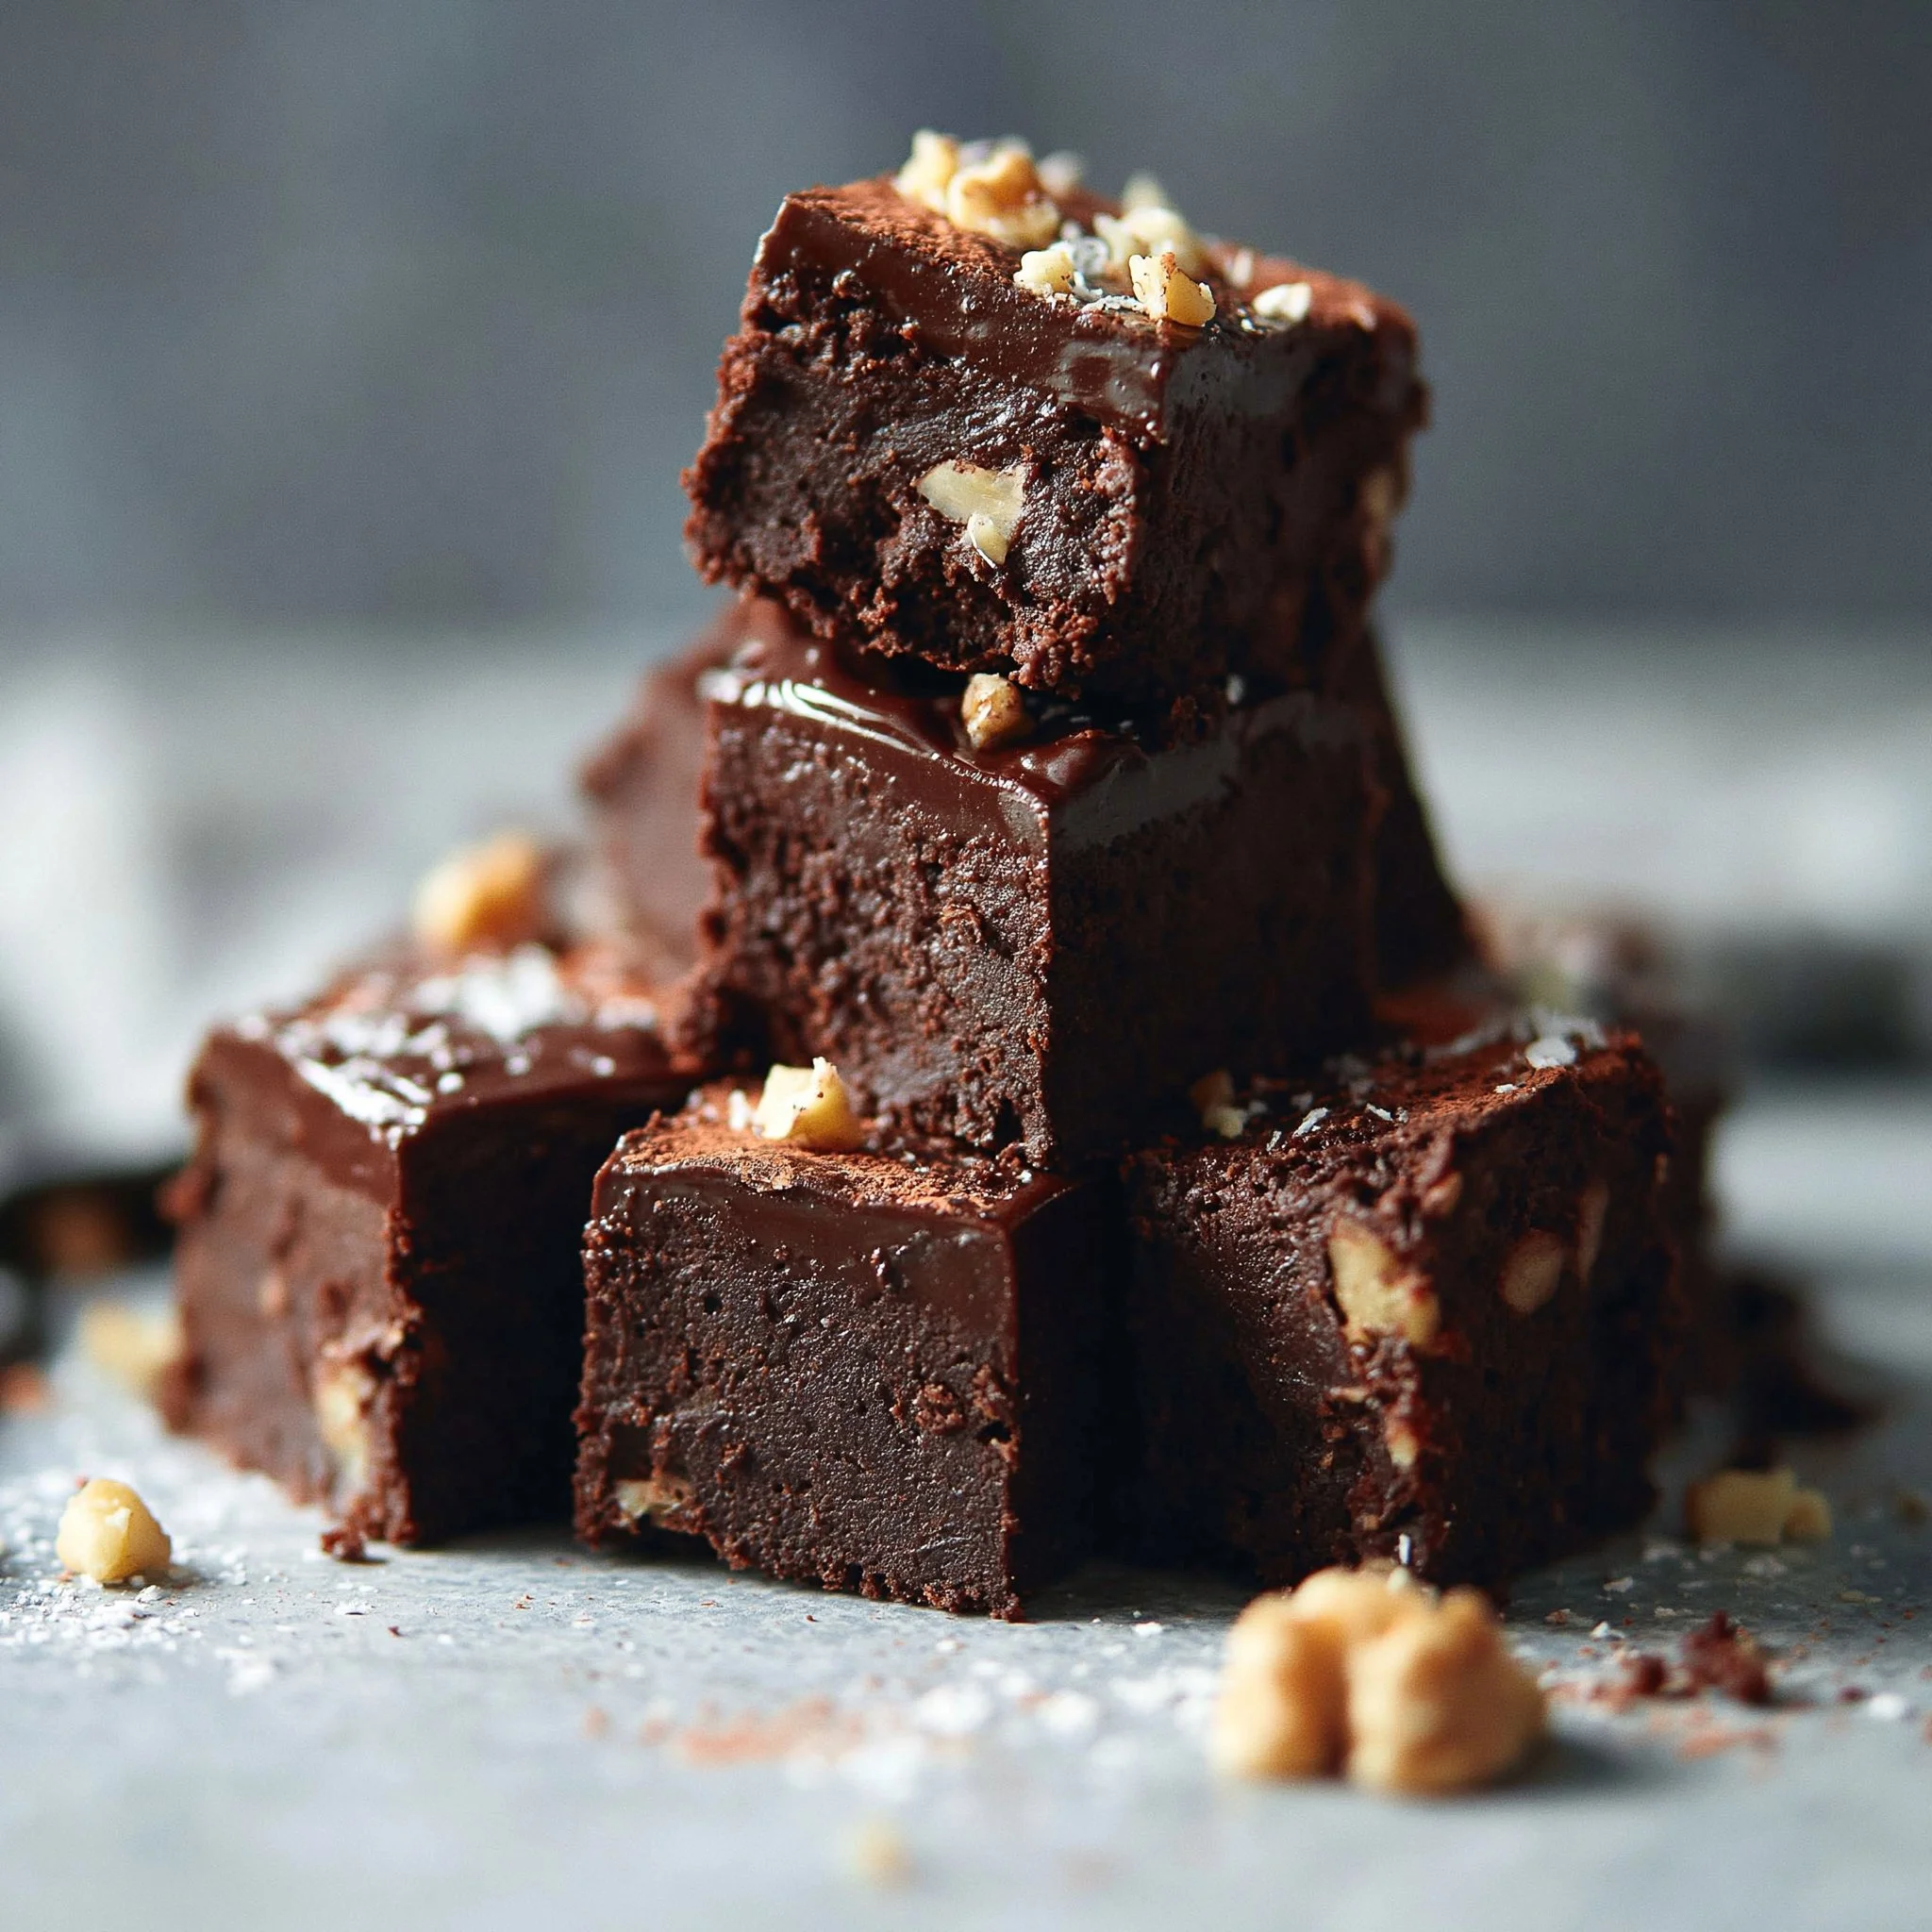
Some days you want a brownie without turning on the oven, hauling out a mixer, or waiting for floury batter to bake through. These raw chocolate brownies are my answer: a dense, fudgy walnut-date base that presses into the pan like cookie dough, topped with a glossy chocolate layer that sets up in the fridge.
What makes them worth it is the contrast. The base tastes like deep cocoa and toasted nuts with that natural caramel sweetness from Medjool dates, while the topping snaps just slightly when cold and melts fast on your tongue. If you’re into no-bake bars, you’ll also appreciate how cleanly these slice after a good chill—same satisfying vibe as my no-bake chocolate-covered brownies, but with a more substantial, nutty chew.
Why You’ll Love This Recipe
- The base is one-bowl (food processor) simple: walnuts, dates, cocoa, vanilla, and salt turn into a sticky “dough” in minutes.
- Real brownie energy without baking: dense, fudgy texture with a rich cocoa aroma the moment you open the processor.
- The optional walnut chunks add crunchy pockets that make each bite feel more like a classic brownie with mix-ins.
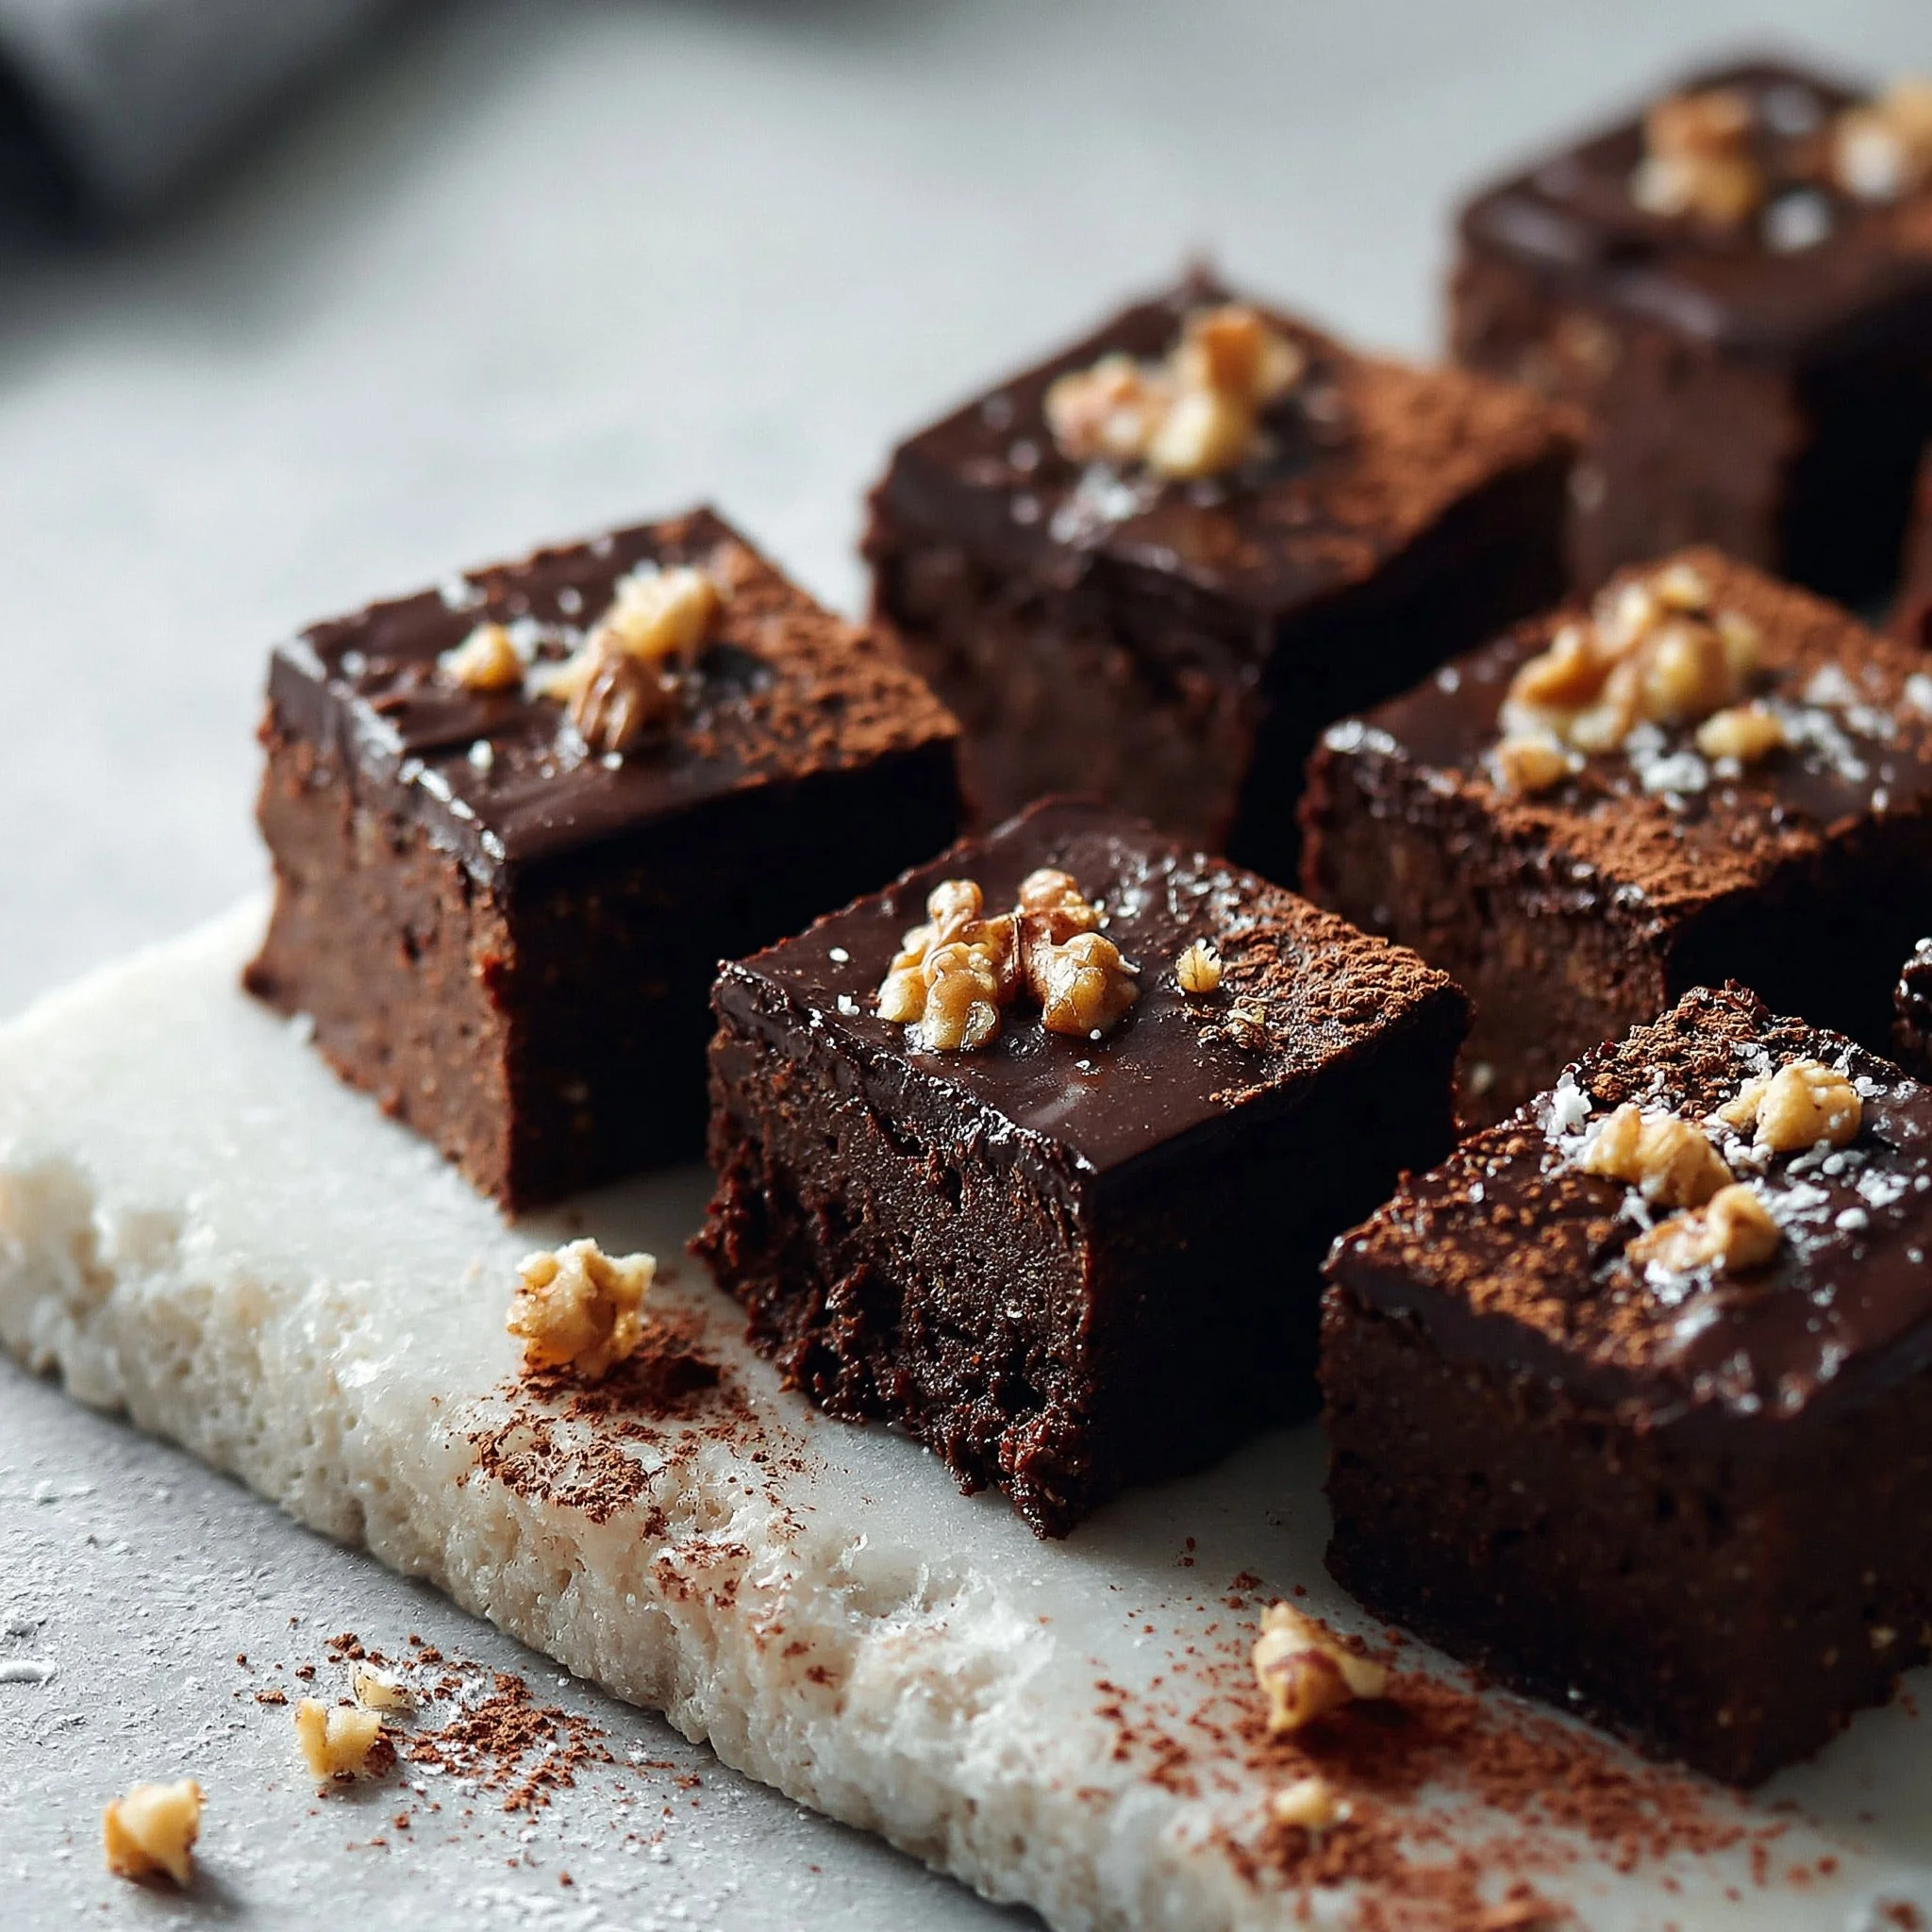
- The topping sets into a smooth, shiny layer that makes these look polished on a plate (and slices more neatly).
- Make-ahead friendly: they’re actually better after a full chill, when the top is firm and the base has settled.
- Great straight-from-the-fridge treat when you want something sweet but not frosting-sweet—the cocoa keeps it grounded.
The Story Behind This Recipe
I developed this version after wanting a raw brownie that didn’t taste like “health food”—just chocolate-forward, fudgy, and sliceable—with a proper top layer for that finished brownie look (if you like layered brownies, you’d probably also enjoy my chocolate mousse brownies, though these are a totally different no-bake lane).
What It Tastes Like
These are deeply chocolaty with a mellow, natural sweetness from the packed Medjool dates—think cocoa truffle meets brownie bite. You’ll smell vanilla and cocoa as soon as you process the base, and the walnuts give it a nutty, almost brownie-batter richness. Texture-wise: the bottom is dense and fudgy with a slight chew; the top is smooth and firm when chilled, so you get a nice contrast instead of one-note softness.
Ingredients You’ll Need
Walnuts do double duty here: they give the base structure and that rich, buttery flavor that makes the cocoa taste more intense. Medjool dates are the binder and sweetener—packed matters, because it’s what gets you that sticky, pressable dough. Coconut oil is what helps the topping set up firm in the fridge, and maple syrup rounds out the bitterness of the cocoa so the top tastes like a real chocolate layer, not just straight cocoa powder. If you’ve made my avocado brownies, you already know I’m picky about fudgy texture—here, the dates handle that job.
- 2 cups raw unsalted walnuts
- 2 cups packed pitted Medjool dates
- 1/3 cup walnuts (optional, for chunks)
- 1/2 cup cocoa powder
- 1 tsp vanilla extract
- pinch of salt
- 1/4 cup coconut oil
- 1/3 cup cocoa powder (for topping)
- 1/4 tsp vanilla extract (for topping)
- 2 tbsp maple syrup
How to Make Raw Chocolate Brownies
- Prep the pan. Line an 8×8-inch pan with parchment paper. Leave a bit of overhang on two sides so you can lift the whole slab out later (this is what keeps the topping from cracking when you try to pry pieces out).
- Build the base in the food processor. Add the 2 cups walnuts, packed Medjool dates, 1/2 cup cocoa powder, 1 tsp vanilla extract, and a pinch of salt. Process until the mixture turns into a sticky, cohesive dough.
- What to look for: it should clump and hold together when you pinch it—like a thick truffle mixture. If it stays sandy, keep processing until it starts forming larger sticky masses.
- Add crunch (optional). If you’re using the 1/3 cup walnut chunks, add them now and pulse just a few times—enough to distribute without turning them into walnut dust.
- Press into the pan. Scrape the mixture into the prepared pan and press firmly into an even layer. Take a moment here: compacting it well helps the brownies slice cleanly instead of crumbling at the edges.
- Make the chocolate topping. In a separate bowl, melt the coconut oil and dark chocolate. Stir in the 1/3 cup cocoa powder, 1/4 tsp vanilla extract, and 2 tbsp maple syrup until completely smooth and glossy.
- What to look for: a thick, pourable chocolate mixture with no cocoa lumps. If you see dry pockets of cocoa, keep stirring until the sheen returns.
- Top and smooth. Pour the topping over the pressed base and spread into an even layer, pushing it right into the corners so every slice gets that top-deck look.
- Chill until firm. Refrigerate for at least 1 hour, or until the top feels set and the center doesn’t look wet or wobbly when you tilt the pan slightly.
- Slice and store. Lift out using the parchment overhang, set on a cutting board, and slice into squares. Store in the fridge for up to 1 week, or freeze for up to 3 months. If you’re in a high-protein mood, these pair well on a dessert tray with my chocolate protein brownies for a baked vs. no-bake comparison.
Tips for Best Results
- Pack the dates firmly. “2 cups packed” isn’t a suggestion—those dates are your binder. Lightly filled cups can leave you with a base that won’t hold together.
- Process until it actually turns sticky. The walnuts need enough time to break down and release their oils. Stop too early and you’ll get a dry, crumbly press-in.
- Press harder than you think. A firm, even press (especially around the edges) is the difference between tidy squares and shaggy, cracked corners.
- Stir the topping until glossy. Cocoa powder can clump; keep stirring until the mixture looks smooth and shiny so it sets evenly.
- Chill before slicing—no shortcuts. The topping needs that hour to firm up. If you cut too soon, the top will smear and slide instead of giving you clean layers.
Variations and Substitutions
- Leave out the walnut chunks for a smoother, truffle-like base (more “fudge bite” than “brownie bite”).
- Increase or decrease the chunkiness by pulsing the base a little more or a little less—finer processing gives a denser, more uniform chew.
- Flavor shift: the vanilla in both layers is subtle but important; reducing it will make the cocoa taste sharper and more bitter.
How to Serve It
- Serve cold from the fridge for the cleanest slices and a firmer, almost truffle-bar texture.
- Let a square sit at room temperature for 5–10 minutes if you prefer a softer bite—the base gets extra fudgy as it warms.
- Cut into small squares for a dessert board; the dark top layer looks especially nice next to something swirled and lighter like my chocolate pumpkin swirl brownies.
How to Store It
Keep these in the fridge, covered, for up to 1 week—the topping stays firm and the base stays pleasantly chewy. For longer storage, freeze the sliced squares (so you can grab one at a time) for up to 3 months; they thaw quickly in the fridge. If you’re making them ahead for guests, I recommend topping them right away and chilling as a full slab—once the top is set, slicing is much cleaner.
Final Thoughts
If you like your brownies dense, dark, and a little bit grown-up, this raw version hits the spot—no oven, no flour, just a fudgy walnut-date base and that smooth chocolate top that makes every square feel finished.
Conclusion
If you want to compare approaches, Love, Chef Laura’s Raw Chocolate Brownies (vegan & gluten-free) are a great reference for another walnut-and-date style bar. For a layered “top deck” spin, I also like this take on raw vegan brownies that leans into the two-layer look. And if you’re curious about a paleo-leaning variation, Nutrition Refined’s raw brownies with chocolate are worth reading for technique comparison.