The Memory Behind This Treat
The very first Oreo milkshake I ever made wasn’t in a fancy blender, or even in my own kitchen. I was 14, babysitting my little cousins on a sticky hot July afternoon, and they’d just discovered a forgotten pack of Oreos in the pantry. We didn’t have much else—just a half-melted tub of vanilla ice cream, some whole milk, and a wobbly old blender that sounded like it was negotiating for its life. I remember tossing the cookies in, pressing blend, and watching those dark crumbs swirl into vanilla clouds. When we poured the milkshakes into mismatched glasses and one cousin asked, “Is this what restaurants do?” I knew we had magic.
These days, when I test new flavors for big roundups like these 17 favorite milkshakes, my Oreo milkshake is still the one I reach for when I need something guaranteed to make people smile fast. It’s the recipe I throw together after a last-minute backyard BBQ, or when friends show up with a carton of ice cream and a sleeve of cookies, hoping we can “make something fun.” I love that you don’t need special ingredients—just that easy 2:1 milk-to-ice-cream ratio, a handful of crushed Oreos, and maybe a swirl of chocolate sauce if you’re feeling playful. You hear the clink of cookie pieces against the glass, feel that thick-but-sippable texture through the straw, and suddenly you’re 14 again, making dessert out of whatever you can find and feeling pretty proud of yourself for it.
How To Make It (Mix & Ingredients)
For any great milkshake—including a dreamy, cookies-and-cream style Oreo milkshake—the magic comes from your ratio. I like to stick to a simple base: 2 parts milk to 1 part ice cream. For 2 servings, that usually means about 2 cups of cold milk and 1 cup of ice cream. Whole milk and full-fat ice cream give you that classic diner-style creaminess, while 2% will still taste good, just a little lighter. Start with vanilla ice cream for most flavors (including an Oreo milkshake), then add your mix-ins like fresh strawberries, bananas, or chocolate sauce to build your personality in the glass.
Instructions Process of Oreo Milkshake
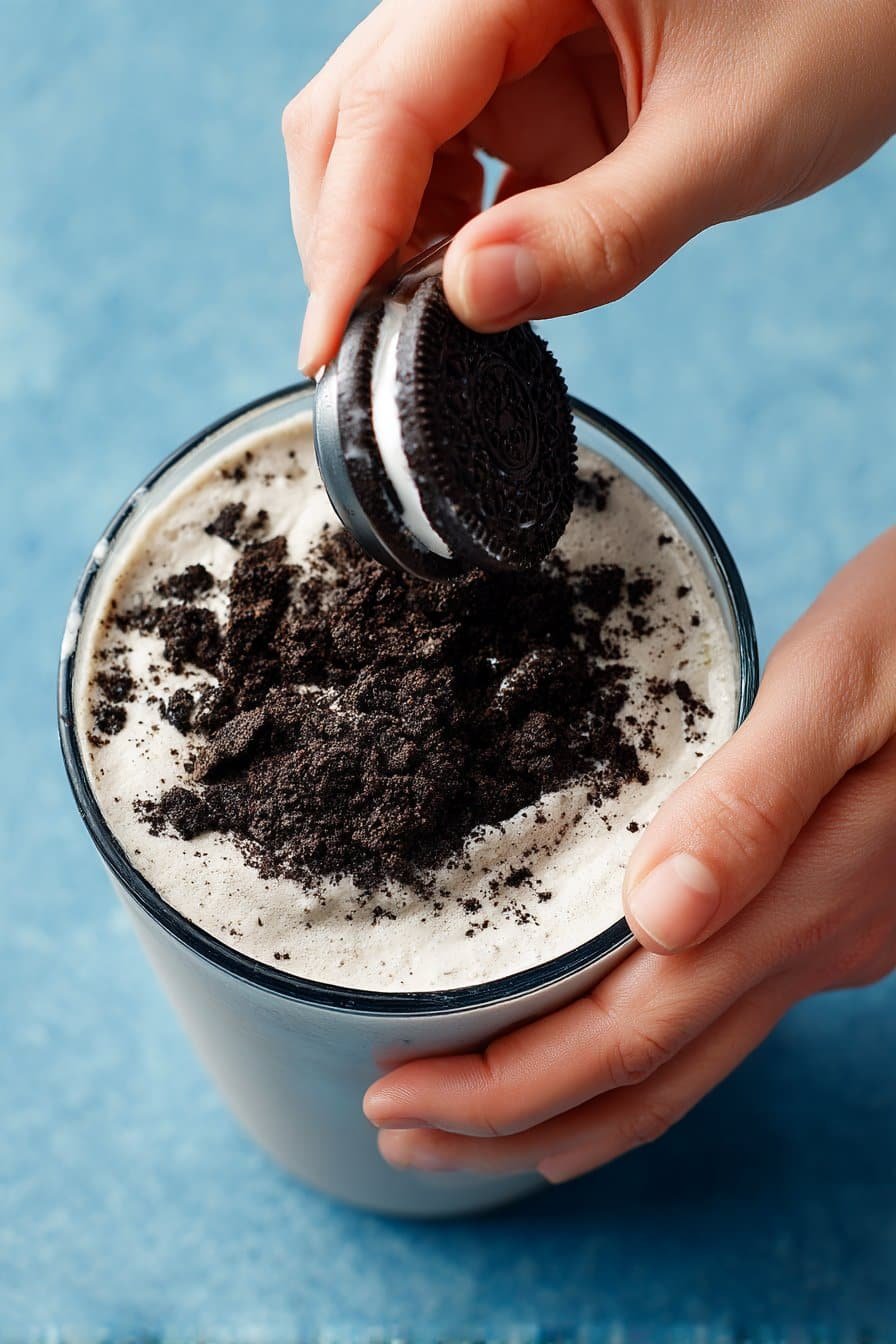
To mix, you don’t need anything fancy—a basic countertop blender works perfectly. Add the milk first so the blades catch more easily, then the ice cream, then your flavor add-ins on top (like crushed cookies, chocolate syrup, or fruit). Blend on medium until everything looks smooth but still a little thick; if your blender sounds like it’s struggling, stop and scrape down the sides, then blend again. Too thick? Add a splash more milk. Too thin? Add another scoop of ice cream or a handful of frozen fruit. Once you like the texture, pour into chilled glasses and finish with whipped cream, a drizzle of sauce, or extra cookie crumbs to make each one look like it came from your favorite milkshake bar.
Make-Ahead & Storage
Milkshakes, from classic strawberry to a thick Oreo milkshake, are always best right after blending, when the ice cream is silky and the edges are just starting to melt. If you want to get ahead, you can mix your milkshake base (milk, ice cream, and flavorings) and keep it in the freezer in a sealed jar or airtight container for up to 1 day. When you’re ready to serve, let the jar sit at room temperature for 10–15 minutes, then give it a strong stir or a quick re-blend to bring back that smooth, sippable texture. This works especially well if you’re prepping multiple flavors for a party and don’t want to be stuck at the blender all evening. Just skip the garnishes until the last minute so everything looks fresh and perky in the glass.
Storing leftovers is totally fine, as long as you know they won’t taste quite as perfect as a just-blended shake. For something cookie-based like an Oreo milkshake, pour any extra into popsicle molds or a lidded ice cube tray and freeze—instant milkshake pops or blendable cubes for next time. In the fridge, a milkshake will melt and separate within 30–60 minutes, so only use that option if you plan to re-blend with a few extra ice cream scoops soon after. In the freezer, leftovers keep for about 1 week, but they will firm up into more of an ice cream texture; let them soften slightly on the counter, then blitz with a splash more milk to revive them. Save your whipped cream, sprinkles, and fun toppings (like crushed cookies or fruit for that classic strawberry milkshake) for right before serving so every glass still looks celebration-ready.
Best Ingredients & Party Variations
When you’re blending up milkshakes for a crowd, a little ingredient strategy goes a long way—especially if you’re planning a show-stopping Oreo milkshake moment. I always start with full-fat vanilla ice cream as the base: it gives you that ultra-creamy texture and lets your mix-ins shine. Stick to whole milk if you can, and keep your classic 2 parts milk to 1 part ice cream ratio, then adjust by a splash or two if your blender needs help. For mix-ins, go with sturdy flavors that won’t disappear: real strawberries, thick chocolate syrup, ripe bananas, or crushed cookies. Always add crunchy bits like Oreos, nuts, or chocolate chunks at the very end and pulse a few times—this keeps them from turning into muddy dust.
For parties, think of your blender as a little shake bar and build from a base recipe. Set out bowls of crushed Oreos, mini chocolate chips, chopped strawberries, caramel sauce, sprinkles, and whipped cream so guests can “order” their own creations. An Oreo milkshake is the universal favorite, but you can riff easily: swap in mint chocolate chip ice cream and add crushed Oreos for a mint-cookie vibe, or blend chocolate ice cream with Oreos and a drizzle of fudge for a double chocolate hit. For kids, keep flavors simple and fun—strawberry, banana, and cookies-and-cream—then let them pile on toppings. For adults, offer add-ins like espresso shots, a pinch of sea salt, or even a splash of coffee liqueur alongside more classic options like a thick chocolate or banana milkshake, and just like that, your simple shake night turns into everyone’s favorite “build-your-own” dessert party.
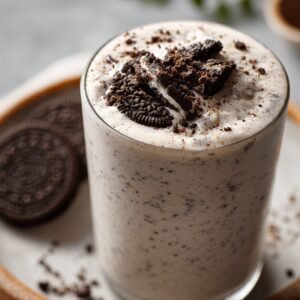
Serving of Oreo Milkshake
Conclusion
If you’ve made it this far, I’m guessing you’re just about ready to grab the blender and a handful of cookies. There’s something wonderfully simple about a homemade shake — it turns an ordinary afternoon into a tiny celebration. Whether you’re setting up a toppings bar for the kids, clinking glasses on the couch for movie night, or surprising a friend with a “just because” treat, this creamy classic has a way of bringing everyone to the same happy place.
Some of my favorite memories are built around tall, frosty glasses and shared straws — the kind of moments where conversation lingers and nobody’s in a rush to be anywhere else. That’s the quiet magic of an Oreo Milkshake: it’s easy, it’s playful, and it invites people to slow down and enjoy something sweet together.
I’d love for you to try this at home, make it your own, and share it with someone you love.
For more delicious recipes like this, follow us on social media!
What ingredients make the best classic Oreo milkshake?
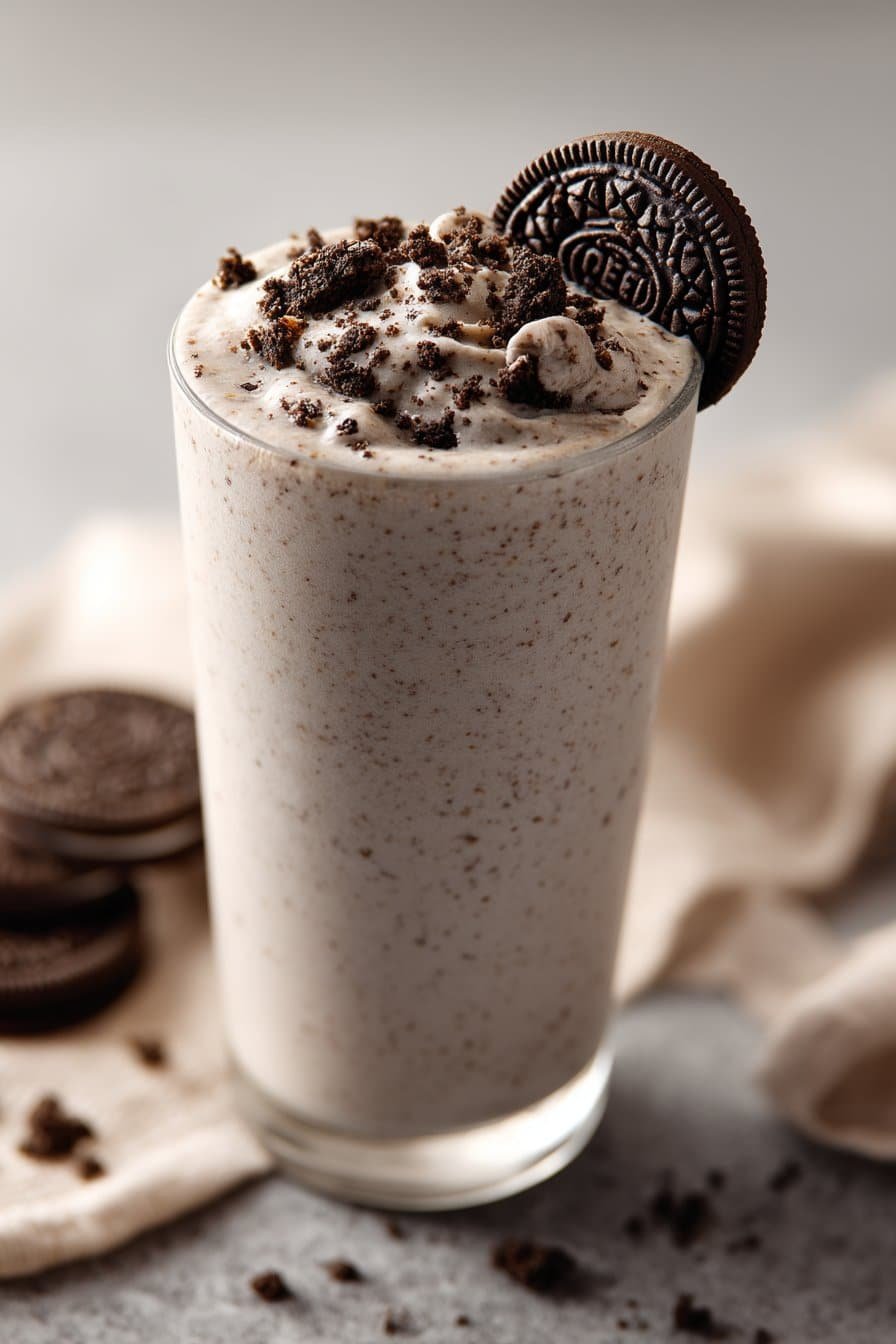
For a classic Oreo milkshake, you only need a few basics: cold milk, vanilla ice cream, and Oreo cookies. I like to use whole milk and full-fat ice cream for the creamiest texture. Aim for about 4–6 Oreos per 2 servings, depending on how chocolatey you like things. You can also add a spoonful of chocolate syrup if you want a richer, darker shake. Finish with whipped cream, extra Oreo crumbs, and maybe even a whole cookie on top for that “diner-style” look.
How do I get the perfect Oreo milkshake thickness?
Start with a ratio of 2 parts milk to 1 part ice cream for a sippable but still thick Oreo milkshake. If you want a super thick, spoonable shake, cut the milk down slightly and add another scoop of ice cream. Blend just until smooth; over-blending will warm the shake and thin it out. If it turns out too thick, add a splash of milk and blend again. Too thin? Toss in another scoop of ice cream or a couple more Oreos to bulk it up.
Can I make a dairy-free or lighter Oreo milkshake?
Yes, you can easily make a dairy-free Oreo milkshake using your favorite non-dairy milk and ice cream. Oat milk and coconut-based ice creams give the creamiest results, while almond milk keeps things lighter. Most regular Oreos are dairy-free, but always double-check the label if you have allergies. Use the same basic ratio and adjust to taste, since non-dairy milks can be a bit thinner. If your shake feels icy, add a little extra non-dairy ice cream to bring back that classic creamy texture.
Recipe
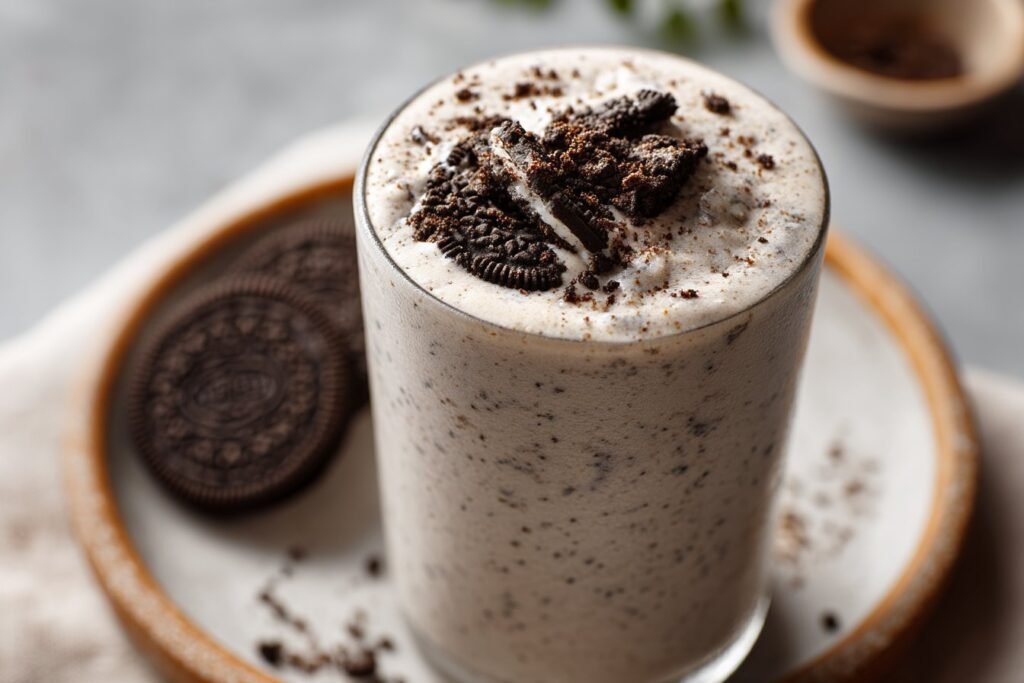
Oreo Milkshake
Ingredients
Ingredients
- 2 cups cold whole milk
- 1 cup vanilla ice cream
- 6 Oreo cookies divided and crushed
- 1/2 cup whipped cream
- 1 Oreo cookie halved, for garnish (optional)
Instructions
- Add the milk to a blender, then add the vanilla ice cream.
- Add 4 crushed Oreo cookies to the blender.
- Blend on medium speed until the mixture is smooth and thick, with no large cookie pieces remaining.
- Pour the milkshake into 2 chilled glasses.
- Top each glass with whipped cream.
- Sprinkle the remaining 2 crushed Oreo cookies over the whipped cream and garnish with an Oreo half, if desired.
- Serve immediately with straws and spoons.
Notes
- For a thicker shake, add an extra 1/2 cup ice cream; for a thinner shake, blend in an extra 1/4 cup milk.