The first time I made this Ninja slushi, I was honestly surprised by how quickly it went from “just a cold drink” to that perfect spoonable, icy-soft texture you usually only get after a lot of blending and babysitting. It’s the kind of treat that looks impressive in a glass, but feels effortless once you’ve done it once.
If you’re the type who loves quick dessert wins—like the no-fuss ideas in these no-bake chocolate covered brownies—this is the frozen version of that same energy: bold flavor, frosty texture, and a satisfying slush that holds its shape instead of melting into a puddle right away.
Why You’ll Love This Recipe
- It turns a simple drink base into a true slush with tiny ice crystals and a soft, scoopable consistency (not a chunky snow-cone situation).
- The flavor stays bright and “fresh” tasting because you’re not diluting it with a bunch of extra ice.
- The machine does the work—no blender stopping and scraping, no guessing when it’s ready.
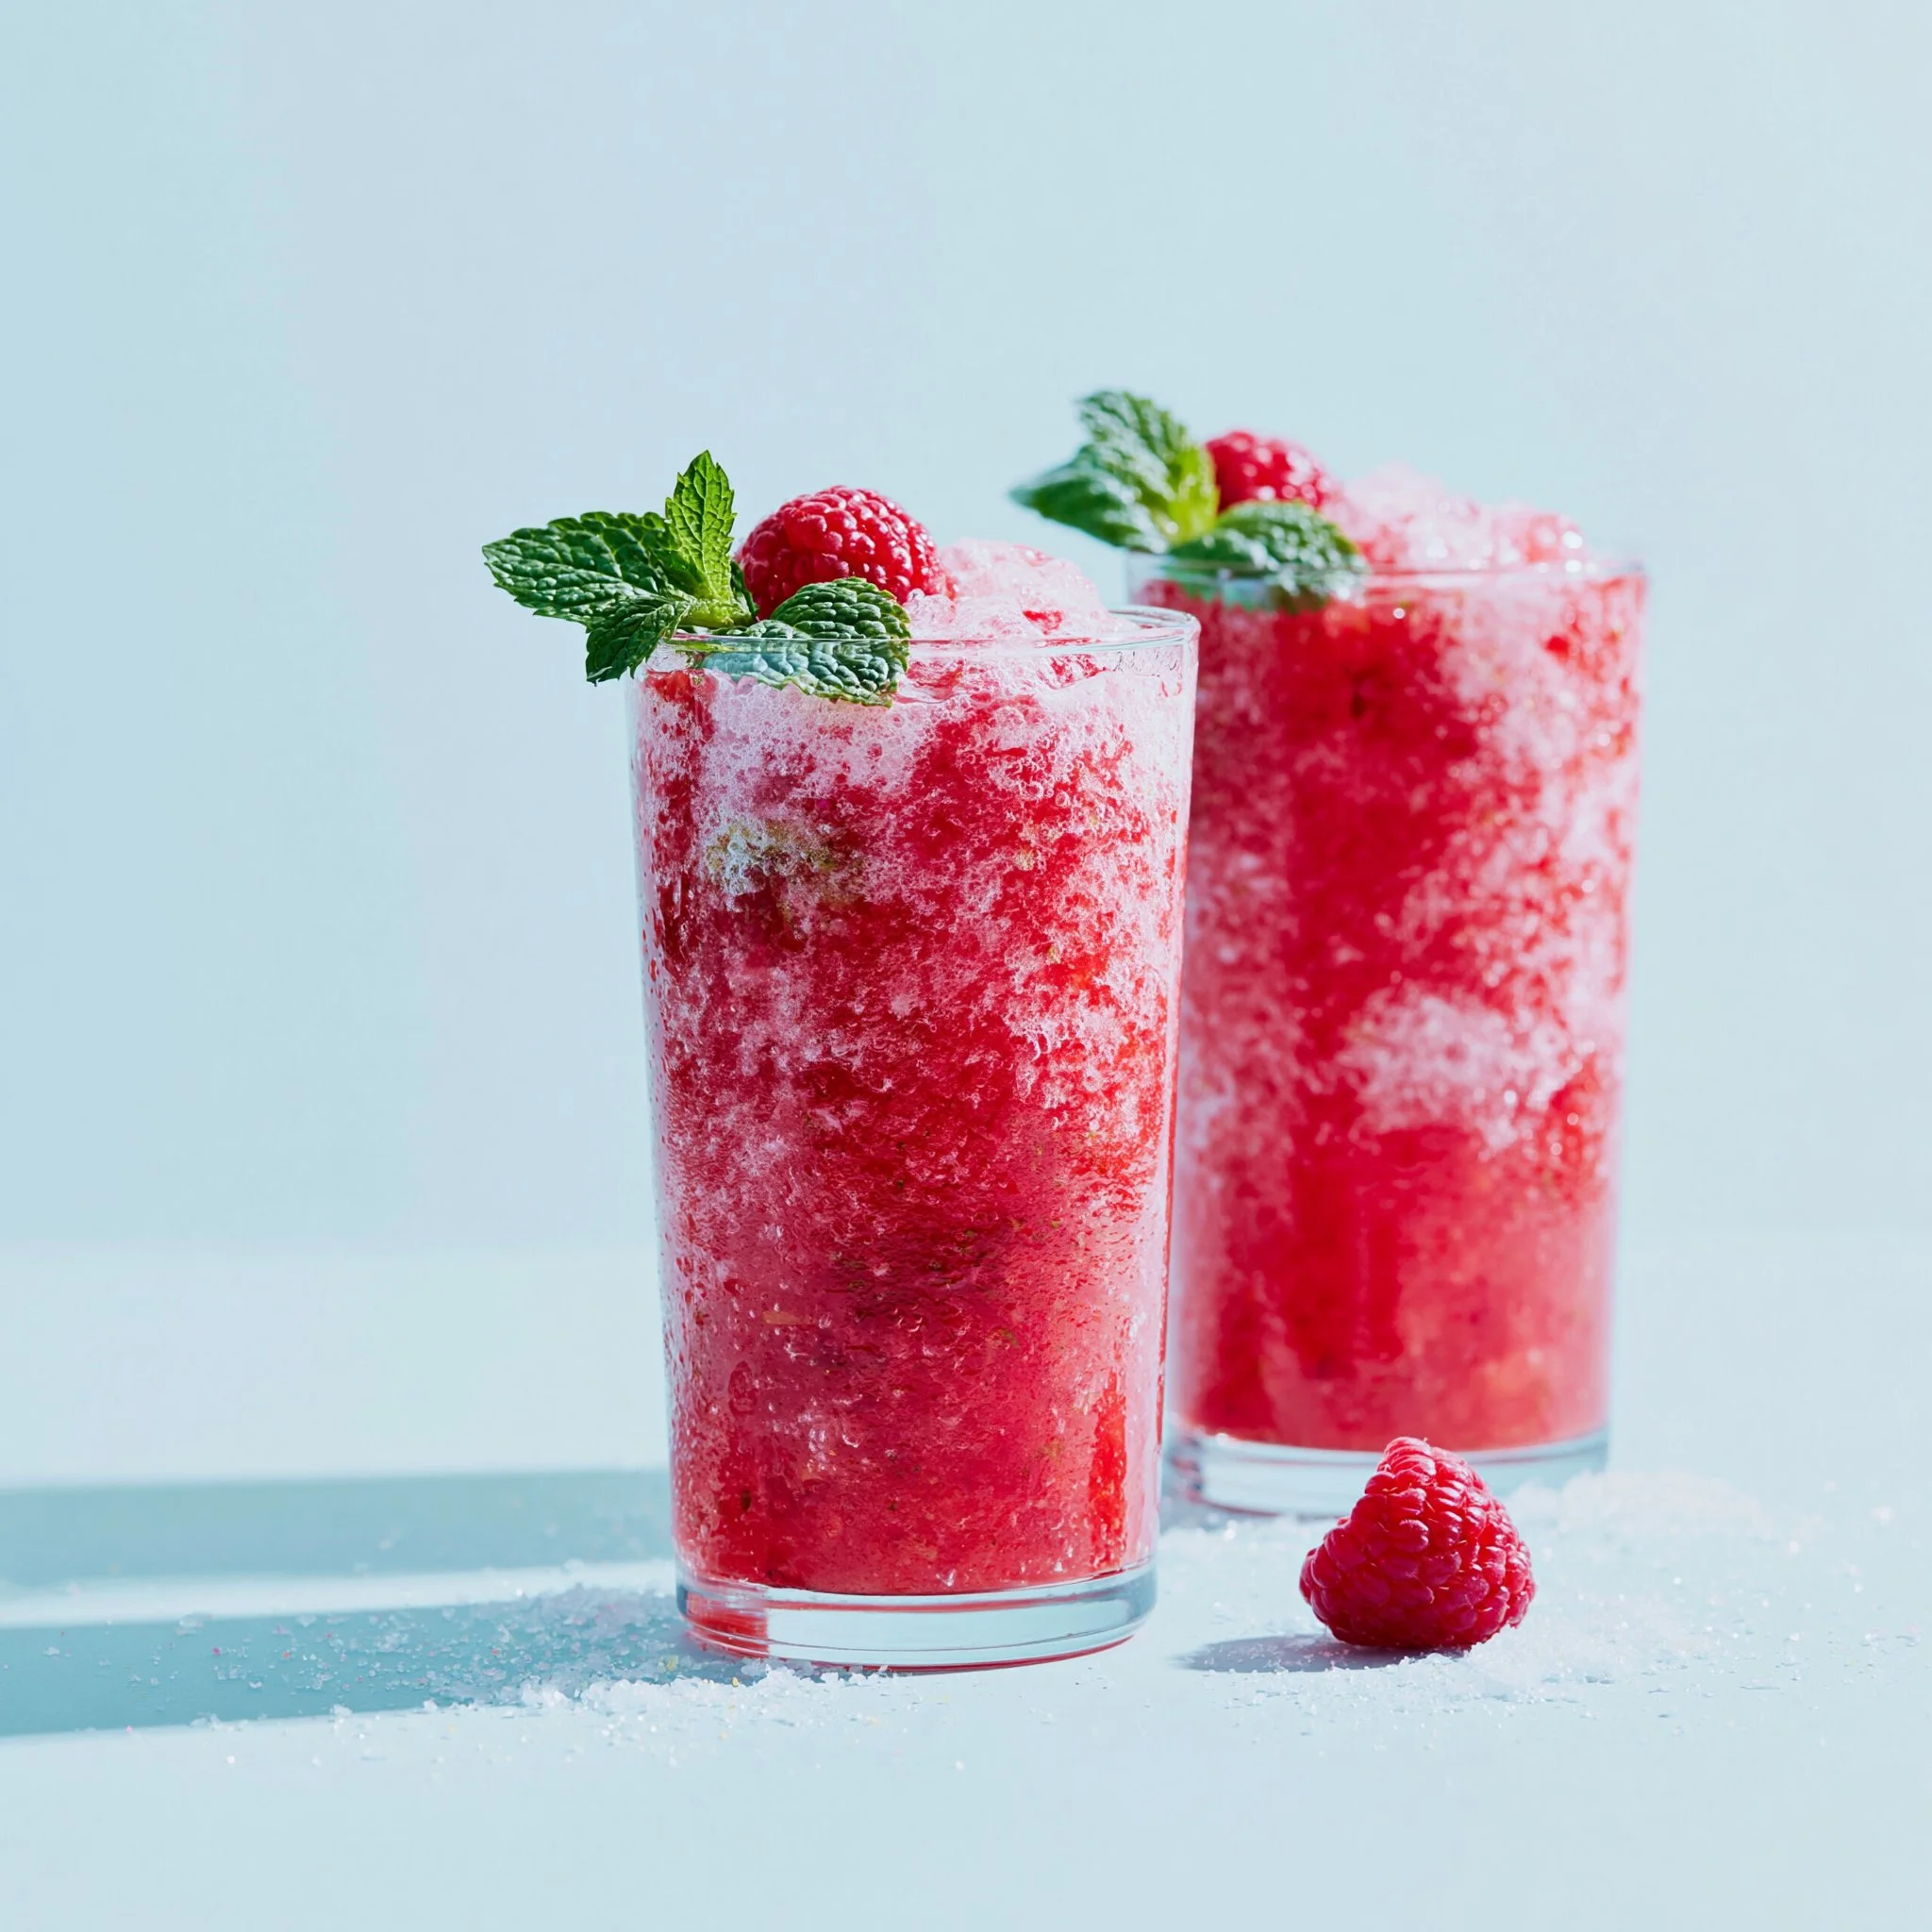
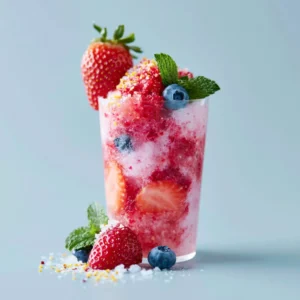
- Great for serving in clear glasses: you can actually see that thick, frozen swirl as you pour.
- Easy to scale up or down depending on how much your Ninja Slushi container holds, without changing the method.
- It’s a fun, low-effort dessert option when you don’t feel like turning on the oven (similar vibes to a simple 3-ingredient yogurt cake, just colder).
The Story Behind This Recipe
I started making this Ninja slushi recipe when I wanted that convenience-store slush texture at home—but with control over the flavor and sweetness. After a couple of rounds, I landed on a method that reliably gives you that smooth, icy drink you can sip through a straw and scoop with a spoon, depending on how thick you run it.
What It Tastes Like
This slushi tastes like a super-chilled, concentrated version of your base drink: sweet but not cloying, with a clean, cold finish and that satisfying “crunch” of fine ice crystals. The aroma depends on your flavor, but the best part is the texture—light, frosty, and fluffy enough to mound up in the glass instead of separating.
Ingredients You’ll Need
The key here is starting with a flavorful liquid that already tastes good on its own—because freezing mutes sweetness and dulls flavor a little. If your base drink tastes slightly too sweet at room temperature, it usually lands just right once it’s slushed. Keep it simple and let the Ninja Slushi do what it does best.
Ingredient list (from the recipe):
- Your chosen drink base (juice, soda, sports drink, lemonade, etc.)
- Ice (if needed, depending on your base and machine instructions)
How to Make Ninja Slushi Recipe
- Choose your drink base. Pick a liquid you genuinely like the taste of as-is (juice, lemonade, soda, etc.). Stronger flavor works best because freezing softens the overall intensity.
- Chill the liquid if you can. Starting cold helps the machine reach slush texture faster and more evenly. (Room-temp liquid still works; it just takes longer to get that thick, icy body.)
- Fill the Ninja Slushi container. Pour your drink base into the machine following your model’s fill line. Don’t overfill—slush needs a little headspace to churn properly.
- Select the slush/frozen setting and start the cycle. Let the machine run until the mixture looks uniformly icy and thick. You’re looking for a consistent, pale “frosted” look with no obvious liquid layer sitting at the bottom.
- Check the texture and adjust if needed. If it’s still too thin, run it a bit longer until it holds soft peaks when stirred. If it’s very thick, let it soften briefly, then stir to loosen.
- Serve immediately. Pour (or spoon) into glasses right away for the best fluffy, freshly-churned slush texture.
Tips for Best Results
- Taste your base before freezing. If it tastes bland in the glass, it’ll taste even more muted as a slush—choose something punchy.
- Don’t overfill the container. A too-full batch doesn’t churn as well and can leave you with uneven texture (thick at the edges, liquid in the center).
- Aim for “wet sand” consistency. The best slushi texture looks like fine, scoopable ice crystals suspended throughout—no big chunks, no watery pooling.
- Serve right away for the fluffiest texture. Slush is at its peak immediately after churning; it gets denser as it sits.
- Use clear glasses if you can. This one looks especially good when you can see the icy, swirled texture—like the pretty presentation ideas I love in these spring cupcake designs, just in drink form.
Variations and Substitutions
- Mix flavors: Combine two drink bases (like lemonade + a fruit juice) for a layered, more complex slush flavor—just keep the total volume the same.
- Adjust sweetness with your base choice: If you want less sweet, choose a lighter drink base. (Freezing will still soften sweetness, so don’t go too “diet” unless you already like that flavor.)
- Make it extra bright: Use a tart base (like lemonade) for a sharper, more refreshing finish.
How to Serve It
Serve this slushi straight from the machine into chilled glasses for the thickest pour. If it’s a little on the spoonable side, pile it into a glass and top with a splash of the same drink base to make it easier to sip. For a cute party moment, set out straws and long spoons so everyone can choose their own slush “style” (a little like the playful treat vibe of these sweet potato dog cookies, but for humans).
How to Store It
Slushi is best right after it’s finished churning. If you need to hold it, keep it in the machine on the appropriate mode so it maintains that fine-ice texture. If it sits and tightens up, stir it to loosen before serving; if it melts and turns thin, run it again briefly to bring the slush back.

Final Thoughts
Once you nail the base flavor you love, this Ninja slushi recipe becomes one of those “why didn’t I do this sooner?” treats—fast, frosty, and genuinely satisfying in a way plain ice and a blender just can’t match.
Conclusion
If you want more flavor ideas to run through your machine, Ninja’s own collection of Ninja slushi recipes is a great starting point. For a roundup of creative combos beyond the basics, I also like this list of slushie flavor recipes for a Ninja Slushi. And if you’re curious how the machine performs in a real kitchen setup, this review of the Ninja SLUSHi with a butterbeer-style slushie is a helpful read before you experiment further.
Ninja Slushi
Ingredients
Drink Base
- 2 cups Your chosen drink base (juice, soda, sports drink, lemonade, etc.)
Ice
- as needed Ice (if needed, depending on your base and machine instructions) Use more ice if your drink base is not very cold.
Instructions
Preparation
- Choose your drink base. Pick a liquid you like the taste of as-is (juice, lemonade, soda, etc.). Stronger flavor works best.
- Chill the liquid if you can. Starting cold helps the machine reach slush texture faster.
- Fill the Ninja Slushi container. Pour your drink base into the machine following your model’s fill line.
- Select the slush/frozen setting and start the cycle. Let the machine run until the mixture looks uniformly icy and thick.
- Check the texture and adjust if needed. If it's too thin, run it longer until it holds soft peaks when stirred.
- Serve immediately. Pour (or spoon) into glasses right away for the best slush texture.