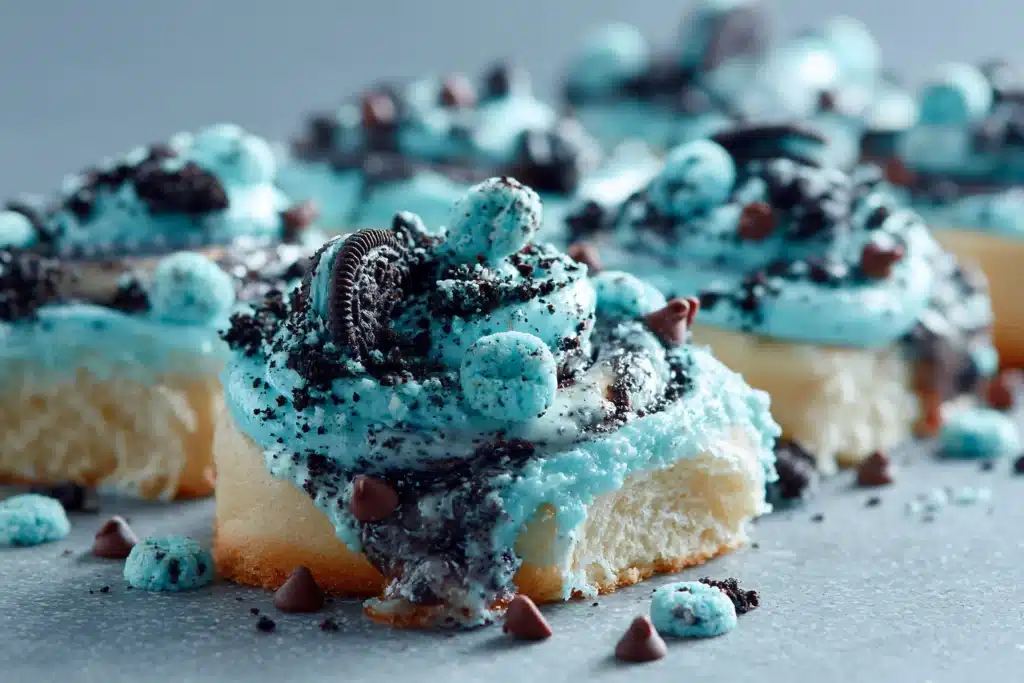
The kind of dessert that stops people mid-sentence is usually fussy. This one isn’t. “Pin by Pinner on Sweet Treats in 2026” is exactly the sort of pretty, snacky treat you can pull off on a regular weeknight—crisp on the edges, soft in the middle, and finished in a way that looks like it came from a bakery case.
What makes it worth making right away is the contrast: a tender, sweet base with a glossy topping that sets up neatly, so each bite has a little snap and a little melt. If you like desserts that feel like “junk food snacks” in the best way—cute, shareable, and unapologetically sweet—you’ll have fun with this one (and if you’re in a colorful mood, these spring cupcake decorating ideas are a great rabbit hole for later).
Why You’ll Love This Recipe
- The texture hits that sweet spot: soft, chewy center with lightly crisp edges.
- It’s “pretty dessert” level without complicated tools—just simple mixing and a tidy finish.
- The topping sets firm enough to handle, so they pack well for sharing or snacking.
- The method is straightforward and forgiving, as long as you watch the visual cues for doneness.
- Great for making ahead: the flavor settles and the texture stays satisfying the next day.
The Story Behind This Recipe
I saved this one from a “Sweet Treats” pin because it had that perfect snack-recipe vibe—something you can make quickly, cut into neat portions, and set out on a plate that instantly looks intentional (the same way my chocolate brownie cookies always disappear faster than expected).
What It Tastes Like
It’s sweet, rich, and very snackable, with a warm, bakery-style aroma while it bakes and a clean sweetness once it cools. The base stays tender rather than cakey, and the topping adds a smooth, set finish that gives you that satisfying bite-through moment—soft underneath, slightly firm on top—without being heavy.
Ingredients You’ll Need
This recipe relies on a simple batter for the base and a quick, glossy topping that sets as it cools. Pay attention to your mixing: you want the base smooth and cohesive, not overworked. If the topping includes chocolate, use the type listed—swapping to a different format (chips vs. bars) can change how smoothly it melts and sets.
Ingredient list (from the provided recipe):
How to Make Pin by Pinner on Sweet Treats in 2026 | Junk Food Snacks, Pretty Dessert, Snack Recipes
- Prep your pan and workspace. Set out your baking pan and line it if the recipe calls for it (this makes lifting and slicing much cleaner). Have your ingredients measured so the batter comes together quickly.
- Mix the base batter until smooth. Combine the base ingredients in the order given. Stir just until you no longer see dry streaks and the mixture looks uniform and glossy. You’re looking for a thick, spreadable batter—smooth enough to level in the pan, not pourable like pancake batter.
- Spread evenly. Scrape the batter into the prepared pan and spread to the corners. Take a moment here—an even layer is what gives you neat, consistent pieces.
- Bake until the edges look set. Bake for the time listed in the original directions. You want the edges to look dry and set, while the center should look just barely done—not wet, but not aggressively puffed or browned. If you can gently tap the pan and the center doesn’t ripple like liquid, you’re in the right zone.
- Cool before adding the topping. Let the base cool as directed. Adding topping too early can make it slide or soak in unevenly, which affects that pretty, clean finish.
- Make the topping. Prepare the topping exactly as written—aim for smooth, glossy, and lump-free. If melting is involved, go slowly and stir often so it stays silky instead of separating.
- Finish and set. Spread or drizzle the topping over the cooled base. Let it sit until the top is set to the touch before slicing—this is what gives you sharp edges and that “pretty dessert” look.
- Slice neatly. For clean pieces, use a sharp knife and wipe it between cuts. If the topping is firm, a slightly warmed knife helps glide through without cracking.
Tips for Best Results
- Don’t overbake the base. Pull it when the center looks set but still soft; overbaking turns the texture from chewy-tender to dry.
- Cool completely before topping. A cool surface helps the topping set on top instead of melting into the base.
- Spread the topping in one confident pass. Going back and forth too much can pull up crumbs and dull the finish.
- Slice after the topping fully sets. If you cut too soon, you’ll drag the topping and lose those clean lines.
- For extra neat edges, line the pan. Lifting the slab out and slicing on a board is easier than cutting inside the pan (similar to how I handle my favorite brownie-style bakes).
Variations and Substitutions
Keep variations close to the original so the texture stays right. If the recipe uses chocolate topping, you can swap between milk and semi-sweet for a sweeter or deeper finish, but don’t change the method. For presentation, you can add a simple sprinkle (if the original pin includes it) right after topping so it sticks before setting.
How to Serve It
Serve these in small squares or bars on a plain plate—the glossy top does the work visually. They’re great at room temperature for the cleanest bite, but if you like a firmer topping with a slightly denser chew, chill briefly and serve cold. For a dessert table, pair them with other colorful treats like these flower-and-fruit cupcake ideas so the spread feels intentional without extra effort.
How to Store It
Store pieces in an airtight container so the base stays soft and the topping stays smooth. If your kitchen runs warm, refrigerate to keep the topping firm and stackable; let pieces sit out a few minutes before serving for the best texture. For make-ahead, finish with the topping once the base is fully cooled, then store until ready to slice and serve.

Final Thoughts
This is the kind of sweet snack that looks polished but bakes up with simple steps—soft, sweet, and topped in a way that makes every piece feel a little special. If you’re craving something cute and easy that still delivers on texture, this one earns a spot in the regular rotation (and if you want another “pretty but doable” project, my easy red velvet macarons are a fun next bake).
Conclusion
If you like having a few quick resources on hand while you bake, I keep a plain-text list like this word list download bookmarked for naming recipe variations and labels. And when I’m tweaking presentation ideas, I’ll often glance at a simple word bank to spark garnish and styling notes without overthinking it. For organizing batch notes and flavor combos, I also reference this downloadable list so my test-kitchen scribbles stay consistent.