The Memory Behind This Treat
The first version of this High Protein Apple Crisp was born on a busy Tuesday night when I wanted dessert but promised myself I’d “be good this week.” My husband had just finished a workout, I had one sad apple in the fruit bowl, and we were both standing in the kitchen pretending a spoonful of peanut butter counted as a real treat. I remember dicing that apple extra small so it would soften fast, stirring protein powder into oats, and thinking, “This is either going to be genius or bird food.” When it came out of the oven, the kitchen smelled like a classic fall apple crisp, but the topping had that nutty, vanilla-protein aroma instead of straight sugar and butter. We ate it standing at the counter, sharing the dish, and both quietly did the “oh wait…this is actually good” face.
From there, this high protein dessert started showing up in all the in-between, real-life moments. Early mornings when I wanted something sweet but didn’t want to crash by 10 a.m. Post-dinner when my kids asked for “something cozy” and I didn’t feel like pulling out flour and sugar for a full pan of crisp. It reminded me a bit of the first time I tested my lighter air fryer apples at 9 p.m., barefoot, measuring oats by eye and trusting my nose more than any recipe card. I love that this High Protein Apple Crisp keeps that same warm, cinnamon-apple hug of the classic dessert, but fits into those weeks when you’re tracking your protein, watching your calories, and still absolutely needing something that feels like dessert—not a compromise. Over time, it’s become our little “I’m taking care of myself, but I still want cozy” ritual in a bowl.
How To Make It (Mix & Ingredients)
To build this Healthy High Protein Apple Crisp, start with the apples so they have time to soak up all that cozy cinnamon flavor. Dice your apple into small, even pieces (about pea-sized) so they soften quickly and bake evenly. Toss the chopped apple with the cinnamon, a tiny drop of lemon juice, and a pinch of salt right in your baking dish or ramekin. The lemon brightens the flavor and keeps the apple from tasting flat, while the salt quietly enhances all the sweetness. If your apples look a bit dry, you can splash in an extra teaspoon of water to help them start to soften in the oven.
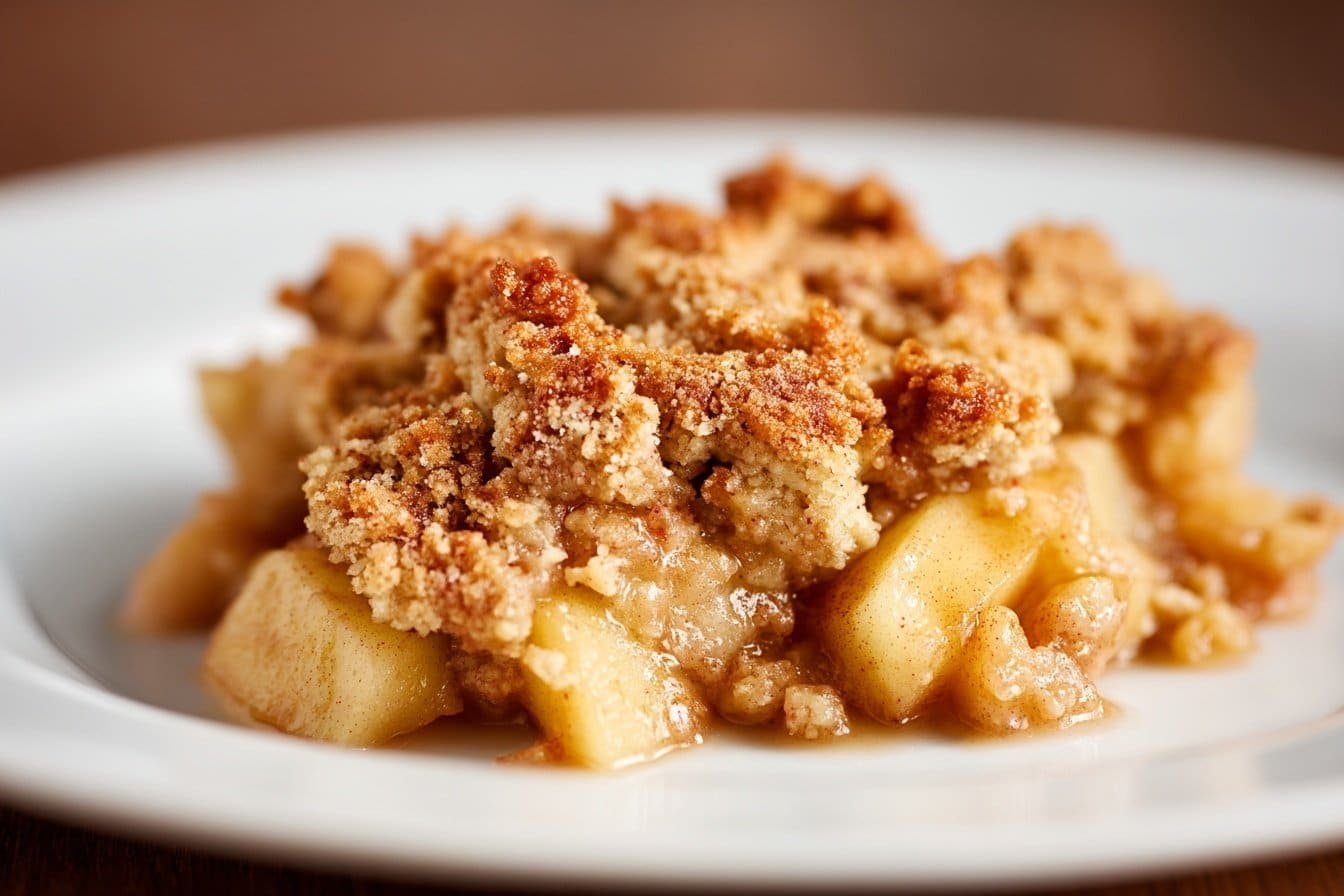
Instructions Process of High Protein Apple Crisp
Next, you’ll make your high protein crisp topping. In a small bowl, stir together the vanilla protein powder, nut butter, oats, and 1 teaspoon of milk or water until everything forms a slightly sticky, clumpy mixture. It should be thick enough to pinch together, but not so dry that it turns into dust; add a few extra drops of liquid if it won’t hold. If you’ve made my high protein baked oats before, you’re going for a similar texture—soft crumbs that press together but still break apart easily. Crumble this mixture evenly over the apples, leaving a few little gaps so steam can escape and the topping can crisp.Bake until the apples are tender and the oat topping is lightly golden and smells toasty. Depending on your oven and dish size, this will usually be around 18–22 minutes; if you tap the top with a spoon, it should feel set and slightly crisp around the edges. Let your High Protein Apple Crisp cool for at least 5 minutes so the juices thicken a bit—this also keeps the topping from going soggy too fast. From there, you can enjoy it plain, or lean into the protein theme and add a spoon of Greek yogurt on top for extra creaminess and staying power.
Make-Ahead & Storage
This Healthy High Protein Apple Crisp is small-batch and quick, so it’s perfect to make fresh, but you can absolutely plan ahead a bit. For the best texture, I like to prepare components in advance and assemble just before baking. Dice your apples, toss them with cinnamon, lemon juice, and salt, then store them in an airtight container in the fridge for up to 2 days. In a separate container, stir together your oats, protein powder, and nut butter topping, then cover and refrigerate. When you’re ready to bake, simply layer the spiced apples in your baking dish, crumble the chilled topping over, and pop it in the oven; you may need to add 2–3 extra minutes to the bake time since everything is cold.
If you’ve already baked your High Protein Apple Crisp, let it cool completely before storing. Transfer leftovers to an airtight container and refrigerate for up to 3 days. The topping will soften a bit in the fridge, but the flavors actually meld and deepen, so it still tastes cozy and satisfying. To reheat, warm individual portions in the microwave for 20–30 seconds, or in a 350°F oven or toaster oven for about 8–10 minutes until the top is lightly crisp again. You can even enjoy it cold straight from the fridge as a protein-packed breakfast, similar to a cross between baked oatmeal and apple crisp, especially alongside something like a healthy yogurt parfait or protein pancakes.
Best Ingredients & Party Variations
For the best High Protein Apple Crisp, start with firm, slightly tart apples like Honeycrisp, Pink Lady, or Granny Smith so they don’t turn mushy in the oven. Dice them small and even—about pea-sized—so they cook through in just 20 minutes. Use a good-quality vanilla protein powder you actually enjoy in a shake; if it tastes chalky in a glass, it will taste chalky in your crisp. I love plant-based protein here because it blends smoothly and gives a cozy vanilla flavor that works beautifully with cinnamon. Go for old-fashioned rolled oats rather than quick oats for a heartier, chewier topping that doesn’t disappear into the apples. And with the nut butter, don’t stress—almond butter is a bit more delicate, peanut butter is stronger and nostalgic; both bind the topping and give you that extra protein boost.
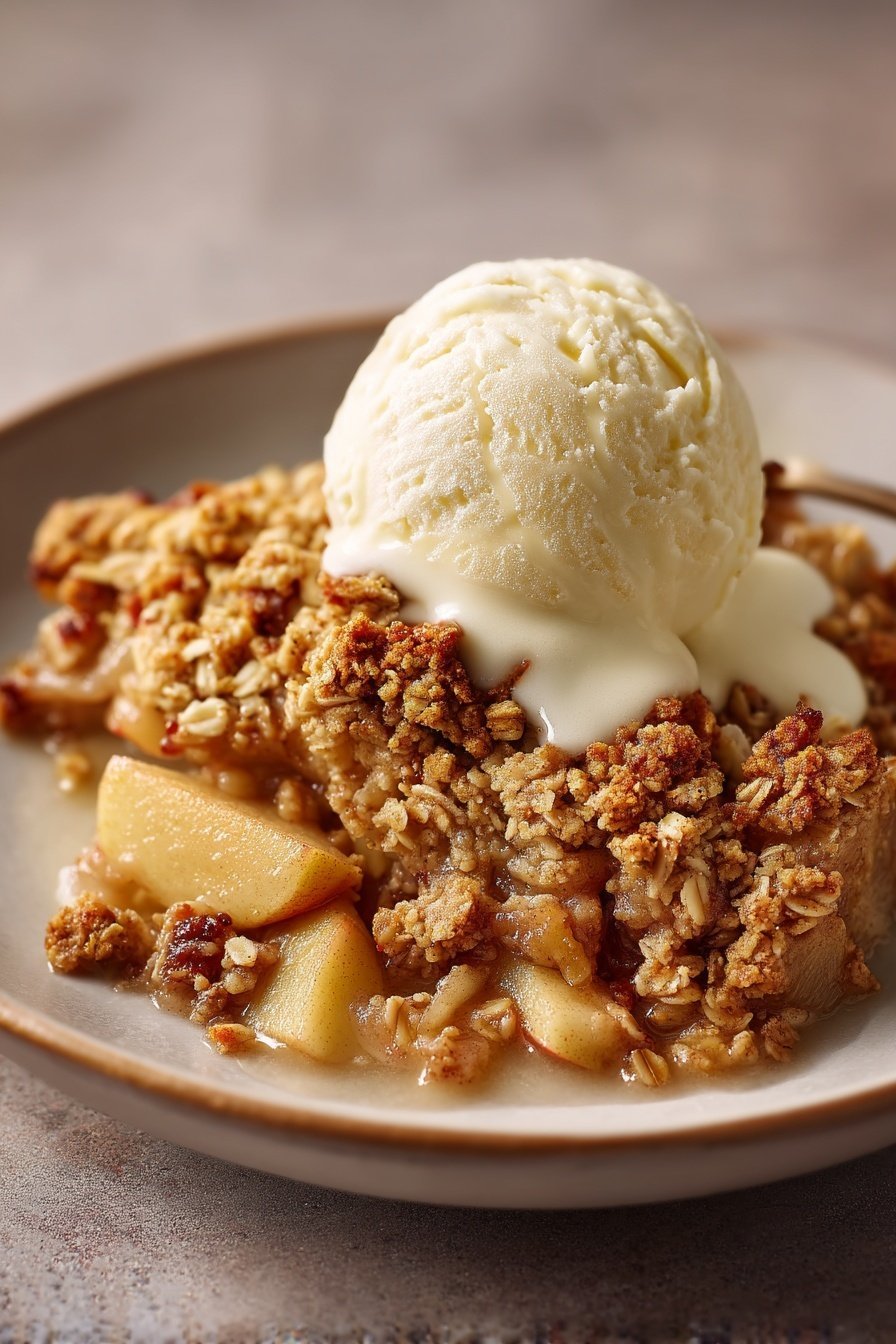
When you’re serving this High Protein Apple Crisp at a party, think mini and customizable. Spoon the apple mixture and oat topping into small ramekins or an oven-safe muffin tin so everyone gets their own little crisp—no fighting over the corner pieces. Try a “crisp bar” setup: bake off a tray of the base recipe, then set out toppings like Greek yogurt, a drizzle of warm peanut butter, chopped toasted nuts, or a sprinkle of granola for extra crunch. For a more decadent-but-still-balanced dessert, add a small scoop of high-protein vanilla ice cream or frozen yogurt on top while the crisp is warm. Hosting a brunch? Serve the crisp alongside a protein-packed spread with items like my Greek yogurt parfait cups or oat breakfast cookies to keep things fun and filling without turning the table into a sugar crash waiting to happen.
Serving of High Protein Apple Crisp
Conclusion
If you’re anything like me, you’re already picturing a cozy evening, a baking dish bubbling in the oven, and that cinnamon-apple aroma filling your kitchen. This High Protein Apple Crisp is more than just a better-for-you dessert; it’s a little invitation to slow down, gather your favorite people, and dig into something warm and comforting together. I love serving it straight from the pan at the table, letting everyone scoop their own portion and top it however they like—it always turns into lingering conversation and second helpings.
I hope this becomes one of those recipes you reach for on busy weeknights, casual Sunday dinners, or anytime you want something sweet that still feels nourishing. Don’t wait for a special occasion to make it; the act of baking it is the special occasion. Pull out your favorite baking dish, grab those apples on your counter, and give it a try—you might just find a new family staple.
For more delicious recipes like this, follow us on social media!
What makes this High Protein Apple Crisp healthier than traditional versions?
This High Protein Apple Crisp leans on **vanilla protein powder and nut butter** to boost protein instead of relying on lots of butter and sugar. The sweetness comes mostly from the apples themselves, with just a little help from the flavored protein powder. You also get fiber from the oats and apples, which helps keep you full longer and supports steady energy. At around 220 calories per serving with about 6–9 g of protein, it fits more easily into a healthy eating routine than a typical buttery, sugary crisp. Think of it as a dessert that behaves more like a snack-worthy, balanced treat.
How can I adjust the sweetness and protein level in this High Protein Apple Crisp?
To make it sweeter, you can add a drizzle of maple syrup, honey, or a sprinkle of coconut sugar to the apple mixture or topping before baking. If your protein powder is already sweet, taste the mixture first so you don’t overdo it. To bump up the protein, you can add an extra half tablespoon of protein powder or use a higher-protein nut butter like peanut butter. Just keep in mind that adding more protein powder may make the topping a bit drier, so splash in a tiny bit more milk or water as needed. Aim for a crumbly, slightly sticky texture that clumps easily when you squeeze it.
Can I customize this High Protein Apple Crisp for different diets?
Yes, this recipe is very flexible. For a **vegan apple crisp**, use a dairy-free milk and a plant-based protein powder, and you’re all set. To keep it gluten-free, choose certified gluten-free oats and double-check your protein powder label. For a lower-sugar version, stick to tart apples like Granny Smith and rely on the natural sweetness of the fruit and protein powder. You can also use almond butter instead of peanut butter if you’re avoiding peanuts or want a milder flavor.
Recipe

Healthy High Protein Apple Crisp
Ingredients
Ingredients
- 1/2 cup chopped apple diced small
- 1/4 tsp ground cinnamon
- 1 drop lemon juice
- 1 pinch salt
- 2 tbsp vanilla protein powder
- 1 tbsp nut butter almond or peanut
- 1 tsp milk or water
- 1/4 cup rolled oats
Instructions
- Preheat the oven to 350°F and lightly grease a small ramekin or oven-safe dish.
- Add the diced apple to the dish and toss with cinnamon, lemon juice, and salt until well coated.
- In a small bowl, combine the vanilla protein powder, nut butter, oats, and milk or water, stirring until a slightly sticky, clumpy mixture forms that holds together when pinched.
- Crumble the protein-oat mixture evenly over the apples, leaving a few small gaps for steam to escape.
- Bake for 18 to 22 minutes, until the apples are tender and the topping is lightly golden and feels set and crisp around the edges.
- Remove from the oven and let cool for 5 minutes before serving.
Notes
- If the topping mixture seems too dry to clump, add a few extra drops of milk or water until it holds together.