

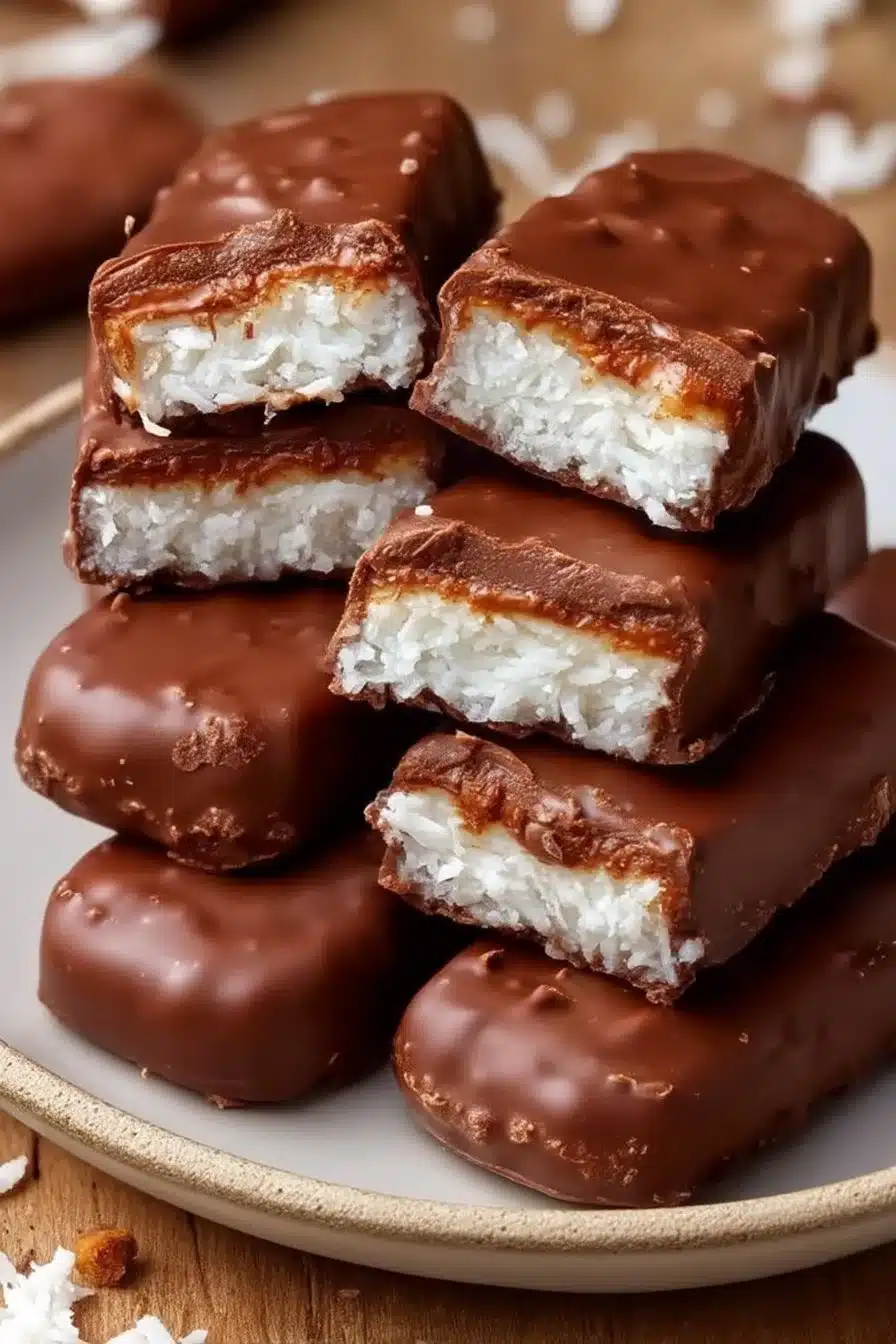
I love recipes that feel like candy made in your own kitchen — concentrated, clean flavors that don’t need a lot of fuss. These coconut-chocolate bars are exactly that: a soft, creamy coconut center cooked just until it holds together, then dipped in glossy milk chocolate and chilled until snappy.
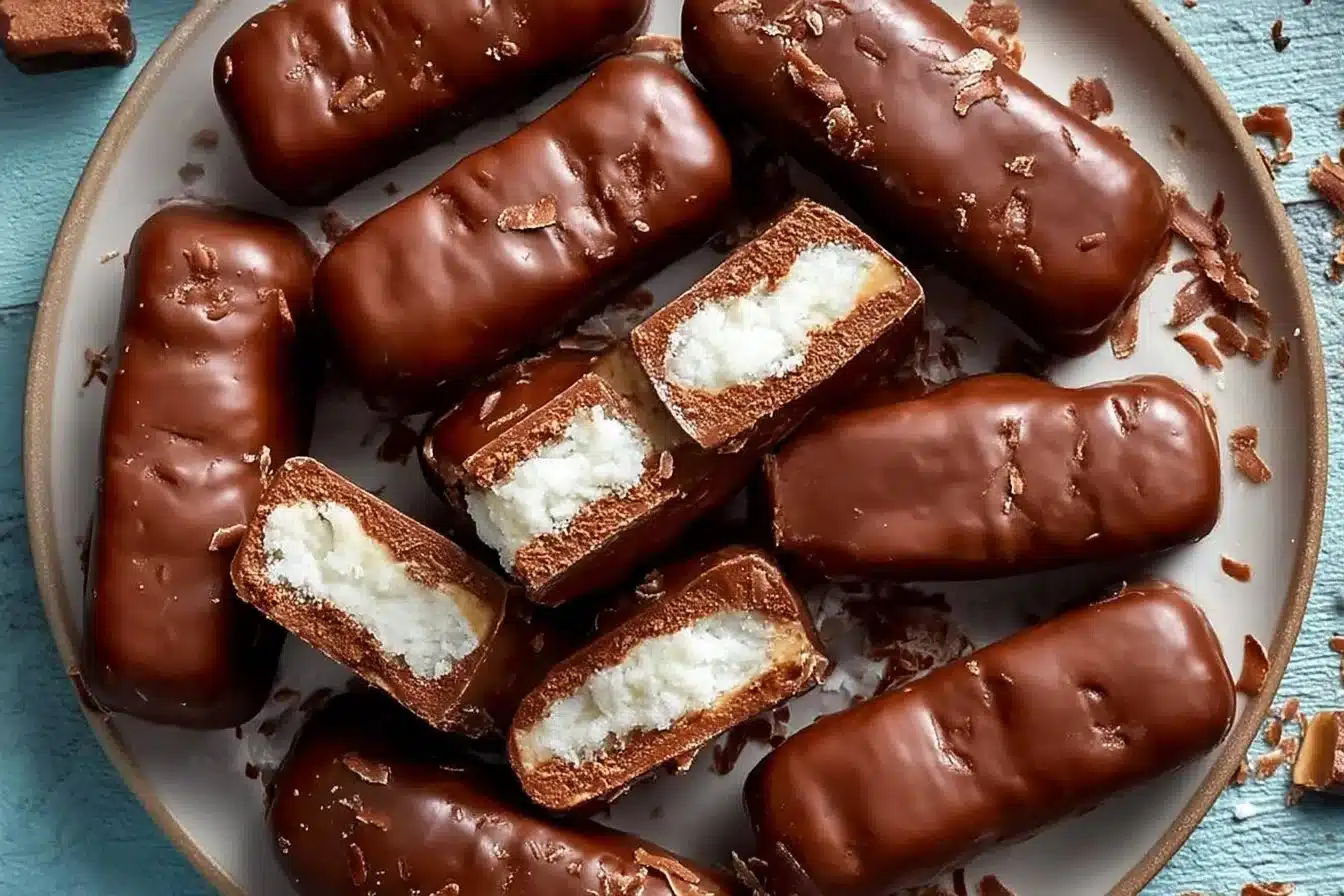
They come together on the stovetop in one pan, require no baking, and give you those familiar three shaved lines on top so they look like the store-bought bars you grew up with — only fresher, creamier, and with real coconut texture.
Why You’ll Love This Recipe
- True coconut bite: 2 cups desiccated coconut keeps a pleasant chew inside each bar instead of a paste-like filling.
- Creamy center without condensed milk: the brief cook with milk and a splash of cream gives a rich, slightly custardy interior.
- No-bake, stovetop method: everything is cooked and set without an oven — great when you want candy right away.
- Easy assembly and finish: shaping by hand and dipping in melted chocolate gives a professional look (those three top lines make a big visual difference).
- Make-ahead and grab-and-go: chill for one hour to set, then store in an airtight container for up to a week.
The Story Behind This Recipe
This is a simple stovetop take on the classic coconut chocolate bar — I wanted the coconut to stay pleasantly textured, not gummy, and to be coated in a smooth milk chocolate shell that sets with a satisfying snap.
What It Tastes Like
Expect a fairly sweet bar with a pronounced coconut aroma up front, rounded by the dairy notes from the milk and cream. The center is tender and slightly creamy, not dry; the milk chocolate adds a milky, mellow sweetness with a smooth finish and a little crunch from the set shell.
Ingredients You’ll Need
The coconut filling is all about balance: milk and sugar cook down with the desiccated coconut so the coconut softens but still keeps some tooth. The small amount of cream is optional in other recipes, but here it loosens the cooked coconut just enough to make the center silky rather than crumbly. Use good-quality milk chocolate for a glossy, flavorful coating.
- 1½ cup milk
- ¾ cup sugar
- 2 cup coconut (desiccated)
- ¼ cup cream
- 300 grams milk chocolate
How to Make Bounty Chocolate Recipe | Bounty Bar Recipe | Chocolate Coconut Bars
- In a large kadai or heavy-bottomed pan combine 1½ cup milk and ¾ cup sugar. Stir gently over medium heat until the sugar dissolves completely and the milk is warm and slightly steaming.
- Add 2 cup desiccated coconut and mix thoroughly so each coconut strand is moistened. The mixture will look loose and milky at first.
- Pour in ¼ cup cream and stir — the cream makes the coconut layer creamy and less grainy. Keep cooking on medium flame, stirring frequently to prevent sticking.
- Continue to cook until the mixture begins to thicken and “hold the shape” when you press a spoon into it — it should pull away from the sides of the pan and form a soft mass, not liquidy or runny. This usually takes several minutes; look for a dense, slightly glossy texture.
- Transfer the cooked coconut mixture to a plate and let it cool just until it’s comfortable to handle but still warm (cooling prevents sweat when chilled).
- Take a ball-sized piece (roughly the size of a ping-pong ball) and shape it into a small bar with your palms. Repeat until all the mixture is shaped. The centers should feel firm but slightly yielding.
- Place the shaped bars on a tray and refrigerate for 1 hour, or until they are set and hold their shape firmly.
- While the bars chill, prepare the chocolate: melt 300 grams milk chocolate using the double boiler method (a heatproof bowl set over simmering water). Stir gently and keep the bowl steady until the chocolate is fully melted and smooth.
- Let the melted chocolate cool briefly — it should be fluid but not hot. If the chocolate is too hot when you dip the bars, the coconut centers may soften or melt. A slight warmth is fine; you want the chocolate glossy and pourable.
- Dip each chilled coconut bar into the melted chocolate, coating it uniformly. Tap off excess chocolate and place on butter paper. Before the chocolate fully sets, mark three shallow lines across each bar with a butter knife to mimic the store-bought look.
- Refrigerate the coated bars for at least 1 hour so the chocolate sets completely and becomes firm to the touch.
- Enjoy immediately, or store in an airtight container as instructed below.
Tips for Best Results
- Stir continuously while cooking the coconut mixture to avoid hot spots and grainy texture.
- When checking doneness of the filling, press a small amount between fingers — it should hold together without crumbling.
- Cool the chocolate slightly before dipping; if it’s too warm the coconut center will soften and lose shape.
- Use a silpat or butter paper to prevent the bars from sticking and to make removal clean.
- For neater edges, chill the dipped bars briefly, then tidy any drips with a small offset knife before the chocolate fully firms. For slicing technique tips on similar bars, see my chocolate cherry cheesecake bars write-up.
Variations and Substitutions
- Darker chocolate: swap the milk chocolate for dark (will taste less sweet and more chocolate-forward).
- Coconut texture: if you prefer an ultra-fine center, pulse the desiccated coconut briefly in a food processor — expect a softer texture.
- No major ingredient swaps are recommended beyond the chocolate type; altering the milk or cream amounts will change texture significantly.
How to Serve It
Serve these chilled or at cool room temperature so the shell is still firm. They work well on a simple dessert platter alongside espresso or a nutty tea to cut the sweetness. For a picnic, pack them in a chilled container so they don’t soften.
How to Store It
Store the bars in an airtight container in the refrigerator for up to 1 week. They can be frozen for longer storage — wrap individually in butter paper and place in a freezer-safe box; thaw in the fridge before serving. If you plan to add any soft toppings, do that just before serving to avoid moisture softening the chocolate.
Final Thoughts
These homemade bounty-style bars are quietly impressive — quick to make, reliably sweet, and with that satisfying contrast between a tender coconut heart and a smooth chocolate shell. Once you’ve marked those three lines, they’ll look as store-bought as they taste homemade.
Conclusion
For a vegan take on no-bake coconut bars, check out No Bake Coconut Bounty Bars – Chocolate Covered Katie.
If you want a step-by-step reference that mirrors this classic method, see Bounty recipe | Easy No-Bake Coconut Bounty bars.
For another clear photo-driven guide to homemade bounty/mounds bars, visit Easy Homemade Bounty Bars aka Mounds (step-by-step recipe).

Coconut Chocolate Bars
Ingredients
For the Coconut Filling
- 1.5 cups 1½ cup milk Use whole milk for a creamier texture.
- 0.75 cups ¾ cup sugar Adjust sweetness to taste.
- 2 cups 2 cup desiccated coconut Ensure it's unsweetened for best results.
- 0.25 cups ¼ cup cream Optional, helps create a creamy center.
For the Chocolate Coating
- 300 grams 300 grams milk chocolate Use good-quality chocolate for a glossy finish.
Instructions
Preparation
- In a large kadai or heavy-bottomed pan, combine 1½ cup milk and ¾ cup sugar. Stir gently over medium heat until the sugar dissolves completely and the milk is warm and slightly steaming.
- Add 2 cup desiccated coconut and mix thoroughly so each coconut strand is moistened. The mixture will look loose and milky at first.
- Pour in ¼ cup cream and stir. Keep cooking on medium flame, stirring frequently to prevent sticking.
- Continue to cook until the mixture thickens and holds its shape when pressed against the side of the pan. This usually takes several minutes.
- Transfer the cooked mixture to a plate and let it cool just until it’s comfortable to handle but still warm.
Shaping and Chilling
- Take a ball-sized piece of the mixture and shape it into a small bar. Repeat until all the mixture is shaped.
- Place the shaped bars on a tray and refrigerate for 1 hour, or until they hold their shape firmly.
Chocolate Coating
- Melt 300 grams of milk chocolate using the double boiler method until fully melted and smooth.
- Dip each chilled coconut bar into the melted chocolate, coating it uniformly. Tap off excess chocolate and place on butter paper.
- Before the chocolate sets, use a butter knife to mark three shallow lines across each bar.
- Refrigerate the coated bars for at least 1 hour until the chocolate sets completely.


