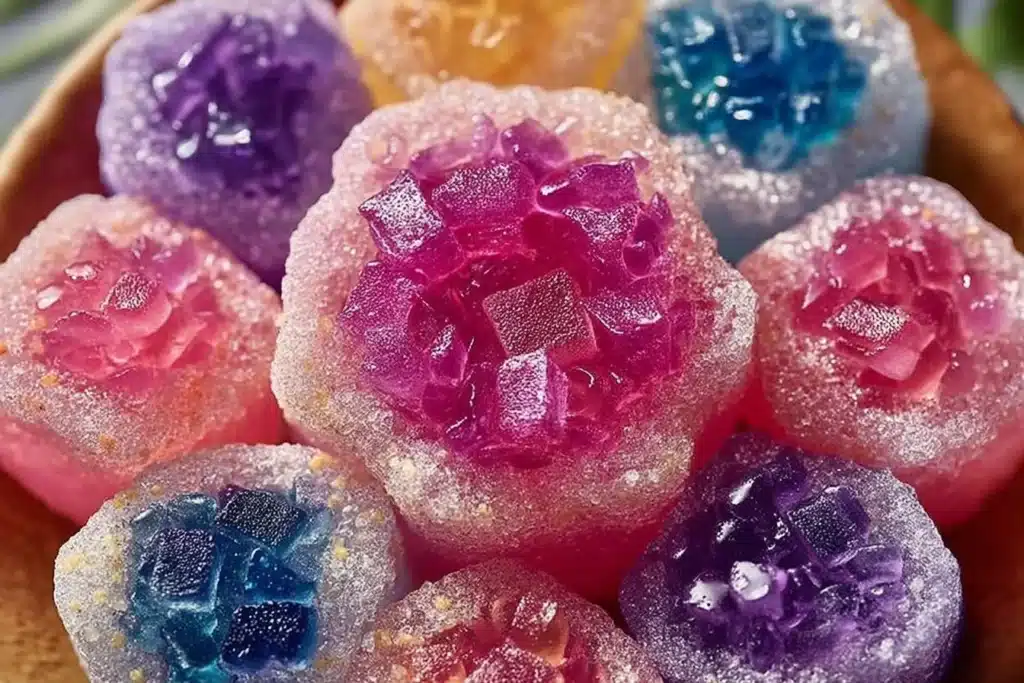
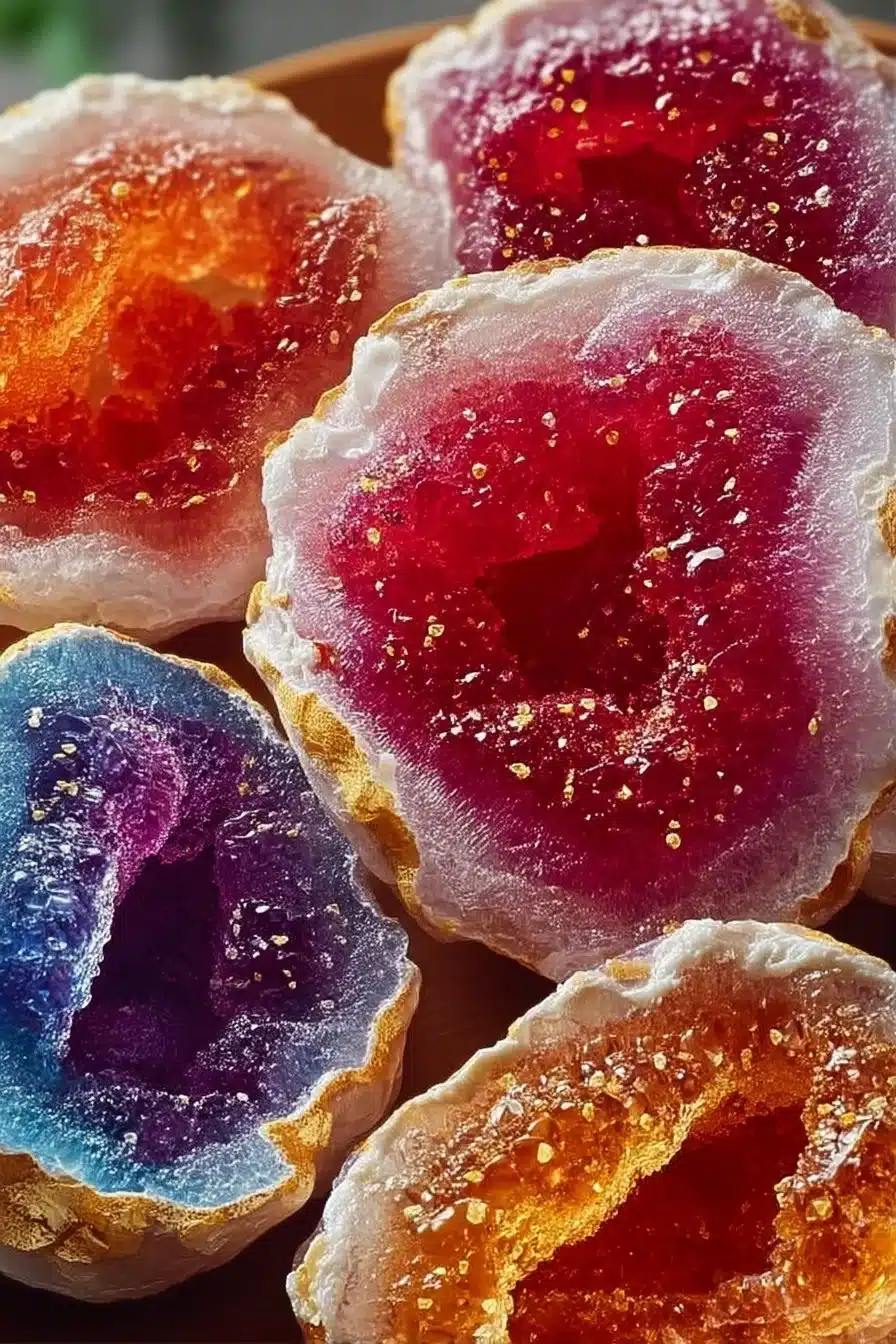
I never planned to make edible geology, but the first time I watched molten sugar pour into a shallow pan and set into glassy shards, I knew I had to make candy geodes again. These are candy rocks — brilliant, crunchy, jewel-toned pieces that catch the light and snap with a satisfying brittle crack under your teeth.
They’re quick to pull together, and the payoff is very visual: crystalline shards with glass-like translucence and bright, saturated color. If you like candy that’s all about texture and presentation, this recipe gives you that hard, shiny snap and the sort of dramatic look that begs to be photographed — think edible geode centerpieces and party favors that actually taste as good as they look. For a deeper look at the idea behind geode sweets, I also keep a short how-to on candy geode techniques.
Why You’ll Love This Recipe
- Raw, glassy crunch: the candy sets to a hard-crack finish so each piece snaps cleanly rather than bending or chewing away.
- Fast and visual: from start to cool, you can have finished geode shards in under an hour — great for last-minute decorations.
- Colorplay without fuss: a few drops of food coloring creates saturated, translucent layers that catch light like real crystals.
- Minimal equipment and ingredients: this is just sugar and water (plus optional color), so it’s easy to scale up for party batches.
- Great for creative displays: break the cooled slab into uneven shards for authentic, faceted “geode” clusters — I’ve paired these with dramatic candies like black swirl poison candy apples on dessert tables.
The Story Behind This Recipe
I developed this method when I wanted something that looked jewel-like but didn’t require tempering chocolate or complex sugar pulling; the technique here is straightforward and produces reliably glassy shards similar to novelty treats like bloody eyeball candy apples in terms of visual drama.
What It Tastes Like
These candy geodes are clean, very sweet, and intensely crunchy — no chew, just an initial brittle snap that dissolves quickly into pure sugar. They carry a neutral, almost neutral-candy aroma (no added flavors here), so the appeal is textural and visual: glossy, glass-like pieces that melt on the tongue with a straightforward, crystalline sweetness.
Ingredients You’ll Need
The essential chemistry is sugar and water — sugar gives the glassy structure, water dissolves and heats it, and food coloring lets you control the jewel tones. Use a clear, neutral sugar (granulated) and measure by weight or consistent volume using the 2:1 sugar-to-water ratio explained below. If you want layered color effects, plan your colors ahead of pouring so the hues look deliberate rather than muddy. For inspiration on color combinations, I often refer back to candy projects like cotton candy cookies for playful palettes.
- Sugar
- Water
- Food coloring (optional)
- Creativity
How to Make Candy Geodes
- Combine sugar and water in a saucepan using a 2:1 ratio (for example, 2 cups sugar to 1 cup water). Stir gently to moisten all the sugar so the mixture looks uniformly damp and grain-free before heating.
- Heat the mixture over medium heat, stirring only until the sugar has completely dissolved and the syrup becomes clear and smooth — you should see no graininess on the spoon. Once dissolved, stop stirring.
- Bring the syrup to a boil without stirring. Watch the bubble size grow and the surface become glossy; this is the syrup concentrating. Continue until the syrup reaches the hard crack stage, about 300°F (149°C). At this point the liquid is very clear and will set into a hard, glass-like candy. A candy thermometer is the most reliable way to know you’re done.
- Remove the pan from the heat and let the bubbles settle for a few seconds so the surface calms; the syrup should still be fluid but not aggressively boiling. Take care — this syrup is extremely hot and will cause severe burns.
- If you want color, add a few drops of food coloring now and stir once or twice to distribute. The color will darken slightly as the syrup cools, so start with a small amount. For marbling, add colors in separate pours rather than mixing everything together.
- Pour the hot syrup into a mold or spread it thinly onto a lined baking sheet. Use whatever thickness you like: thinner pours yield thinner, more translucent shards; thicker pours create chunkier geode pieces. Work quickly — the syrup sets fast.
- Let the poured sugar cool completely at room temperature until it is hard to the touch. Once set, remove from the mold or lift from the sheet and break into irregular pieces with a metal spoon or by hand to reveal geode shapes with jagged edges and glossy faces. Look for clear, glassy fractures and shiny inner faces — that’s the ideal appearance.
- Enjoy immediately or use the pieces as decorative, edible accents. These store-bought-looking crystals pair beautifully with cakes and candy displays.
Tips for Best Results
- Use a candy thermometer: hitting the hard crack stage (about 300°F/149°C) is crucial; undercook and the candy will be tacky, overcook and it can darken and taste burnt.
- Avoid stirring once the syrup starts boiling — stirring can encourage crystallization and make the finished candy grainy.
- Work over a lined surface: a silicone mat or parchment keeps cooled shards from sticking and makes cleanup easy.
- For extra sparkle, pour on a slightly tilted sheet so the syrup pools into varying thicknesses — that variation produces more interesting, prism-like shards.
- Keep humidity in mind: these candies absorb moisture. Make them on a dry day and store in an airtight container to maintain snap.
Variations and Substitutions
- Color layering: pour clear syrup, let it set slightly, then pour a colored layer to get translucent bands.
- Mold shapes: silicone molds give neat, faceted pieces; a freeform pour on a baking sheet yields rough, natural-looking shards.
- Texture play: for more crystal-like surfaces, let a thin layer partially set, then rip it while still slightly pliable to create flaky edges.
How to Serve It
Serve geode shards on a small platter as a striking centerpiece, tuck them into clear favor bags for guests, or arrange them around a cake’s base for a geode effect. They also make excellent photo props — place a few on a dark plate to show off the translucence and color reflection.
How to Store It
Store cooled pieces in an airtight container at room temperature away from humidity. Don’t refrigerate — moisture in the fridge will soften the candy. If stacking pieces, separate layers with parchment to prevent sticking. Properly stored, they keep crisp for several weeks.

Final Thoughts
These candy geodes are simple chemistry turned theatrical: minimal ingredients, big visual payoff, and that unmistakable brittle snap. They’re perfect for a weekend project when you want something dramatic without complicated technique.
Conclusion
For a step-by-step photo walkthrough that complements this method, check out Geode Candy : 6 Steps (with Pictures) – Instructables.
If you want the science behind how the crystals form while you cook, this guide from Gorgeous and Delicious Candy Geode Kitchen Science For Kids is very clear and visual.
And for another approachable how-to with kid-friendly explanations, see How To Make Candy Geodes – Little Bins for Little Hands.