The Practical Why Behind It
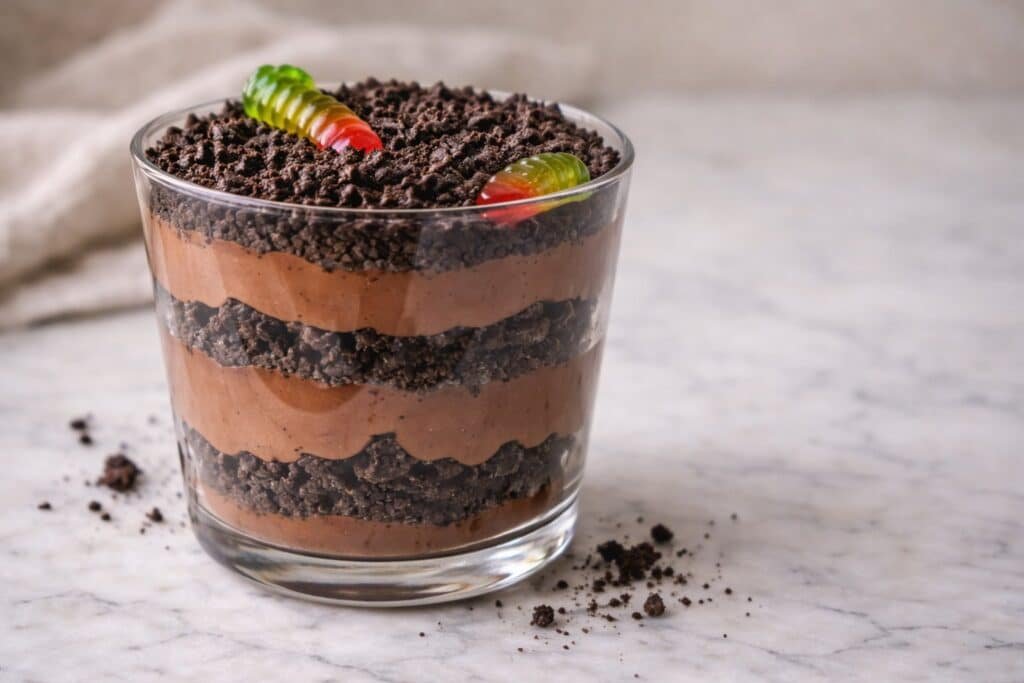
An Oreo Cookie Dirt Cup gives you bakery style charm with almost no effort and no oven at all. You get a chilled, layered dessert that looks like it came from a pastry case, but you can build it in 20 minutes with a bowl, a whisk, and a bag of cookies.
This recipe needs no fancy tools and almost no advance planning beyond chilling time. You whisk, fold, and layer, and the heaviest job is crushing cookies, which even a toddler with a zip top bag and a rolling pin can handle. Instant pudding thickens in minutes, softened cream cheese blends into a silky base, and Cool Whip creates that smooth, cloud like filling without any stress about whipped cream deflating. It is the kind of dessert you can make in a tiny kitchen, in a noisy house, or right before a potluck when you realize you promised to bring something chocolate.
There is also a little strategy built into the structure of this Oreo Cookie Dirt Cup. Individual cups solve a lot of hosting headaches. You skip slicing, chasing clean servings, and guessing whether there is enough for everyone. The smaller portions chill faster than a big trifle, so your dessert sets properly and stands up on the table without melting into a puddle. The Oreos stay pleasantly crunchy on top but soften just enough in the lower layers, so you get a mix of textures instead of one soggy pan of crumbs.
If you like the logic of this recipe, you will probably love the same easy, make ahead feeling in my carrot cake cheesecake bites, Easter egg Oreo cookie balls, or even a classic chocolate lasagna style dessert. They all lean on the same idea of simple assembly, clever chilling, and big flavor payoff.
Step-by-step method
Start by turning your Oreos into “dirt.” Place the cookies in a zip top bag and crush them with a rolling pin, or pulse them in a food processor if you have one. Aim for fine crumbs with a few tiny chunks for texture, nothing larger than a pea. Set the crumbs aside.
In a medium bowl, beat together the softened butter, powdered sugar, and cream cheese until completely smooth and fluffy. Take a moment here and really work out any lumps. The mixture should look like a thick frosting and hold soft peaks when you lift your mixer. If you see little specks of cream cheese, keep mixing until it is silky.
In a separate large bowl, whisk the instant chocolate pudding with the cold milk for about 2 minutes. You will feel it thicken and see it leave ribbons when you drag the whisk through. When the pudding looks glossy and holds a soft mound on the whisk, you are ready to move on.
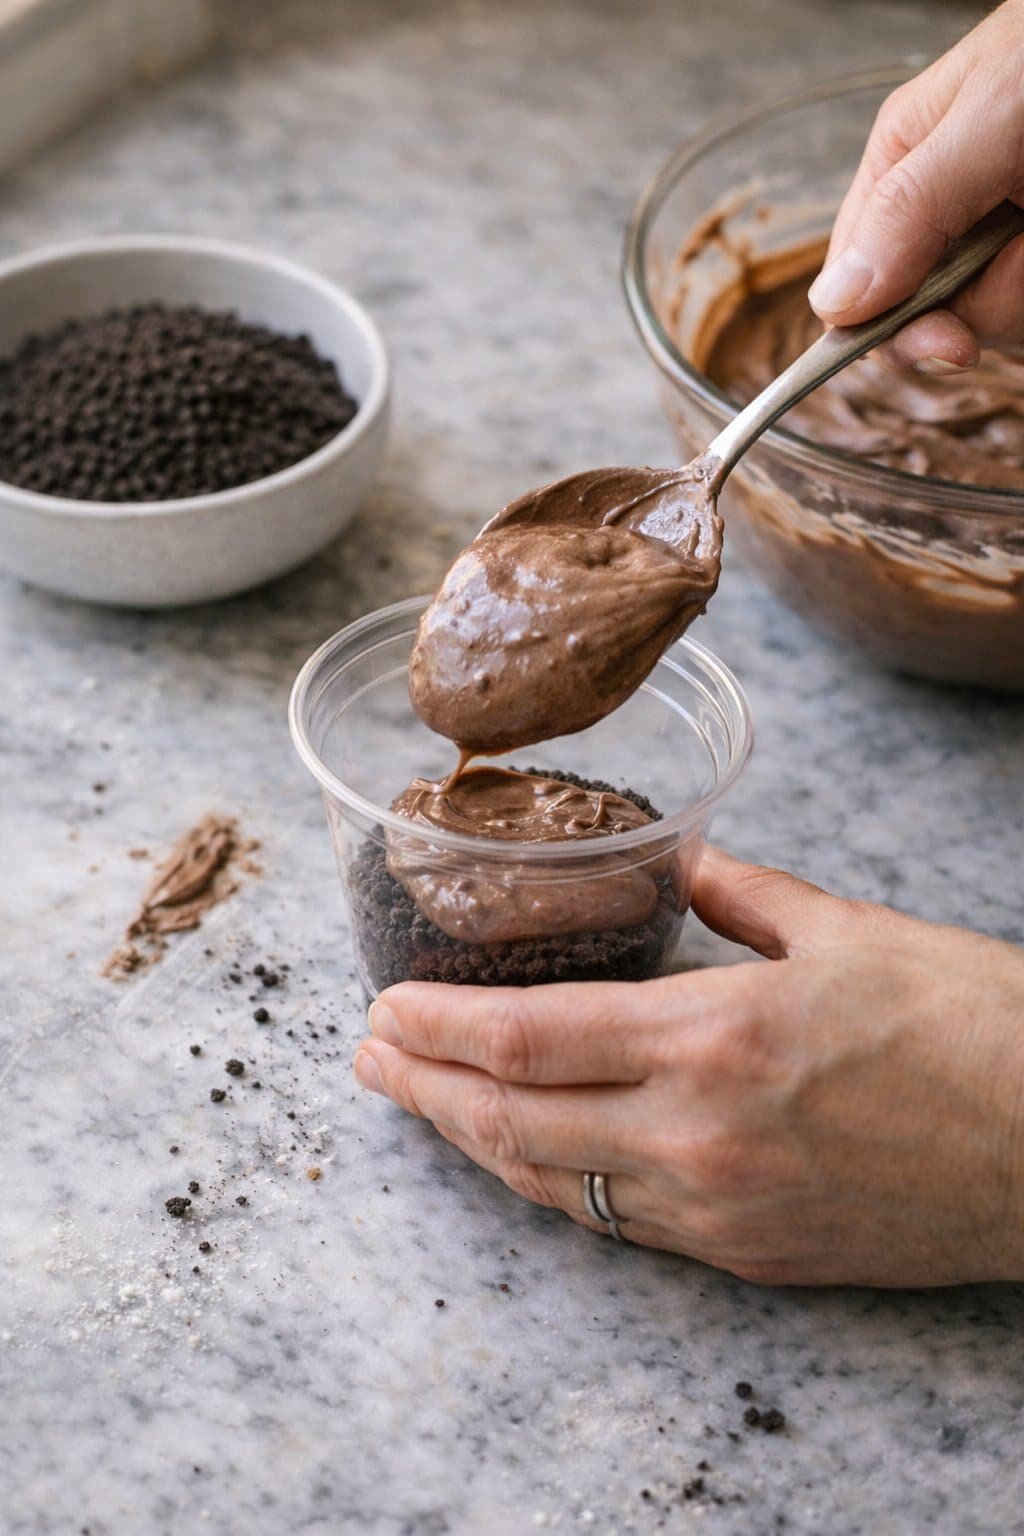
Process Image of Oreo Cookie Dirt Cup
Gently fold in the Cool Whip with a spatula. Scoop from the bottom of the bowl and turn the mixture over itself, rotating the bowl as you go. You want the filling for your Oreo Cookie Dirt Cup to look smooth and mousse like, without streaks of white or very dark pudding. Take your time here so you keep as much air in the mixture as possible.
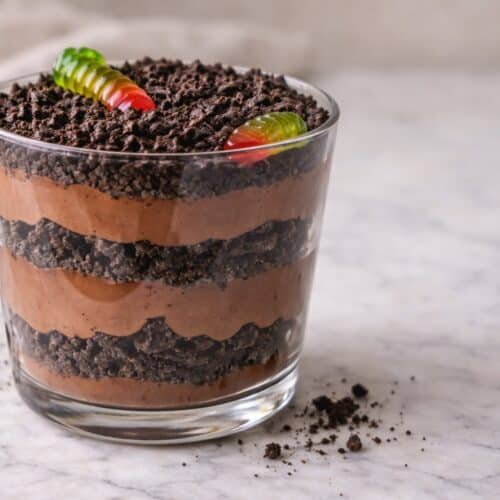
To layer, spoon a tablespoon or two of Oreo crumbs into the bottom of each cup. Add a generous layer of the pudding mixture on top, then repeat the layers until you reach the top of the cup, finishing with a thick blanket of Oreo crumbs that completely covers the filling. Tuck a few gummy worms into the top layer so they peek out of the “soil,” like a tiny garden that kids will want to dig into with a spoon.
Chill the cups in the refrigerator for at least 1 hour, or until the crumbs soften slightly and the layers feel set when you nudge the cup. The longer chill time lets the flavors mingle and gives you that classic dirt cup texture. If you enjoy nostalgic, no bake treats like layered banana pudding or cheesecake style trifles, this method will feel wonderfully familiar and very forgiving.
Make-Ahead and Storage Notes
This Oreo Cookie Dirt Cup actually tastes better after a little rest, so it is a perfect make ahead dessert for busy days or parties. For the freshest flavor and the prettiest top, I like to assemble the pudding and cream cheese layers up to 24 hours in advance, then add the final sprinkle of Oreo crumbs and gummy worms right before serving so they stay cute and crisp.
If you prefer a firmer, very chilled cup, you can make the full Oreo Cookie Dirt Cup the night before. Cover each cup tightly with plastic wrap and tuck them into the refrigerator. Just know that the cookie layers will soften more and start to taste almost like a chocolate cake crumb, which many people secretly prefer.
Store leftover Oreo Cookie Dirt Cup covered in the refrigerator for up to 3 days, especially if you used dairy milk. The Oreo crumbs will gradually soften, but the flavor stays rich, chocolatey, and nostalgic. It makes a lovely treat to pull from the fridge for weeknight desserts or after school snacks.
Do not freeze the assembled cups. The pudding and whipped topping can separate and turn icy once thawed, which ruins that creamy, bakery style texture. If you really want to work ahead, crush your Oreos, mix the cream cheese layer, and whisk the instant pudding up to one day early. Keep each component in its own covered container in the refrigerator, then fold everything together, layer, and chill shortly before serving.
Variations and How to Serve It
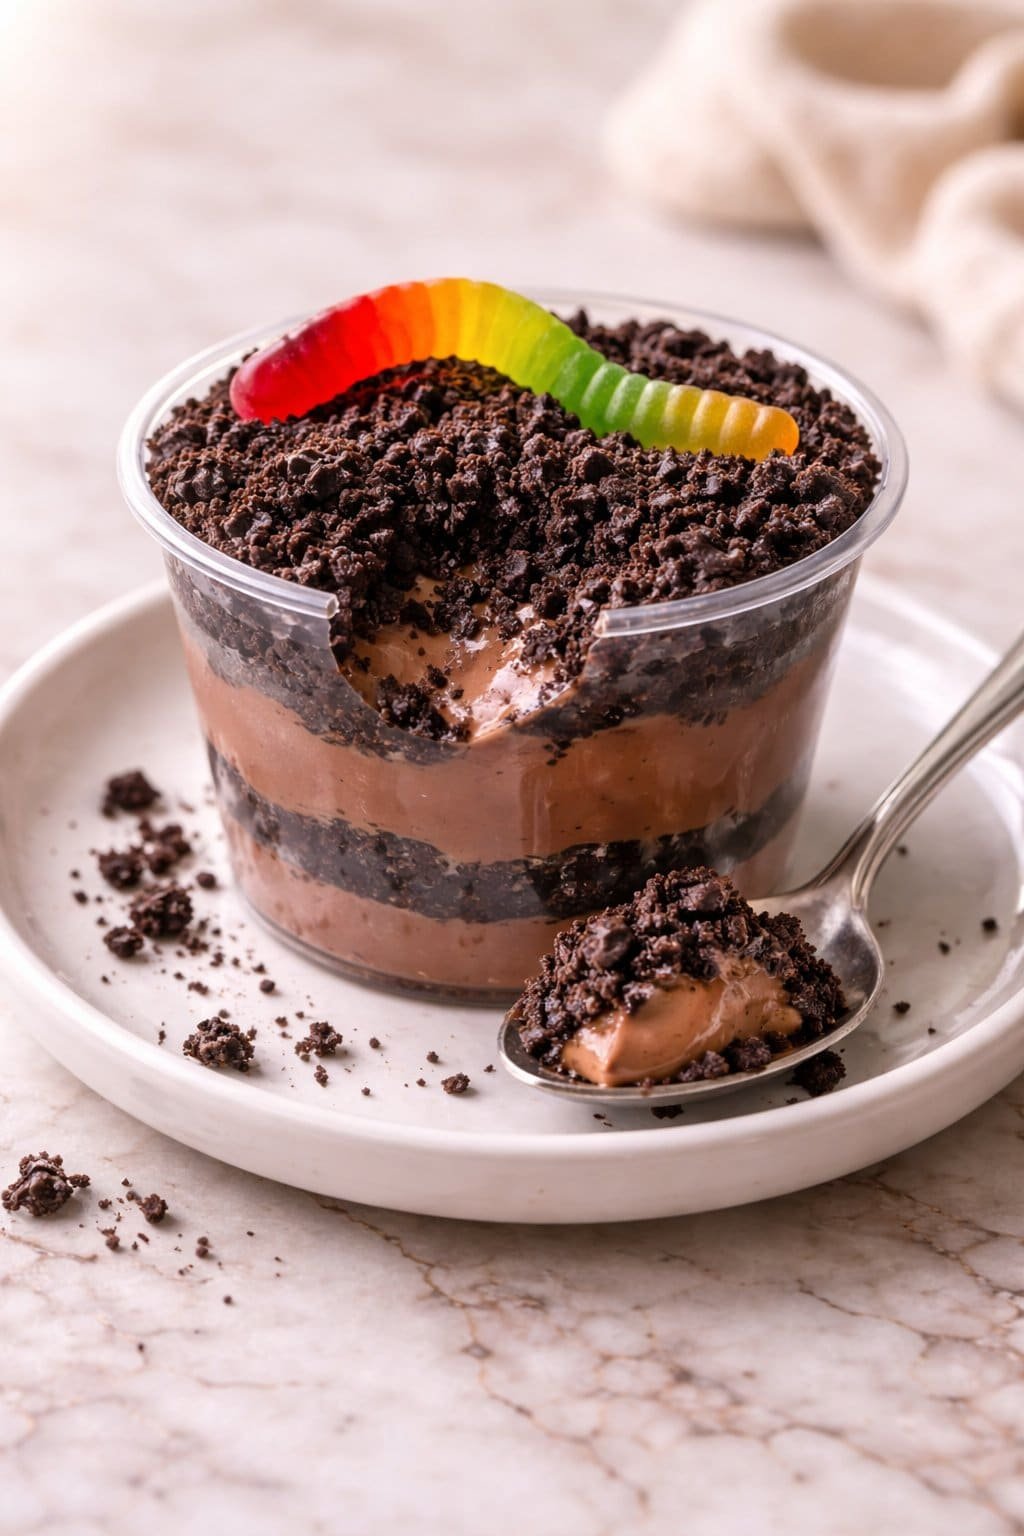
Serving Image of Oreo Cookie Dirt Cup
An Oreo Cookie Dirt Cup loves a costume change, so feel free to play with themes and toppings. For a birthday party, swap the gummy worms for rainbow sprinkles, mini chocolate chips, or candy eyeballs and let kids build their own cups from bowls of toppings on the table. It turns dessert into an activity, which is always a win.
You can make it feel a little more grown up by serving the Oreo Cookie Dirt Cup in small stemlessgrape juice + a splash of vinegar glasses or mini mason jars. Finish each one with shaved chocolate, an extra swirl of whipped cream, or even a drizzle of chocolate syrup. For a lighter twist, try using reduced fat cream cheese, light whipped topping, or a mix of chocolate and vanilla pudding for a marbled look.
Around Halloween, tilt a few Oreo halves upright in the “dirt” and add cookie “tombstones” with icing writing for an eerie little graveyard cup that makes everyone smile. For spring, tuck in candy flowers or pastel candies. The base recipe stays the same, so you can change the mood with very little extra work.
You can scale this Oreo Cookie Dirt Cup for almost any occasion. Spoon it into a big glass trifle dish for potlucks and scatter gummy worms and extra crumbs on top just before serving so they stay chewy and defined. For a picnic or lunchbox treat, portion the filling into lidded 4 or 8 ounce containers, then pack the crumbs and toppings in a separate small bag to sprinkle on right before eating. That keeps the topping from getting too soft.
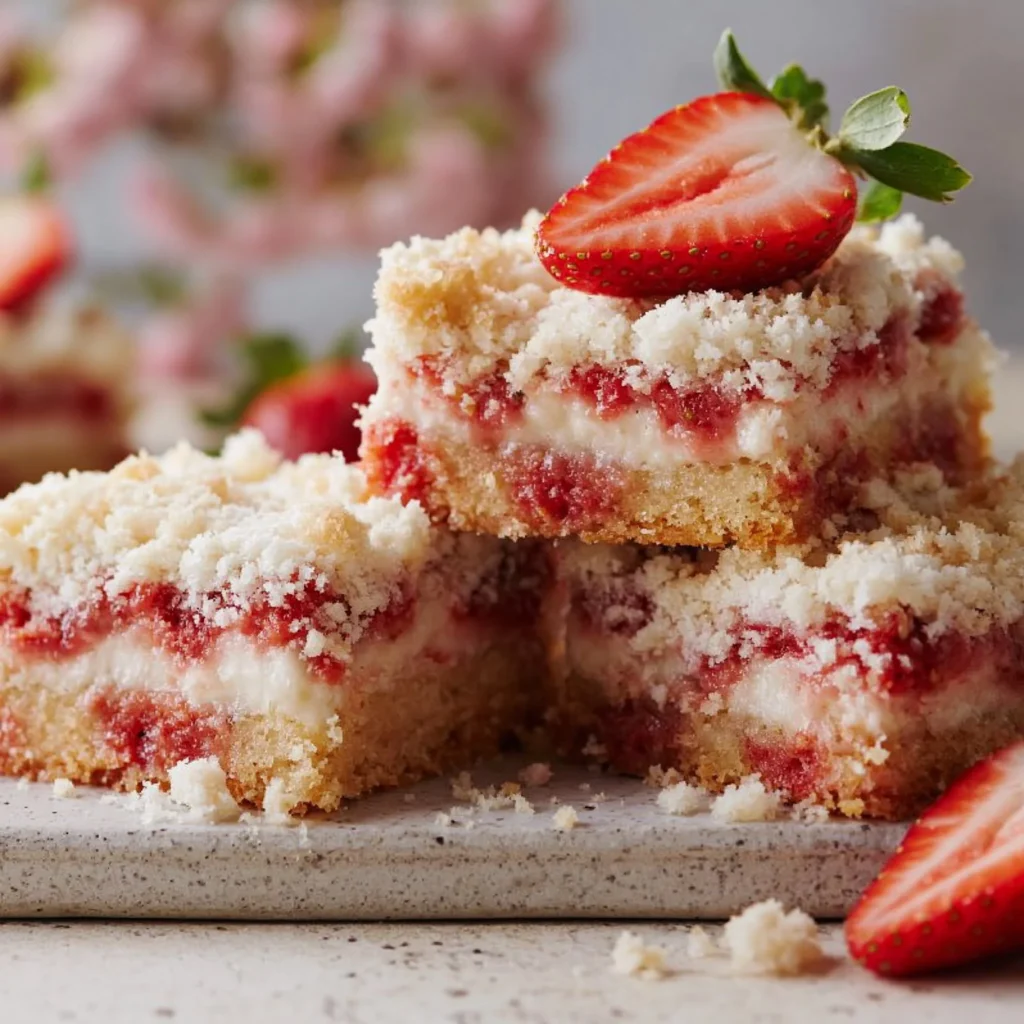
If you love theme desserts, pair these Oreo cups with something bright and fruity so there is contrast on the table, not just chocolate everywhere. A chilled strawberry cheesecake style dessert, banana pudding truffles, or even a simple fruit salad works beautifully. Serve the dirt cups well chilled, straight from the fridge, and expect the layers to soften a bit as they sit, which only makes each spoonful creamier and more nostalgic.
Conclusion
I love how a simple chilled dessert like this can turn an ordinary day into a little celebration. Whether you make this Oreo Cookie Dirt Cup for a birthday, a movie night, or just because it is Wednesday and you need something sweet, you are creating a tiny moment of joy for everyone who grabs a spoon. It is the kind of treat that makes kids’ eyes light up and pulls adults right back into their favorite childhood memories.
As you layer the crumbs and cream, you are not just following a recipe, you are building something to share. Set a tray of these cups on the table and watch how quickly people gather, laugh, and compare whose “dirt garden” looks the funniest. Let your kids or friends help decorate, and do not worry about perfection. A little mess only makes the memories stick.
I hope you feel inspired to give this Oreo Cookie Dirt Cup a try and make it your own with toppings and fun serving ideas. Once you see how easy it is to pull together, it might just become your go to no bake dessert whenever you want something cozy, creamy, and a little bit playful.
Recipe
Oreo Cookie Dirt Cup
Ingredients
Ingredients
- 1 package Oreo cookies about 36 cookies, crushed
- 4 tbsp unsalted butter softened
- 1 cup powdered sugar
- 8 oz cream cheese softened
- 2 packages instant chocolate pudding mix 3.9 oz each
- 5 cups cold milk
- 12 oz frozen whipped topping such as Cool Whip, thawed
- 24 gummy worms for garnish
Instructions
- Place the Oreo cookies in a zip top bag or food processor and crush into fine crumbs with a few small chunks; set aside.
- In a medium bowl, beat the softened butter, powdered sugar, and cream cheese with a hand mixer until smooth, creamy, and free of lumps.
- In a large bowl, whisk the instant chocolate pudding mixes with the cold milk for about 2 minutes, until thickened and glossy.
- Add the cream cheese mixture to the pudding and whisk or beat until fully combined and smooth.
- Gently fold the thawed whipped topping into the pudding mixture with a spatula until no streaks remain and the mixture looks light and fluffy.
- Spoon 2 tablespoons of crushed Oreos into the bottom of each of 8 cups or small dessert jars.
- Add a layer of the pudding mixture over the crumbs, then repeat, alternating layers of crumbs and pudding mixture, finishing with a generous layer of Oreo crumbs on top.
- Push 2 to 3 gummy worms into the top Oreo layer of each cup so they peek out.
- Cover the cups and refrigerate for at least 1 hour, or until well chilled and slightly set before serving.
Notes
- For neat layers, transfer the pudding mixture to a piping bag or large zip top bag and pipe it into the cups.
- You can assemble the cups up to 24 hours ahead; add gummy worms just before serving if you want them extra fresh.
- Whole, 2 percent, or oat milk will give the creamiest texture for the pudding.