The Memory Behind This Treat
The first time I whipped up these No Bake Cookie Dough Bars, I was knee-deep in a summer kitchen renovation. With my oven out of commission and the craving for something sweet more persistent than a toddler playing hide and seek, I turned to my trusty no-bake recipes. I remember the kids sitting around our makeshift dining table—an old picnic bench—eagerly watching as I mixed up the batter. It was one of those sweltering afternoons when the thought of turning on anything that emitted heat was downright unbearable.
As I combined the buttery mixture with heat-treated flour (a tip I picked up after a culinary hiccup or two), I noticed how the aroma of vanilla filled the air. It’s amazing how a simple whiff can transport you to grandma’s kitchen, where she always had a cookie jar filled with goodies just waiting for curious hands. The best part? No need to fight over who gets to lick the spoon; there’s enough batter for everyone to have a taste. And with the addition of chocolate chips, these bars were a hit, disappearing faster than you could say “cookie dough.”
Creating these bars became a family affair, each of us sneaking bites as they chilled in the fridge. I even experimented with substituting coconut sugar and coconut oil to make a dairy-free version when my sister-in-law, with her dietary restrictions, came over. These bars became a staple, a sweet reminder of how a little creativity can lead to delicious simplicity. If these bars could survive a kitchen renovation, imagine what they can do for your sweet cravings!
How To Make It (Mix & Ingredients)
Creating these No Bake Cookie Dough Bars is as enjoyable as indulging in them! Let’s dive into the simple mix and irresistible ingredients. Begin by heat-treating your flour—a quick safety step that’s well worth the effort. You can either bake it at 350°F for 5 to 7 minutes or microwave in short bursts until it reaches 160°F. This small precaution ensures your no-bake treat remains both delicious and safe.
Instructions Process of No Bake Cookie Dough Bars
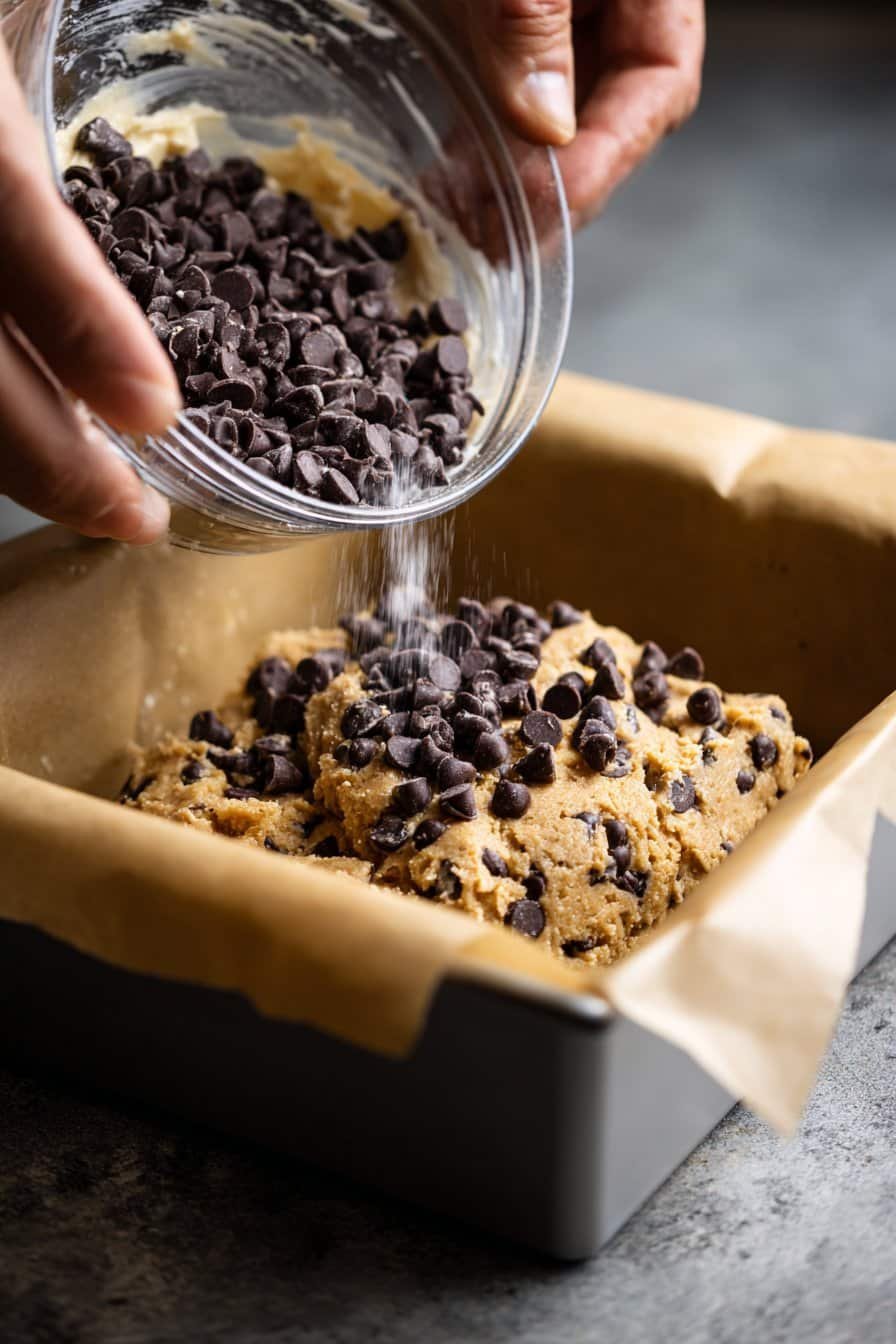
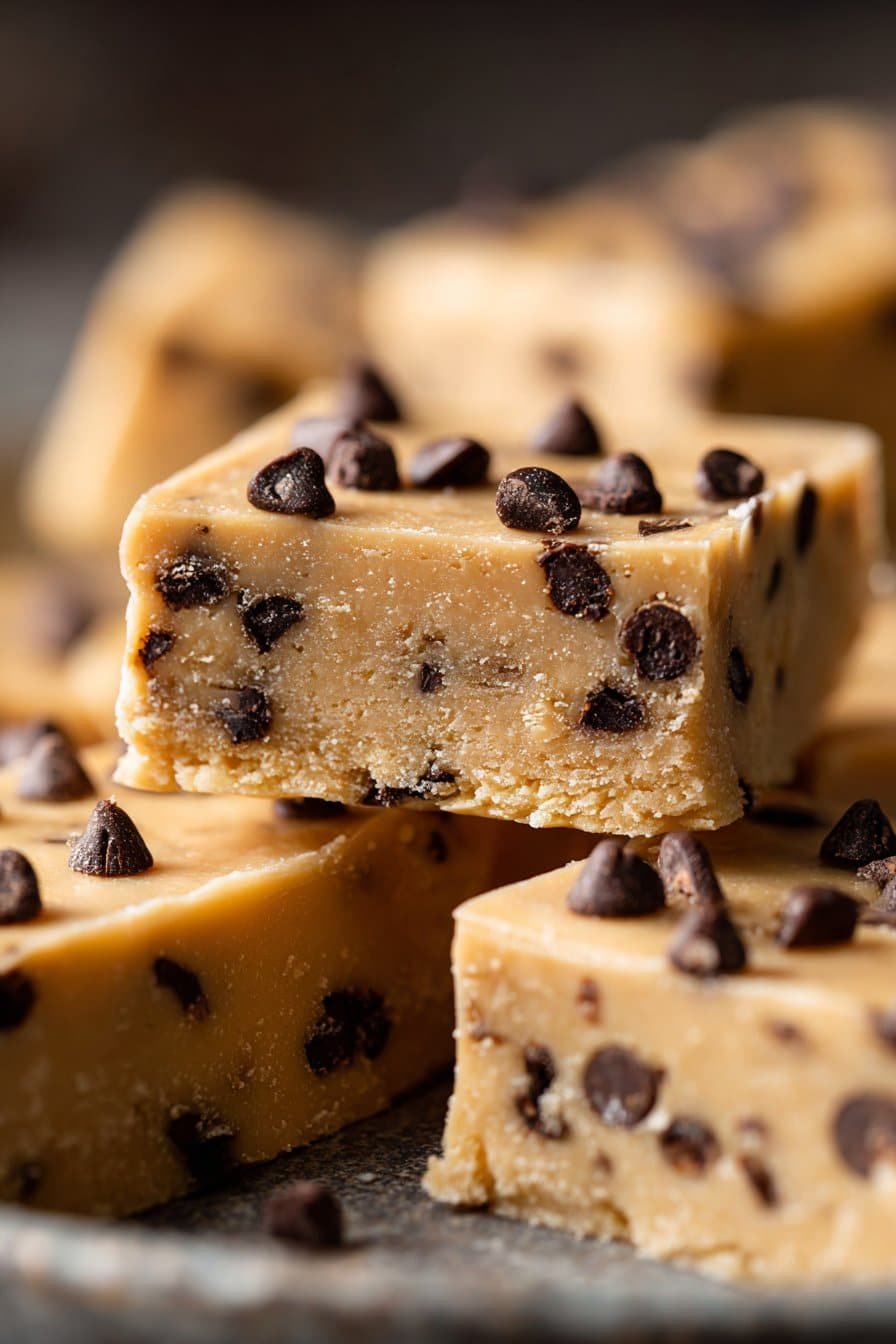
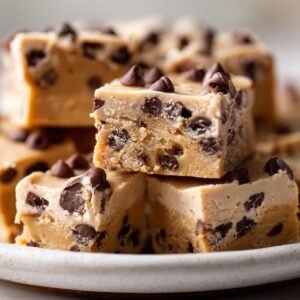
Next, in a large mixing bowl, it’s time to cream together the unsalted butter, brown sugar, and granulated sugar. If you’re feeling adventurous or aiming for a healthier twist, swap the brown sugar with coconut sugar. Use an electric mixer to blend these until they’re light and fluffy. This step is like the backbone of your bars—creating a smooth, sweet base.Now, add in the vanilla extract and milk, mixing until everything is well combined. Gradually incorporate the heat-treated flour, and then fold in the chocolate chips. Feel free to get creative here—swap in nuts or dried fruits if you like a bit of crunch or chew in your bite. Line an 8×8-inch baking dish with parchment paper, pour in your dough mixture, and press it down firmly. After chilling in the refrigerator for 1 to 2 hours, your bars will be ready to slice and relish, perfect for satisfying those sweet cravings!
Make-Ahead & Storage
When it comes to No Bake Cookie Dough Bars, convenience is key. These bars are perfect for making ahead, allowing you to have a sweet treat ready whenever cravings strike. Once you’ve prepared and chilled your bars, they can be stored in the refrigerator for up to a week. Just ensure they’re kept in an airtight container to maintain freshness and prevent them from drying out. If you’re planning to serve them for a gathering, making them a day or two in advance can save you time and stress.
For those who prefer to plan even further ahead, these delightful bars freeze wonderfully. Simply wrap each bar individually in parchment paper and then place them in a freezer-safe bag. This method helps prevent them from sticking together and makes it easy to grab just one or two at a time. When you’re ready to enjoy, let them thaw at room temperature for about 15 minutes. They’ll taste just as delicious as the day you made them.
Whether you’re storing them in the fridge or freezer, these No Bake Cookie Dough Bars remain a versatile and indulgent option. You might also love trying our similar no-bake treats like the Chocolate Peanut Butter Bars for more inspiration. Keeping these bars on hand means you’re never more than a step away from satisfying your sweet tooth.
Best Ingredients & Party Variations
When it comes to making the best No Bake Cookie Dough Bars, selecting the right ingredients is key to achieving that dreamy texture and flavor. Start with heat-treated all-purpose flour for safety—simply bake or microwave it until it reaches 160°F. This makes the flour safe to eat raw, giving you peace of mind while indulging in these delightful bars. Brown sugar adds depth with its rich, molasses-like flavor, but if you’re feeling adventurous or health-conscious, coconut sugar is a great alternative. It offers a subtle caramel taste that pairs beautifully with the creamy texture of butter, or try coconut oil for a dairy-free twist.
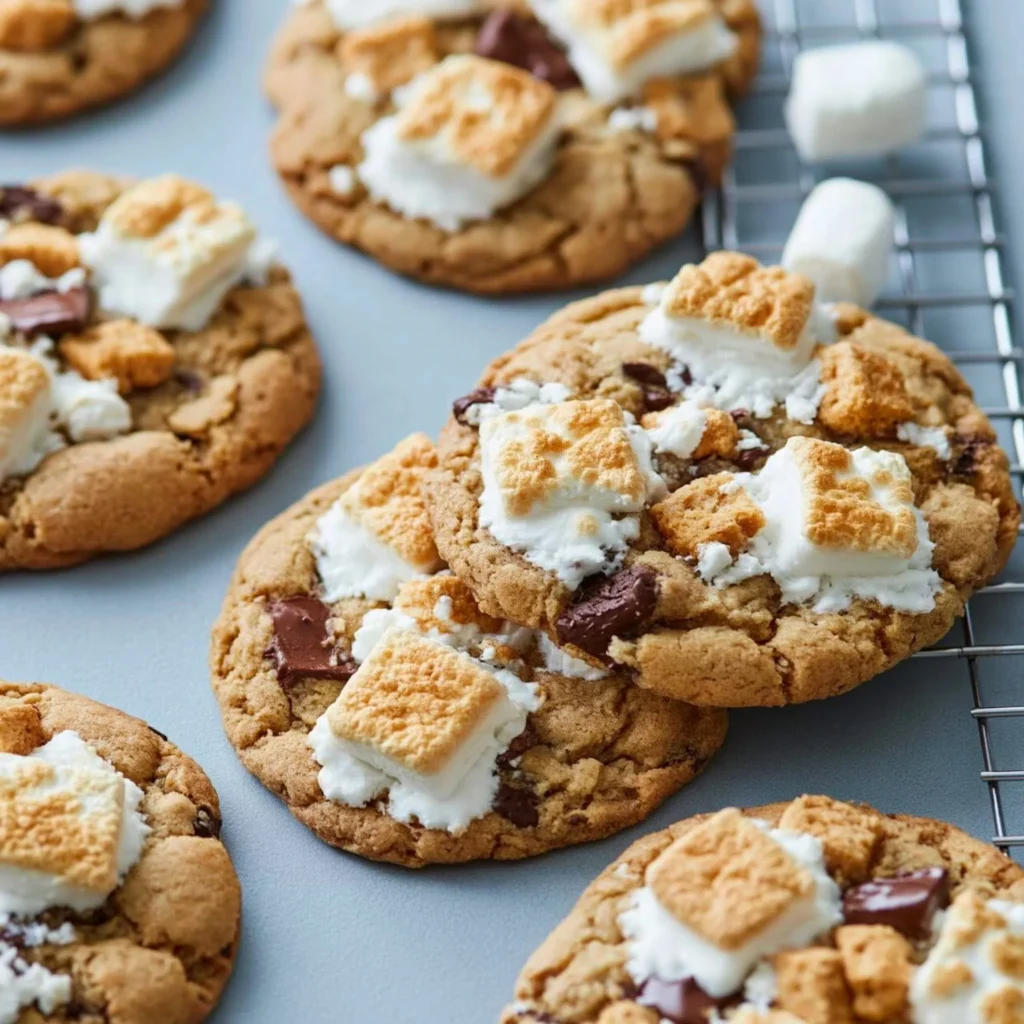
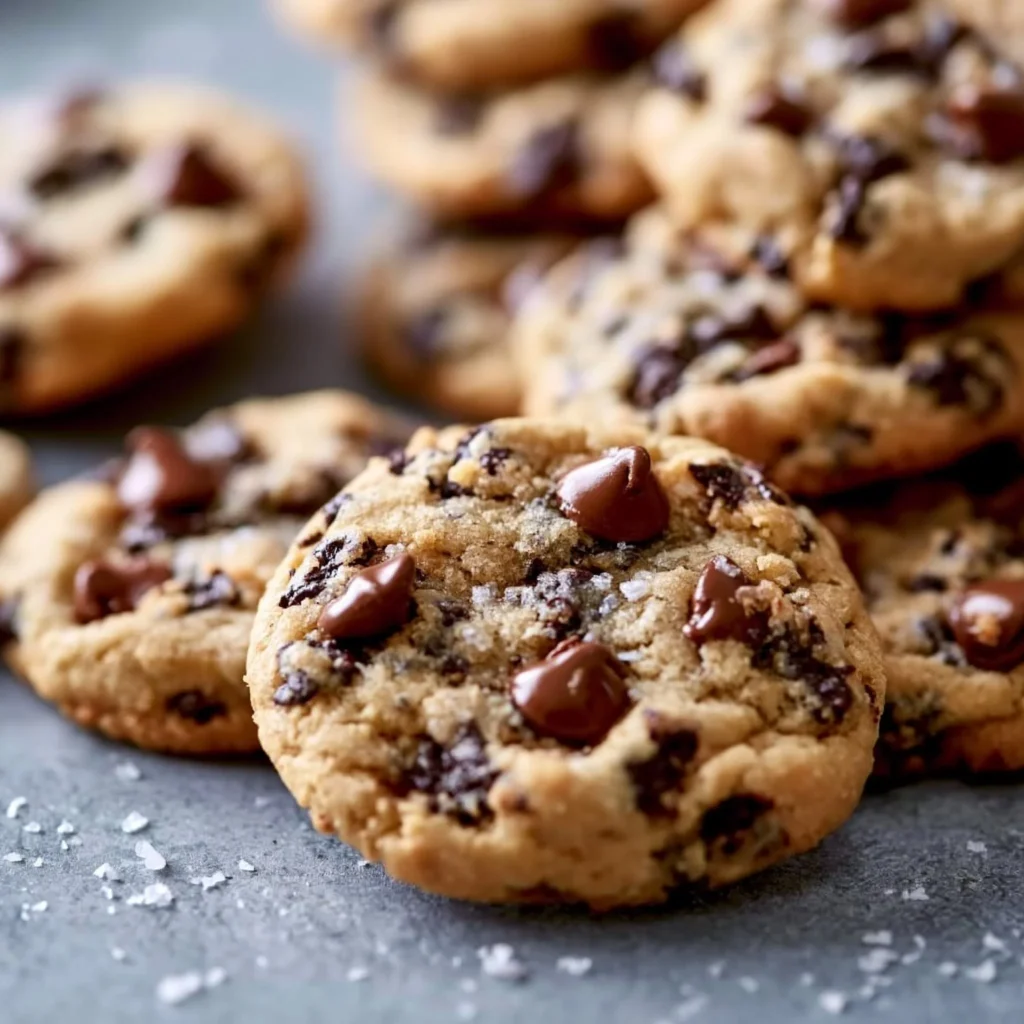
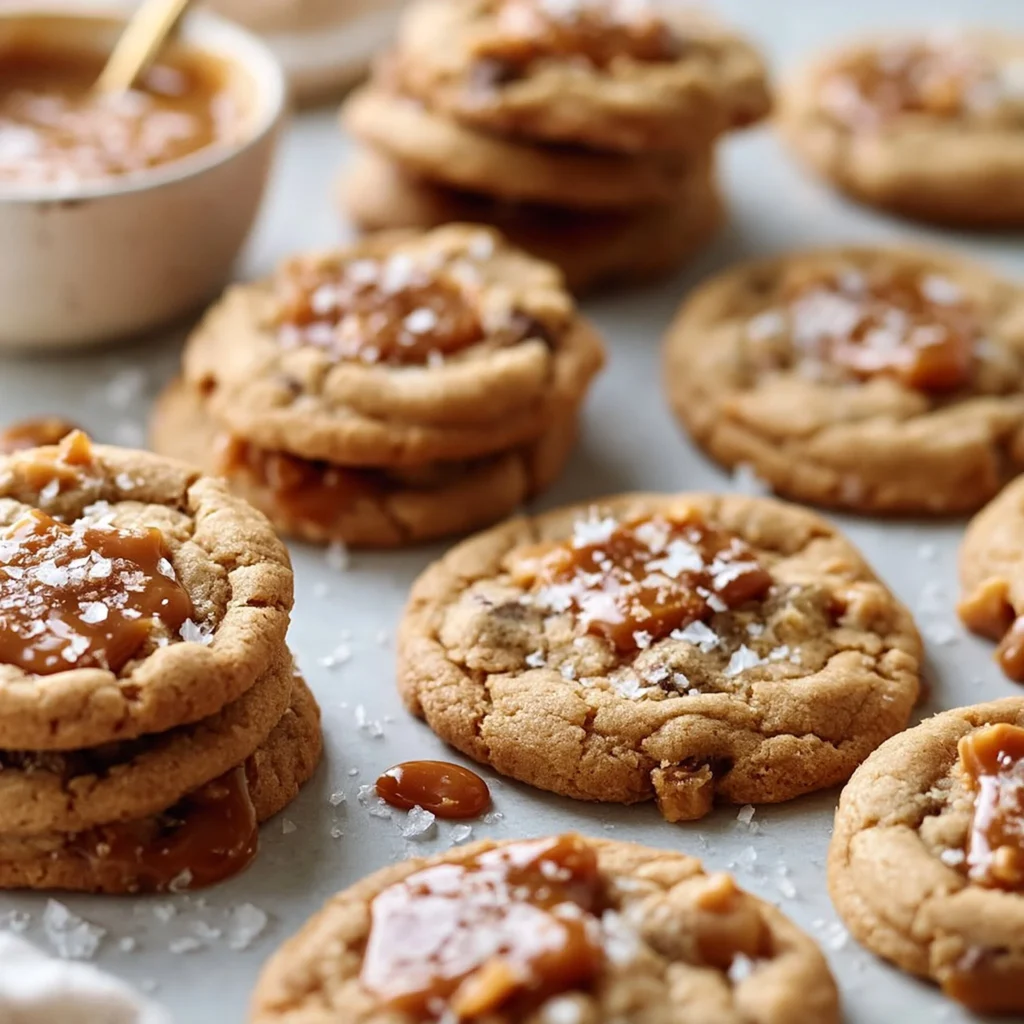
Now, let’s talk about party variations. The beauty of No Bake Cookie Dough Bars lies in their versatility. Swap out the classic chocolate chips for a mix-in that suits your crowd. Want a nutty crunch? Incorporate chopped walnuts or almonds. Hosting a summer soirée? Add dried cranberries or apricots for a fruity flair. You can even sprinkle in some colorful candy-coated chocolates for a festive look. For those craving a luxurious touch, drizzle melted dark chocolate over the bars once they’re set.
These bars are perfect for any gathering, from a casual game night to a holiday buffet. They’re quick to prepare and guaranteed to impress your guests with their nostalgic, melt-in-your-mouth goodness. Make sure to check out our Quick Desserts section for more easy party treats that offer the same wow factor with minimal fuss.
Serving of No Bake Cookie Dough Bars
Conclusion
Making these No Bake Cookie Dough Bars is like inviting a little joy into your kitchen. They’re more than just a sweet treat; they’re a ticket to creating those memorable moments that warm the heart. Picture yourself sharing these indulgent bites with friends or family, each one sparking smiles and laughter. It’s these simple pleasures that remind us why we cherish time spent together.
I hope this recipe brings as much happiness to your home as it has to mine. The ease and speed mean you can whip them up whenever the craving strikes, turning any ordinary day into something a bit more special. So, gather your ingredients and give it a try—you won’t regret it!
Don’t forget to follow along on social media for more delicious recipes and cozy kitchen inspiration. I’d love to see your creations and hear about your own special moments!
Why is heat-treating the flour necessary?
Heat-treating the flour is crucial to eliminate any potential bacteria that can cause illness. You can do this by baking the flour at 350°F for 5-7 minutes or microwaving it until it reaches 160°F. This step ensures your No Bake Cookie Dough Bars are both safe and scrumptious. It’s a small step that makes a big difference in safety.
How can I make these bars dairy-free?
Making these bars dairy-free is a breeze! Simply swap out the butter for coconut oil and use your favorite plant-based milk instead of regular milk. The bars will still have the same delightful texture and flavor. Just follow the recipe as usual once you’ve made these substitutions.
Recipe
No Bake Cookie Dough Bars
Ingredients
Ingredients
- 1 cup all-purpose flour heat-treated
- 3/4 cup brown sugar
- 1/4 cup granulated sugar
- 1/2 cup unsalted butter
- 1 teaspoon vanilla bean paste
- 3/4 cup chocolate chips
- 2 tablespoons milk
Instructions
- Heat-treat the all-purpose flour by baking at 350°F for 5-7 minutes or microwaving until it reaches 160°F. Allow to cool.
- In a large mixing bowl, cream together butter, brown sugar, and granulated sugar until light and fluffy.
- Add vanilla bean paste and milk, mixing until well combined.
- Gradually stir in the heat-treated flour, then fold in chocolate chips.
- Line an 8x8-inch baking dish with parchment paper, pour the mixture in, and press it down firmly.
- Chill in the refrigerator for at least 1-2 hours to set.
- Once set, slice into bars and serve cold or at room temperature.
Notes
- Swap butter with coconut oil for a dairy-free version.