The Memory Behind This Treat
I first stumbled upon the idea of Chocolate Hazelnut No-Bake Truffles during a cozy winter trip to a little village in the Italian Alps. Imagine a quaint café tucked next to a snow-dusted chalet, with the smell of roasted hazelnuts wafting through the air. It was there, while sipping on a hot chocolate, that I tasted a truffle so divine, it danced on the edge between dessert and dream. The experience sparked a passion to recreate that moment in my own kitchen, with a recipe that doesn’t require an oven—perfect for those days when you crave indulgence without the hassle.
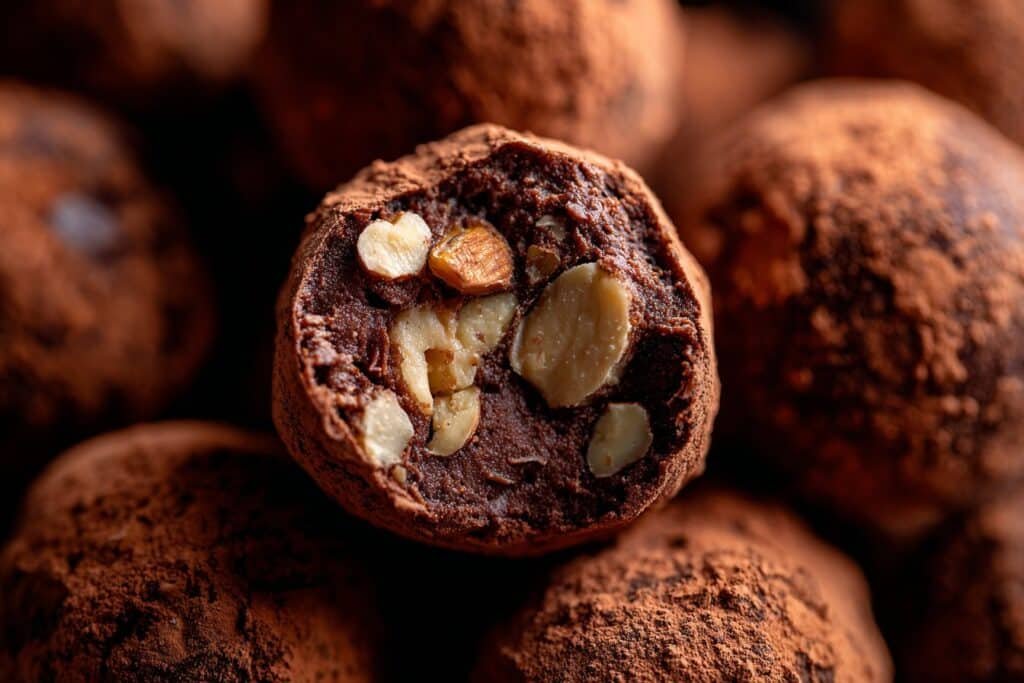
Back home, in my snug kitchen, I began experimenting with flavors and textures. The key was the balance between the creamy chocolate hazelnut spread and the subtle crunch of chopped hazelnuts. The first time I nailed it, I knew these truffles would be a hit at any gathering. My kids loved rolling them in cocoa powder, their little fingers coated in chocolatey goodness. It’s a recipe that brings family together, much like the shared warmth of that alpine café.
These truffles have become a staple in my home, especially during the holidays. They make wonderful gifts, packaged in pretty boxes and tied with ribbon. Every time I make them, I’m transported back to that snowy day, and I hope they bring a bit of that magic into your home, too. If you’re looking for more no-bake desserts, you might enjoy my no-bake cheesecake or my classic tiramisu recipes.
How To Make It (Mix & Ingredients)
Creating these Chocolate Hazelnut No-Bake Truffles is delightfully simple and involves just a few steps. Start by gathering all your ingredients to make the process seamless. In a medium mixing bowl, combine the chocolate hazelnut spread—something like Nutella works perfectly—with the finely crushed chocolate graham crackers or cookies. This forms the rich, indulgent base of your truffles. Add in the finely chopped hazelnuts for that crunchy texture, along with vanilla extract, a pinch of salt, and softened unsalted butter. These additions bring balance and depth, enhancing the chocolate-hazelnut flavor.
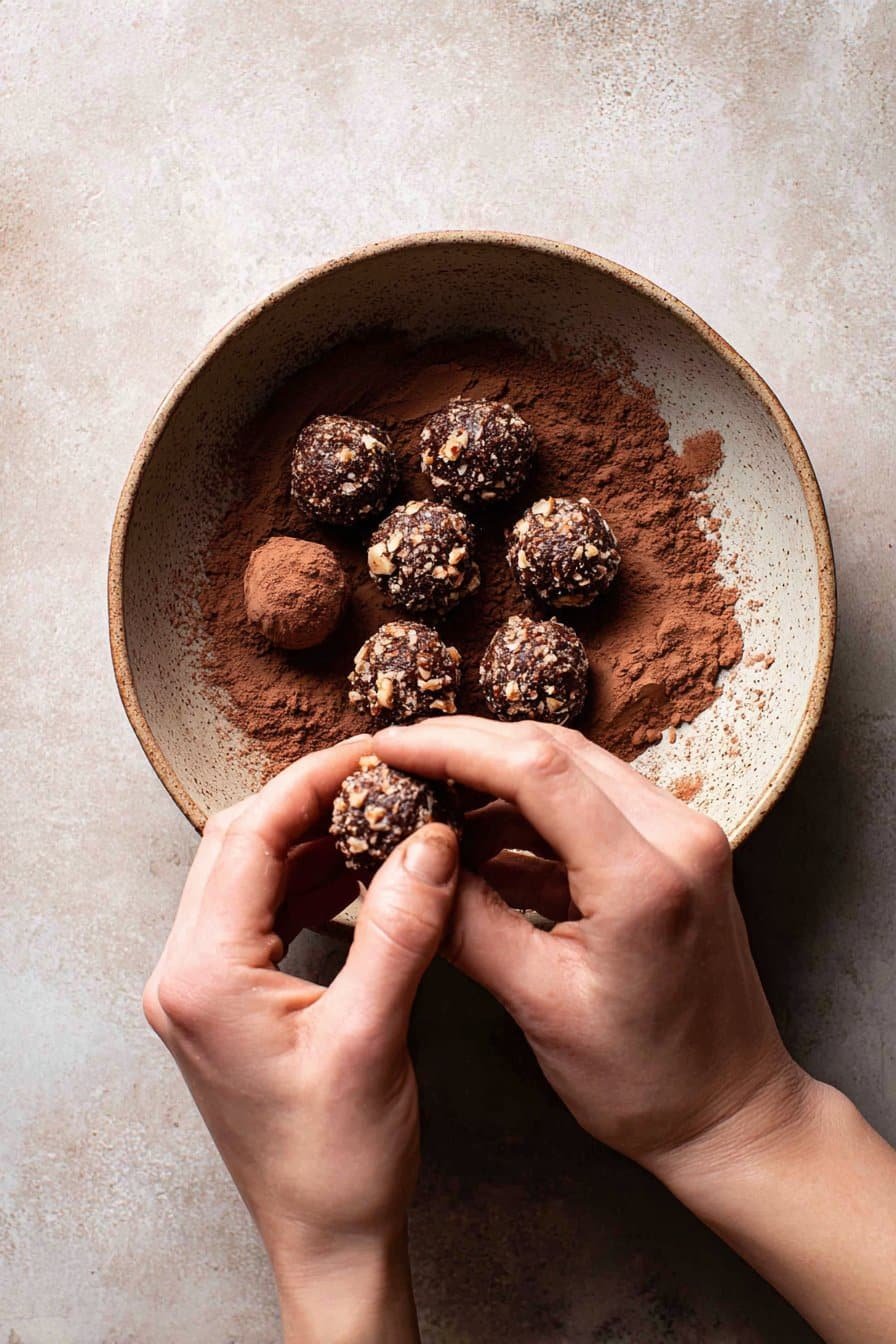
Instructions Process of Chocolate Hazelnut No-Bake Truffles
Using a sturdy spatula or your hands, mix these ingredients until they transform into a thick, cohesive dough. Here’s where a little elbow grease pays off! If you’re feeling adventurous, fold in mini chocolate chips for an extra burst of chocolatey goodness. Once your dough is ready, scoop out small portions and roll them into 1-inch balls. This is the perfect opportunity to let any little helpers in the kitchen get involved.Finally, roll each truffle in cocoa powder until they’re beautifully coated. This not only adds a touch of elegance but keeps the truffles from sticking together. Once coated, place them on a tray and chill in the refrigerator for at least an hour. This allows the flavors to meld and the texture to set perfectly. These truffles are perfect for gifting or simply indulging in yourself. If you enjoy this, you might also love our Easy Nutty Fudge Bites and Classic European Chocolate Treats.
Make-Ahead & Storage
When it comes to Chocolate Hazelnut No-Bake Truffles, convenience is key. These delightful treats are perfect for making ahead, so you’re always ready for last-minute guests or a sweet craving. Once you’ve rolled your truffles and dusted them with cocoa powder, store them in an airtight container. They keep beautifully in the refrigerator for up to a week, maintaining their rich, nutty flavors and creamy texture.
For those of us who enjoy planning even further ahead, these truffles are freezer-friendly too. Simply place them in a single layer on a baking sheet and freeze until firm. After that, transfer them to a freezer-safe bag or container. They’ll keep well for up to 2 months. When you’re ready to enjoy, just thaw them in the refrigerator for a few hours. They’ll taste just as divine as the day you made them!
Remember, if you’ve added mini chocolate chips, the texture might change slightly after freezing. But that’s part of the fun—everyone loves a bit of surprise crunch! Whether you’re prepping for a party or indulging in a quiet treat, these truffles have got you covered. Make sure to check out our other no-bake recipes for more inspiration.
Best Ingredients & Party Variations
When crafting these Chocolate Hazelnut No-Bake Truffles, choosing the right ingredients makes all the difference. The star of the show is, of course, the chocolate hazelnut spread. Opt for a high-quality brand like Nutella; its creamy texture and rich flavor are unmatched. For the cookies, finely crushed chocolate graham crackers add a delightful texture and a hint of sweetness. If you’re feeling adventurous, try using crushed biscotti for a firmer bite. Hazelnuts are another key player—finely chop them for a consistent crunch in every truffle.
Now, let’s talk about those party variations. Want to create a more decadent experience? Consider rolling your truffles in finely chopped roasted hazelnuts or even shredded coconut for a tropical twist. Feeling festive? Add a dash of cinnamon or espresso powder to the mix for a spiced or mocha touch that’ll have your guests raving. For a colorful presentation, roll them in sprinkles or crushed freeze-dried raspberries.
These truffles are wonderfully versatile and can adapt to almost any occasion. Hosting a chic soirée? Arrange them on a platter with some fresh berries for a pop of color. For a family gathering, pair them with our Classic Vanilla Bean Ice Cream for an irresistible dessert combo. Whatever you choose, these truffles promise to impress and delight every palate.
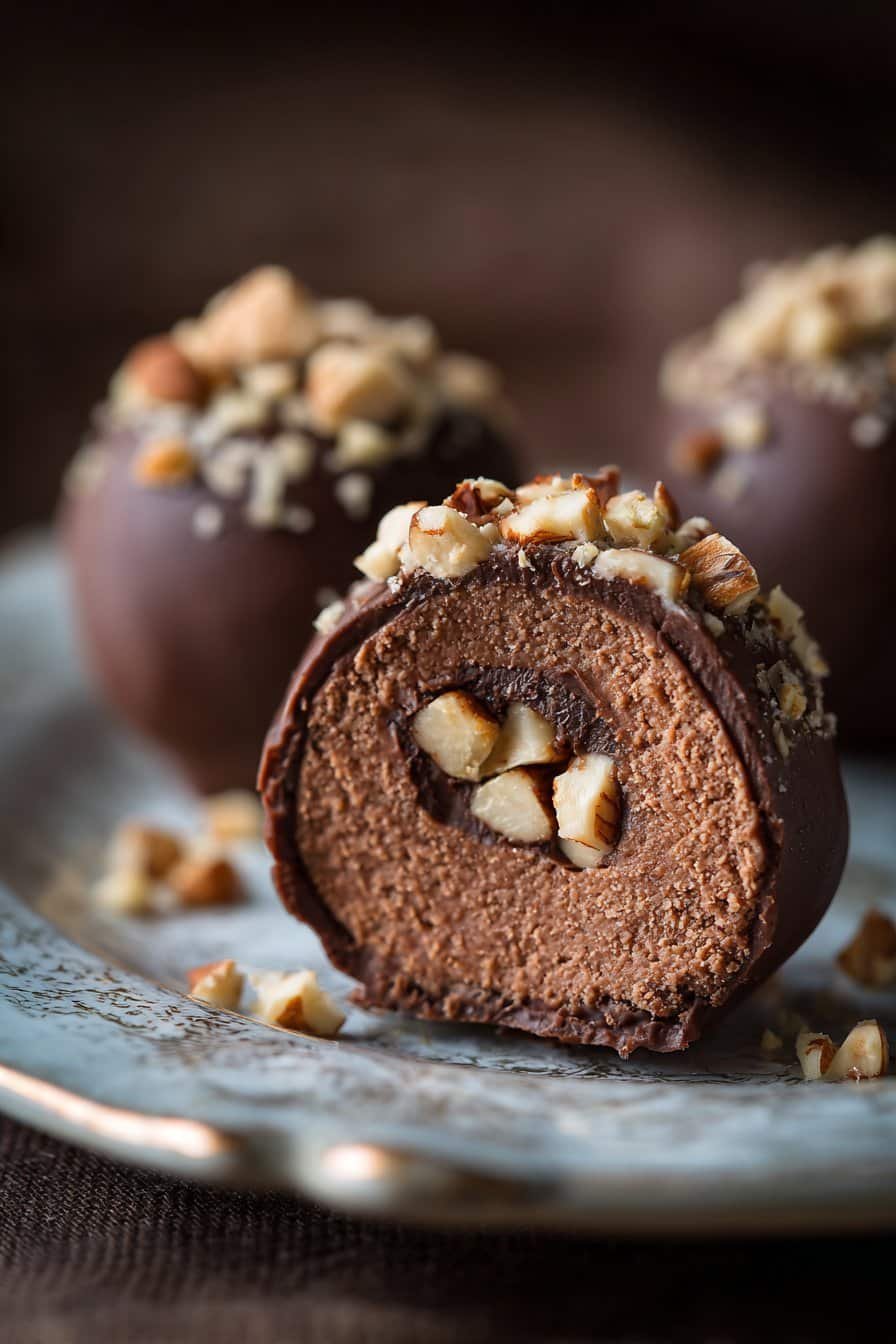
Serving of Chocolate Hazelnut No-Bake Truffles
Conclusion
Making these Chocolate Hazelnut No-Bake Truffles is like embarking on a little adventure in your own kitchen, where every step brings you closer to a sweet reward. Whether you’re crafting them for a cozy family night or a festive gathering, these truffles have a magical way of bringing people together. There’s something truly special about watching loved ones gather around, savoring each bite with delight.
I hope this recipe not only fills your home with the rich aroma of chocolate and hazelnuts but also creates cherished memories you’ll treasure. Don’t worry if your first batch isn’t perfect—each truffle tells its own story, much like the hands that make them.
I encourage you to give this recipe a try and share the joy with those around you. Remember, the kitchen is a place for fun and creativity. For more delicious recipes and a peek into my baking journey, follow us on social media!
Can I substitute the chocolate hazelnut spread with another ingredient?
Absolutely! If you’re looking for a nut-free option, try using a chocolate spread made from seeds, like sunflower seed butter. Just ensure the consistency is similar to the original spread so the truffles hold together nicely. You’ll maintain that creamy texture, but note that the flavor will slightly change.
Are these Chocolate Hazelnut No-Bake Truffles suitable for vegans?
With a few tweaks, you can make them vegan-friendly. Substitute the butter with a plant-based alternative and ensure your chocolate hazelnut spread is dairy-free. Check that the chocolate cookies or graham crackers you use don’t contain animal products as well. This way, everyone can enjoy these delightful bites!
Can I add other ingredients for different flavors?
Of course! You can get creative with mix-ins like dried fruits such as cranberries or cherries, or even a sprinkle of sea salt for a sweet-salty combination. Just keep in mind that adding extras might adjust the texture slightly, so you may need to tweak the amount of crushed cookies or hazelnut spread.
Recipe

Chocolate Hazelnut No-Bake Truffles
Ingredients
Ingredients
- 1 cup chocolate hazelnut spread such as Nutella
- 1 cup finely crushed chocolate graham crackers or cookies
- 1/2 cup finely chopped hazelnuts
- 1/4 cup cocoa powder for dusting
- 1/2 teaspoon pure vanilla bean paste
- Pinch of salt
- 2 tablespoons unsalted butter softened
- 1/4 cup mini chocolate chips optional
Instructions
- In a medium mixing bowl, combine the chocolate hazelnut spread, crushed cookies, chopped hazelnuts, vanilla bean paste, salt, and softened butter.
- Mix all the ingredients together until fully combined and a thick dough forms.
- If desired, fold in the mini chocolate chips for extra texture.
- Scoop out small portions of the mixture and roll into 1-inch balls using your hands.
- Roll each truffle in cocoa powder until evenly coated.
- Chill truffles in the refrigerator for at least 1 hour before serving.
Notes
- Truffles can be frozen for up to 2 months; thaw in the refrigerator before serving.