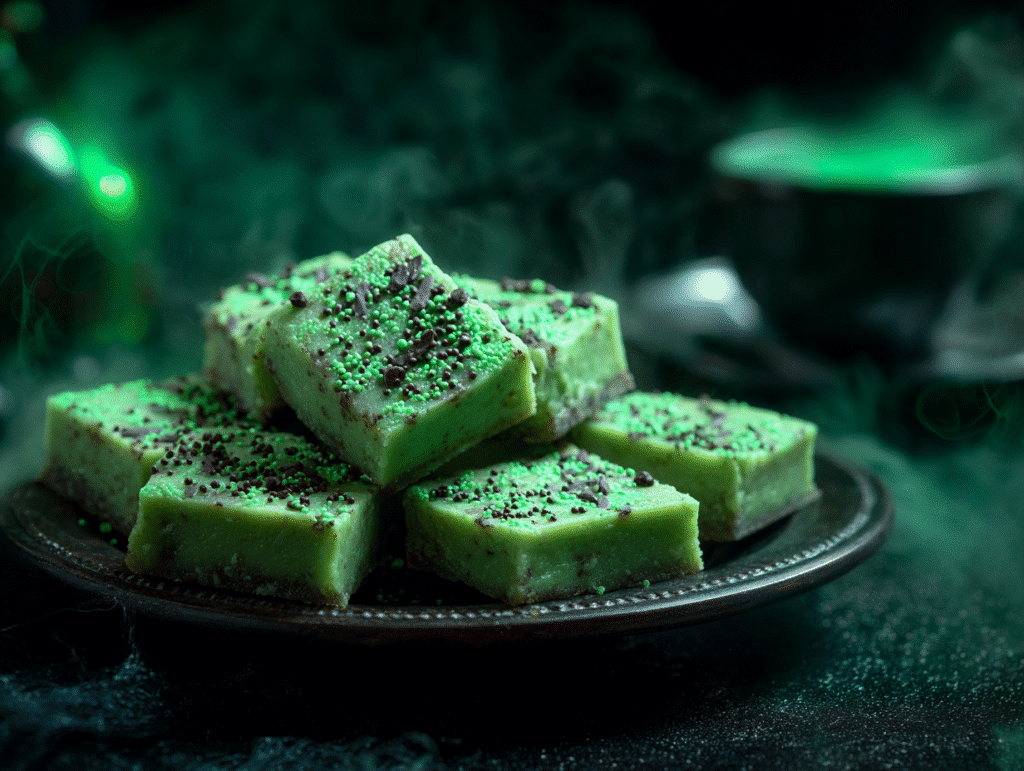
Halloween always sparks my creativity in the kitchen, and this year, I couldn’t resist making a batch of wicked witch fudge. Picture a tray of creamy green fudge topped with witch sprinkles that look like they leapt right out of a fairytale cauldron. This playful treat combines old-fashioned fudge-making with the fun spirit of Halloween, making it the perfect sweet to share at parties or with little trick-or-treaters. In this article, we’ll explore how to make wicked witch fudge, tips for perfect texture, fun variations, and answers to common fudge-making questions.
The Story Behind Wicked Witch Fudge
Nostalgia Meets Halloween Magic
When I was a child, fudge was the centerpiece of every holiday table. It wasn’t just candy—it was a ritual. I remember standing on a chair in my grandma’s kitchen, watching her stir a bubbling pot with the seriousness of a potion master. Fast forward to today, I’ve reimagined that same fudge tradition with a Halloween twist, transforming it into wicked witch fudge. The green coloring, paired with witch sprinkles, turns a simple recipe into something whimsical and unforgettable.
Why Wicked Witch Fudge Stands Out
Unlike microwave fudge that skips the science, this version leans into old-fashioned candy-making. By boiling sugar, butter, and evaporated milk to just the right temperature, you achieve that signature smoothness. Marshmallow fluff and white chocolate chips bring creamy sweetness, while green food coloring and sprinkles do the magic of turning it spooky. It’s not just dessert—it’s a conversation piece at any Halloween party. Pair it with playful drinks like themed punch or serve alongside classic Halloween cookies for a spread that delights kids and adults alike.
How to Make Wicked Witch Fudge
Gathering the Ingredients
The beauty of wicked witch fudge lies in its simplicity. Most of the ingredients are pantry staples, but when combined, they turn into something magical. You’ll need sugar, butter, and evaporated milk as the base. Then, add marshmallow fluff and white chocolate chips for the creamy texture that defines fantasy-style fudge. To give it that witchy Halloween vibe, stir in a few drops of green food coloring and finish with themed sprinkles. It’s the kind of playful treat that looks amazing on a dessert table right next to Halloween Crack Candy.
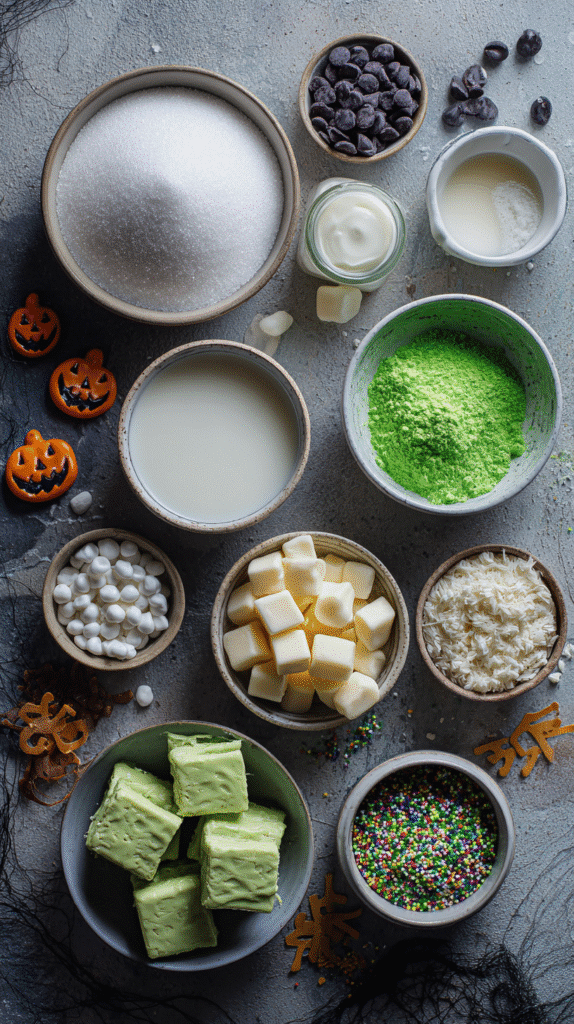
Here’s a quick snapshot of the key items:
| Ingredient | Amount |
|---|---|
| Sugar | 3 cups |
| Butter | ¾ cup |
| Evaporated Milk | 5 oz |
| White Chocolate Chips | 12 oz |
| Marshmallow Fluff | 7 oz jar |
| Green Food Coloring & Sprinkles | As needed |
Step-by-Step Method
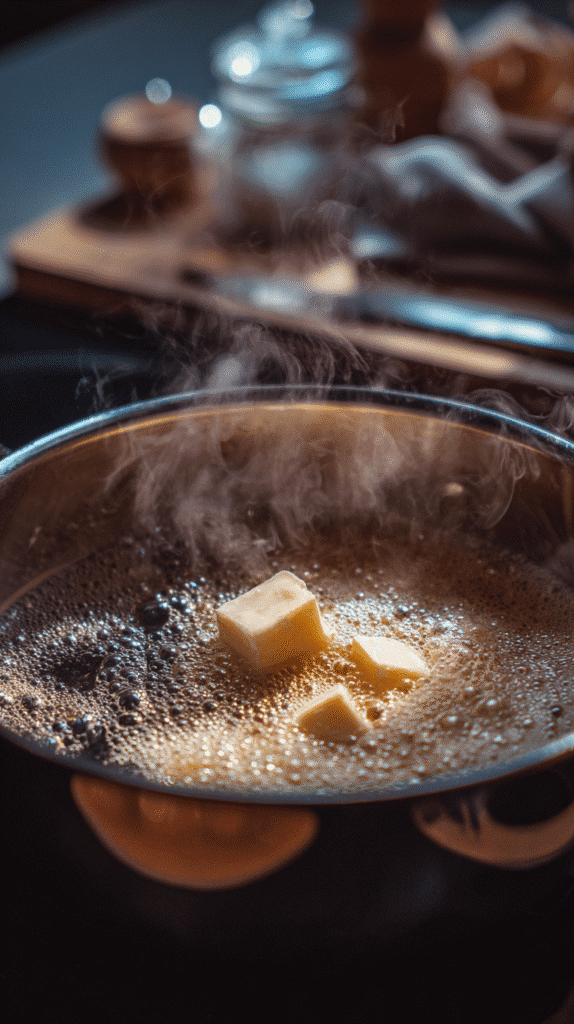
Start by combining sugar, butter, and milk in a saucepan over medium heat. Stir continuously until it reaches a rolling boil, then cook for four minutes while stirring. Remove from heat and mix in the chocolate chips and marshmallow fluff until smooth. Add the green coloring, pour the mixture into a buttered pan, and sprinkle on the witchy toppings. Let it sit for a few hours before cutting. This process is similar to making Jack Skellington Oreo Pops, where creativity transforms basic ingredients into spooky fun.
Tips and Tricks for Perfect Wicked Witch Fudge
Common Fudge-Making Mistakes
Even though wicked witch fudge looks easy, the process can trip up beginners. The most common problem? Fudge that won’t set. If your mixture doesn’t boil long enough, the sugar won’t reach the right temperature, leaving you with a gooey mess instead of firm squares. On the flip side, overcooking can make it grainy and hard. Using a candy thermometer takes out the guesswork, making sure your mixture hits that sweet spot every time. Another trick? Avoid scraping the pan after pouring the fudge into your dish, as those last bits often crystallize and ruin the texture.
I’ve learned these lessons the hard way, much like experimenting with Halloween Monster Mash Brownies, where the right bake time is everything. Fudge, like brownies, rewards precision.
Pro Tips for Spooky Perfection
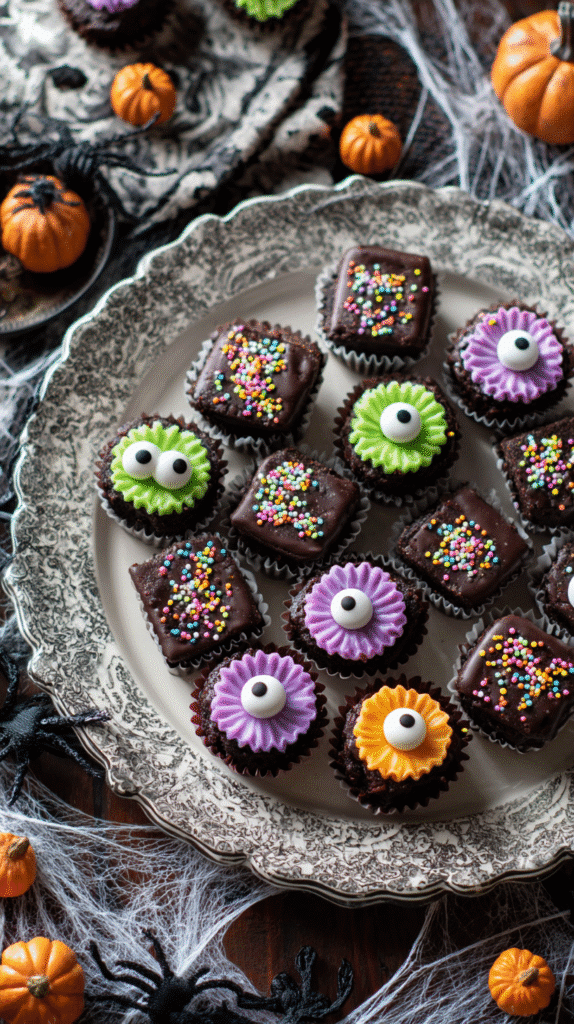
To take your wicked witch fudge from good to unforgettable, add layers of creativity. Try swirling in purple or black candy melts for a cauldron effect, or sprinkle crushed cookies on top for crunch. Always let the fudge cool at room temperature before refrigerating; rushing the process can cause it to crack. For parties, cut the fudge into bite-sized squares and place them in mini cupcake liners—it makes serving neat and festive.
Another fun trick is pairing the fudge with themed desserts like Witch Hat Oreo Cookies. The combo makes a dessert table that feels straight out of a Halloween movie. With these adjustments, even if you’ve struggled before, you’ll have smooth, creamy squares that hold their shape and wow the crowd.
Creative Variations and Serving Ideas for Wicked Witch Fudge
Fun Twists on the Classic
One of the best parts about wicked witch fudge is how easily you can customize it. Instead of just green coloring, try mixing in candy eyeballs for a playful monster look or use black gel icing to swirl a cauldron-like pattern across the surface. If you love a little flavor kick, add a drop of peppermint or orange extract to the base for a surprising twist. Just like Peanut Butter Spider Cookies, this fudge thrives on a creative presentation that makes kids giggle and adults smile.
For grown-up gatherings, you can even layer wicked witch fudge with a thin chocolate ganache topping. The dark contrast against the bright green makes it look eerie and elegant at the same time.
Serving Ideas for Halloween Parties
When it comes to serving, presentation turns fudge into a showstopper. Arrange the squares on a black tray, scatter candy corn around them, and watch them become the centerpiece of your Halloween spread. If you’re planning a themed dessert bar, pair the fudge with spooky desserts like Halloween Blackberry Velvet Cake for a bold, color-coordinated table.
Another clever idea is to package small portions of fudge in clear treat bags tied with orange and purple ribbon. These make excellent party favors or trick-or-treat handouts for close friends and neighbors. Whether it’s part of a dessert buffet or given as a take-home goodie, wicked witch fudge adapts perfectly to the festive spirit of Halloween.
Frequently Asked Questions about Wicked Witch Fudge
Why is it called fantasy fudge?
Fantasy fudge earned its name from the original Kraft recipe created in the mid-20th century. It used marshmallow creme to make the process easier, creating a “fantasy” version of traditional boiled fudge. Wicked witch fudge borrows that same idea, keeping the method approachable while adding a spooky twist.
Why beat fudge?
Beating fudge after it cools slightly helps form tiny sugar crystals, which create that smooth, creamy texture. Without beating, the fudge can turn grainy or not set at all. The key is to stir steadily until it thickens.
Why didn’t the fudge set?
Fudge usually fails to set when the sugar mixture doesn’t reach the proper temperature. Using a candy thermometer ensures you hit around 235°F. If it’s undercooked, you’ll end up with a gooey, sticky batch instead of firm squares.
Why not stir fudge?
Once the sugar mixture is boiling, it’s important not to stir. Stirring can cause sugar crystals to form too early, which makes the fudge grainy. Wait until it’s removed from the heat before mixing in the remaining ingredients.
Why was fudge so dumb?
This phrase usually reflects frustration when fudge doesn’t behave. Whether it’s refusing to set, turning too soft, or becoming crumbly, the “dumb fudge” moments happen to everyone. The good news is, once you know the science, you can fix or prevent most problems.
What can you do with fudge that didn’t set?
Soft fudge is still salvageable. Use it as a rich spread on brownies or cookies, swirl it into ice cream, or even reheat and cook it a little longer. With creativity, no batch goes to waste.
Conclusion
Wicked witch fudge proves that Halloween treats don’t have to be complicated to be magical. With a few pantry staples, a little color, and some playful sprinkles, you can create a dessert that delights both kids and adults. From troubleshooting common fudge mistakes to exploring fun variations, this recipe offers endless ways to get creative. Pair it with other spooky sweets like Hocus Pocus Halloween Popcorn or Frankenstein Oreo Balls for a table that’s as festive as it is delicious.
So grab your saucepan, channel a little witchy magic, and whip up a batch of wicked witch fudge that’s bound to cast a spell on everyone who tastes it.
Want more snack ideas and recipe inspo? Follow along over on Pinterest for new flavor combos and meal-prep guides, or join the cozy kitchen chats on Facebook. Let’s keep making snacks that taste like joy — and feel like home.

Wicked Witch Fudge: A Spooky Halloween Treat
Ingredients
- 3 cups sugar
- ¾ cup butter
- 5 oz evaporated milk
- 12 oz white chocolate chips
- 7 oz marshmallow fluff
- Green food coloring
- Witch sprinkles
Instructions
- 1. Combine sugar, butter, and evaporated milk in saucepan and bring to boil.
- 2. Cook for 4 minutes while stirring continuously.
- 3. Remove from heat and stir in marshmallow fluff and white chocolate chips.
- 4. Add vanilla and green food coloring until smooth.
- 5. Pour into buttered pan, top with sprinkles.
- 6. Let cool and set for 2–3 hours before cutting.