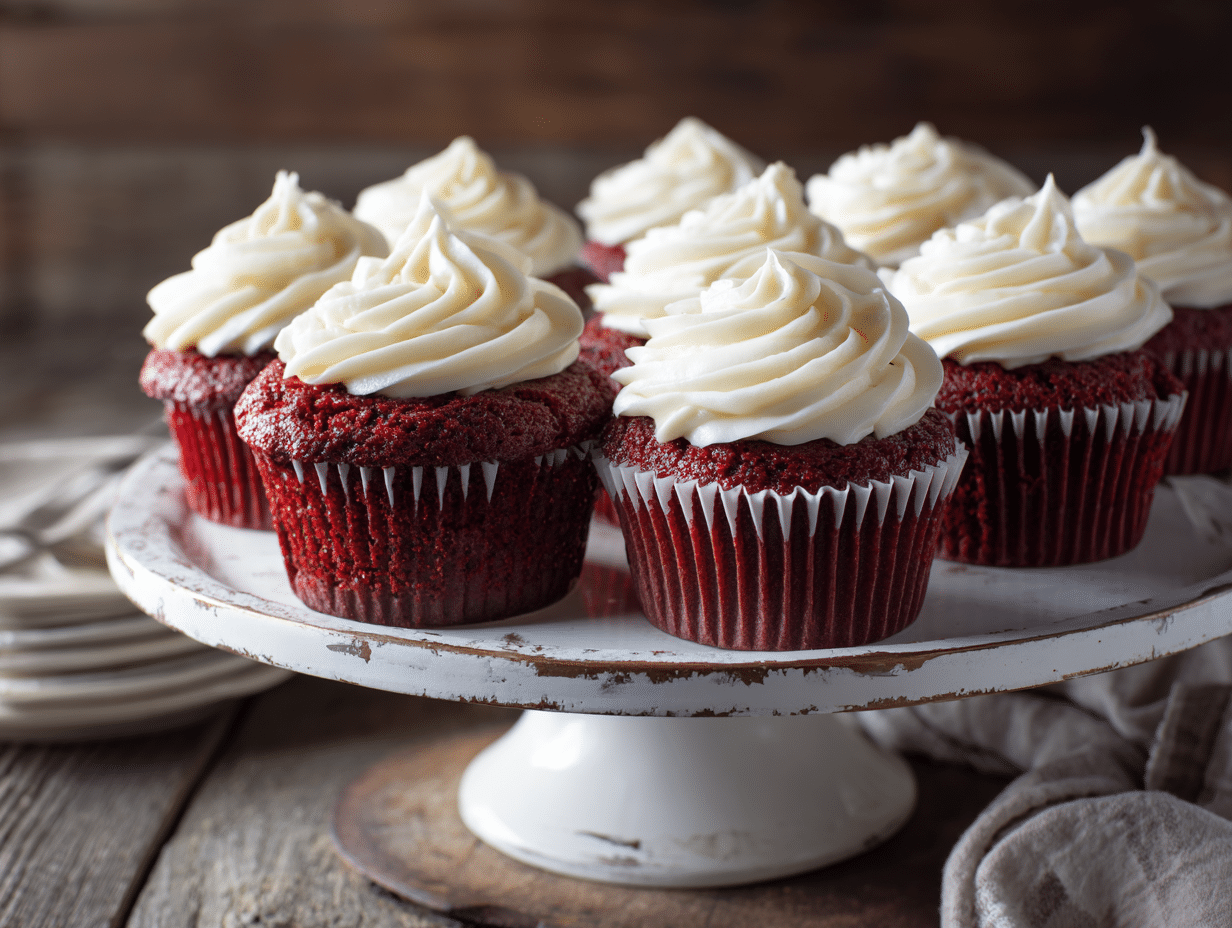
When you think of red velvet cupcakes, you’re probably imagining a soft, slightly tangy, cocoa-kissed cake topped with a swirl of rich cream cheese frosting. In this post, we’ll dive into my favorite recipe that’s easy, unbelievably moist, and perfect for any occasion.
Whether you’re a baking newbie or cupcake queen, this guide will walk you through step-by-step instructions, key ingredient tips, and frosting options that truly elevate every bite. You’ll also find smart answers to popular questions, like whether oil or butter gives the best texture and how to keep your cupcakes from drying out.
Why Red Velvet Cupcakes Are a Personal Favorite
From Styling Plates to Baking Memories
Before Taste to Rate became what it is today, I was knee-deep in frosting swirls and camera tripods, styling desserts for brands who wanted their treats to look as dreamy as they tasted. But red velvet cupcakes? They were always more than just a photo op. These little cakes were the stars at my first pop-up brunch in Barcelona—where I learned that good dessert travels across languages and borders. The slight tang of buttermilk, the rich cocoa notes, the vivid red crumb…they had everyone asking for seconds (and the recipe).
I fell in love with their drama and simplicity. Unlike a towering layer cake, red velvet cupcakes deliver nostalgia and indulgence in a two-bite masterpiece. And when topped with a swoop of silky cream cheese frosting, they’re everything I want in a dessert: bold, beautiful, and absolutely irresistible.
I’ve tested this recipe over a dozen times to get the perfect balance of moisture, fluff, and color—without artificial ingredients. And now, I’m sharing every detail with you.
You’ll also see how similar techniques I used in recipes like my Strawberry Cream Cheese Dump Cake or Croissant Chocolate Chip Cookie carry into these cupcakes. They’re simple, bakery-style results that feel fancy but bake up fuss-free at home.
So, whether you’re baking for a birthday, holiday, or just your Tuesday coffee break—trust me, these red velvet cupcakes are about to become your signature too.
Moist Red Velvet Cupcake Recipe
Ingredients That Guarantee Moistness
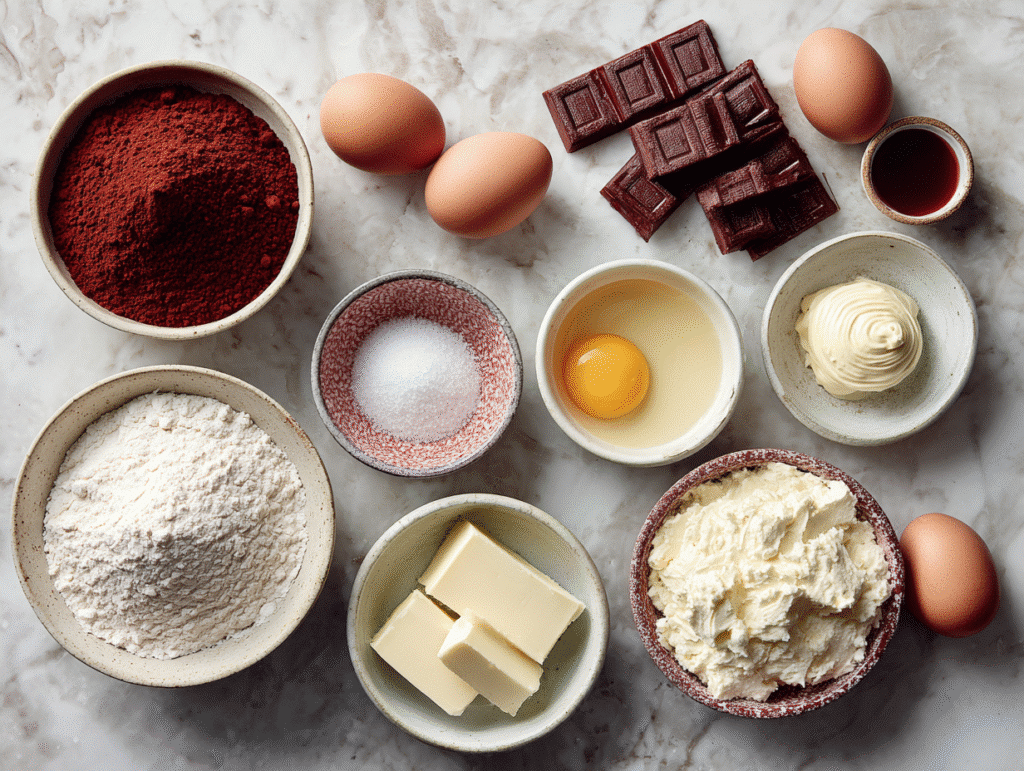
Getting that iconic tender, velvety crumb isn’t just about using red food coloring. The magic lies in the balance of acidic ingredients (like buttermilk and vinegar), a bit of cocoa, and fat that keeps the texture plush. Here’s what you need to get moist red velvet cupcakes every single time:
- Oil, not butter: Oil disperses more evenly throughout the batter and retains moisture far better than butter. It gives that melt-in-your-mouth feel and extends shelf life.
- Buttermilk: The tang adds flavor and acidity, which reacts with baking soda to create a soft rise.
- White vinegar: Just a touch deepens the red hue and supports leavening.
- A little cocoa powder: For depth—too much and it becomes chocolate cake.
- Cake flour (or sifted all-purpose): For a tender texture.
Here’s a breakdown of the essential ingredients for 12 cupcakes:
| Ingredient | Amount |
|---|---|
| Cake flour (or sifted AP) | 1 ¼ cups |
| Granulated sugar | ¾ cup |
| Vegetable oil | ½ cup |
| Buttermilk | ½ cup |
| Egg | 1 large |
| Red food coloring | 1 tbsp (liquid) |
| Cocoa powder | 1 tbsp |
| White vinegar | 1 tsp |
| Baking soda | ½ tsp |
| Salt | ¼ tsp |
| Vanilla extract | 1 tsp |
Step-by-Step Instructions for Consistent Results
These red velvet cupcakes come together in just one bowl with a whisk and 20 minutes of oven time. Here’s how to make them like a pro:

- Preheat your oven to 350°F (175°C) and line a muffin tin with cupcake liners.
- In a large bowl, whisk together the oil, sugar, egg, vanilla, food coloring, vinegar, and buttermilk until smooth.
- In a separate bowl, sift flour, cocoa, baking soda, and salt.
- Gradually stir the dry ingredients into the wet mix until just combined.
- Divide the batter evenly among the 12 liners (they should be about ¾ full).
- Bake for 18–20 minutes, or until a toothpick inserted comes out clean.
- Cool completely before frosting.
This base batter is a close cousin to my Chocolate Ooey Gooey Cake in richness, but lighter and more tender in texture. It’s also forgiving, just like the batter used in Pumpkin Cake Pops, so don’t stress about over-mixing.
Frosting Tips & Flavor Variations
Classic Cream Cheese Frosting (And Vanilla Swirl Twist)
If red velvet cupcakes are the main event, cream cheese frosting is the headlining act. Its smooth tang is the perfect match for the subtle cocoa base of red velvet. The key? Keep it soft but pipeable, and not overly sweet.
Here’s my go-to classic cream cheese frosting:
- 8 oz full-fat cream cheese (room temp)
- ½ cup unsalted butter (room temp)
- 2 cups powdered sugar (sifted)
- 1 tsp vanilla extract
- Pinch of salt
How to Make It:
Beat butter and cream cheese until fluffy (about 2 minutes). Add powdered sugar gradually and beat until smooth. Stir in vanilla and salt. If you want a swirl effect, like I use in Lemon Cream Cheese Dump Cake, divide the frosting in two and tint half with a natural pink (like freeze-dried raspberry or a drop of beet juice). Fill a piping bag with both for that bakery-style swirl.
Want something a little different? Try a whipped vanilla bean frosting—especially if you’re not a fan of tangy frosting. Just swap the cream cheese for an extra ½ cup butter and 1 tbsp vanilla bean paste. It’s the same technique I used in my Chocolate Brownies with Avocado, which are all about clean, unexpected flavor pairings.
These frosting options also work well if you’re planning to decorate with toppings like:
- Mini chocolate chips
- Crushed pecans
- White chocolate curls
- Freeze-dried raspberry dust
Oil vs. Butter: What’s Best for Texture?
This question pops up all the time. And after many (many) test batches, I’ll say this: Use oil for unbeatable moisture. Butter adds rich flavor but can result in a denser crumb, especially when the cupcakes sit overnight.
If you’re baking for a special occasion or need them to last longer (like prepping the night before), oil-based red velvet cupcakes will stay fresh, soft, and bakery-style for 2–3 days at room temperature.
Still want that buttery flavor? Use half oil and half melted butter—you’ll get the best of both worlds.
That’s exactly the ratio I use when building soft layers in treats like Lemon Tiramisu, where texture and flavor both matter.
Troubleshooting & Storage
Why Are My Cupcakes Dry or Crumbly?
Dry red velvet cupcakes are a baker’s heartbreak—but thankfully, avoidable. Here’s why it might be happening, and how to fix it:

- Overbaking: Even 2 extra minutes can dry out a cupcake. Pull them when the tops spring back and a toothpick comes out with moist crumbs.
- Too much flour: Always spoon and level your flour, or better yet—use a digital scale.
- Not enough fat: Using oil instead of butter helps, but don’t reduce it to “make it healthy”—you’ll sacrifice texture.
- Old baking soda: If your leavening is inactive, the cupcakes won’t rise correctly and can turn dense or chewy.
If you’ve ever baked my Almond Croissant Cookie Bars, you know how I lean into balance. Moisture, sweetness, structure—they all matter. Red velvet cupcakes require that same delicate attention.
For extra insurance, brush warm cupcakes lightly with simple syrup before frosting. It’s a bakery trick that locks in moisture without altering flavor.
Storing, Freezing, and Making Ahead
Red velvet cupcakes are perfect for prepping ahead—they stay soft for days and freeze like a dream. Here’s how to keep them fresh:
Room Temperature:
- Unfrosted cupcakes: Store in an airtight container up to 3 days.
- Frosted cupcakes: Store in the fridge, but bring to room temp before serving for best texture.
Freezing:
- Freeze unfrosted cupcakes wrapped individually in plastic, then stored in a freezer bag. They’ll stay moist for up to 2 months.
- Freeze frosting separately in a zip bag—defrost overnight and re-whip before using.
Make-Ahead Tips:
- You can make the batter a day ahead, cover it, and refrigerate. Bring to room temp before baking.
- Make the frosting up to 3 days in advance and keep chilled.
These tricks are inspired by how I manage layered desserts like Lemon Tiramisu, where components are prepped in stages but the end result is flawless.
Bonus: If you’re serving these cupcakes at a party, keep a few extras tucked in the fridge. When guests beg for more (and they will), you’ll be ready.
FAQs about Red Velvet Cupcakes
1. What makes red velvet cupcakes different from chocolate cupcakes?
Red velvet cupcakes contain a small amount of cocoa powder—just enough to add depth, but not enough to be considered a full chocolate flavor. What sets them apart is the combination of buttermilk, vinegar, and baking soda, which creates a super tender crumb and a subtle tang. The bright red color also gives them their signature look.
2. How do I make moist red velvet cupcakes from scratch?
Use oil instead of butter for moisture, include buttermilk for tenderness, and avoid overbaking. Keeping ingredients at room temperature and measuring flour properly also makes a big difference. See the full recipe above for all the tips you need.
3. Can I use oil instead of butter in red velvet cupcakes?
Yes, and in fact, I highly recommend it. Oil keeps the cupcakes moist longer and gives a soft, tender texture. It’s what makes these cupcakes hold up beautifully for days without drying out—perfect for prepping ahead.
4. What’s the best frosting for red velvet cupcakes?
Cream cheese frosting is the classic choice. Its tangy flavor complements the cupcake’s cocoa and buttermilk notes beautifully. For a twist, try a vanilla bean swirl or even a mascarpone variation. Just like in my Pumpkin Cake Pops, a good frosting brings the whole dessert together.
Conclusion: These Red Velvet Cupcakes Are Always a Win
If you’ve made it this far, you now have everything you need to create the most moist, flavorful, and picture-perfect red velvet cupcakes—without any complicated steps. Whether you’re baking for a birthday, Valentine’s Day, or just want to level up your weekend treat game, this recipe delivers every time.
They’re rich without being too sweet, elegant without being fussy, and easy enough for beginners to nail. If you’ve loved desserts like my Chocolate Ooey Gooey Cake or Strawberry Cream Cheese Dump Cake, this cupcake recipe is right up your alley.
For more colorful, health-forward creations and behind-the-scenes peeks into my test kitchen, connect with me on Facebook and see what’s brewing daily on Pinterest. Your next favorite recipe might just be a scroll away.
Red Velvet Cupcakes (Moist + Easy with Cream Cheese Frosting)
Ingredients
- 1 ¼ cups cake flour
- ¾ cup sugar
- ½ cup vegetable oil
- ½ cup buttermilk
- 1 large egg
- 1 tbsp red food coloring
- 1 tbsp cocoa powder
- 1 tsp white vinegar
- ½ tsp baking soda
- ¼ tsp salt
- 1 tsp vanilla extract
Instructions
- 1. Preheat oven to 350°F and line cupcake tin.
- 2. Whisk oil, sugar, egg, vanilla, food coloring, vinegar, and buttermilk.
- 3. Sift dry ingredients and combine with wet ingredients.
- 4. Fill liners ¾ full and bake for 18–20 minutes.
- 5. Cool completely before frosting.
- 6. Make frosting by beating cream cheese and butter until smooth.
- 7. Add sugar, vanilla, and salt; beat until fluffy.
- 8. Frost cooled cupcakes and serve.


