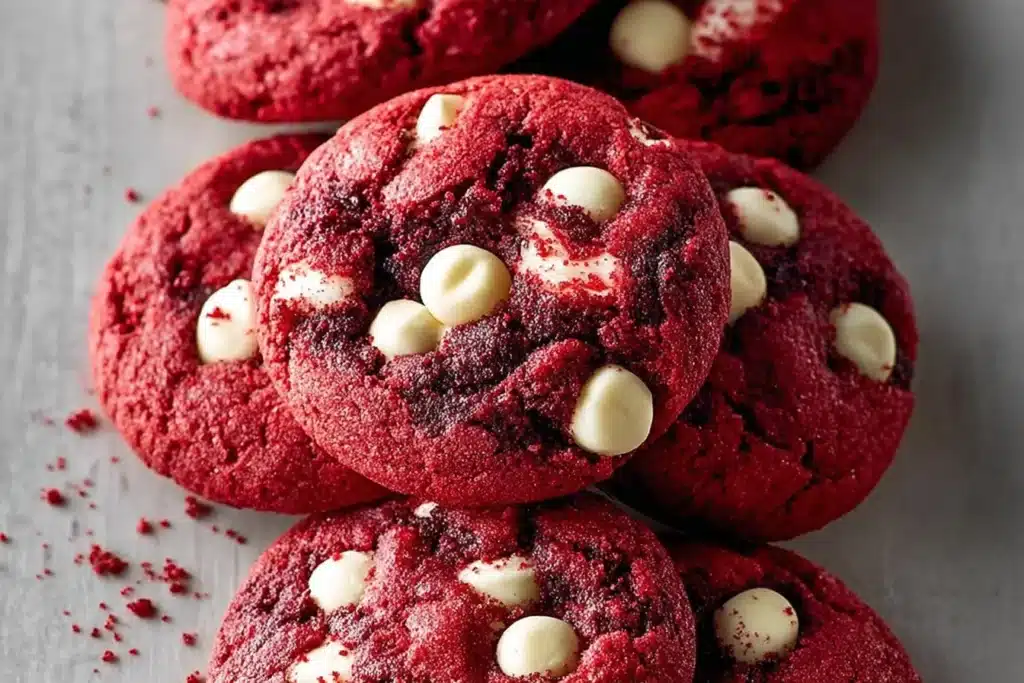
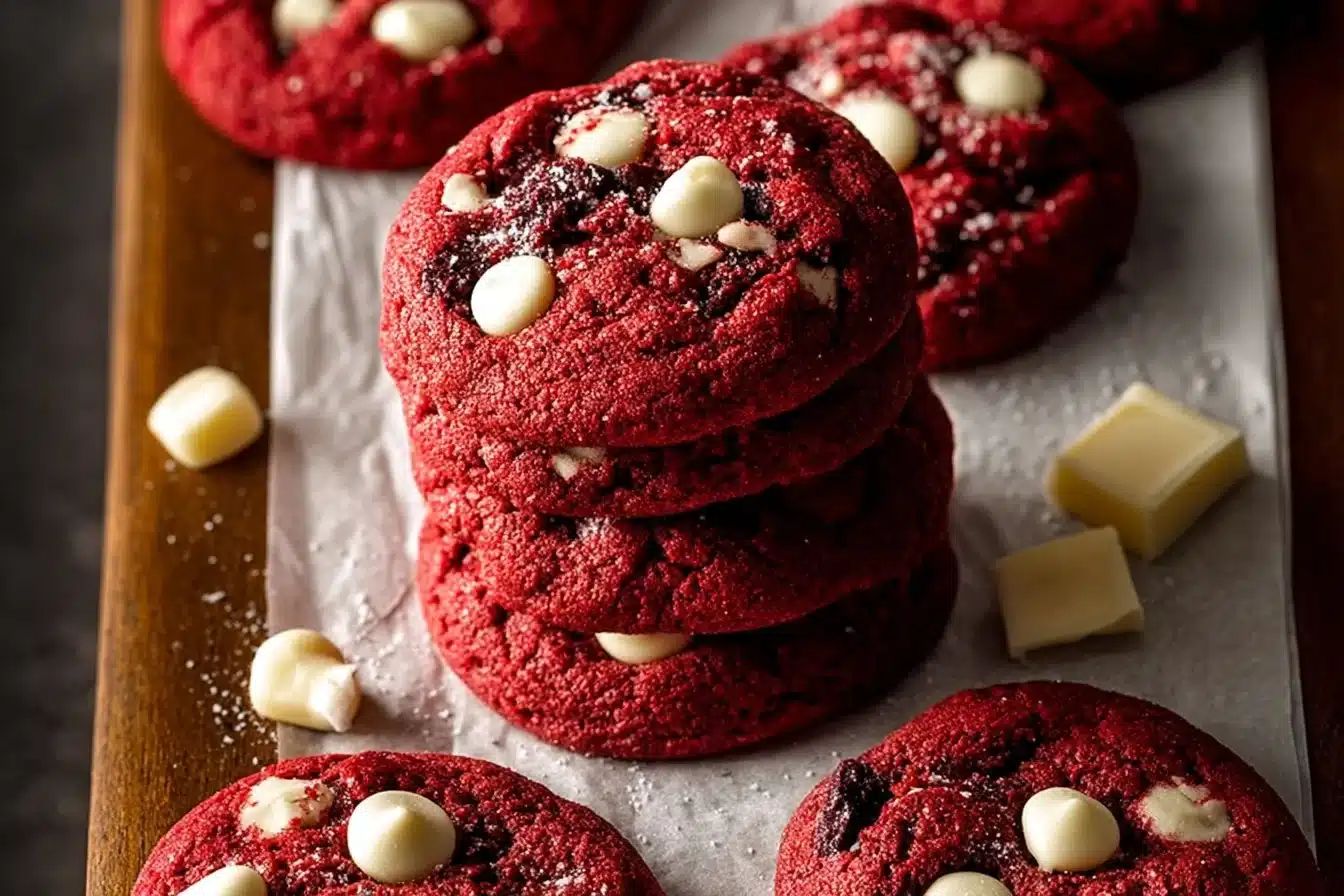
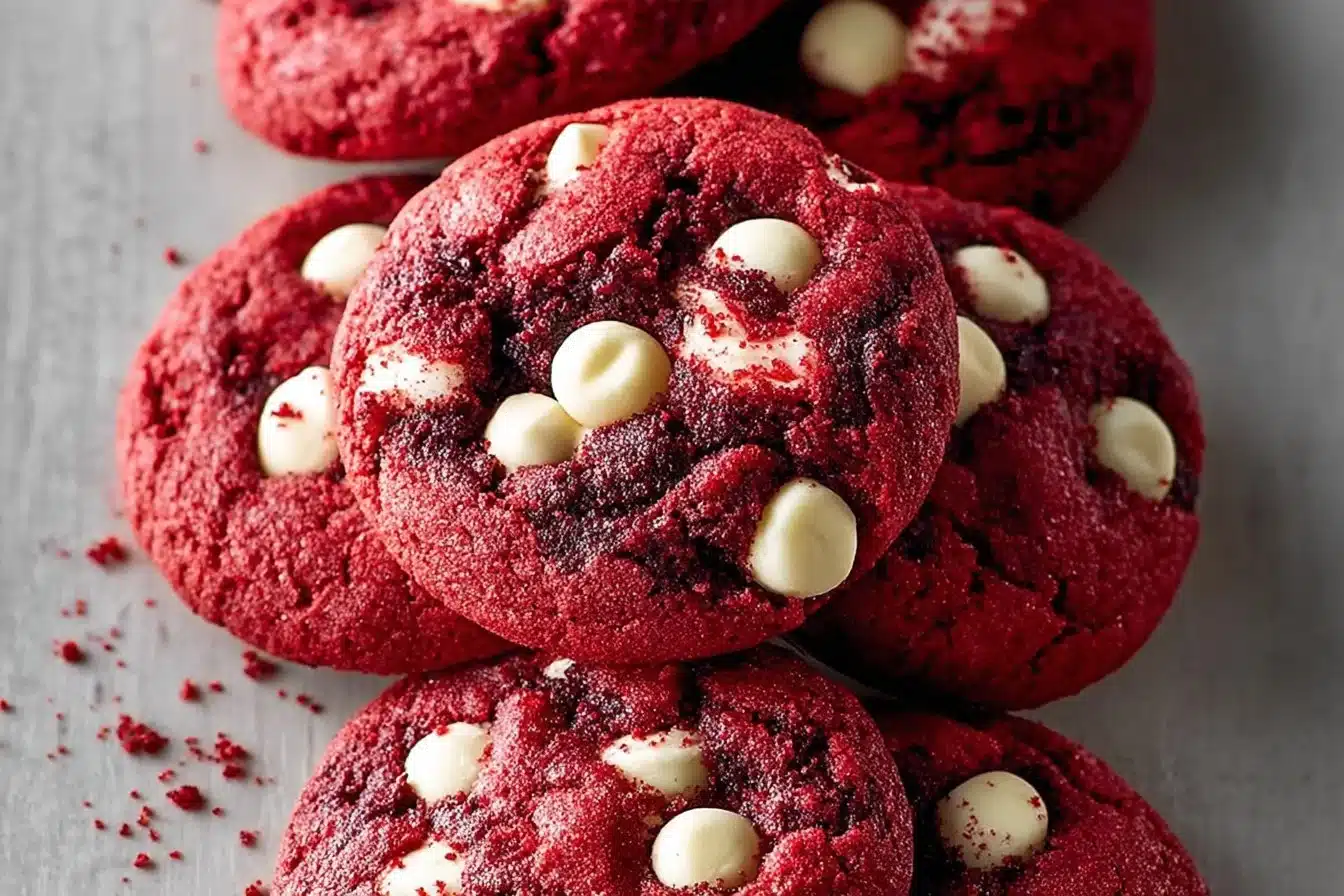
I have a soft spot for anything that looks showy but is actually easy enough for a weekday bake — these red velvet cheesecake cookies are exactly that. They give you a tender, cocoa-tinged red cookie shell that cracks slightly at the edges and hides a creamy, tangy cheesecake center. The reveal is worth it: a smooth, slightly tangy cream cheese core that stays luscious while the cookie around it holds a gentle chew.
I like making the cheesecake centers ahead and keeping them frozen until assembly; it makes wrapping the dough around the filling much cleaner and keeps the filling from leaking. If you want a quick look at a similar approach or comparisons, see my earlier notes on red velvet cheesecake cookies.
Why You’ll Love This Recipe
- Real contrast: chocolatey red velvet dough with a cool, tangy cheesecake center — the interplay is bright and satisfying.
- Texture play: cookie edges bake up slightly crisp while the middle stays soft and yields to the creamy filling.
- Make-ahead friendly: the cheesecake centers are frozen solid before assembly so you can prepare them a day ahead (details in the method). For more freezer-friendly tips see my make-ahead notes.
- Crowd-pleasing presentation: each cookie looks like a little surprise — perfect for holiday platters or gifting.
- Flexible sweetness: white chocolate chips add pockets of sweet creaminess; you can adjust between 1 3/4 and 2 cups depending on how sweet you want the pockets to be.
The Story Behind This Recipe
This version grew from testing how to keep a cheesecake center intact during baking — freezing the little cream cheese dollops made the assembly repeatable and leak-free. For a related spin on the idea, I’ve tried similar stuffing techniques over at my other red velvet post.
What It Tastes Like
These cookies are moderately sweet with a gentle cocoa note under a bright red color. The aroma while baking is buttery and chocolatey, with a faint tang from the cream cheese. Texturally you get a tender, slightly cakey cookie (cornstarch helps here) that gives way to a cool, creamy cheesecake center — not overly rich, but luxuriously smooth.
Ingredients You’ll Need
A few ingredients do the heavy lifting here: butter and sugars for structure and chew, a little cocoa powder for true red velvet flavor, cornstarch to keep the cookie tender, and a frozen cream cheese center so the filling holds its shape during baking. Use white chocolate chips for sweet, creamy pockets; the recipe gives a range (1 3/4–2 cups) so you can taste-test how sweet you like them.
- 1 cup Butter (barely softened)
- 1 cup Brown Sugar
- 1/2 cup Sugar
- 2 large Eggs
- 2 teaspoons Vanilla Extract
- 2 teaspoons Red Food Coloring or Gel
- 1/3 cup Unsweetened Cocoa Powder
- 3 cups Flour
- 1 teaspoon Baking Soda
- 1/2 teaspoon Cornstarch
- 1 teaspoon Salt (use 1/2 teaspoon if using salted butter)
- 1 3/4 to 2 cups White Chocolate Chips
- (1) 8-ounce pkg. Cream Cheese (barely softened)
- 1 cup Powdered Sugar
- 1 teaspoon Vanilla Extract or Vanilla Bean Paste
How to Make Red Velvet Cheesecake Cookies
- Prepare the cheesecake centers: In a medium bowl, beat the 8-ounce cream cheese, 1 cup powdered sugar, and 1 teaspoon vanilla extract (or vanilla bean paste) until completely smooth and creamy — no lumps. The mixture should be thick but pipeable.
- Portion and freeze the centers: Scoop the cream cheese mixture into 16 small dollops (about 1 tablespoon each) onto a parchment-lined baking sheet. Freeze for 45 minutes to 1 hour, until the dollops are firm and hold their shape when touched — solid but not rock-hard. This keeps the filling from melting into the cookie during baking.
- Preheat and prep pans: Preheat your oven to 350°F (175°C). Line two baking sheets with parchment paper.
- Cream butter and sugars: In a large bowl, cream together 1 cup barely softened butter, 1 cup brown sugar, and 1/2 cup granulated sugar until light and noticeably fluffy, about 3–4 minutes. Stop when the mixture is pale and aerated — this traps just enough air for tender cookies.
- Add eggs and color: Beat in the 2 large eggs one at a time, scraping down the bowl between additions. Add 2 teaspoons vanilla extract and 2 teaspoons red food coloring or gel, and mix until the color is even and the batter smells buttery and sweet.
- Combine dry ingredients: In a separate bowl, whisk together 3 cups flour, 1/3 cup unsweetened cocoa powder, 1/2 teaspoon cornstarch, 1 teaspoon baking soda, and 1 teaspoon salt (or 1/2 teaspoon if using salted butter). The cocoa should be evenly sifted to avoid streaks.
- Fold dry into wet: Gradually fold the dry ingredients into the butter-sugar mixture just until no dry streaks remain. The dough should be soft, slightly sticky, and uniformly red; stop as soon as it comes together to avoid a tough cookie.
- Add white chocolate chips: Fold in 1 3/4 to 2 cups white chocolate chips so they’re evenly distributed — you’ll see pockets of cream-colored chips throughout the red dough.
- Portion the dough: Scoop the red velvet dough into 16 equal-sized balls (about 2 heaping tablespoons each). If the dough is warm and sticky, chill for 10–15 minutes until easier to handle.
- Encase the cheesecake: Flatten each dough ball into a disc with your hands (about 3 inches across). Place one frozen cheesecake ball in the center of each disc. Wrap the dough carefully around the cheesecake, fully enclosing it and pinching seams to seal. Roll each parcel gently into a smooth ball so there are no exposed edges — this prevents leaks. If any cheesecake peeks out, refold and reseal.
- Bake: Place the stuffed dough balls on the prepared baking sheet, spacing them about 2 inches apart. Bake at 350°F (175°C) for 10–13 minutes, or until the edges are set and just beginning to firm but the centers are still soft — the cookies will look slightly domed and pale on top. Avoid baking until fully browned; you want the middle tender.
- Shape while warm: Immediately after removing from the oven, use a round spatula, the rim of a glass, or a spoon to gently press and shape each cookie into a perfect circle. This flattens the cookie slightly and centers the cheesecake reveal.
- Cool: Let the cookies cool on the baking sheet for 5 minutes so the cheesecake centers settle, then transfer to a wire rack to cool completely. The centers should be creamy and set but not jiggly.
- Finish with white chocolate: For a decorative finish, melt additional white chocolate chips with 1 teaspoon of oil in 30-second increments at 50% microwave power, stirring between bursts until smooth. Drizzle the melted white chocolate over cooled cookies or sprinkle with festive sprinkles. (The oil thins the chocolate so it drizzles cleanly.)
Note: keep the cheesecake centers frozen until they go into the dough to minimize leakage. If you see any grease rings after baking, the pastry wasn’t sealed tightly — pinch seams firmly next time.
Tips for Best Results
- Use barely softened butter (finger-press test: it should give slightly without melting) so the dough creams properly and the cookies don’t spread too much.
- Freeze the cheesecake dollops until firm — if they’re even slightly soft when wrapped they can ooze during baking.
- Watch the bake time carefully: 10–13 minutes gives set edges and soft centers. The cookies will continue to firm as they cool. Overbaking dries the cookie and makes the cheesecake crumbly.
- If your dough gets too sticky to handle, chill it for 10–15 minutes rather than adding flour — extra flour makes the cookies cakier.
- For neat presentation, shape cookies while they’re still warm from the oven; the cheese center is tacky and will adhere to the cookie for a clean edge.
Variations and Substitutions
- Swap the white chocolate chips for chopped white chocolate bars for larger pockets of melt.
- Use vanilla bean paste (already listed as an option) for a more aromatic cheesecake center.
- Reduce white chocolate to 1 3/4 cups to cut sweetness; use 2 cups for a noticeably sweeter cookie.
- If you prefer a deeper cocoa flavor, increase unsweetened cocoa to 1/2 cup, but the cookies will be less red — consider that trade-off carefully.
How to Serve It
Serve slightly warm so the cheesecake center is creamy and the white chocolate pockets are soft — they’re excellent with a cup of coffee or milk. For gatherings, arrange them on a platter with a few sprinkles or a thin white-chocolate drizzle for contrast. For assembly inspiration and alternative shapes, see my pressed-center technique in this blossom cookies post.
How to Store It
- Room temperature: Not recommended long-term because of the cream cheese filling.
- Refrigerator: Store cooled cookies in an airtight container layered with parchment for up to 4 days. Bring to room temperature or warm slightly before serving for a softer center.
- Freezer: Freeze baked cookies in a single layer until firm, then stack with parchment between layers in an airtight container for up to 2 months. Thaw in the fridge overnight and warm briefly in the oven or microwave before serving.
- Make-ahead: You can prepare and freeze the cheesecake dollops up to a week in advance; assemble and bake from frozen when ready.
Final Thoughts
These cookies feel fancier than they are — the trick is the frozen cheesecake centers and a careful, short bake so the cookie holds a tender chew while the filling stays silky. They’re a simple way to turn a classic flavor combo into something shareable and a touch theatrical without fuss.
Conclusion
If you’d like to compare techniques or see other takes on the same idea, check out these related recipes: Red Velvet Cheesecake Cookies – Two Peas & Their Pod, Cheesecake Stuffed Red Velvet Cookies – Modern Honey, and Red Velvet Cheesecake Cookies – – Cooking With Karli.