The Memory Behind This Treat
The first time I made Red Velvet Cake Pops was on a chilly February afternoon, the kind where the sky feels like a cozy, oversized blanket. My daughter, then just five, had come home from preschool bubbling with excitement about Valentine’s Day. Her little hands held a glittery card, and her eyes sparkled with the thrill of the holiday. I wanted to create a sweet surprise that matched her enthusiasm, something vibrant and delightful. That’s when the idea for these cake pops popped into my mind.
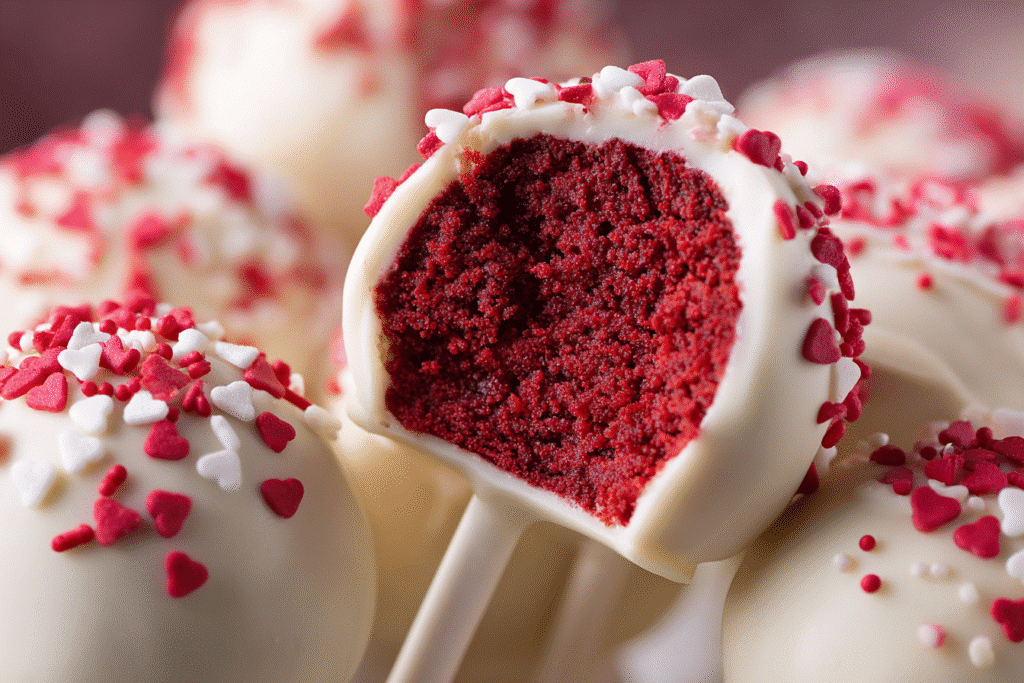
I remember us baking together, her giggles filling the kitchen as we mixed the red velvet cake batter. The rich, velvety texture and the deep red color were mesmerizing. As the cake baked, the aroma transformed our kitchen into a haven of warmth and sweetness. Once cooled, we crumbled it with cream cheese frosting, and her tiny fingers helped roll the mix into little balls. The white chocolate melted like a dream, and she joyfully sprinkled hearts on top, each pop a charming expression of love.
These Red Velvet Cake Pops became a symbol of our time together, a tradition we look forward to each year. They’re not just a treat; they’re a celebration of love and creativity. Whether you’re making them for a partner, friend, or your own little one, these pops are sure to bring a smile to anyone’s face. And if you’re feeling adventurous, explore adding a touch of color with different sprinkles or experimenting with dark chocolate for a richer twist.
How To Make It (Mix & Ingredients)
Creating these Red Velvet Cake Pops is like crafting little bites of love, and it’s easier than you might think! Start by preparing the red velvet cake using a boxed cake mix—a perfect shortcut. Follow the package instructions, combining it with eggs, vegetable oil, and water. Once baked to perfection, let it cool completely. This is crucial because a warm cake can turn your pops into a mushy mess.
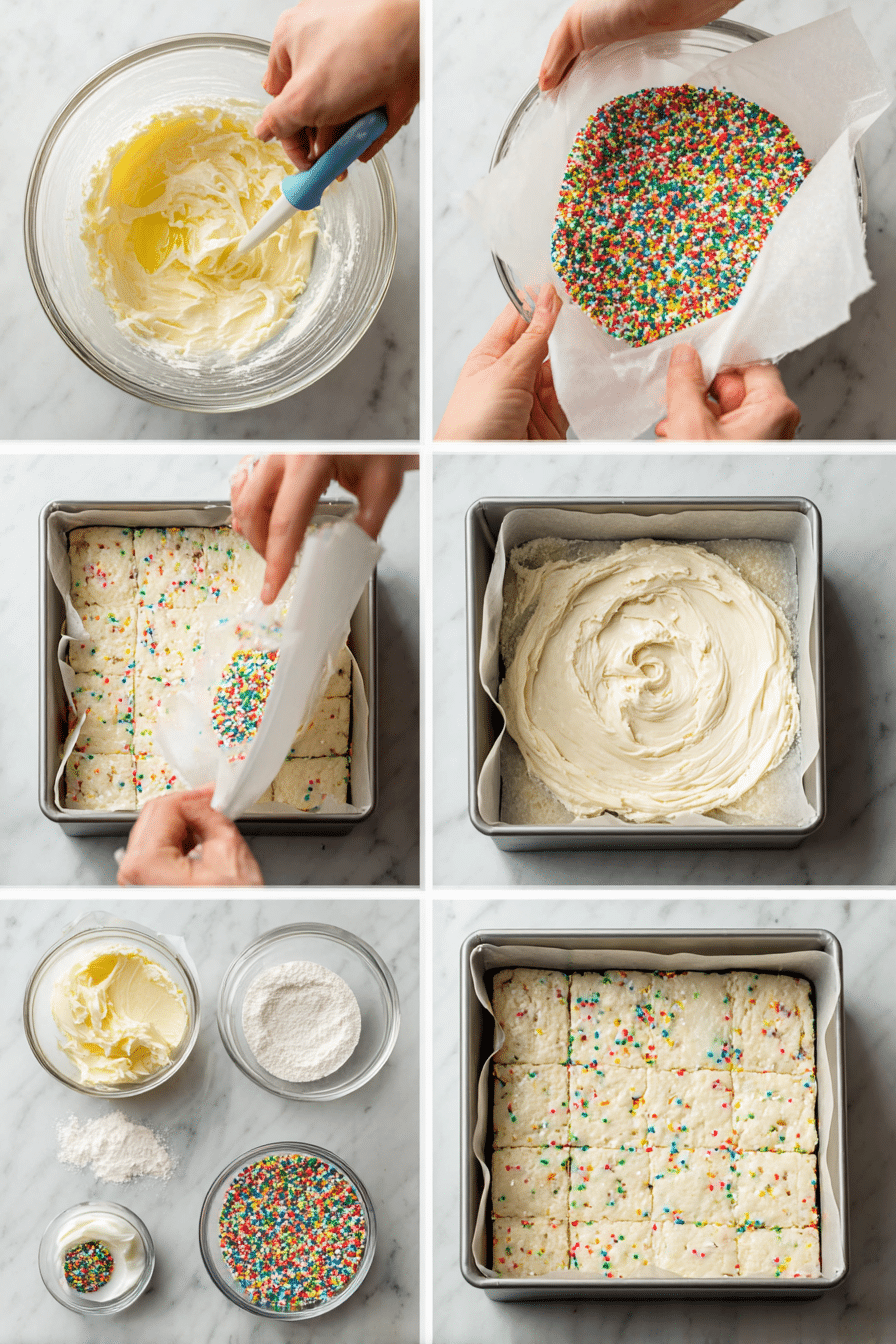
Instructions Process of Red Velvet Cake Pops
Next, crumble the cooled cake into a fine, fluffy texture. This part is quite therapeutic, so feel free to enlist help from little hands if you have any eager assistants! Mix in cream cheese frosting until you achieve a dough-like consistency. It’s okay if it feels a bit sticky; that’s exactly what holds these pops together. Roll this mixture into 1-inch balls, place them on a lined baking sheet, and insert a lollipop stick into each. A quick chill in the freezer will help them hold their shape for dipping.
Now, it’s time for the grand finale—dipping and decorating. Melt your white chocolate or candy melts and give each cake pop a generous coat. A gentle tap helps remove excess chocolate, ensuring a smooth, elegant finish. Before the chocolate sets, sprinkle on the heart-shaped sprinkles for that Valentine’s flair. Let them stand upright using a styrofoam block, and voilà, your delectable treats are ready to dazzle! If you love these, you might also want to try our Chocolate-Dipped Strawberries for another romantic treat.
Make-Ahead & Storage
When it comes to Red Velvet Cake Pops, planning ahead can be a baker’s best friend, especially on a busy Valentine’s Day. You can easily make these cake pops in stages, allowing time to perfect those delightful details without any rush. After you’ve formed the cake balls and inserted the lollipop sticks, place them on a baking sheet and freeze them. They can actually stay in the freezer for up to 2 weeks! Just ensure they’re stored in an airtight container to prevent any unwelcome freezer flavors.
Once you’ve dipped the cake pops in white chocolate and decorated them with those charming heart-shaped sprinkles, allow them to set and then store them in the refrigerator. They’ll stay deliciously fresh for about 5 days. Remember to use a container that’s not too tightly packed to avoid damaging the delicate coating. If you’ve ever had a cake pop casualty, you’ll know why that’s a smart move!
For serving, let your Red Velvet Cake Pops come to room temperature for about 15 minutes. This helps the flavors meld beautifully, making each bite a delightful experience. If you’re planning a gathering and want other fun treats, consider pairing with my Classic Chocolate Truffles or Strawberry Shortcake Cups for an irresistible dessert spread.
Best Ingredients & Party Variations
When crafting the perfect Red Velvet Cake Pops, choosing quality ingredients makes all the difference. Start with a good-quality red velvet cake mix; it serves as the foundation for those rich, velvety flavors we adore. If you’re feeling adventurous, try making a homemade red velvet cake from scratch—your tastebuds will thank you! The cream cheese frosting is where the magic happens, lending a tangy sweetness that balances the cake’s richness. Opt for a brand that’s smooth and creamy, or whip up your own for a personal touch.
White chocolate or candy melts deliver that satisfying crunch we crave in a cake pop. Choose a high-quality white chocolate for a luscious coating, ensuring it melts smoothly. Don’t forget those festive heart-shaped sprinkles; they add a charming and playful touch, perfect for Valentine’s celebrations. If hearts aren’t your style, consider red, pink, or even edible glitter for a little sparkle.
Looking to customize your cake pops for different occasions? Swap the heart-shaped sprinkles for seasonal decorations, like pastel colors for Easter or bold hues for a birthday bash. You can even play with flavors by adding a touch of vanilla or almond extract to the cake mixture. For a playful twist, coat the pops in dark chocolate instead of white—ideal for the chocoholic in your life. With these tweaks, your Red Velvet Cake Pops will be the hit of any party, no matter the occasion!
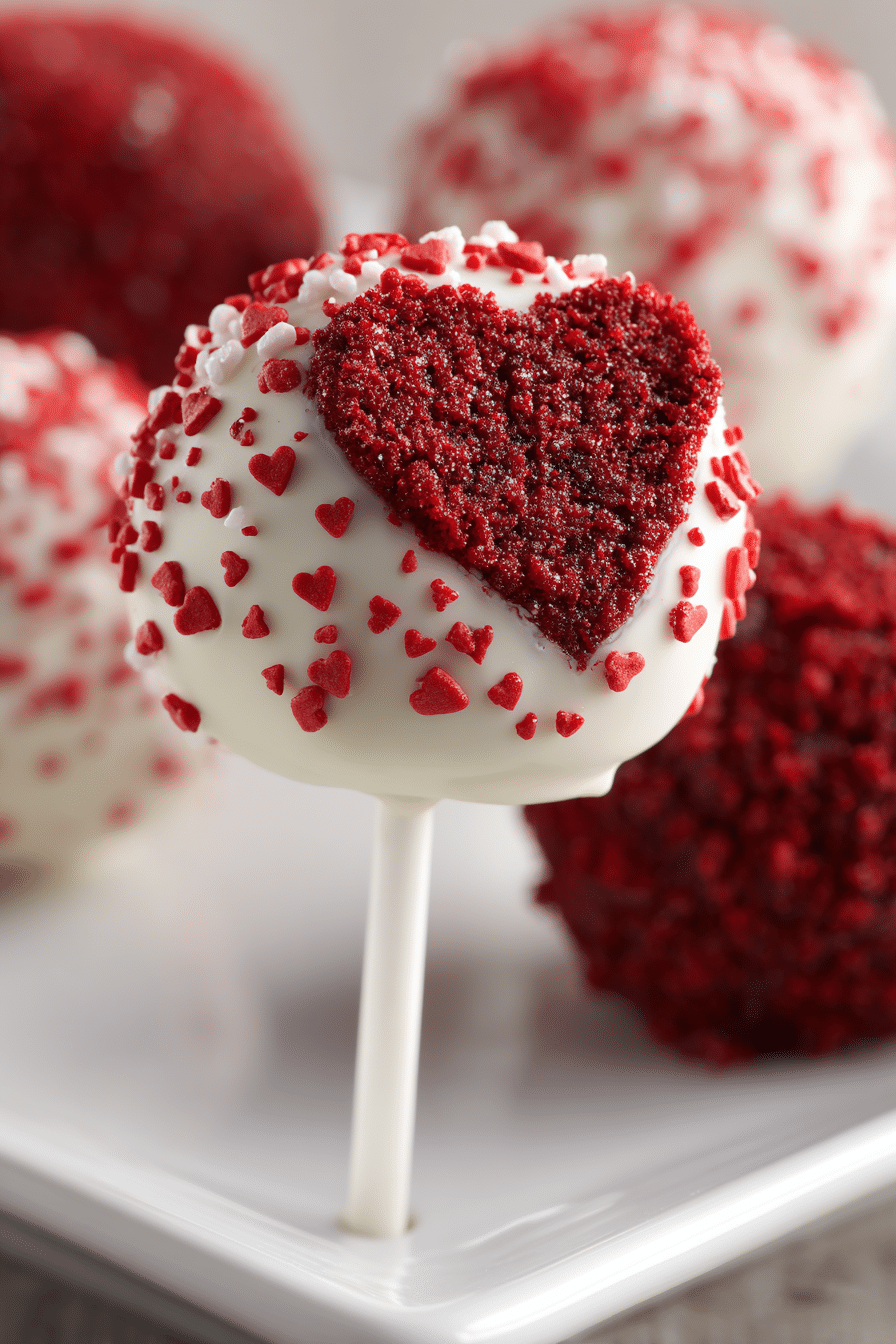
Serving of Red Velvet Cake Pops
Conclusion
Making these Red Velvet Cake Pops is like creating little bites of happiness that you can share with loved ones. I remember the first time I crafted these treats; it was for a Valentine’s Day party, and the joy on everyone’s faces as they took a bite was truly unforgettable. These cake pops have a magical way of bringing people together, sparking conversations, and creating sweet memories.
If you’re looking for a fun, heartwarming project that adds a splash of color and flavor to any occasion, these Red Velvet Cake Pops are your answer. I encourage you to gather your ingredients, roll up your sleeves, and give this recipe a try. Who knows? You might just create a new tradition.
For more delicious recipes like this, follow us on social media! I’d love to see your creations and share more delightful treats with you. Happy baking!
**What ingredients do I need for Red Velvet Cake Pops?
** To make these festive treats, you’ll need a box of red velvet cake mix, eggs, vegetable oil, and water for the cake. For the cake pop mixture, add cream cheese frosting. You’ll also need white chocolate or candy melts for coating, heart-shaped sprinkles for decoration, and lollipop sticks for the pops. These simple ingredients come together to create delightful Valentine’s Day treats.
**Can I use homemade red velvet cake instead of a box mix?
** Absolutely! Homemade red velvet cake works wonderfully. Just make sure you bake and completely cool the cake before crumbling it. This ensures the perfect texture when mixed with the cream cheese frosting. Homemade adds a personal touch that makes these cake pops even more special.
**How do I prevent cake pops from falling off the sticks?
** After forming the cake balls and inserting the sticks, freeze them for at least 20 minutes. This helps to firm them up, making it less likely for them to slide off during the dipping process. Ensuring the chocolate isn’t too hot when dipping also helps maintain their grip. A little patience goes a long way here!