The Practical Why Behind It
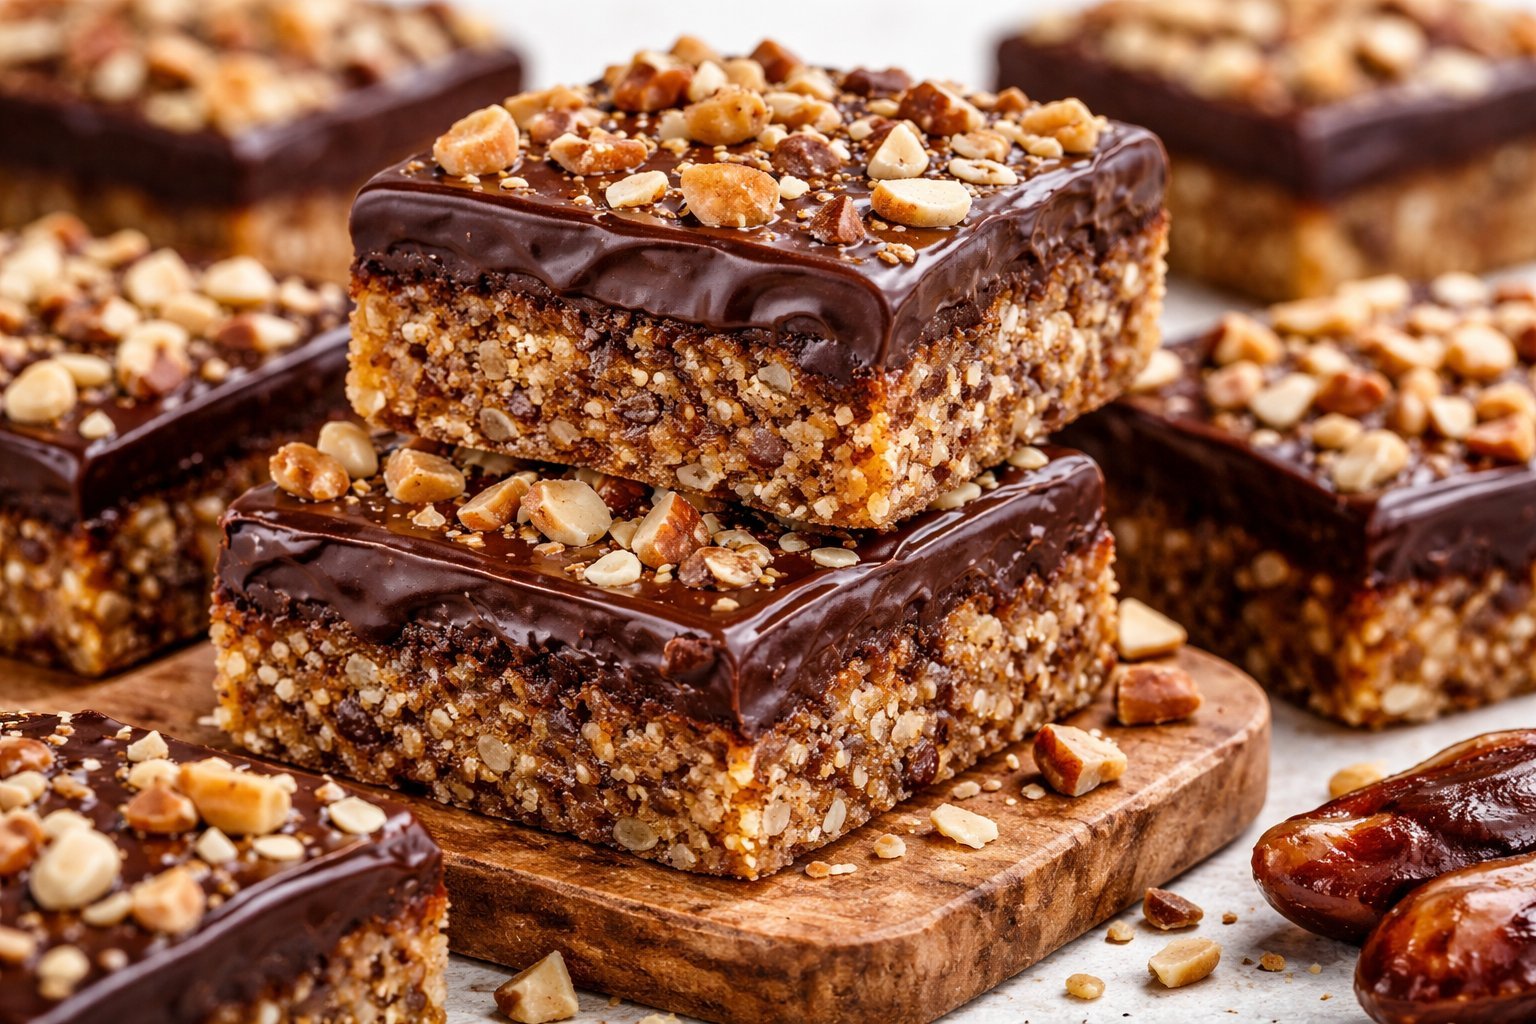
You know those bakery bars that look fancy behind the glass and somehow cost a small fortune per slice? These No Bake Date and Nut Bars give you that same rich, chewy, bakery style treat in your own kitchen, with simple pantry ingredients and no oven at all. They come together in minutes in the food processor, keep beautifully in the fridge, and actually satisfy your hunger instead of leaving you rummaging for another snack.
There is a very real kitchen logic behind these No Bake Date and Nut Bars, beyond the fact that they taste like something you would grab from a fancy bakery case. Dates act as the natural sweetener and binder, so you skip refined sugar and sticky syrups. That means fewer ingredients and fewer dishes to wash. The nuts and coconut bring healthy fats and protein, so one bar keeps you satisfied between meals instead of sending you hunting for another snack an hour later. Everything happens in the food processor, so on busy days you can have a tray pressed into the pan in the time it takes the kids to find their shoes. No baking also means no hot oven, which is a lifesaver in summer or in small kitchens.
From a texture and shelf life angle, these No Bake Date and Nut Bars make a lot of practical sense too. Grinding the nuts just until coarsely broken keeps the bars pleasantly chewy with little crunchy bits, which feels much more bakery style than a perfectly smooth blend. Coconut oil firms up in the fridge, so the bars slice cleanly and travel well in lunchboxes or snack containers without crumbling everywhere. Because there are no eggs or dairy, they are naturally easier to store. You can refrigerate them all week or freeze a batch for grab and go snacks. And if you already love simple treats like raw truffles or energy bites, these bars give you that same convenience but in a neater, portion friendly format you can cut and wrap in minutes.
Step-by-Step Method
Start by preparing the nut base for your No Bake Date and Nut Bars. Add the almonds, cashews, and sweetened shredded coconut to your food processor and use the pulse button so you keep control over the texture. You want small, even pieces that cling together if you squeeze a pinch between your fingers, not a fine powder that will turn pasty. If a few larger nut pieces remain, pulse once or twice more, then pour the mixture into a bowl and set it aside so you have room to work on the dates. This step sets the stage for that classic bakery style chew, with a little crunch in every bite.
Without washing the food processor, add the pitted Medjool dates and liquid coconut oil. Process until the mixture looks glossy and forms a sticky ball that rides around the bowl. If the dates look dry or crumbly, let the machine run for another 20 to 30 seconds, or add an extra teaspoon of coconut oil to help them blend. Scrape the sticky date mixture down the sides, then add back your ground nuts along with the cocoa powder. Pulse again in short bursts just until everything comes together into a dense, even mixture that feels slightly oily but not greasy or wet.

Process Image of No Bake Date and Nut Bars
Line your pan with parchment, letting a bit hang over the sides so you can lift the bars out later. Scoop the mixture into the pan and press it in firmly with your hands, then go over the top with the bottom of a measuring cup or glass to really compact it. You want a smooth, even layer without gaps, which helps the bars hold together once chilled. If your dough feels too soft to press into a pan, pop the bowl in the refrigerator for 10 to 15 minutes until it firms slightly, then press it into the parchment lined pan.
Chill the pan until the mixture is firm to the touch, about 1 to 2 hours, depending on your fridge. Once set, lift the slab out by the parchment and place it on a cutting board. Use a sharp knife to slice your No Bake Date and Nut Bars into neat, bakery worthy squares or rectangles. Wipe the knife between cuts if it gets sticky for the cleanest edges.
Make-Ahead and Storage Notes
No Bake Date and Nut Bars are very make ahead friendly, which makes them perfect for busy weeks, meal prep days, or hungry kids raiding the fridge. Once you press the mixture into your pan and chill it until firm, slice the bars, then store them in an airtight container in the refrigerator. I like to separate the layers with parchment so they do not stick together. In the fridge, they keep their texture and flavor for about 7 to 10 days. The coconut oil keeps them firm and fudgy when cold, but they soften slightly at room temperature, which makes each bite taste richer and more dessert like.
If you love to stock your freezer with easy snacks, these No Bake Date and Nut Bars freeze beautifully. Arrange the cut bars on a baking sheet, freeze until solid, then transfer them to a freezer bag or airtight container with parchment between layers. Label the container with the date, and plan to enjoy them within 2 to 3 months for the best flavor. Let frozen bars thaw in the refrigerator overnight, or at room temperature for about 20 minutes. If you are packing them for work, school, or a road trip, tuck a chilled bar into your container and it will soften just enough by snack time, much like my favorite no bake granola clusters.
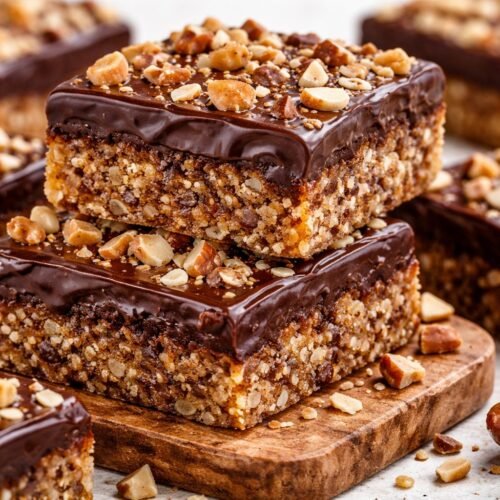
Variations and How to Serve It

Serving Image of No Bake Date and Nut Bars
Once you have the base recipe for these No Bake Date and Nut Bars memorized, you can start playing. For a little crunch, swap some of the cashews for chopped pistachios or peanuts, then press a few extra nuts on top before chilling. If you love a sweeter bite, stir in 2 tablespoons of mini chocolate chips or cacao nibs after pulsing, so they stay whole and studded throughout the bars. For a fruity twist, fold in finely chopped dried cherries or cranberries, which pair beautifully with the cocoa and dates. You can even skip the cocoa powder entirely and add 1 teaspoon of vanilla bean paste and a pinch of cinnamon for a lighter, caramel like bar.
You can serve these No Bake Date and Nut Bars in a few different ways, depending on who you are feeding and how fancy you feel. Cut them into classic bar shapes for lunch boxes and after school snacks, or slice them into little 2 bite squares for a dessert board alongside fresh berries and a few pieces of dark chocolate. For grab and go energy bites, roll the mixture into balls and chill, then dust lightly with cocoa or finely chopped coconut before serving. I also love to crumble a bar over Greek yogurt or oatmeal for a quick breakfast. The chewy dates and crunchy nuts act like a homemade granola. If you like recipe flexibility, these bars fit right in next to other repeat favorites like my no bake energy bites and chocolate coconut truffles, and they keep well in an airtight container so you always have a wholesome treat ready.
Conclusion
There is something quietly joyful about pressing a pan full of glossy dates, toasted nuts, and little flecks of chocolate into place and knowing you just made a snack that feels both nostalgic and grown up. These bars are the kind of treat you can share on a lazy Sunday afternoon, tuck into lunch boxes, or set out with coffee when a friend drops by unexpectedly. I love watching people take that first bite, pause, and then go back for “just one more piece.”
I hope these No Bake Date and Nut Bars find their way into your weekly rhythm, your family traditions, and your little in between moments. Let this be the recipe you reach for when you want something sweet, simple, and made with a bit of heart. If you are standing in your kitchen right now wondering what to make, this is your sign to grab a pan, soften some dates, and give it a try. Then come back and tell me how you served them. I would truly love to hear.
Recipe Card Image of No Bake Date and Nut Bars
Recipe
No Bake Date and Nut Bars
Ingredients
Ingredients
- 3/4 cup raw almonds
- 3/4 cup raw cashews
- 3/4 cup sweetened shredded coconut
- 18 large Medjool dates pitted (about 9.5 oz)
- 6 tablespoons coconut oil melted
- 3 tablespoons unsweetened cocoa powder
Instructions
- Line an 8 inch square pan with parchment paper, leaving some overhang on two sides for easy lifting.
- Add the almonds, cashews, and shredded coconut to a food processor. Pulse until coarsely ground with small, even pieces, stopping before the mixture turns into a fine powder. Transfer the nut mixture to a bowl.
- Without washing the food processor, add the pitted Medjool dates and melted coconut oil. Process until the mixture becomes finely ground, glossy, and forms a sticky, cohesive mass that starts to clump together.
- Scrape down the sides of the food processor, then add the reserved nut and coconut mixture and the cocoa powder. Pulse in short bursts just until everything is evenly combined and forms a dense, sticky mixture that holds together when pressed.
- Transfer the mixture to the prepared pan. Press it firmly and evenly into the pan with your hands, then use the bottom of a measuring cup or glass to compact the surface into a smooth, even layer.
- Refrigerate the pan until the mixture is firm to the touch, about 2 hours.
- Once chilled and set, lift the firm slab out of the pan using the parchment overhang and place it on a cutting board.
- Use a sharp knife to cut into 12 equal bars, wiping the knife between cuts if needed for clean edges. Serve chilled or at cool room temperature.
Notes
- For longer storage, freeze bars on a baking sheet until solid, then transfer to an airtight container and freeze for up to 3 months. Thaw in the refrigerator before serving.