Why This One Delivers
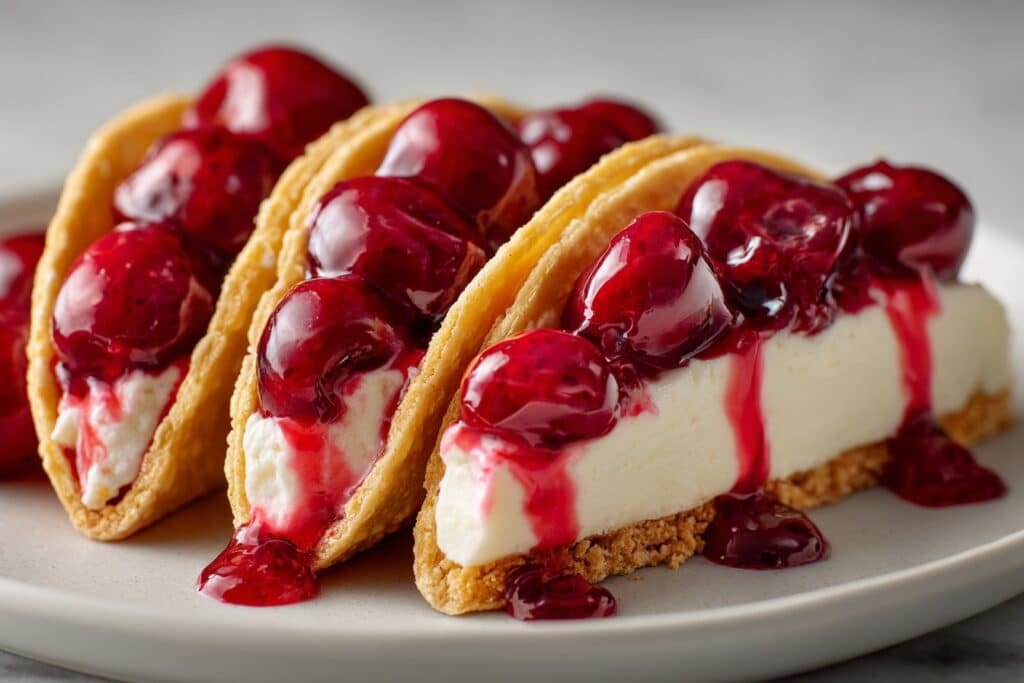
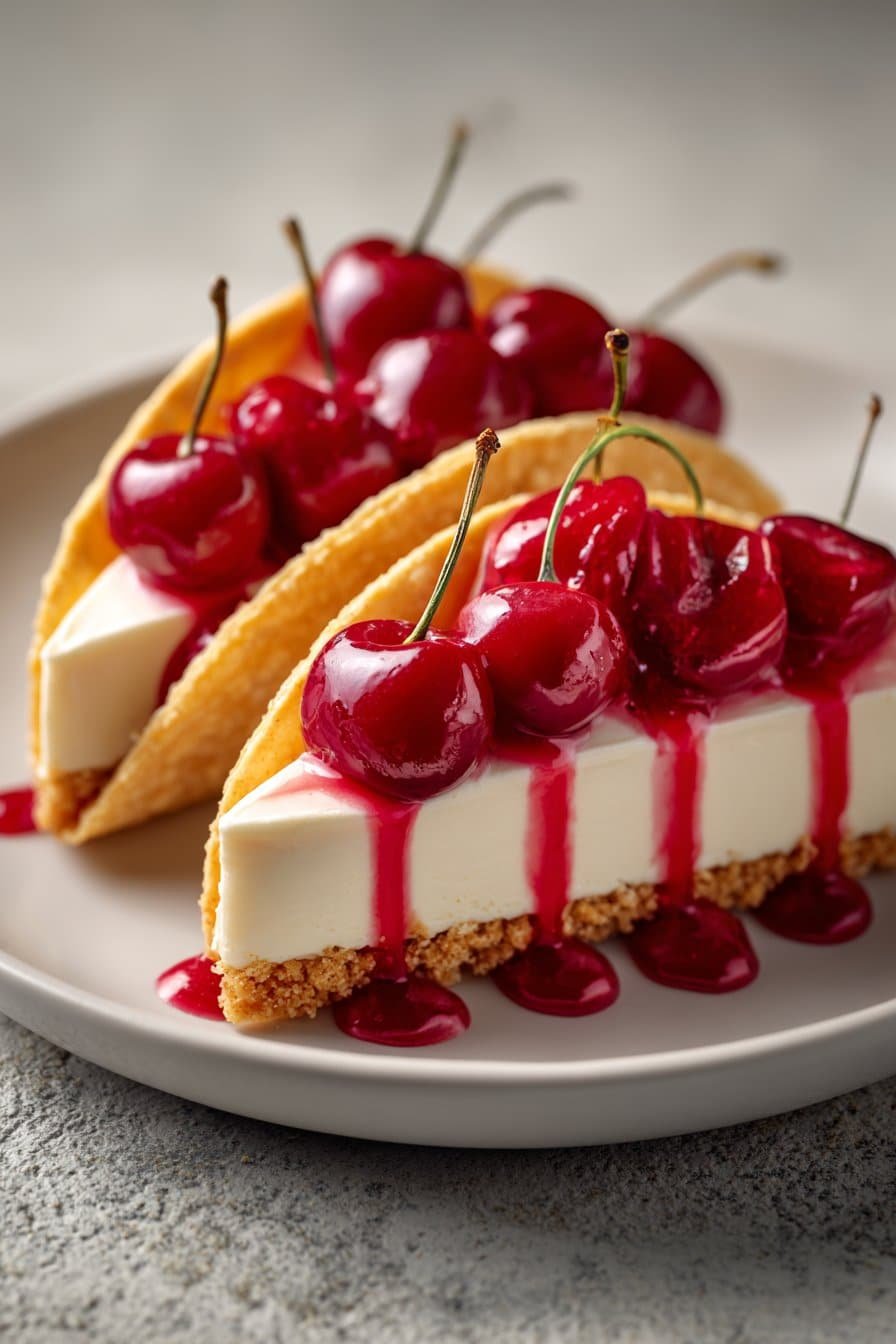
Mini Cherry Cheesecake Tacos give you all the nostalgic flavor of a classic bakery cheesecake, only in a tiny crisp shell that you can eat in two or three bites. The contrast is what makes them sing. You get a buttery, slightly crunchy tortilla shell, cool and creamy cheesecake filling, and bright, glossy cherry topping in every single bite. Because they are mini, the filling chills quickly and sets just enough to feel rich and luxurious, without that heavy, brick thick texture that some cheesecakes can have. They are pretty enough for a party platter, yet simple enough for a weeknight dessert craving.
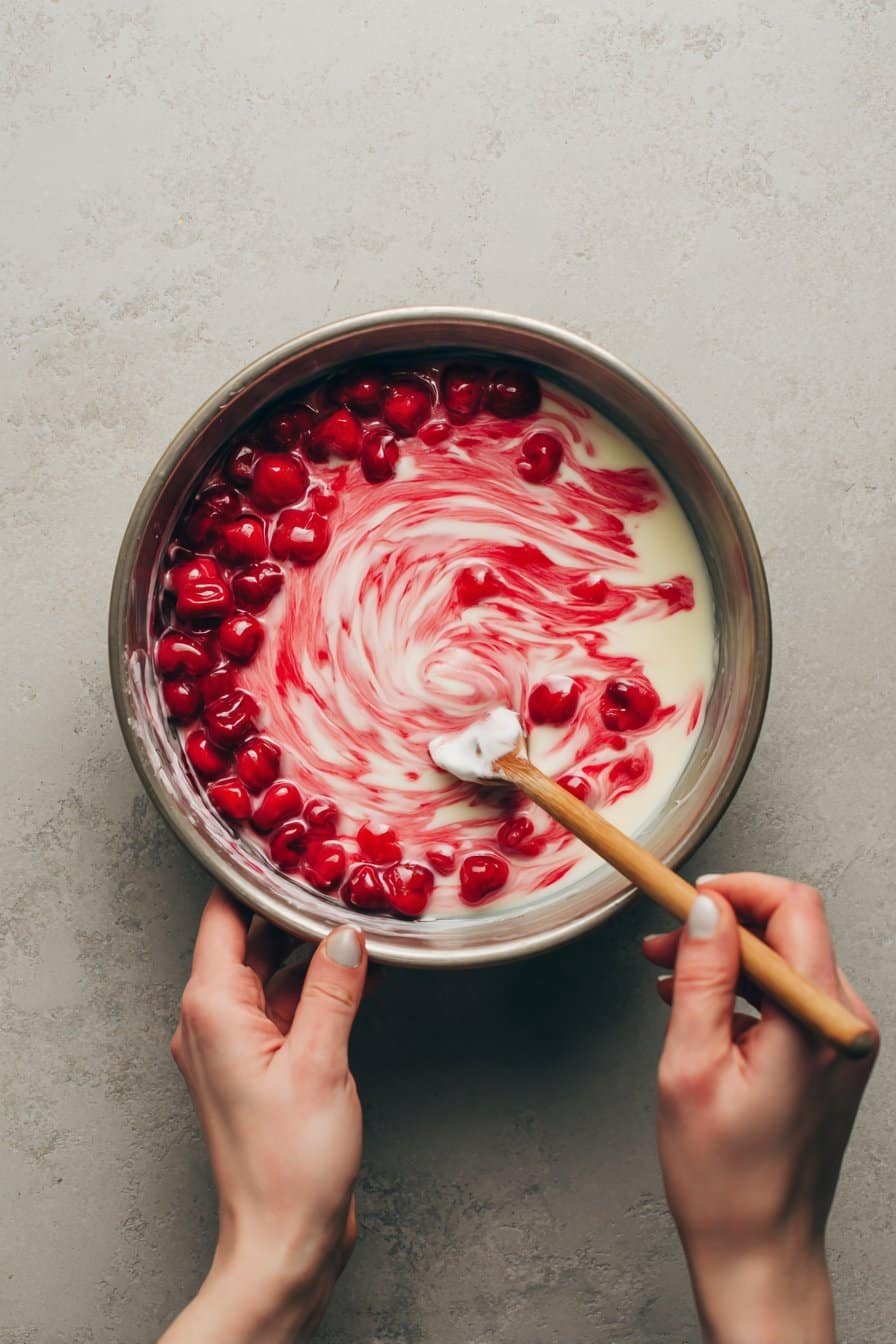
This recipe also delivers on practicality, which I promise your future self will appreciate. You can fry or bake the shells ahead, then let them cool on the counter while you whip the cheesecake filling in one bowl. The cherry layer comes straight from your favorite can of cherry pie filling, so you get that familiar bakery window flavor with almost zero extra work. Assembly is wonderfully forgiving. If you overfill a shell and some cream peeks out, it just makes them look extra lush. They hold up beautifully in the fridge for several hours, so you can plate them before guests arrive, the way I love to do with my mini lemon cream pies.
Best of all, Mini Cherry Cheesecake Tacos are a crowd pleaser across ages. Kids love that they can hold their dessert in one hand, and adults love the portion control and the not too sweet balance of tangy cream cheese and cherries. You do not need any special pans or springform tricks here, just a few basic tools and a bit of space to let the taco shells cool in their curved shape. If you can gently fold a tortilla and stir a bowl of filling until smooth, you can absolutely pull these off. It is that mix of bakery style charm, easy technique, and make ahead friendliness that makes this recipe one you will come back to whenever you want a fun little showpiece on the dessert table.
From Prep to Finish
From the moment you cut your tortillas into small circles to the last swirl of cherry topping, these Mini Cherry Cheesecake Tacos move fast, so it helps to set up a little assembly line. Stack your cut tortillas on one side, have your cinnamon sugar ready in a shallow bowl, and keep a baking sheet or muffin tin nearby to help shape the warm shells as they come out of the oil. You want the tortillas golden and crisp, not dark and hard, so stay close to the stove and fry in small batches. While the shells cool, beat your cream cheese until completely smooth, then blend in the sugar, vanilla, and cream so the cheesecake filling turns silky and pipeable. If you have ever made my mini no bake cheesecakes, the texture here is just as dreamy, only tucked into a crunchy taco shell instead of a crumb crust.
Once the shells are cool to the touch, you can start filling your Mini Cherry Cheesecake Tacos, either with a piping bag and a star tip or a simple zip top bag with the corner snipped. Aim to fill each shell only about three quarters full so there is room for that glossy cherry pie filling without spills. Spoon a generous cherry or two over each taco, letting a little of the syrup drip down the sides for that bakery style look. At this point you can serve them right away for the crispiest texture, or chill them briefly if you prefer a slightly softer bite as the shells gently mingle with the creamy filling. These hold well for a few hours, but if you want to make them ahead, store the shells and filling separately, then assemble just before serving so every taco tastes like it came straight from the bakery case.
Timing, Storage, and Make Ahead
From mixer to first bite, Mini Cherry Cheesecake Tacos move fast. You will want about 20 minutes to mix the creamy filling and cut your tortillas, then only 8 to 10 minutes to fry or bake the shells until they are a light golden color. Let the shells cool completely before you fill them, at least 10 to 15 minutes, or the cheesecake mixture can melt and slide right out. Once filled and topped with cherry pie filling, they are best served within 2 hours for the crispest texture. If you plan to bring them to a party or potluck, assemble them at the last minute if possible, and travel with the components separate.
For storage, think of these like regular cheesecake plus a crunchy shell. Store unfilled taco shells at room temperature, lightly covered, for up to 2 days, and refresh them in a 160 degree oven for 4 to 5 minutes if they lose a bit of snap. Keep the cheesecake filling in an airtight container in the refrigerator for up to 3 days, and the cherry topping in a separate container for the same amount of time. Filled Mini Cherry Cheesecake Tacos will keep in the fridge for about 24 hours, but the shells soften, so they taste more like a creamy dessert bite than a crisp taco. For the best make ahead game plan, prep the shells and filling the day before, then fill and top them right before serving, the way you might handle mini lemon tartlets or chocolate mousse cups. This simple layering of timing makes entertaining feel stress free and still gives you that fresh bakery style crunch and creamy cherry bite.
Ingredient Swaps and Serving Options
You can take these Mini Cherry Cheesecake Tacos in a lot of sweet directions, so use what you already have. If you cannot find cherry pie filling, swap in blueberry, apple, or strawberry, or even a homemade quick cherry compote. Any neutral tortilla works, but if you only have flour tortillas, cut them into smaller circles with a biscuit cutter so they feel bite sized like the original. For a richer filling, use full fat cream cheese and sour cream, or lighten things up with Neufchâtel and Greek yogurt, keeping the same total amount. A splash of almond extract is lovely with cherries, and a spoon of finely grated lemon zest really brightens everything.
For the crunchy shell, you can bake instead of fry, just brush both sides lightly with melted butter, sprinkle with cinnamon sugar, and bake until crisp and golden, then shape while warm. If you love texture, scatter on chopped toasted almonds, pecans, or crumbled graham crackers after you pipe in the cheesecake filling. Serve Mini Cherry Cheesecake Tacos on a big platter for parties, or stand them upright in a 24 cup mini muffin pan so they chill neatly in the fridge. You can offer a little topping bar, with bowls of extra cherries, whipped cream, chocolate shavings, and even mini chocolate chips, so everyone builds their own perfect bite. They pair beautifully with coffee, a scoop of vanilla ice cream, or tucked next to a slice of [no bake Oreo cheesecake] for a very happy dessert plate.
Instructions Process of Mini Cherry Cheesecake Tacos
Conclusion
If you are anything like me, you will find yourself “just tasting one” of these little beauties while you wait for friends or family to arrive. There is something extra sweet about a dessert that you can pick up with your fingers, share from a big platter, and eat in one happy bite. Mini Cherry Cheesecake Tacos are exactly that kind of treat, the kind that turns an ordinary evening into a memory before you even realize it is happening.
When you set these out on the table, people lean in. Kids get wide eyed, grown ups ask, “What are those?” and everyone wants to try at least one. That is the magic I love most about baking. It is not about perfection, it is about the laughs over the counter, the quick photo snapped before the first one disappears, and the “can you send me this recipe?” that always follows.
I hope you feel excited and confident to try these in your own kitchen. For more delicious recipes like this, follow us on social media!
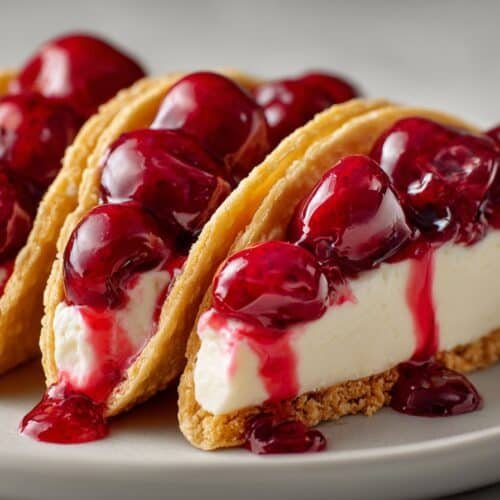
Serving of Mini Cherry Cheesecake Tacos
Recipe
Mini Cherry Cheesecake Tacos
Ingredients
Ingredients
- 6 small flour tortillas 6 inch size
- 120 ml vegetable oil for frying
- 50 g granulated sugar
- 1 tsp ground cinnamon
- 224 g cream cheese softened
- 60 g powdered sugar
- 1 tsp vanilla bean paste
- 120 ml heavy whipping cream cold
- 410 g can cherry pie filling
Instructions
- Cut each flour tortilla into two or three small rounds using a 3 inch cookie cutter to make about 12 circles.
- Stir the granulated sugar and ground cinnamon together in a shallow bowl and set aside.
- Heat the vegetable oil in a medium skillet over medium heat until hot.
- Fry the tortilla circles in batches, folding each one gently with tongs as it fries to form a taco shape, and cook until light golden and crisp, about 30 to 60 seconds per side.
- Remove each shell from the oil, let excess oil drip off, then immediately roll or sprinkle it in the cinnamon sugar mixture to coat.
- Drape the warm coated shells over the edge of a baking sheet or tuck into the slots of an inverted muffin tin so they cool in a curved taco shape. Let cool completely.
- In a mixing bowl, beat the softened cream cheese with an electric mixer until smooth and creamy.
- Add the powdered sugar and vanilla bean paste and beat until fully combined and smooth.
- Gradually pour in the cold heavy whipping cream while beating, and continue to beat until the mixture becomes thick, fluffy, and pipeable.
- Transfer the cheesecake filling to a piping bag fitted with a star tip or to a zip top bag and snip off one corner.
- Pipe the cheesecake filling into each cooled taco shell, filling each about three quarters full.
- Spoon cherry pie filling over the cheesecake layer in each taco, adding one or two cherries and a little syrup to each.
- Serve immediately for the crispiest shells or refrigerate for up to 2 hours before serving.
Notes
- For best texture, keep shells and filling separate if making ahead and assemble just before serving.