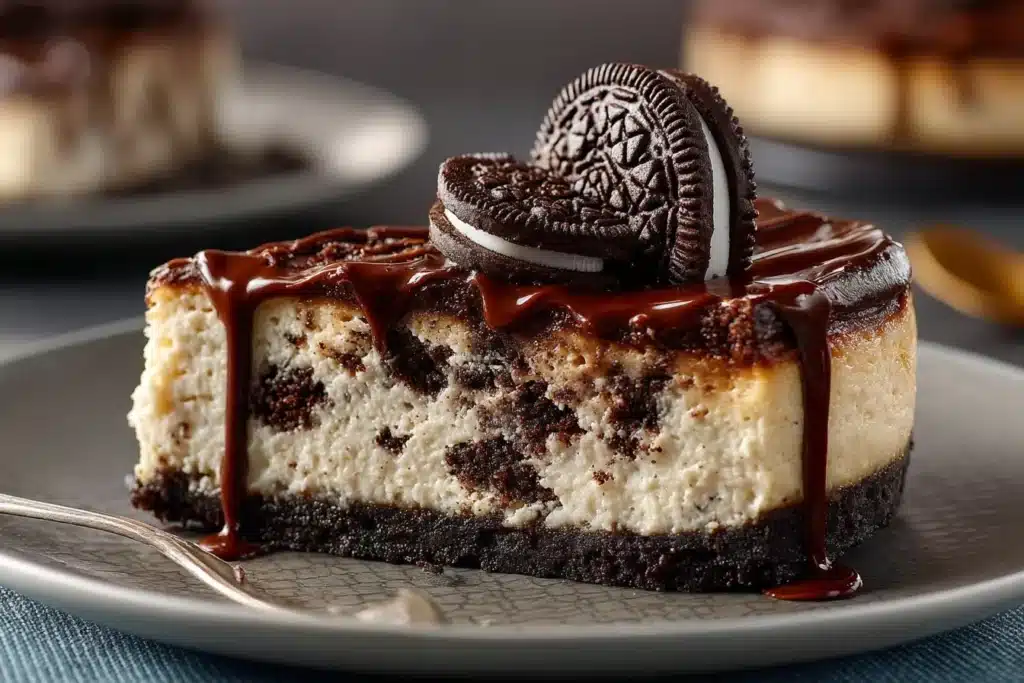
Why This One Delivers That Bakery-Style Magic
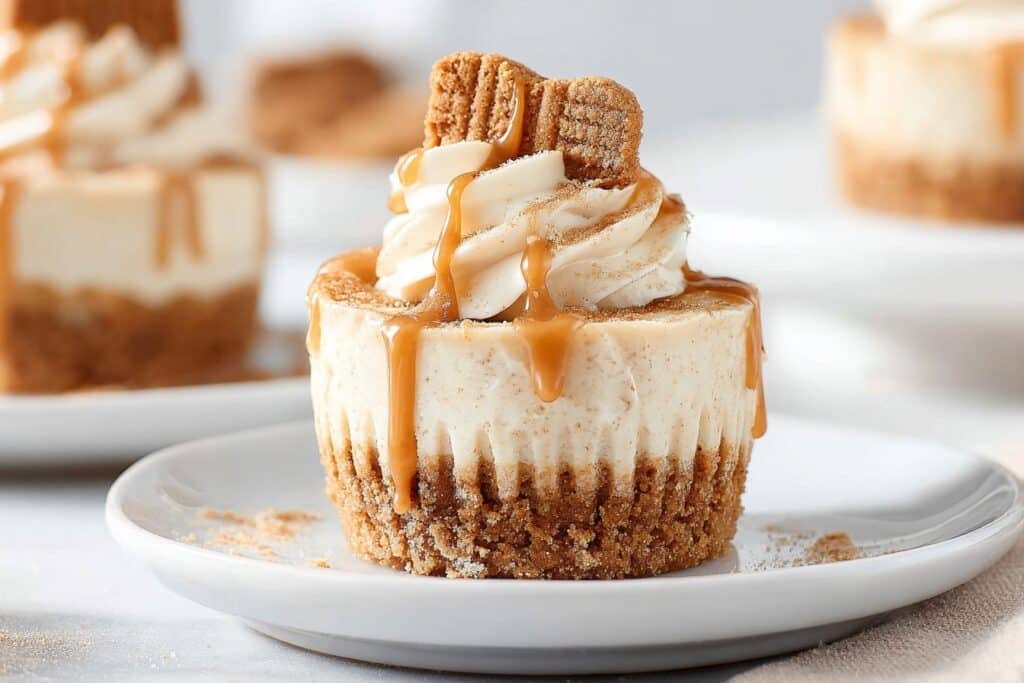
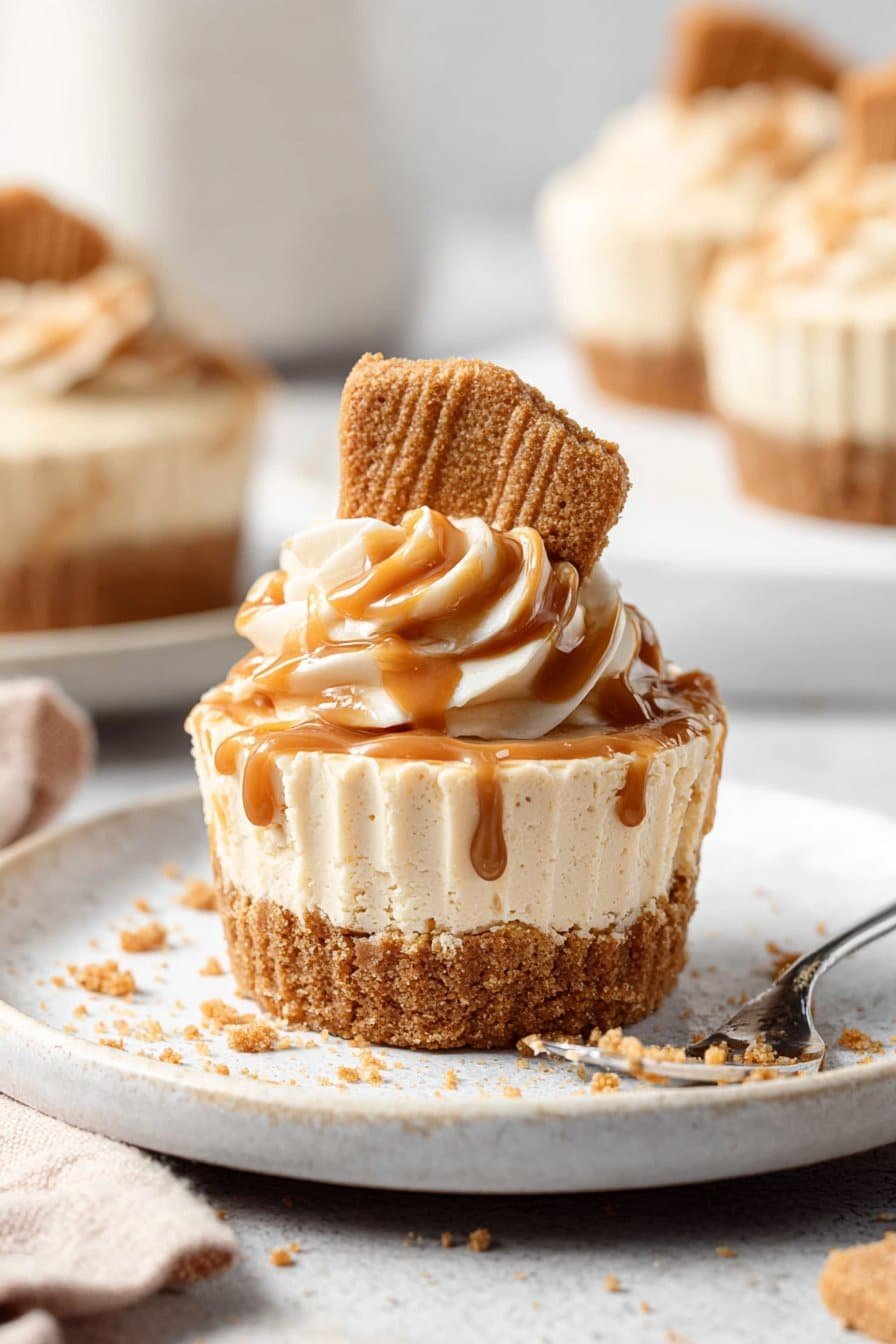
You know those glossy, perfect little cheesecakes in a bakery case? These Mini Biscoff Cheesecakes give you that same silky texture and neat, professional look—without special equipment or fussy steps. You get a firm, buttery cookie base, a creamy, crack-free filling, and a shiny Biscoff topping that sets beautifully in the fridge, so they’re easy to serve and even easier to impress with.
The base leans hard into what makes Biscoff cookies so good: lots of finely crushed cookies and enough melted butter to help the crust set up firm instead of crumbly. That means the mini cheesecakes hold their shape when you peel off the wrapper or lift them from the pan—no sandy crumbs falling everywhere. Starting the cream cheese, sour cream, and eggs at room temperature gives you a satiny batter that blends quickly and smoothly, so you don’t have to overmix and risk cracks. A low oven temperature (285°F) bakes the Mini Biscoff Cheesecakes gently, keeping the centers creamy instead of puffed and dry. You get that dense-but-soft, bakery-style bite—no water bath, no drama, just a calm oven and a timer.
Flavor-wise, this recipe doesn’t just hint at Biscoff; it layers it in three places: the crust, the cheesecake batter, and a glossy Biscoff glaze with Biscoff whipped cream. Melting the spread for the batter and glaze helps it blend evenly so every bite tastes like warm, caramelized cookie, not just the top. The whipped cream gets a little structure from the spread, so it pipes neatly and holds up on a dessert table—perfect for parties, potlucks, or an afternoon tea tray alongside mini tarts or mascarpone desserts. Because each one is a tidy individual portion, you skip messy slicing and built-in portion control becomes the excuse you use until you reach for a second. And if you’re a planner, these chill and set in the fridge beautifully, so the texture actually improves by the time you’re ready to serve.
From Prep to Finish: How These Mini Biscoff Cheesecakes Come Together
Once your ingredients are measured and your cream cheese, sour cream, and eggs have lost their chill, these Mini Biscoff Cheesecakes are all about simple steps and letting the oven and fridge do the work. Start with the crust: stir melted butter into the crushed Biscoff cookies until the crumbs feel like damp sand and clump easily when you squeeze a handful. You want every crumb lightly coated so the mixture presses together firmly. Press this mixture into your lined muffin pan, packing it down well so the base bakes into a sturdy layer that won’t fall apart when you unwrap them. A small flat-bottomed glass or measuring cup is your best friend here for even, compact crusts. While the crust chills, move on to the filling.
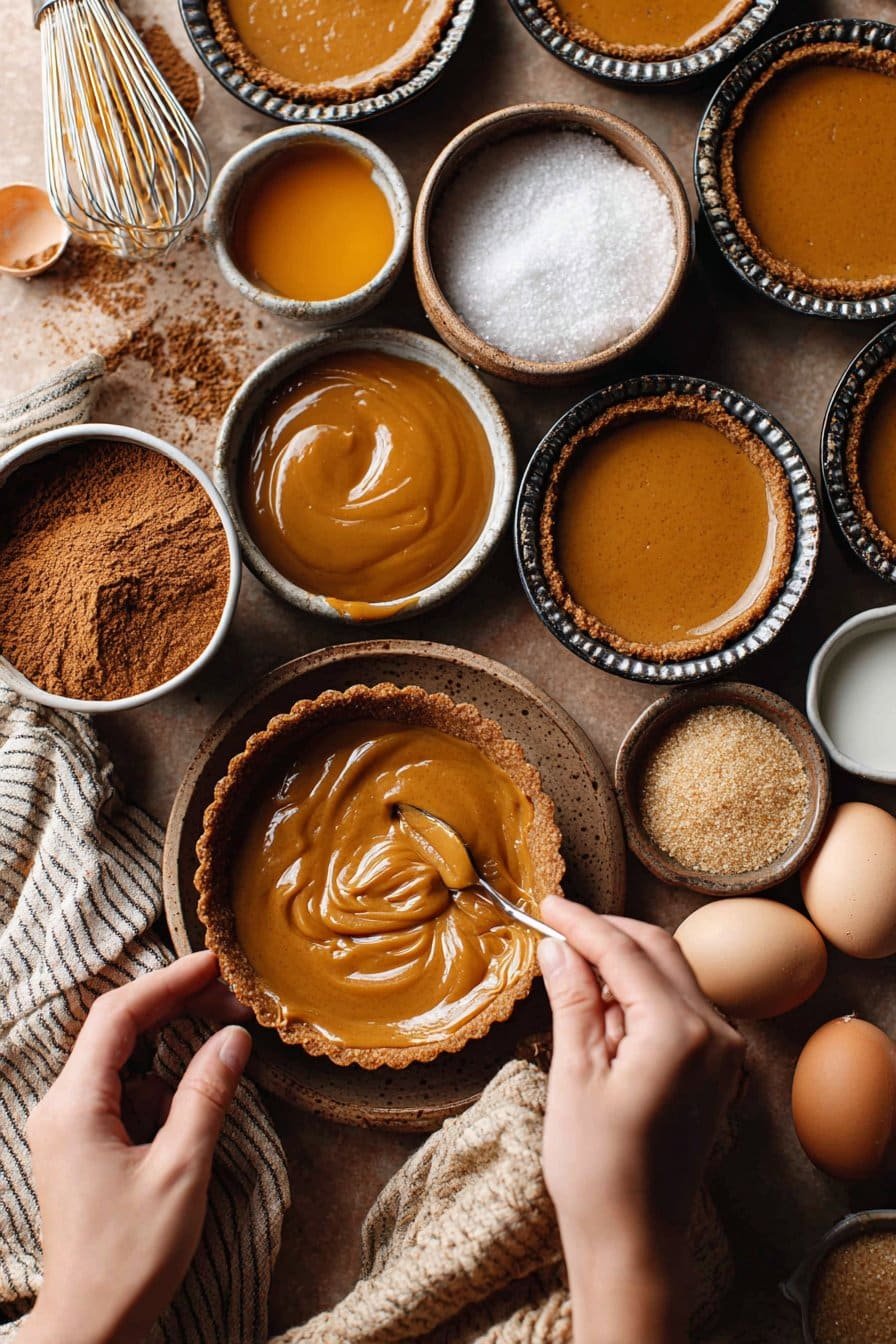
Whisk the cream cheese and sour cream together until completely smooth and velvety—this is where you chase away any lumps, because they won’t disappear in the oven. Smooth batter now means silky cheesecakes later. Next, blend in the melted Biscoff spread, brown sugar, and speculoos spices until everything looks uniform and glossy. Add the eggs one at a time on low speed, just until each one disappears into the batter. You’re aiming for a smooth mixture, not a fluffy one; extra air means bubbles, and bubbles can cause your Mini Biscoff Cheesecakes to puff up, crack, and then sink.
Divide the batter over the chilled crusts and tap the pan gently on the counter to pop any surface bubbles. Bake low and slow until the edges are set but the centers still give you a slight jiggle when you gently shake the pan. They should look softly set, not dry. Then comes the hardest step: leave them in the pan to cool to room temperature, and resist the urge to rush. Once they’re cool, chill them until fully set so the texture can settle into that classic creamy, dense cheesecake bite that slices cleanly with a fork.
When they’re cold, you’ll spoon warm, melted Biscoff spread over the tops to create a smooth glaze, then chill again so it firms up into a shiny, golden cap. For the Biscoff whipped cream, melt the spread and let it cool slightly, then slowly stream it into very cold heavy cream as you whip to stiff peaks. This gives you a stable, flavorful topping that pipes beautifully and keeps its shape. Finish each mini with a generous swirl of whipped cream and a cookie garnish just before serving. From first stir to final swirl, these Mini Biscoff Cheesecakes feel like a bakery project, but in reality it’s just a bit of mixing, a gentle bake, and some chill time working in your favor.
Timing, Storage, and Make-Ahead Tips for Mini Biscoff Cheesecakes
These Mini Biscoff Cheesecakes reward anyone who likes to work ahead. From start to finish, you’re looking at a little over 3½ hours, but most of that time is hands-off chilling while your fridge does the heavy lifting. I like to mix and bake the cheesecakes in the morning, let them cool to room temperature, then chill them for at least 2 hours until they’re fully set. After that, you can add the Biscoff glaze, chill them again briefly, and save the whipped cream for closer to serving. The texture is best once they’ve had time to rest and firm up, so don’t rush the chill—cold cheesecakes hold their shape and release cleanly from the liners. If you’re planning them for a party or afternoon tea, block out time for each step: bake, cool, chill, glaze, chill again, then add the whipped cream right before they go on the table.
These Mini Biscoff Cheesecakes store beautifully, which makes them an excellent make-ahead dessert, much like a classic baked cheesecake or cheesecake bars. Once completely cold and glazed, arrange them in a single layer in an airtight container and refrigerate for up to 4 days without the Biscoff whipped cream topping. Add the whipped cream within 4–6 hours of serving so it stays fluffy and defined. You can pipe the cream on earlier in the day and keep the finished cheesecakes chilled until guests arrive.
For freezing, skip the whipped cream. Place the baked, cooled, and (if you like) glazed cheesecakes on a baking sheet and freeze until firm. Then wrap each one individually and tuck them into a container or freezer bag for up to 2 months. When you’re ready to serve, thaw them overnight in the fridge so the texture comes back slowly and stays creamy. Add fresh whipped cream and a Biscoff cookie on top just before serving, and they’ll taste wonderfully close to freshly made—perfect for holidays, busy weeks, or those nights when you just want dessert ready and waiting.
Ingredient Swaps and Serving Options for Mini Biscoff Cheesecakes
If you’re craving Mini Biscoff Cheesecakes but your pantry has other plans, you still have plenty of wiggle room. For the crust, you can swap the Biscoff cookies with any crisp, spiced biscuit or graham crackers plus a pinch of cinnamon and nutmeg to echo those speculoos notes. If you don’t have speculoos spice, reach for pumpkin spice or a simple mix of cinnamon, ginger, and cloves. Standard full-fat brick cream cheese gives you the best structure, but you can replace up to one-third of it with mascarpone for an extra-soft, richer texture. Sour cream adds that classic tang, though full-fat Greek yogurt works in a pinch. Avoid low-fat dairy here; it tends to break down and can leave your cheesecakes watery instead of lush.
The Biscoff spread is the star, but there’s room to play. If you’re running low, you can keep the total amount of spread the same and swirl in some Nutella, peanut butter, or another cookie butter for a marbled effect without losing that bakery-style feel. Not a whipped cream person? You can skip the Biscoff whipped cream entirely and serve the minis with a warm drizzle of Biscoff spread, a spoonful of caramel sauce, or a scoop of vanilla ice cream.
For extra crunch, top them with crushed Biscoff cookies, toasted pecans, or caramelized almonds right before serving so everything stays crisp. These Mini Biscoff Cheesecakes love a good pairing: serve them with strong coffee, espresso, or black tea, or tuck them onto a dessert platter alongside bright, fruity options like lemon bars, raspberry tarts, or mini berry pavlovas. The creamy, spiced sweetness plays so nicely with sharper citrus and berry flavors, and you end up with a dessert table that looks as good as it tastes.
Serving of Mini Biscoff Cheesecakes
Conclusion
Once you pull a tray of these Mini Biscoff Cheesecakes from the fridge, it’s hard not to feel a little proud. There’s something quietly magical about those neat, glossy tops and creamy centers waiting under the surface—like a promise of a sweet pause at the end of a long day. Whether you’re making them for a birthday, a cozy movie night, or just because the cookie butter called your name, they have a way of turning an ordinary moment into a small celebration.
I’ve watched plates of these vanish at family gatherings, with everyone insisting they’re “just having one more” while reaching for another. They’re the kind of dessert that makes people linger at the table, nibbling the last bits of buttery crust and comparing which one had the biggest swirl of whipped cream. My hope is that these Mini Biscoff Cheesecakes find a spot in your regular rotation of “special but still do-able” treats—the ones you know you can pull off, even on a busy week, and still feel like you brought something bakery-worthy to the table.
For more cozy, crowd-pleasing desserts like this, come back to Taste to Rate and bake along with me—I’ll save you a seat at the kitchen counter.
Instructions Process of Mini Biscoff Cheesecakes
What exactly are Mini Biscoff Cheesecakes?
Mini Biscoff Cheesecakes are individual, muffin-sized baked cheesecakes with a buttery Biscoff cookie crust, a creamy Biscoff-infused filling, and a glossy Biscoff glaze on top. They’re baked in the oven at a low temperature, so you get that classic bakery-style texture: firm enough to pick up, but silky and rich when you bite in. The Biscoff spread and speculoos spices give them a deep caramelized, gently spiced flavor. They’re perfect for parties, afternoon tea, or anytime you want a make-ahead dessert that feels special without being fussy.
Can I make Mini Biscoff Cheesecakes ahead of time and how do I store them?
Mini Biscoff Cheesecakes are actually better when made ahead, because they need several hours in the fridge to fully set and develop flavor. Bake them, cool them to room temperature in the pan, then chill for at least 3–4 hours, or overnight if you can. Store them in a single layer in an airtight container in the refrigerator for up to 4 days without the whipped cream. Add the Biscoff whipped cream topping just before serving, or up to a few hours ahead if you don’t mind a slightly softer swirl.
Do I need a water bath for these Mini Biscoff Cheesecakes, and how do I know they’re done?
You don’t need a water bath for these mini cheesecakes; the low oven temperature keeps them smooth and creamy without it. Bake them until the edges are set and the centers still have a soft, tiny wobble when you gently jiggle the pan. They will continue to cook a bit and firm up as they cool and chill in the fridge. If the tops start to crack or puff dramatically, they’ve baked a little too long, but they’ll still taste delicious once you add the Biscoff glaze and whipped cream.
Recipe

Mini Biscoff Cheesecakes
Ingredients
Ingredients
- 75 g unsalted butter melted
- 150 g Biscoff cookies finely crushed
- 500 g cream cheese at room temperature
- 180 ml sour cream at room temperature
- 150 ml Biscoff spread melted
- 75 g brown sugar packed
- 1/2 teaspoon speculoos spice blend
- 2 large eggs at room temperature
- 80 ml Biscoff spread melted (for the glaze)
- 45 ml Biscoff spread melted and cooled (for the whipped cream)
- 240 ml heavy cream very cold
- 6 Biscoff cookies halved for garnish
Instructions
- Line a 12-cup muffin pan with paper liners and set aside.
- In a bowl, combine the crushed Biscoff cookies and melted butter and stir until all crumbs are evenly coated and the mixture feels like damp sand.
- Divide the crumb mixture evenly among the 12 liners and press firmly into the bottoms using the back of a spoon or a flat-bottomed glass to form compact crusts.
- Place the pan in the refrigerator to chill the crusts while you prepare the cheesecake filling.
- Preheat the oven to 285°F (140°C).
- In a large mixing bowl or stand mixer bowl, add the room-temperature cream cheese and sour cream and beat on medium speed until completely smooth and no lumps remain.
- Add the 150 ml melted Biscoff spread, brown sugar, and speculoos spice and mix on low speed just until fully combined.
- Add the eggs one at a time, mixing on low speed after each addition only until just incorporated to avoid adding excess air to the batter.
- Remove the pan from the refrigerator and divide the cheesecake batter evenly over the chilled crusts, filling each liner almost to the top.
- Tap the pan gently on the counter a few times to release any air bubbles from the batter surface.
- Bake for 18 to 20 minutes, or until the edges are set and the centers still have a slight jiggle when the pan is gently shaken.
- Remove the pan from the oven and let the cheesecakes cool completely in the pan at room temperature.
- Once cooled, transfer the pan to the refrigerator and chill the cheesecakes for at least 2 hours, or until fully set.
- For the glaze, melt the 80 ml Biscoff spread until fluid and warm, then let it cool slightly so it is still pourable but not hot.
- If desired, carefully remove the paper liners from the chilled cheesecakes, then place the cheesecakes on a tray.
- Spoon or pour a little of the melted Biscoff spread glaze over the top of each cheesecake, tilting gently if needed to fully cover the surface.
- Return the glazed cheesecakes to the refrigerator and chill until the glaze is set.
- For the Biscoff whipped cream, melt the 45 ml Biscoff spread until fluid, then set aside to cool to just warm or room temperature.
- In a large chilled mixing bowl, add the cold heavy cream and begin whipping on medium speed until it slightly thickens.
- With the mixer running on medium speed, slowly pour in the cooled melted Biscoff spread and continue whipping until stiff peaks form.
- Transfer the Biscoff whipped cream to a piping bag fitted with a star or round tip, or keep it in the bowl to spoon on.
- Just before serving, pipe or spoon a generous swirl of Biscoff whipped cream onto each chilled, glazed mini cheesecake.
- Garnish each cheesecake with a half Biscoff cookie, pressing it gently into the whipped cream.
- Keep the mini Biscoff cheesecakes refrigerated until serving and store any leftovers covered in the refrigerator.
Notes
- Make sure the cream cheese, sour cream, and eggs are at room temperature to avoid lumps and to create a smooth, silky batter.
- Avoid overmixing once the eggs are added to keep the batter from incorporating too much air and cracking in the oven.
- These mini cheesecakes are best made ahead and chilled for several hours or overnight for the creamiest texture and easiest serving.