
The Memory Behind This Treat
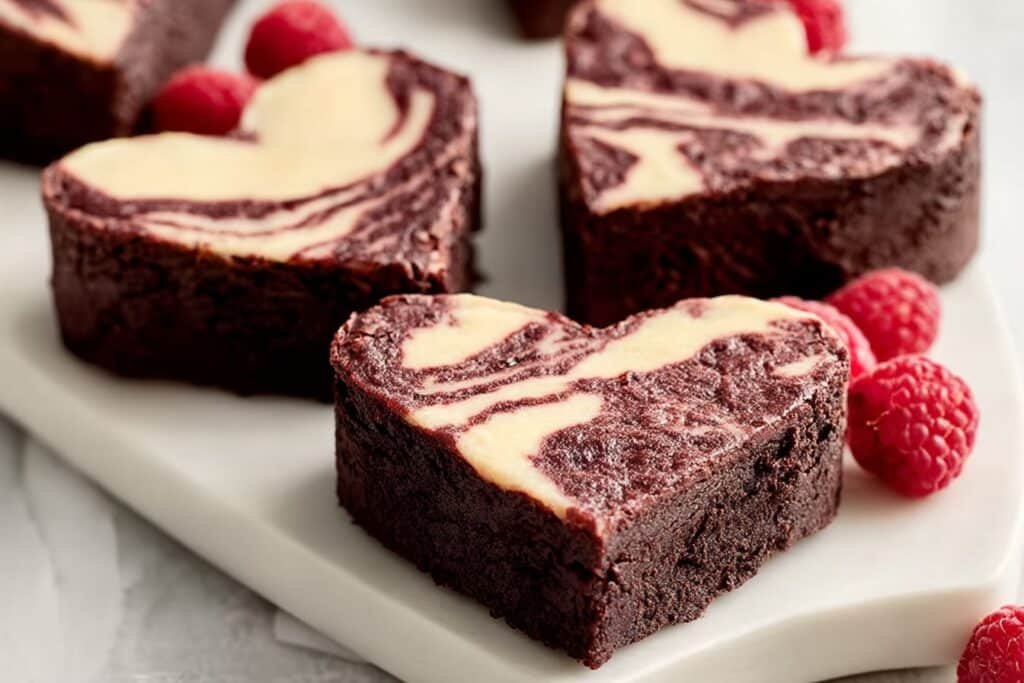
The very first time I made these Heart Shaped Brownies, I wasn’t aiming for romance at all—I was trying to fix a dessert disaster. I had planned a classic pan of brownies and a separate raspberry cheesecake for a little family Valentine’s dinner, and of course, the cheesecake cracked and the brownie sunk in the middle. Instead of starting over, I did what most home bakers do when panic strikes: I grabbed a heart-shaped cookie cutter and started trimming around the edges. Those imperfect scraps, layered together with cheesecake and raspberry sauce, turned into the fudgy, tangy, swirly bars you’re about to make on purpose.
They quickly became our February 14th tradition, but not the fancy, candlelit kind. I’m talking kids standing on step stools with raspberry-stained fingers, someone sneaking a warm corner piece from the pan before it chills, and me using every last bit of brownie by re-rolling the scraps into “taste tests.” I learned that if you chill the pan really well, your heart cut-outs stay clean and sharp, and the cheesecake swirl doesn’t smudge. It’s a small thing, but that neat outline of a heart makes everyone at the table pause for half a second before they dive in.
Over the years, these heart shaped brownies have shown up for more than just Valentine’s Day: anniversary nights at home, engagement celebrations, even a “sorry I forgot our date night” peace offering. I love that you can dress them up on pretty plates with a dusting of cocoa, or pile them on a platter for a more casual dessert spread, right next to something cozy like chocolate lava cakes or strawberry shortcake. They feel special without feeling fussy, and that’s exactly the kind of dessert I want in my life—and in yours.
How To Make It (Mix & Ingredients)
To build these Heart Shaped Brownies, you’ll mix everything in easy stages so each layer keeps its own personality. Start with the raspberry sauce: simmer the berries, sugar, and vanilla bean paste just until they look syrupy and leave a slow trail when you drag a spoon through the pan. Strain out the seeds (a small fine-mesh sieve works best) and let the sauce cool while you move on. For the cheesecake layer, beat the cream cheese and sugar until there are no lumps clinging to the beaters or the sides of the bowl—scrape down a couple of times. Add the egg and vanilla and mix just until silky; if you overbeat here, the layer can puff and crack instead of staying creamy.
Instructions Process of Heart Shaped Brownies
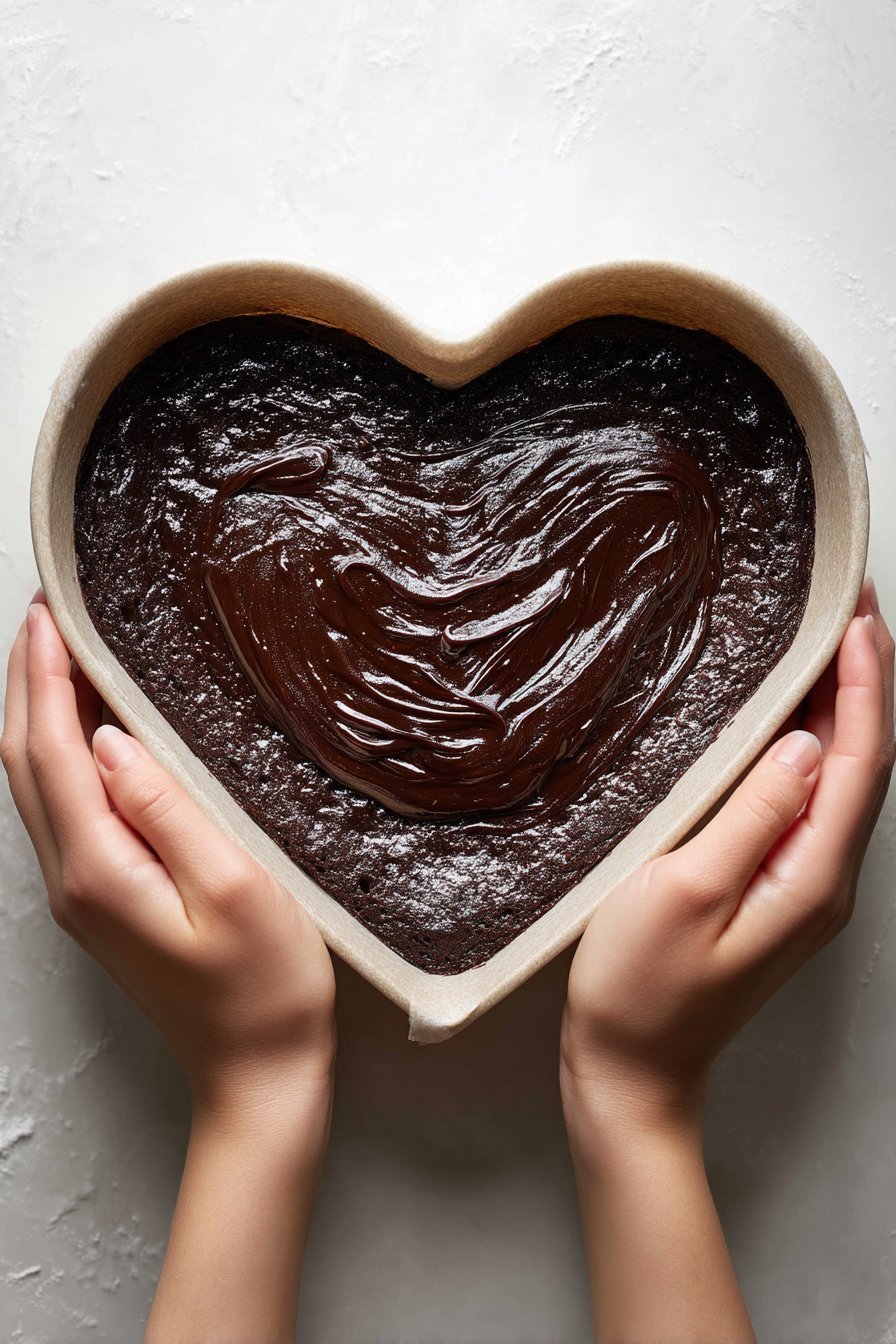
The base of your Heart Shaped Brownies is a simple, stir-together brownie batter. In one bowl, whisk the flour, Dutch-process cocoa, and salt so there are no streaks—this helps the cocoa disperse evenly and keeps the brownies from baking up patchy. In a second bowl, stir together the melted coconut (or neutral) oil, sugar, and vanilla until it looks glossy and thick; then add the eggs one at a time, mixing well after each so the batter turns shiny and smooth. Gently fold the dry ingredients into the wet just until you no longer see flour—if you keep going past that point, you’ll lose some of that fudgy texture we’re chasing. Spread the brownie batter in a lined pan, pour the cheesecake mixture over the top, then dot spoonfuls of raspberry sauce across the surface. Use a skewer or thin knife to swirl the layers lightly; think “lazy figure eights” rather than full laps around the pan, so you keep distinct ribbons of cheesecake and raspberry in every heart-shaped bite.
Make-Ahead & Storage
These Heart Shaped Brownies are a dream dessert to make ahead, which is especially handy if you’re planning a Valentine’s dinner or a date night and don’t want to be fussing with dessert at the last minute. For the best texture, bake them a day before you plan to serve, let them cool completely, then chill the whole slab (still in the pan) for at least 2 hours or overnight. You can either cut out the heart shapes right before serving for the cleanest edges, or cut them in advance and store the scraps in the fridge for “baker’s treats.” If you’re entertaining, arrange your hearts on a platter, cover tightly with plastic wrap, and keep chilled until you’re ready to add any extra garnishes like powdered sugar or a few fresh berries.
Because of the creamy cheesecake layer and raspberry swirl, these brownies need to be refrigerated, not stored at room temperature. Once cut, place the Heart Shaped Brownies in an airtight container in a single layer, or separate layers with parchment paper so the tops stay pretty. They’ll keep well in the fridge for 4–5 days and still taste rich, fudgy, and tangy. For freezing, chill them first so they’re firm, then wrap each heart individually in plastic wrap and place in a freezer bag or container; freeze for up to 2 months. Thaw in the fridge overnight, then let sit at room temperature for 10–15 minutes before serving so the brownie base softens and the cheesecake topping tastes silky again.
Best Ingredients & Party Variations
For the fudgiest, most romantic heart shaped brownies, start with Dutch-process cocoa for that deep chocolate flavor and almost-black color that makes the cheesecake and raspberry swirl pop. Use full-fat cream cheese at room temperature so it blends silky-smooth and doesn’t crack in the oven. Fresh raspberries give the brightest flavor, but thawed frozen berries work beautifully when Valentine’s Day collides with snowstorms and empty produce shelves. I like refined coconut oil because it keeps the brownies plush and moist without a coconut taste, but any neutral oil (like grapeseed or canola) will still give you that shiny, crinkly top. If you need gluten-free heart shaped brownies, swap in a 1:1 gluten-free baking blend and let the batter rest 5–10 minutes before baking to hydrate.
When it comes to party time, these brownies are easy to dress up for any celebration. For a Valentine’s dessert board, cut smaller hearts and mix them with chocolate-covered strawberries, truffles, and a bowl of extra raspberry sauce for dipping. Sprinkle the tops with freeze-dried raspberry crumbs, pink sanding sugar, or tiny heart sprinkles while they’re still slightly tacky from the chill. For a “make-your-own” dessert bar, serve the heart shaped brownies plain and let guests add whipped cream, warm chocolate sauce, or a scoop of vanilla bean ice cream. You can even flavor the cheesecake layer with a teaspoon of almond extract or swap the raspberry swirl for cherry or strawberry if that’s your Valentine’s favorite.
Serving of Heart Shaped Brownies
Conclusion
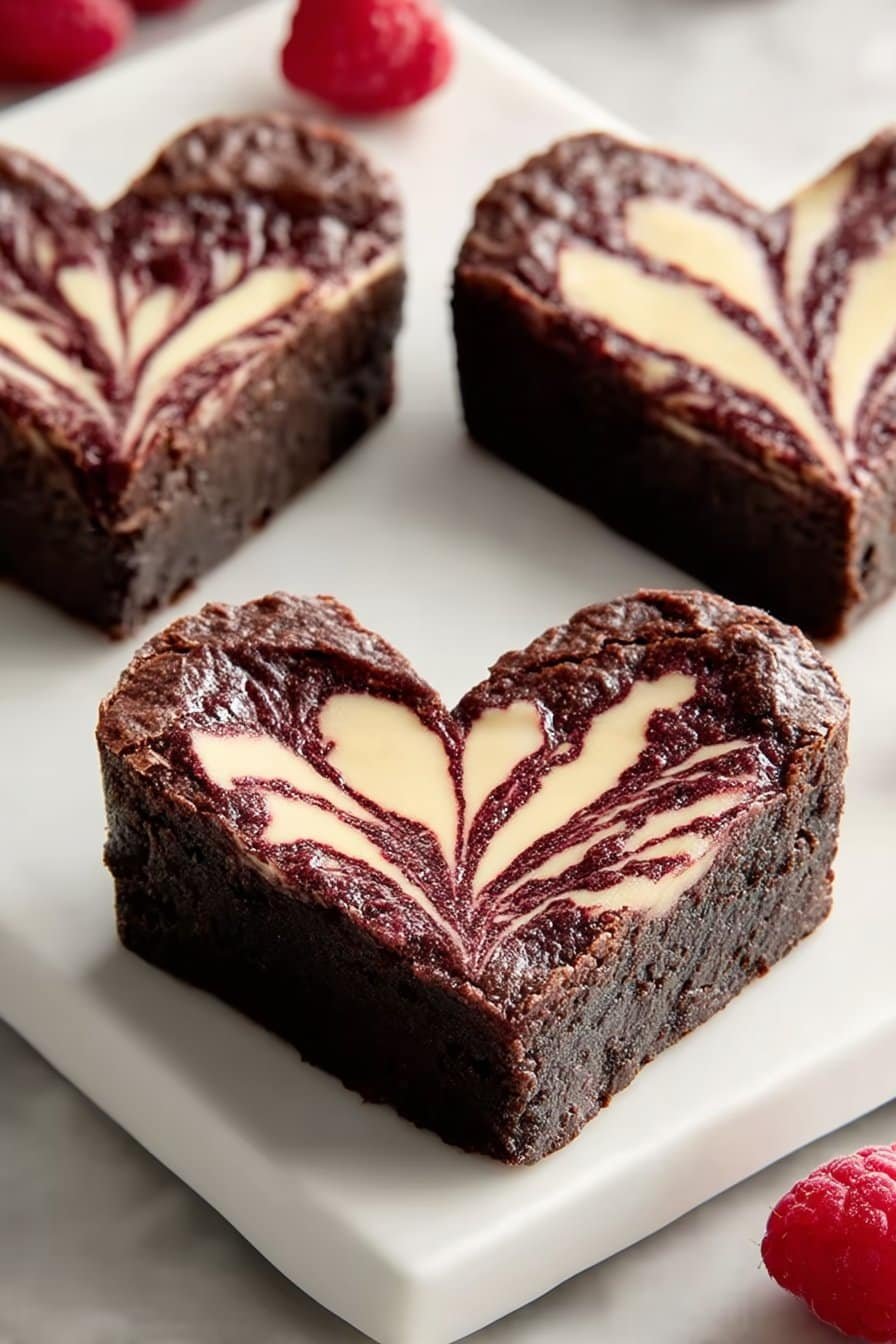
If you’re anything like me, the best memories are always tied to something warm from the oven and someone you love nearby. These heart shaped brownies are more than just a dessert; they’re a little ritual of melted chocolate, silky cheesecake, and ruby-red swirls that quietly say, “I’m glad you’re here.” Whether you’re baking them for Valentine’s Day, an anniversary, or just a cozy Friday night at home, they have a way of turning an ordinary moment into a sweet little celebration.
As you cut out those hearts and see the layers inside, I hope you feel proud of what you created with your own two hands. Share them on a pretty plate, tuck one into a lunchbox, or enjoy them in pajamas on the couch. However you serve them, they’re meant to be shared, savored, and remembered.
Give this recipe a try the next time you want to bake something special—you might just start a new tradition.
For more delicious recipes like this, follow us on social media!
How do I cut Heart Shaped Brownies without a heart cutter?
If you don’t have a heart-shaped cookie cutter, you can still make beautiful Heart Shaped Brownies with just a knife. Let the brownies chill fully so they’re firm, then use a small sharp knife to carve hearts freehand. For cleaner edges, draw or print a heart shape, cut it from parchment, and use it as a stencil. Lay the parchment heart on the brownies, trace around it, and lift away the scraps. Wipe your knife between cuts to keep the cheesecake layer neat and defined.
Can I use frozen raspberries in the swirl for Heart Shaped Brownies?
Yes, frozen raspberries work perfectly in these Heart Shaped Brownies. Thaw them completely and drain off any excess liquid so your swirl thickens nicely on the stove. Once thawed, cook them just as you would fresh berries with sugar and vanilla until the mixture is slightly jammy. If the sauce still seems thin, simmer it a minute or two longer so it reduces. A thicker sauce gives you sharper, more dramatic swirls on top of the cheesecake layer.
How far in advance can I make Heart Shaped Brownies?
These Heart Shaped Brownies are actually better when made ahead because the cheesecake and brownie layers have time to set. You can bake them up to 2 days in advance, chill as directed, and cut into hearts the day you plan to serve. Store the uncut slab tightly covered in the fridge to keep the cheesecake creamy and the brownie fudgy. Once cut, arrange the hearts in a single layer in an airtight container with parchment between layers. Bring them out of the fridge about 15–20 minutes before serving for the best texture and flavor.
Recipe
Heart Shaped Brownies
Ingredients
Ingredients
- 1 cup raspberries fresh or thawed frozen
- 1 tablespoon granulated sugar
- 1 teaspoon vanilla bean paste
- 8 oz cream cheese room temperature
- 1/3 cup granulated sugar
- 1 large egg room temperature
- 1/2 teaspoon vanilla bean paste
- 1 cup all-purpose flour
- 3/4 cup Dutch-process cocoa powder sifted
- 1/4 teaspoon salt
- 3/4 cup plus 2 tablespoons refined coconut oil or neutral oil melted and slightly cooled
- 1 1/2 cups granulated sugar
- 1 tablespoon vanilla bean paste
- 3 large eggs room temperature
Instructions
- Preheat the oven to 350°F. Line an 8-inch square baking pan with parchment paper, leaving an overhang on two sides for easy lifting. Set aside.
- Prepare the raspberry sauce: In a small saucepan, combine the raspberries, 1 tablespoon granulated sugar, and 1 teaspoon vanilla bean paste. Cook over medium heat, stirring occasionally, for 5 to 8 minutes until the berries break down and the mixture thickens and bubbles.
- Strain the raspberry mixture through a fine-mesh sieve into a small bowl, pressing to remove the seeds. Discard the seeds and let the sauce cool to room temperature while you prepare the other layers.
- Make the cheesecake layer: In a medium bowl, beat the cream cheese and 1/3 cup granulated sugar with a hand mixer until smooth and creamy, scraping down the sides as needed.
- Add 1 large egg and 1/2 teaspoon vanilla bean paste to the cream cheese mixture and beat just until fully combined and silky. Set aside.
- Prepare the brownie batter: In a medium bowl, whisk together the flour, Dutch-process cocoa powder, and salt until well combined and no streaks remain.
- In a large bowl, whisk together the melted coconut oil or neutral oil, 1 1/2 cups granulated sugar, and 1 tablespoon vanilla bean paste until the mixture looks glossy and thick.
- Add the 3 large eggs to the oil mixture one at a time, whisking well after each addition until the batter is smooth and shiny.
- Add the dry ingredients to the wet ingredients and gently fold with a spatula just until no dry flour remains and the batter is evenly combined. Do not overmix.
- Spread the brownie batter evenly into the prepared pan, smoothing the top with a spatula to reach all corners.
- Pour the cheesecake mixture evenly over the brownie batter, smoothing it gently to cover the surface in an even layer.
- Spoon small dollops of the cooled raspberry sauce over the cheesecake layer, spacing them across the top.
- Use the tip of a skewer or a thin knife to gently swirl the raspberry sauce and cheesecake together, making loose figure-eight motions without pushing down into the brownie layer.
- Bake the brownies in the preheated oven for 30 to 35 minutes, or until the edges are set, the center only jiggles slightly, and a toothpick inserted into the brownie portion comes out with moist crumbs but not wet batter.
- Transfer the pan to a wire rack and let the brownies cool completely to room temperature in the pan.
- Once cooled, cover the pan and chill the brownies in the refrigerator for at least 2 hours until firm.
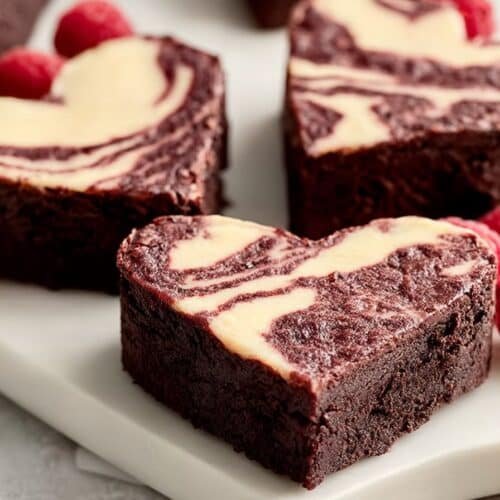
- Use the parchment overhang to lift the chilled brownie slab out of the pan onto a cutting board. Use a heart-shaped cookie cutter to cut out heart brownies, pressing straight down and lifting carefully.
- Arrange the heart shaped brownies on a serving platter. Serve chilled or at cool room temperature.
Notes
- Chilling the brownies thoroughly before cutting helps the cheesecake layer stay clean and prevents smudging.
- Any remaining scraps are perfect for crumbling over ice cream or layering into parfaits with extra berries and whipped cream.
- You can use thawed frozen raspberries for the sauce; just drain any excess liquid before cooking.
