Decorating Your Graveyard
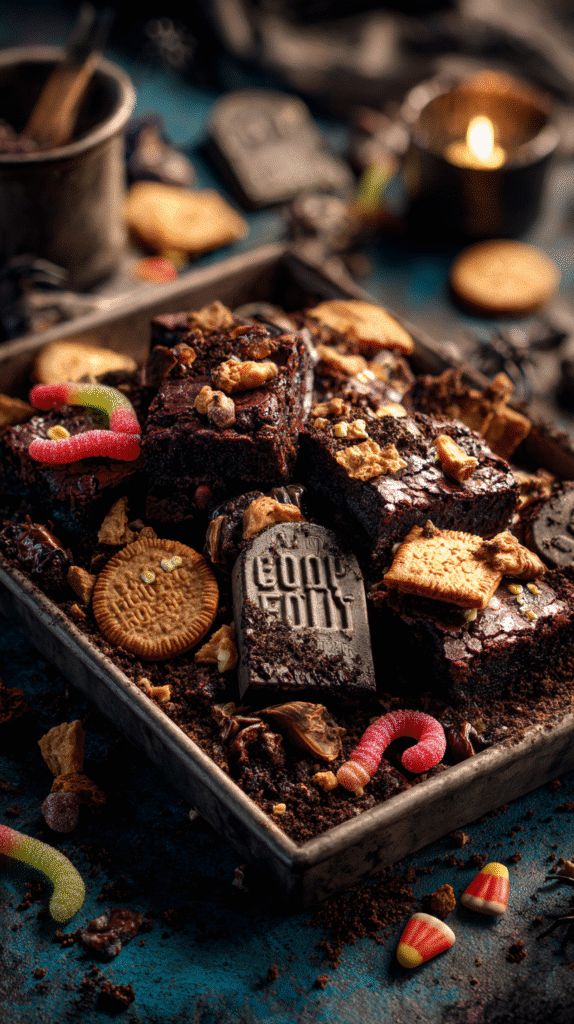
Here’s where your graveyard dirt brownies come to life—well, death. The decorating step is the most fun and turns an ordinary dessert into a show-stopping Halloween centerpiece. Whether you’re going creepy-cute or full-on haunted house, the details make all the difference.
Candy Tombstones, Ghosts & Gummy Worms
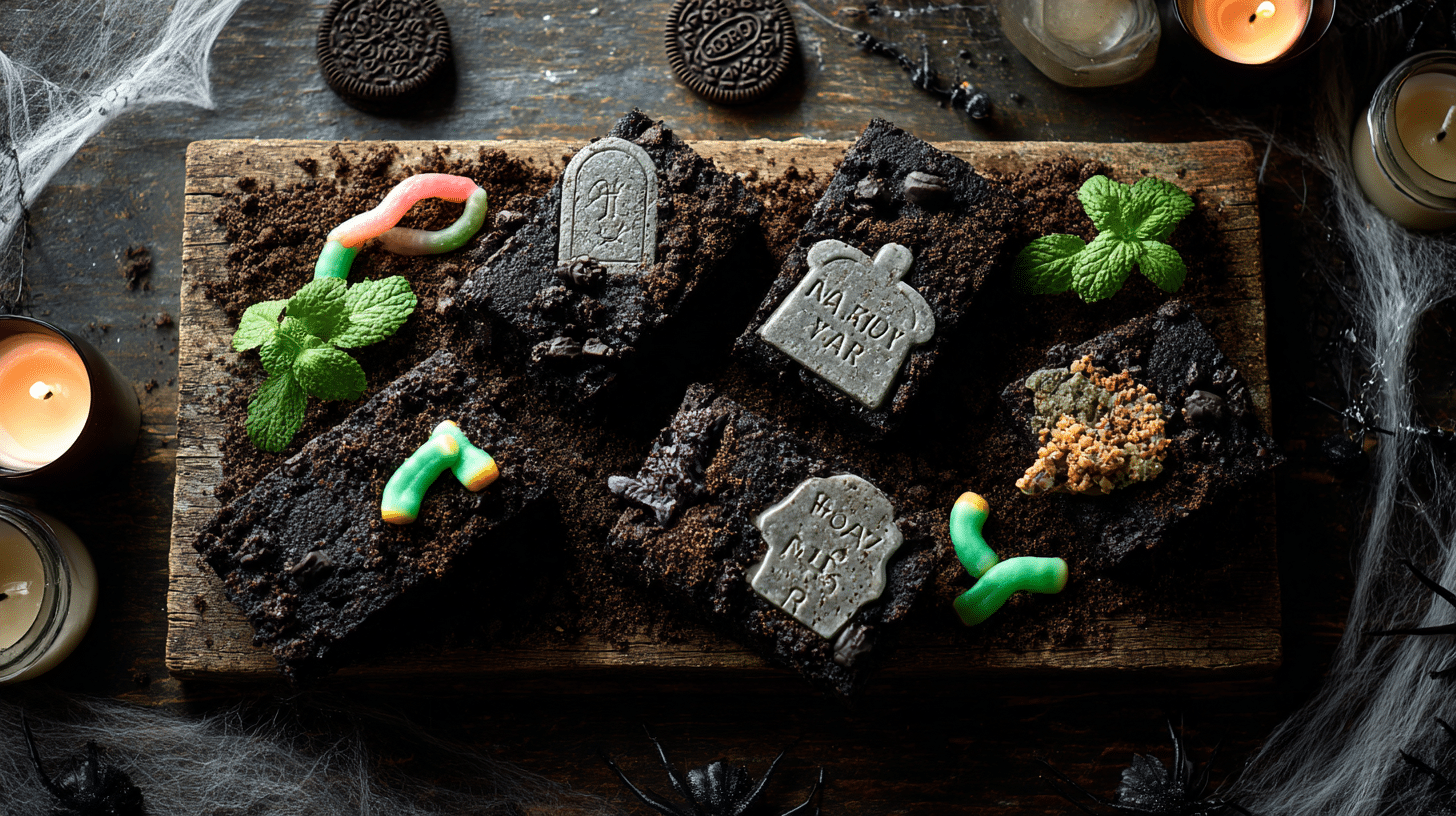
You don’t need any fancy tools—just creativity. Start with Milano cookies or graham crackers cut into rectangles. These become your “tombstones.” Write “RIP,” names, or funny phrases with edible black markers. Place them standing upright in the cookie “dirt” so they look like they’re sprouting from the ground.
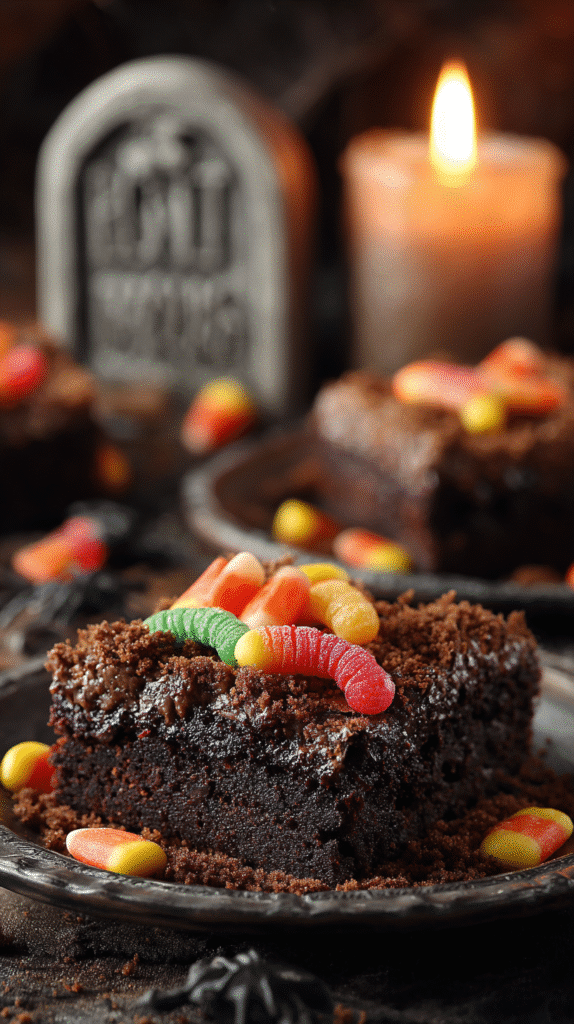
Next, tuck in a few gummy worms. Let them peek out from under the cookie layer like they’re crawling out of the grave. Candy bones, edible eyes, and mini marshmallow ghosts add even more spooky character. You can even make little “fresh graves” by scooping a bit of cookie dirt aside and adding red gel for a just-dug look.
Need more eerie dessert inspo? My Halloween Augapfel Cupcakes are a hit with candy eyes and oozy centers, and the Vampire Fudge is perfect for adding a dramatic red swirl to your spooky spread.
Make It a Party Centerpiece
Serve these brownies in a rectangular pan or tray so they look like one big graveyard. You can even use small name flags to personalize them for party guests! For kids, individual jars or clear cups make for cute (and clean!) single servings.
Sprinkle some green shredded coconut for “grass” or add edible moss. Set your tray on a Halloween-themed tablecloth, and you’ve got yourself a graveyard fit for a celebration—or a seance.
Now that your dessert looks the part, it’s time to answer your most-asked brownie questions.
Every Halloween growing up, my mom would throw these over-the-top spooky parties with fog machines, paper ghosts, and a table packed with themed snacks. But there was one treat that always stole the show: dirt dessert. Chocolate pudding, crushed cookies, and gummy worms buried in every scoop—it was magical. I remember being a little kid, hands sticky with frosting, feeling like I was part of something fun and festive. That dessert inspired my now-beloved graveyard dirt brownies.
Years later, after working as a food stylist and launching my blog Taste to Rate, I decided to bring that childhood favorite into the world of grown-up spooky treats. These graveyard dirt brownies are the perfect balance between nostalgic and cool. They’ve got a rich, fudgy brownie base (you know, the kind that sticks to your fork), a luscious chocolate pudding layer, and a creepy-cute topping of crushed cookies, gummy worms, and candy tombstones.
What I love most is how versatile they are. You can make a big tray for a Halloween party or do individual grave plots in mason jars for the kids. They’re as fun to make as they are to eat—and always a crowd favorite.
Plus, if you’re already baking up some Halloween Monster Mash Brownies or spooky Frankenstein Brownies, you’ve basically got the technique down. Graveyard dirt brownies take it just one eerie step further. And trust me, no one forgets them.
So whether you’re hosting a haunted bash or just looking for a cozy fall treat with a dark twist, this recipe is pure Halloween magic—minus the tricks.
How to Make Graveyard Dirt Brownies
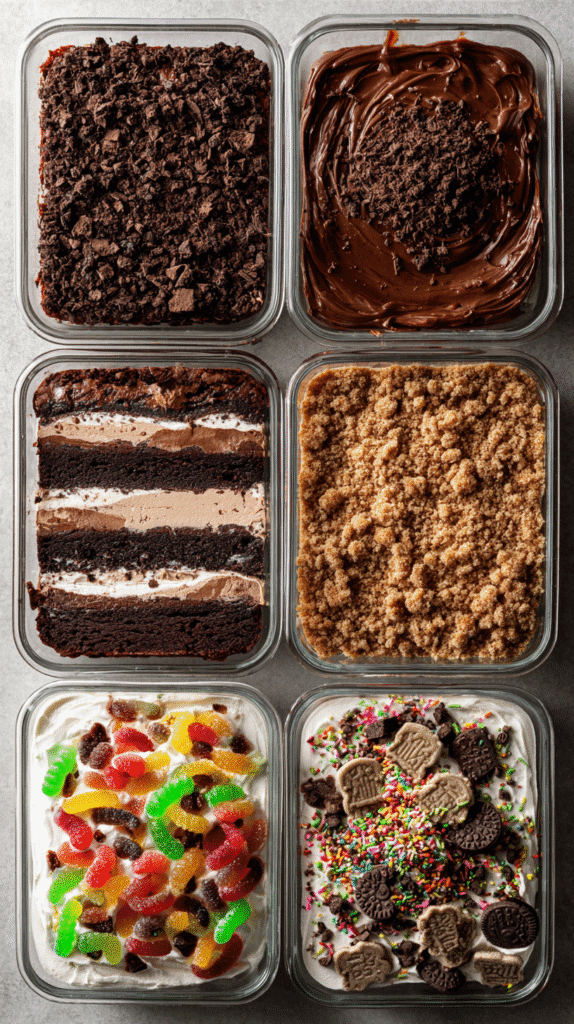
These graveyard dirt brownies come together in three fun layers—each one more delicious (and spooky) than the last. Whether you’re baking for a Halloween bash or a themed movie night, this recipe delivers all the creepy charm with minimal fuss.
Ingredients You’ll Need for Dirt Brownies
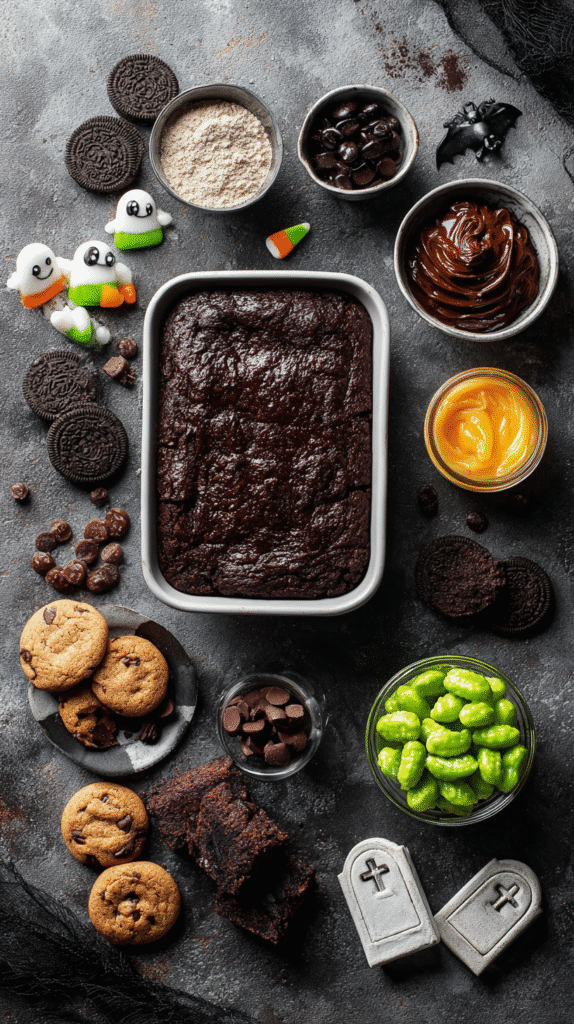
The base starts with a rich brownie layer. You can use your favorite homemade mix or a good-quality box mix if you’re in a pinch. Here’s what you’ll need:
- Brownie mix (or your favorite homemade recipe)
- Chocolate pudding (instant works great)
- Whole milk
- Chocolate sandwich cookies (crushed into “dirt”)
- Gummy worms
- Milano cookies, mini marshmallows, candy pumpkins, or edible markers for tombstones
Want to get inspired with other brownie bases? Try these flavorful ideas from my Spellbook Brownies or the gooey Melted Jack-o-Lantern Brownies—both use similar methods and are great for layering.
Tips for Getting the Layers Just Right
First things first—don’t rush the cooling. Your brownies need to cool completely before layering the pudding. If they’re warm, the pudding will melt into a mess and soak through the base.
Once cooled, whip up your pudding with cold milk and let it set for a few minutes. Then spread it over the brownies like a graveyard foundation. Now sprinkle with crushed cookies to mimic soil.
The real fun is decorating. Use Milano cookies as tombstones—write names with edible marker if you want to go all out. Gummy worms peeking through the dirt? Always a hit. You can even add candy bones or marshmallow ghosts for extra flair.
Let everything chill together before serving—so the layers meld, and the spooky graveyard effect really pops.
Troubleshooting Common Brownie Issues
Even the spookiest graveyard dirt brownies can fall flat if your base brownie isn’t just right. If you’ve ever pulled out a pan of brownies that turned into edible bricks the next day or questioned whether they were actually done—you’re not alone. Let’s fix that.
Why Do Brownies Get Hard Overnight?
The number one culprit? Overbaking. When brownies stay in the oven even a few minutes too long, the moisture cooks off, leaving you with a tough, dry base. This is especially problematic for layered desserts like graveyard dirt brownies, where the brownie needs to stay soft under pudding and toppings.
Another reason: poor storage. Brownies left uncovered or exposed to air overnight dry out quickly. To avoid that, let them cool completely, then wrap tightly in plastic wrap or store in an airtight container at room temperature. You can also add a slice of bread to the container—sounds strange, but it helps maintain moisture.
You can find similar texture-preserving tips in my Bloody Red Velvet Popcorn post, where I share tricks for keeping chocolate treats soft and fresh.
Decorating Your Graveyard
Here’s where your graveyard dirt brownies come to life—well, death. The decorating step is the most fun and turns an ordinary dessert into a show-stopping Halloween centerpiece. Whether you’re going creepy-cute or full-on haunted house, the details make all the difference.
Candy Tombstones, Ghosts & Gummy Worms
You don’t need any fancy tools—just creativity. Start with Milano cookies or graham crackers cut into rectangles. These become your “tombstones.” Write “RIP,” names, or funny phrases with edible black markers. Place them standing upright in the cookie “dirt” so they look like they’re sprouting from the ground.
Next, tuck in a few gummy worms. Let them peek out from under the cookie layer like they’re crawling out of the grave. Candy bones, edible eyes, and mini marshmallow ghosts add even more spooky character. You can even make little “fresh graves” by scooping a bit of cookie dirt aside and adding red gel for a just-dug look.
Need more eerie dessert inspo? My Halloween Augapfel Cupcakes are a hit with candy eyes and oozy centers, and the Vampire Fudge is perfect for adding a dramatic red swirl to your spooky spread.
Make It a Party Centerpiece
Serve these brownies in a rectangular pan or tray so they look like one big graveyard. You can even use small name flags to personalize them for party guests! For kids, individual jars or clear cups make for cute (and clean!) single servings.
Sprinkle some green shredded coconut for “grass” or add edible moss. Set your tray on a Halloween-themed tablecloth, and you’ve got yourself a graveyard fit for a celebration—or a seance.
Now that your dessert looks the part, it’s time to answer your most-asked brownie questions.
How long does a brownie need to rest?
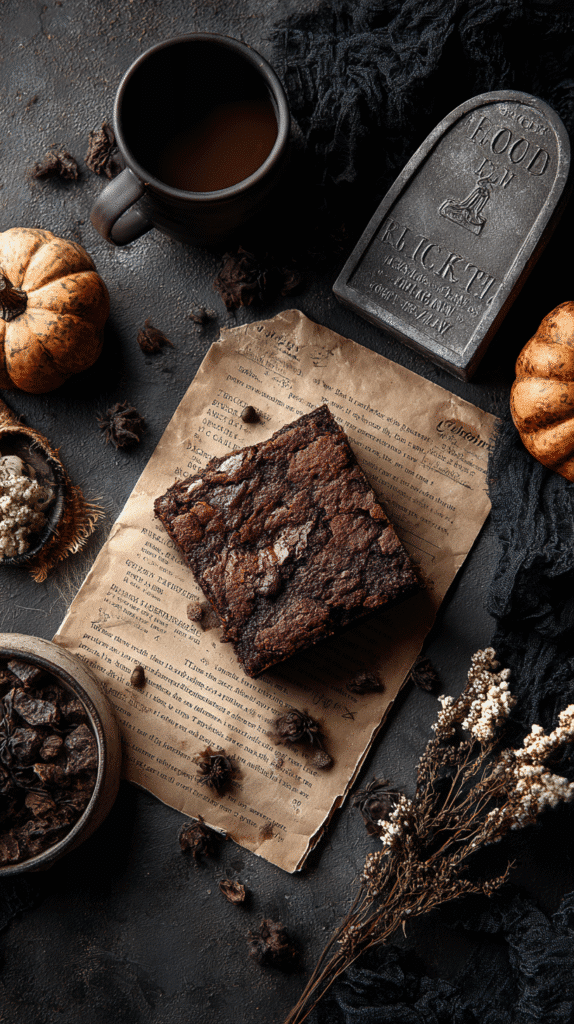
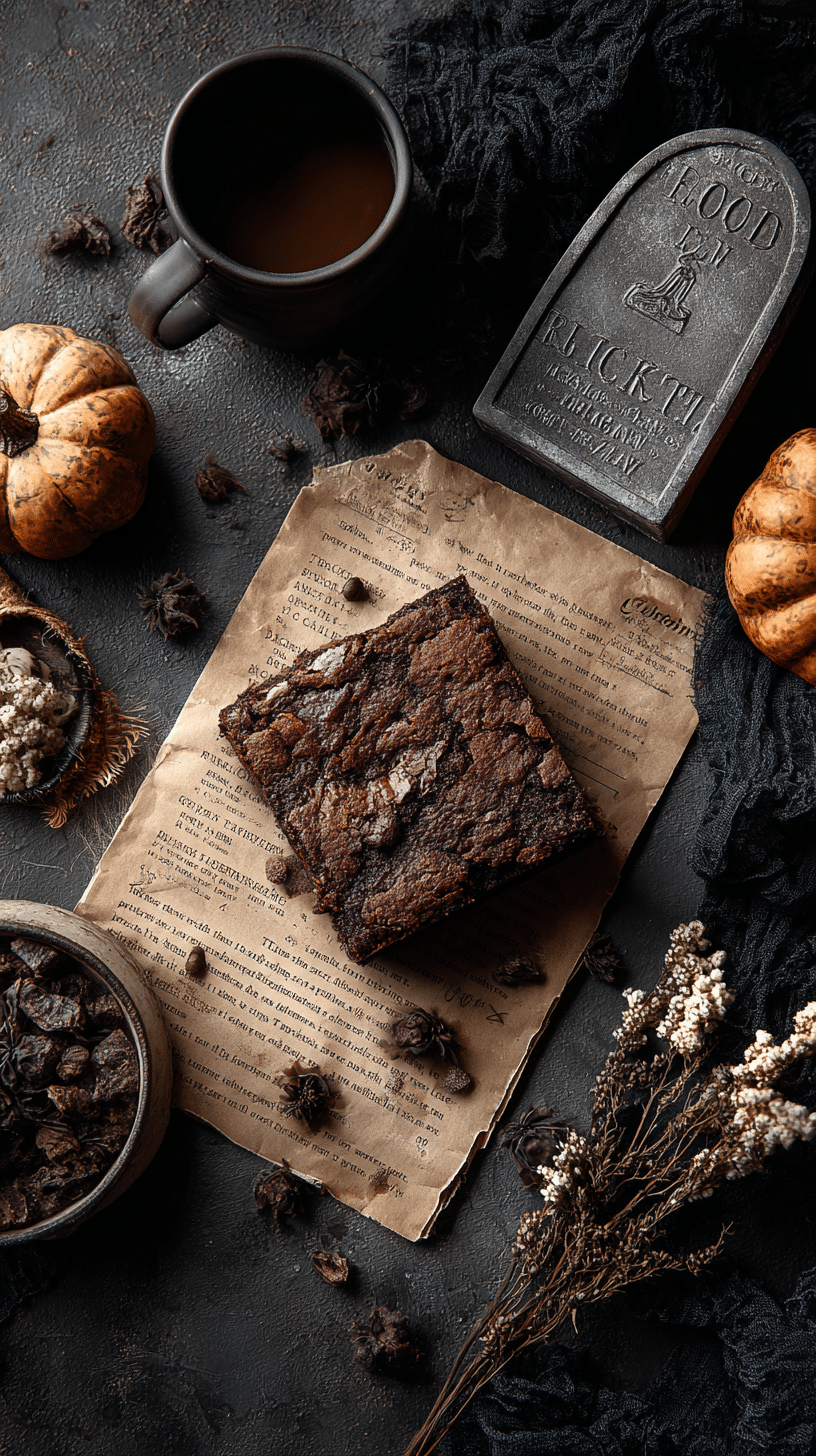
Brownies should rest for at least 1 to 2 hours after baking. This helps the structure firm up, making them easier to slice and perfect for layering into desserts like graveyard dirt brownies. If they’re too warm, they’ll crumble and ruin the smooth base for your pudding layer.
What is the first thing to do when making brownies?
Always preheat your oven and prepare your pan. Lining your baking dish with parchment paper or greasing it well ensures your brownies come out clean. Then, gather and measure your ingredients before mixing—brownies move fast, and timing matters.
Why does brownie become hard overnight?
It usually happens because of overbaking or poor storage. When moisture evaporates, the brownie dries out and becomes dense. Always store your graveyard dirt brownies in an airtight container to preserve their soft, fudgy texture—especially if adding pudding and toppings.
How to know when brownies are done?
The best method is the toothpick test: insert it in the center and look for moist crumbs, not wet batter. The edges should look set and slightly pulled from the sides of the pan. Avoid waiting until the toothpick is bone dry—that means it’s already overdone.
Conclusion
Graveyard dirt brownies are more than just a Halloween dessert—they’re a creative, comforting, and crowd-pleasing treat that brings spooky joy to the season. From nostalgic childhood memories to adult-worthy flavors and textures, they truly strike the perfect balance of fun and flavor.
So go ahead—make your spooky masterpiece. Layer rich brownies, dreamy pudding, creepy-crawly candy, and top it all with a little edible Halloween magic. And don’t forget to check out other frightfully fun recipes like the Frankenstein Brownies or Witches Brew Swirl Cheesecake to keep the creepy theme going strong.
If you bake it, I’d love to see your creations — share them with me on Facebook or save this recipe to your Pinterest board for later inspiration.
Graveyard Dirt Brownies: Easy & Spooky Halloween Recipe
Ingredients
- 1 box brownie mix or homemade equivalent
- 2 cups crushed Oreos chocolate sandwich cookies
- 10 Milano cookies or graham crackers for tombstones
- 1/4 cup chocolate pudding optional, for dirt layer
- 12 gummy worms
- Black decorating gel or edible marker
- Optional Halloween candies: candy pumpkins bones, marshmallow ghosts
Instructions
- 1. Preheat oven to 350°F and prepare your baking pan.
- 2. Make brownie batter according to package or recipe directions.
- 3. Bake brownies and allow to cool completely.
- 4. Crush Oreos in a zip-top bag until they resemble dirt.
- 5. If using, spread a thin layer of chocolate pudding over cooled brownies.
- 6. Sprinkle crushed Oreos evenly over brownies.
- 7. Write ‘RIP’ or spooky words on Milano cookies and insert upright as tombstones.
- 8. Decorate with gummy worms, candy pumpkins, and edible bones.
- 9. Chill or serve immediately for best visual effect.

