The Memory Behind This Treat
The first time I baked Grandma’s Classic Apple Pie, it was one of those cozy, rainy afternoons that begged for comfort food. My grandmother, always the queen of the kitchen, had this magical way of turning humble ingredients into something truly unforgettable. I remember her kitchen filled with the warm, spicy aroma of cinnamon and apples, and how she’d hum her favorite tune as she worked. It was as if the pie was an extension of her love—a gift she shared with every slice.
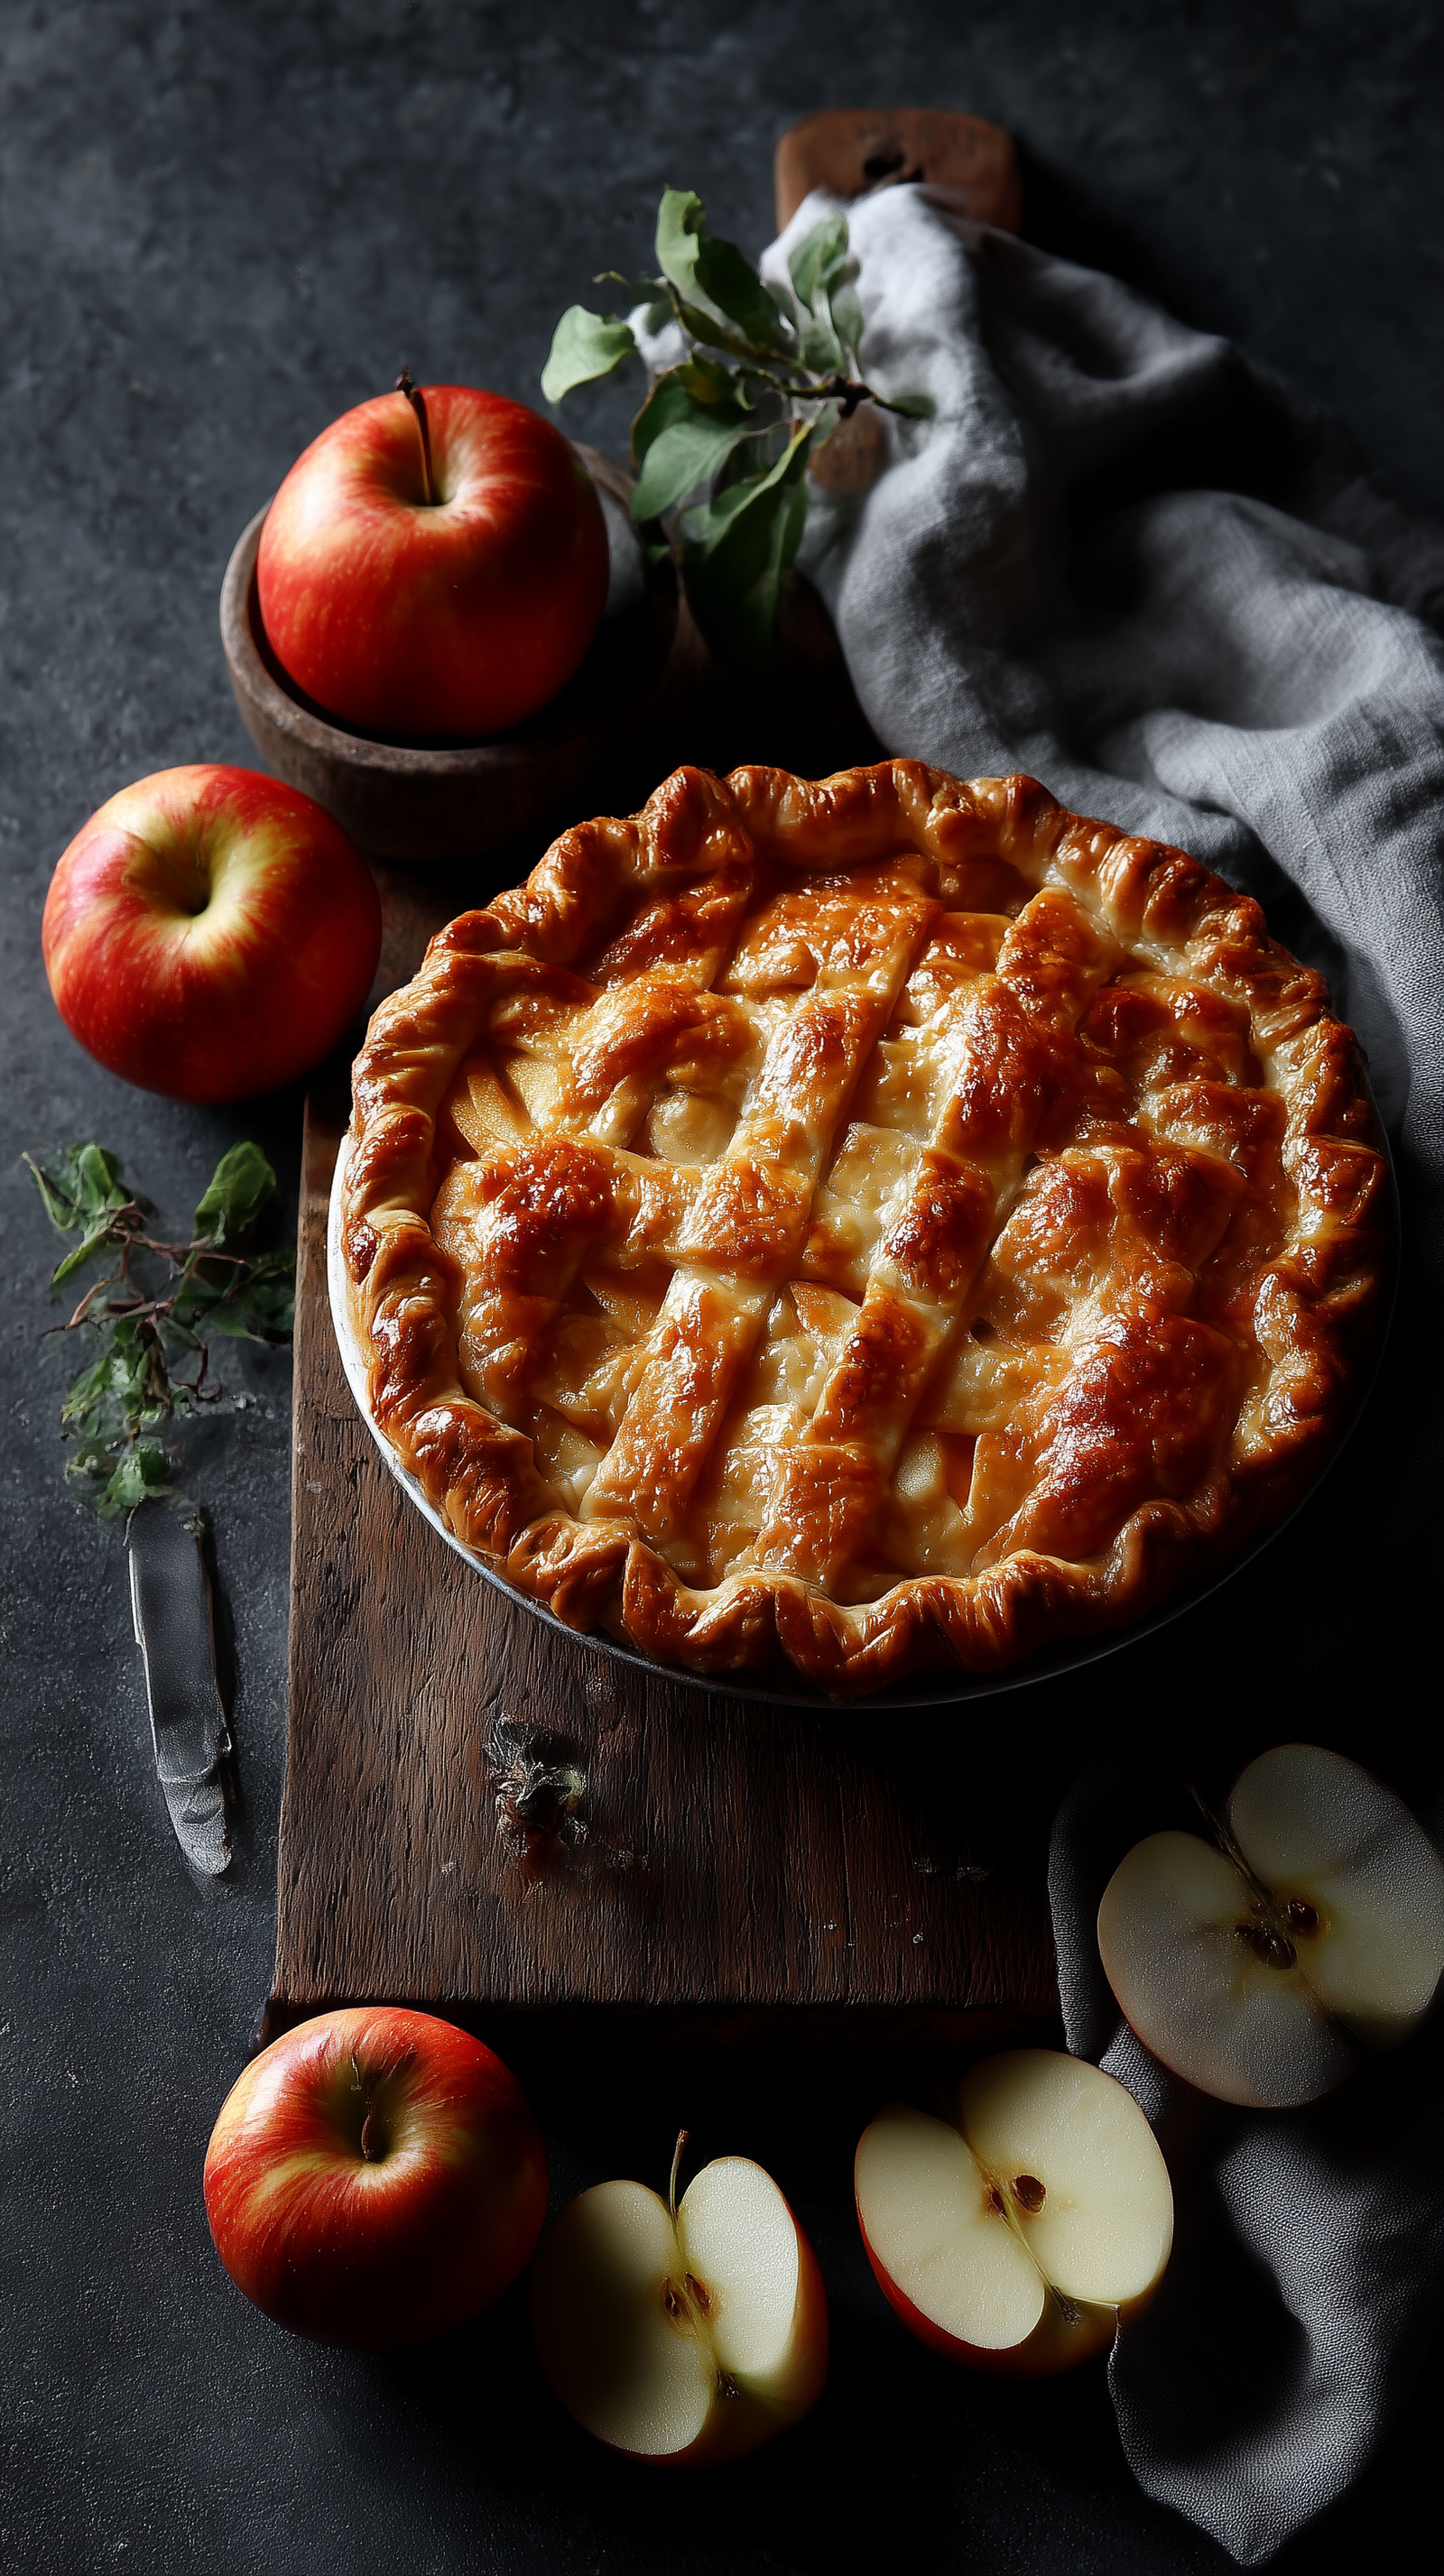
Grandma Ople, as everyone fondly called her, was a fierce competitor at local pie contests, and her apple pie was the stuff of legends. Her secret? A buttery, flaky crust that cradled tender, perfectly spiced apples. She always insisted that a good lattice top wasn’t just for looks; it was essential for allowing the steam to escape, ensuring the filling was both rich and juicy without being soggy. Her insistence on using Granny Smith apples might seem old-fashioned, but their tartness and firmness created the perfect balance of flavors and textures.
Recreating this pie in my own kitchen felt like a small tribute to her legacy. As I rolled out the dough and layered those golden apples, I could almost hear her gentle encouragement, reminding me that baking is as much about the memories we create as it is about the end result. So, when I serve this pie, it’s more than just a dessert; it’s a delicious connection to family and tradition, a slice of home and history.
How To Make It (Mix & Ingredients)
When it comes to crafting Grandma’s Classic Apple Pie, you’ll find that simplicity is key, yet every step is packed with nostalgia and flavor. Let’s dive into the heart of this comforting dessert.
First, gather your ingredients. You’ll start with 8 small Granny Smith apples—their tartness balances perfectly with the sweetness of the sugars. Peel, core, and thinly slice them, setting them aside for the grand pie assembly. Now, let’s move on to the luscious filling. In a saucepan over medium heat, melt ½ cup of unsalted butter. The rich aroma will start to fill your kitchen, a classic hint of what’s to come. Stir in 3 tablespoons of all-purpose flour to create a paste. Let it cook until it’s aromatic—about 1 to 2 minutes. Add ½ cup of white sugar, ½ cup of packed brown sugar, and ¼ cup of water, then bring this mixture to a boil. Reduce the heat and let it simmer for 3 to 5 minutes until it transforms into a glossy, caramel-like sauce.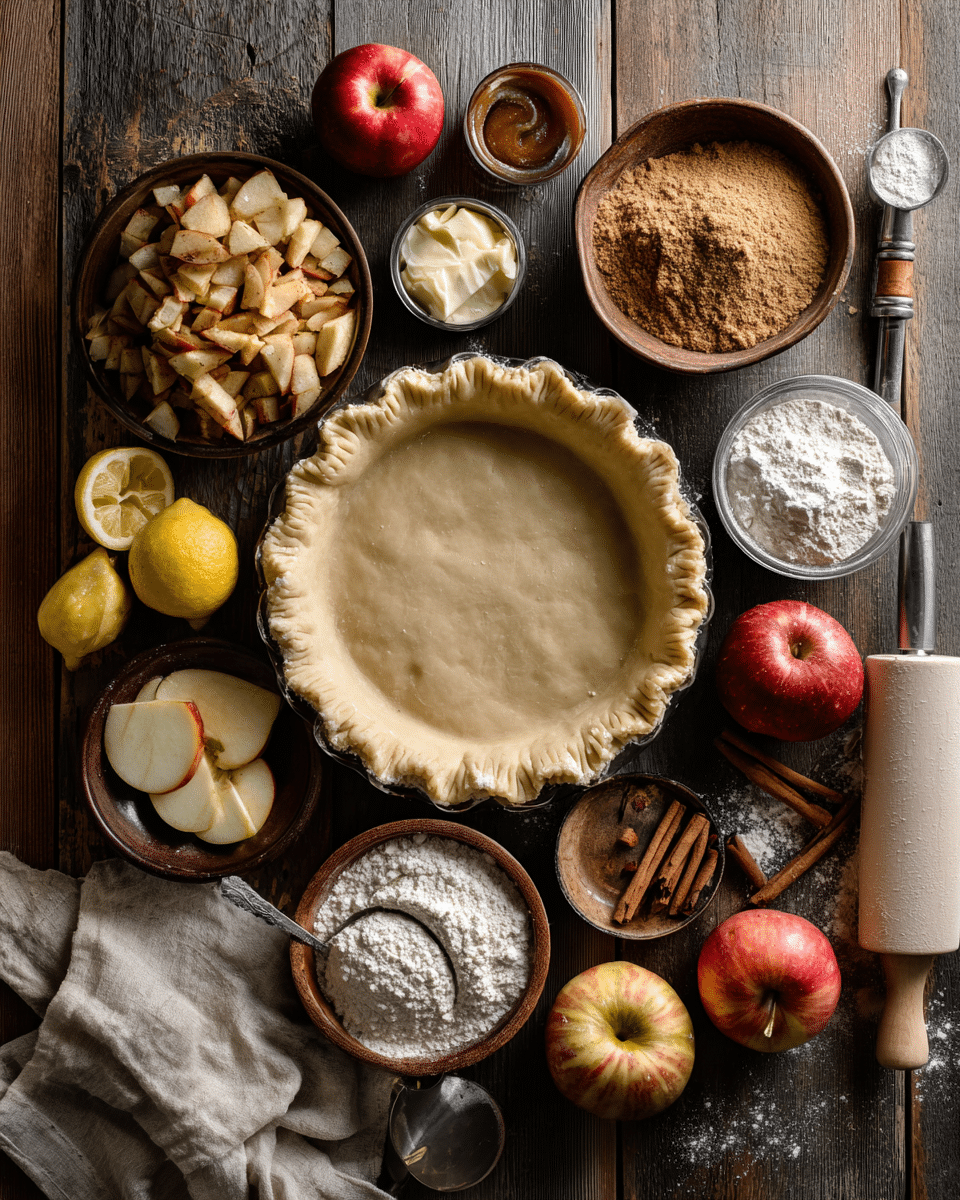
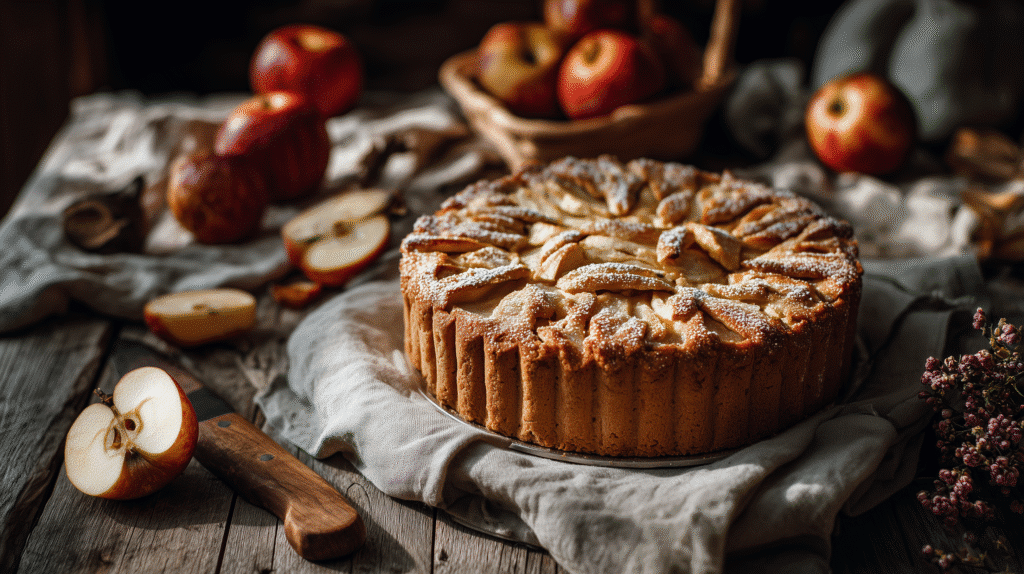
Step-by-step preparation of Grandma’s Classic Apple Pie with Granny Smith apples.
Next, prepare your pie crust. Press one pastry into your 9-inch pie pan, letting it hug the sides snugly, ready to cradle those juicy apples. Roll out the second pastry, cutting it into strips to make a charming lattice top. Now, pile those prepared apple slices into the crust, forming a gentle mound. Pour that beautiful caramel sauce over the apples, ensuring every slice is bathed in sweet delight. Layer your pastry strips over the top to weave a lattice that even Grandma Ople would be proud of.
With these steps, you’re not just making a pie—you’re baking a piece of family history that’s perfect for any holiday or cozy family dinner. If you love this, you might also enjoy diving into our [Pumpkin Pie] or [Pecan Tart] for more nostalgic treats.
Another Post: Oatmeal Sandwich Cookie Magic: Chewy, Creamy, Totally Irresistible
Make-Ahead & Storage
Preparing Grandma’s Classic Apple Pie in advance can be a game-changer, especially during the bustling holiday season. If you’re planning ahead, you can easily make the pie up to 2 days before serving. After baking, allow the pie to cool completely. Once cooled, cover it loosely with aluminum foil or plastic wrap and store it at room temperature. This keeps the crust crisp and the filling perfectly sweet.
For longer storage, simply pop your baked pie into the refrigerator, where it will remain fresh for up to 5 days. Ensure it’s well-covered to prevent any fridge odors from sneaking in. If you’re like me and enjoy a warm slice, just reheat the pie in the oven for about 10 minutes at 350 degrees F. This will bring back that fresh-out-of-the-oven warmth and aroma.
Freezing is another fantastic option for Grandma’s Classic Apple Pie. Before baking, wrap the assembled pie tightly in plastic wrap and then a layer of foil. It can be frozen for up to 3 months. When you’re ready to enjoy, bake it straight from the freezer; just add an extra 15–20 minutes to the baking time. This way, you’ll have an apple pie ready right when the craving strikes, without losing any of that treasured homemade charm.
Best Ingredients & Party Variations
When it comes to crafting Grandma’s Classic Apple Pie, choosing the right ingredients is key to achieving that comforting, nostalgic taste. Let’s start with the apples—Granny Smith apples are a must. Their tartness beautifully balances the sweetness of the sugars, and they hold up well during baking, ensuring your pie isn’t a mushy mess. However, if you’re feeling adventurous, blend in some Honeycrisp or Braeburn for a delightful depth of flavor.
Now, let’s talk about the pastry. While a store-bought double-crust pie pastry can save time, making your own adds a personal touch. Use cold unsalted butter to achieve a flaky, tender crust. Remember, keeping everything cold is crucial to prevent the butter from melting before baking.
To switch things up for a party, consider adding a sprinkle of cinnamon or a dash of nutmeg to the sugar mixture for a warm, spiced aroma. You can also mix in a handful of raisins or chopped walnuts with the apples for a surprising bite. If serving a crowd, try making mini apple pies using muffin tins. They’re perfect for guests to grab and mingle with, plus they look adorable on a dessert table.
For more pie inspiration, check out my Easy Berry Galette and Rustic Peach Tart recipes. Each brings a unique twist to classic fruit desserts, perfect for impressing your guests.
FAQs About Grandma’s Classic Apple Pie
How do I prevent my apple pie crust from getting soggy?
To avoid a soggy crust in Grandma’s Classic Apple Pie, pre-bake (or “blind bake”) the bottom crust for about 10 minutes before adding the filling. This creates a barrier and helps keep the crust crisp. Using a metal pie pan can also help conduct heat better, ensuring the bottom crust bakes thoroughly. Make sure your apple slices are not too wet—pat them dry with a paper towel before placing them in the crust. You can also brush the crust with a beaten egg white for an extra seal.
What are the best apples to use for Grandma’s Classic Apple Pie?
Granny Smith apples are a fantastic choice due to their tartness and ability to hold their shape after baking. If you prefer a sweeter pie, mix in some Honeycrisp or Golden Delicious apples. This combination adds depth of flavor and maintains the pie’s structure. Avoid using overly soft apples like Red Delicious, which can turn mushy during baking. Experiment to find your perfect balance of tart and sweet!
Can I make Grandma’s Classic Apple Pie ahead of time?
Absolutely! You can prepare the pie a day in advance and store it in the refrigerator. If you’d like to prepare it further ahead, consider freezing it unbaked. Just assemble the pie, wrap it tightly in plastic wrap, and place it in a freezer-safe bag. When ready to bake, add an extra 15-20 minutes to the baking time without thawing. This method retains the pie’s freshness and flavor wonderfully.
How do I know when my apple pie is done baking?
Look for a golden-brown crust and bubbling filling. The bubbling indicates that the juices are thickening properly. A great tip is to insert a knife into the pie—if it slides easily through the apples, they’re cooked. If you notice the crust browning too quickly, cover it with foil to prevent burning while the filling finishes cooking. Trust your senses and enjoy the delightful aroma!
Conclusion
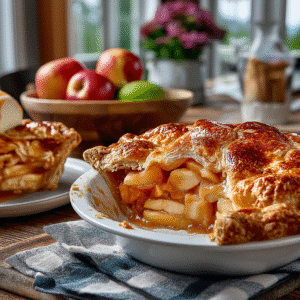
Baking Grandma’s Classic Apple Pie is like inviting a little slice of nostalgia into your home. Imagine the comforting aroma filling your kitchen, reminiscent of family gatherings and cozy afternoons. There’s something truly special about sharing a piece of this pie, watching smiles spread across the table as everyone dives into those luscious, cinnamon-kissed layers.
Whether you’re making it for a holiday feast or a simple Sunday treat, this recipe has a magical way of bringing people together. It’s more than just a dessert—it’s a celebration of cherished moments and the warmth of home.
So why not roll up your sleeves and create some sweet memories of your own? I promise, the joy in every bite will be worth it. For more heartwarming recipes like this, follow us on social media! Let’s keep the kitchen cozy and the desserts delightful.
Rediscover Comfort: Grandma’s Classic Apple Pie Recipe
Ingredients
- 8 small Granny Smith apples or as needed
- ½ cup unsalted butter
- 3 tablespoons all-purpose flour
- ½ cup white sugar
- ½ cup packed brown sugar
- ¼ cup water
- 1 9 inch double-crust pie pastry, thawed
Instructions
- Gather the ingredients. Preheat the oven to 425 degrees F (220 degrees C). Peel and core apples, then thinly slice. Set aside.
- Melt butter in a saucepan over medium heat. Add flour and stir to form a paste; cook until fragrant, about 1 to 2 minutes. Add both sugars and water; bring to a boil. Reduce the heat to low and simmer for 3 to 5 minutes. Remove from the heat.
- Press one pastry into the bottom and up the sides of a 9-inch pie pan. Roll out remaining pastry so it will overhang the pie by about 1/2 inch. Cut pastry into eight 1-inch strips.
- Place sliced apples into the bottom crust, forming a slight mound. Lay four pastry strips vertically and evenly spaced over apples, using longer strips in the center and shorter strips at the edges.
- Make a lattice crust: Fold the first and third strips all the way back so they’re almost falling off the pie. Lay one of the unused strips perpendicularly over the second and fourth strips, then unfold the first and third strips back into their original position.
- Fold the second and fourth vertical strips back. Lay one of the three unused strips perpendicularly over top. Unfold the second and fourth strips back into their original position. Repeat Steps 6 and 7 to weave in the last two strips of pastry. Fold and trim excess dough at the edges as necessary, and pinch to secure.
- Slowly and gently pour sugar-butter mixture over lattice crust, making sure it seeps over sliced apples. Brush some onto lattice, but make sure it doesn’t run off the sides.
- Bake in the preheated oven for 15 minutes. Reduce the temperature to 350 degrees F (175 degrees C) and continue baking until apples are soft, 35 to 45 minutes.
- Serve and enjoy!