
If you’ve ever stood in your kitchen with a craving for cake and almost nothing in your pantry, this gluten-free wacky cake will feel like a miracle. Made without butter, eggs, or even milk — and totally gluten free — this cake was born from resourcefulness but has stood the test of time for one reason: it’s delicious. In this article, we’ll uncover how to make it perfectly moist, what makes it “wacky,” and tips for serving and storing. Whether you’re new to gluten-free baking or a seasoned pro, this cake will earn a permanent spot in your recipe box.
Where Nostalgia Meets Necessity — Why This Gluten Free Wacky Cake Wins
Chocolate craving meets pantry reality
I still remember the first time I made a gluten free wacky cake. I was staring at my nearly empty fridge, desperate for something sweet, but I had no eggs, no butter, and no milk. Instead of giving up, I remembered a Depression-era cake my grandma once mentioned — something you could mix right in the pan, no fancy ingredients needed. I decided to recreate it, but with my own twist: a gluten free wacky cake using my favorite flour blend. I’ll be honest — I didn’t expect much. But one forkful later, I was hooked.
The rich cocoa flavor, the moist crumb, the fact that it came together in under 10 minutes — it was the cake that changed my baking philosophy. Simple ingredients. Big payoff. And best of all? It was completely free from gluten, dairy, and eggs without compromising taste or texture.
That first slice reminded me so much of the cakes my grandma would serve after Sunday lunch. But with its plant-based edge and gluten free flair, it also felt totally modern. This recipe has become one of my most requested bakes from friends with food sensitivities — and honestly, even those who eat everything can’t get enough. It’s the same magic behind my lemon crazy cake, another throwback treat with a fresh twist.
The secret to success: simplicity
The magic lies in the method. There’s no mixer required, no bowls to clean. You stir everything together in the same pan you bake it in. It’s wacky, yes, but also wonderfully efficient. And unlike many gluten free recipes that feel fussy or crumbly, this one stays moist thanks to a surprising ingredient — brewed coffee (or water if you prefer).
From cozy weeknights to spontaneous celebrations, this gluten free wacky cake brings comfort with every bite — no special trip to the store required.
How to Nail Your Gluten Free Chocolate Wacky Cake Every Time
Choose the right gluten-free flour blend
Not all gluten free flours behave the same, and that’s especially important in a wacky cake where there’s no egg or dairy to support the structure. For this recipe, use a 1:1 gluten free flour blend that contains xanthan gum or guar gum. These help bind the cake together and prevent it from becoming too crumbly. If your blend doesn’t include them, add about ½ teaspoon xanthan gum per cup of flour.
I personally love how this cake comes out using the same blend I use in my almond croissant cookie bars — it bakes up soft but slices beautifully. The cocoa masks any subtle “gluten free” flavor some blends may carry, so even skeptical taste-testers will be impressed.
Keep in mind: coffee instead of water deepens the chocolate flavor without making the cake taste like coffee. But if you’re baking for kids or just prefer a lighter flavor, go ahead and use water. The vinegar and baking soda combination helps the cake rise while giving it that soft, fluffy bite we all love.
Here’s a quick reference:
| Ingredient | Purpose |
|---|---|
| Gluten Free Flour Blend | Provides structure without gluten |
| Vinegar + Baking Soda | Creates lift and lightness |
| Coffee or Water | Adds moisture; coffee enhances cocoa |
Moisture tricks that work
Gluten-free cakes can sometimes turn out dry because the flours absorb more moisture. To keep your gluten-free wacky cake moist and tender:
- Mix the batter thoroughly but don’t overwork it
- Pour the liquid (coffee or water) over everything and stir right in the pan
- Let the cake cool completely before frosting to avoid melting or soggy tops
Variations & Serving Ideas for Gluten Free Wacky Cake
Make it your own with these easy variations
One of the best things about this gluten free wacky cake is how adaptable it is. The base recipe is simple, but you can easily switch things up depending on your mood, pantry, or who you’re baking for. Want a bit of crunch? Stir in ½ cup of chopped nuts like pecans or walnuts. Craving a bakery-style finish? Sprinkle some dairy-free chocolate chips on top before baking — they melt into little pools of rich goodness.
For a fruity twist, try folding in ½ cup chopped strawberries or raspberries into the batter. You can also swirl in a spoonful of nut butter or raspberry jam for a beautiful marbled effect. The richness of the chocolate works well with so many add-ins — it’s exactly why this cake reminds me of the flavor-packed layers in my Dubai pistachio kunafa chocolate bar.
If you want a more festive spin, top it with sprinkles or shredded coconut once the frosting is on. I’ve even tried a version where I added ½ teaspoon cinnamon and a pinch of cayenne — the warm spices gave it a subtle Mexican chocolate vibe that paired so well with coffee.
Serving suggestions that steal the show

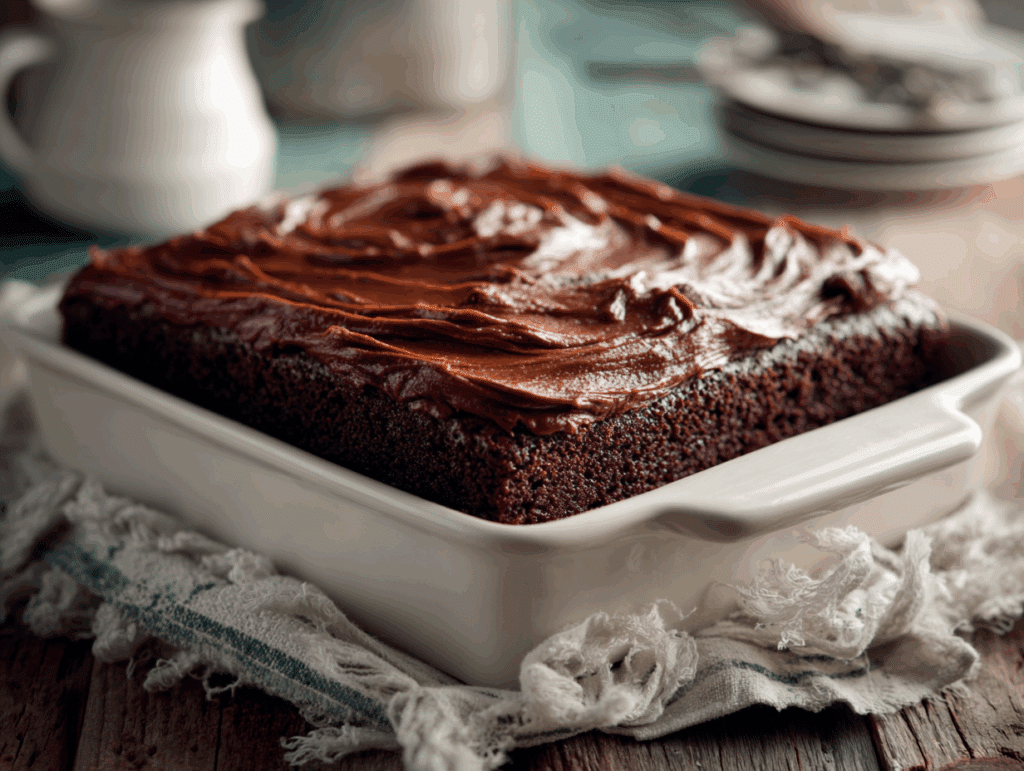
This gluten free wacky cake is a star on its own, but a few finishing touches can take it from simple to stunning. After letting the cake cool completely, whip your favorite store-bought or homemade frosting until it’s light and fluffy. I like to use a stand mixer just like I do for my croissant chocolate chip cookie; it gives the frosting that dreamy, cloud-like texture.
Serve slices with a scoop of dairy-free vanilla ice cream or a dollop of coconut whipped cream for contrast. For brunch or dessert boards, cut into bite-sized squares and pair them with fresh berries — the soft chocolate cake with juicy fruit is irresistible. And if you’re packing lunches or planning picnics, wrap individual pieces in parchment paper. They hold up beautifully and travel well.
For a casual dessert night or a last-minute dinner party, this cake’s versatility shines. Just like my strawberry cream cheese dump cake, it’s a crowd-pleaser that needs zero fuss.
Storage, FAQs & Troubleshooting for Gluten Free Wacky Cake
How to store gluten-free wacky cake for maximum freshness
Let’s face it — when a cake is this easy and tasty, there’s a good chance there won’t be leftovers. But if you do have extra slices, the good news is this gluten-free wacky cake stores incredibly well. It keeps its moist texture for days with the right storage.
Here’s what I recommend:
- Room temperature: Keep the cake covered on the counter with a cake dome or foil for up to 3 days.
- Refrigerator: Store in an airtight container for up to 1 week. Let slices come to room temperature before eating.
- Freezer: Wrap individual portions tightly in plastic wrap and place in a zip-top freezer bag. Keeps well for up to 1 month.
If you’re storing a frosted cake, refrigerate it after the first day to maintain freshness — especially if using cream-based frosting. And just like with my lemon tiramisu, letting the cake rest a bit before serving brings out the best flavor.
FAQs
How long can you keep a free cake?
You can keep gluten free cake at room temp for 3 days, in the fridge for up to a week, or freeze it for a month. Always let it reach room temperature before serving.
How to make gluten-free cake mix more moist?
Add more liquid—milk, water, or yogurt—and don’t skimp on oil. Gluten free flours soak up more moisture than wheat flour.
How does gluten-free cake taste?
A well-made gluten-free cake can taste just like a regular one. The texture might be softer or slightly denser, but the flavor can be equally rich and delicious.
What is the difference between a gluten-free cake and a regular cake?
Gluten-free cakes use flours like rice, oat, or almond instead of wheat flour. They lack gluten, the protein that gives structure, so moisture and binding agents are extra important.
Conclusion: A Cake That’s Both Classic and Clever
Gluten free wacky cake proves that baking doesn’t have to be complicated—or full of allergens—to be delicious. With pantry staples, one bowl, and no dairy or eggs, you get a soft, rich cake that’s just as nostalgic as grandma’s version. It’s perfect for those moments when you want something sweet, fast, and fail-proof.
Whether you’re new to gluten-free baking or a seasoned pro, this cake delivers every time. Pair it with a scoop of ice cream, dress it up with fruit, or enjoy it plain with your morning coffee. And if you’re loving easy chocolate-forward desserts, don’t miss my watergate cake with pineapple or these dreamy lemon tiramisu layers.
Baking is even more fun when we share it. If you make this recipe, I’d love to see your creations! Tag @tastetorate on Facebook or save it to your dessert board on Pinterest so you can come back to it anytime.
Because let’s be honest—when dessert is this easy and this good, it deserves a permanent spot in your rotation.

Gluten Free Wacky Cake Recipe
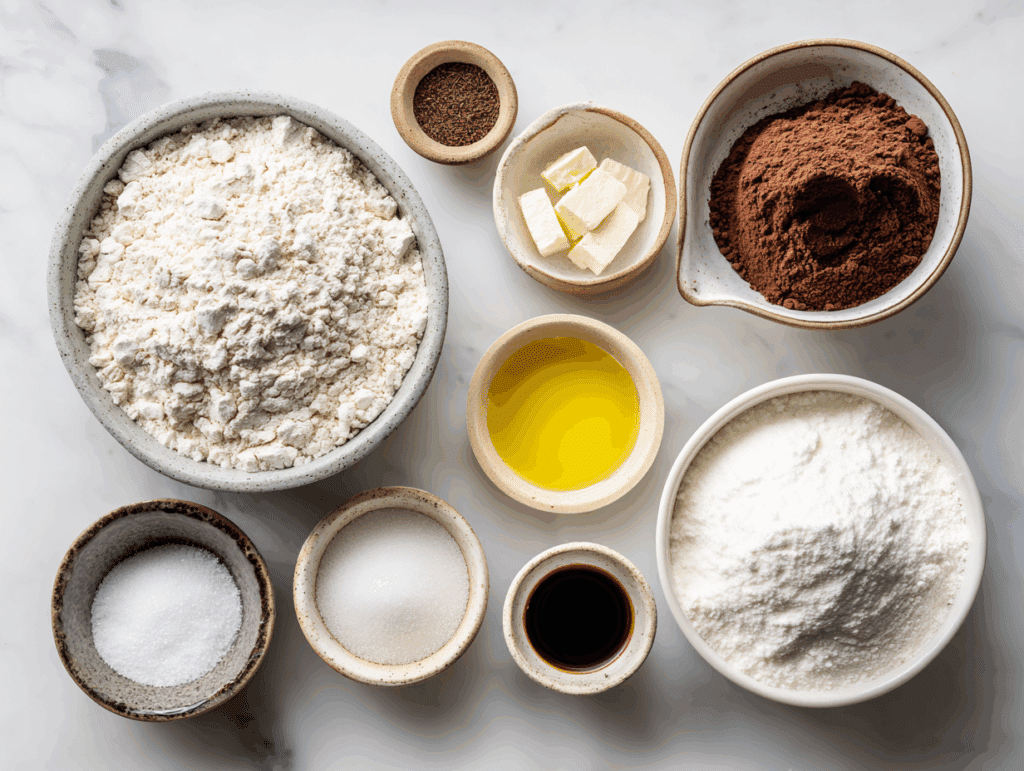
Ingredients
- 1 ½ cups Bob’s Red Mill 1-to-1 gluten free flour blend
- 3/4 cup sugar
- 1/4 cup baking cocoa
- 1/2 teaspoon salt
- 3/4 teaspoon baking soda
- 5 tablespoons oil
- 1 tablespoon white vinegar
- 1 teaspoon vanilla extract
- 1 cup water
- Powdered sugar optional
Instructions
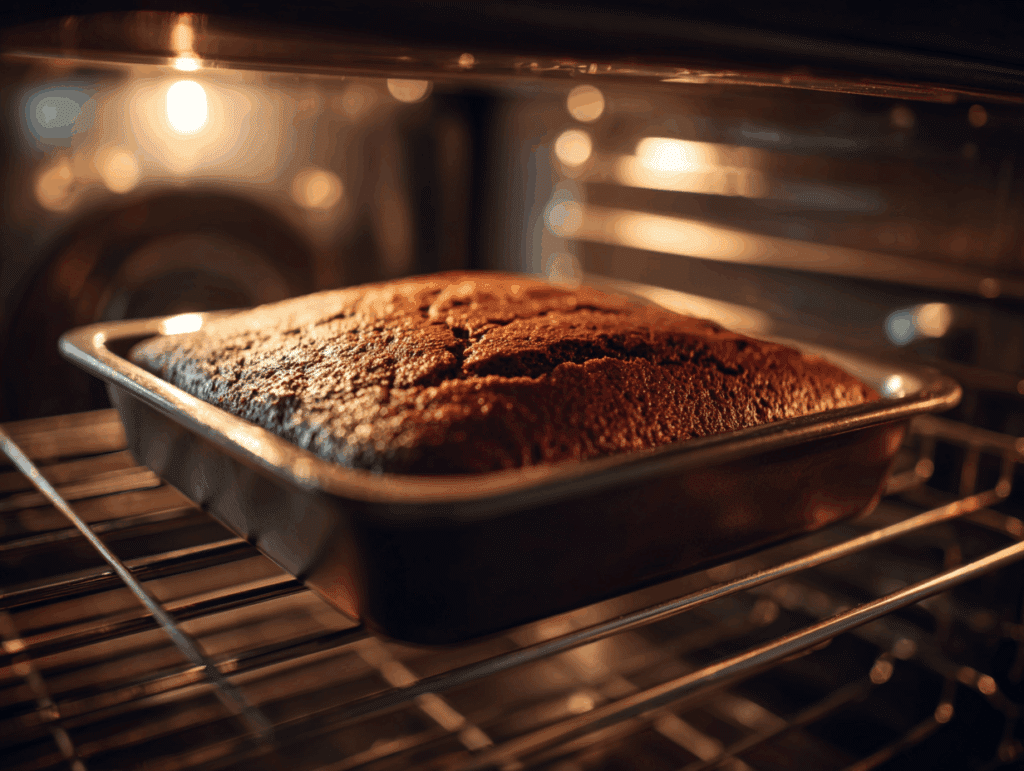
- 1. Preheat oven to 350°F.
- 2. Grease an 8-inch square pan.
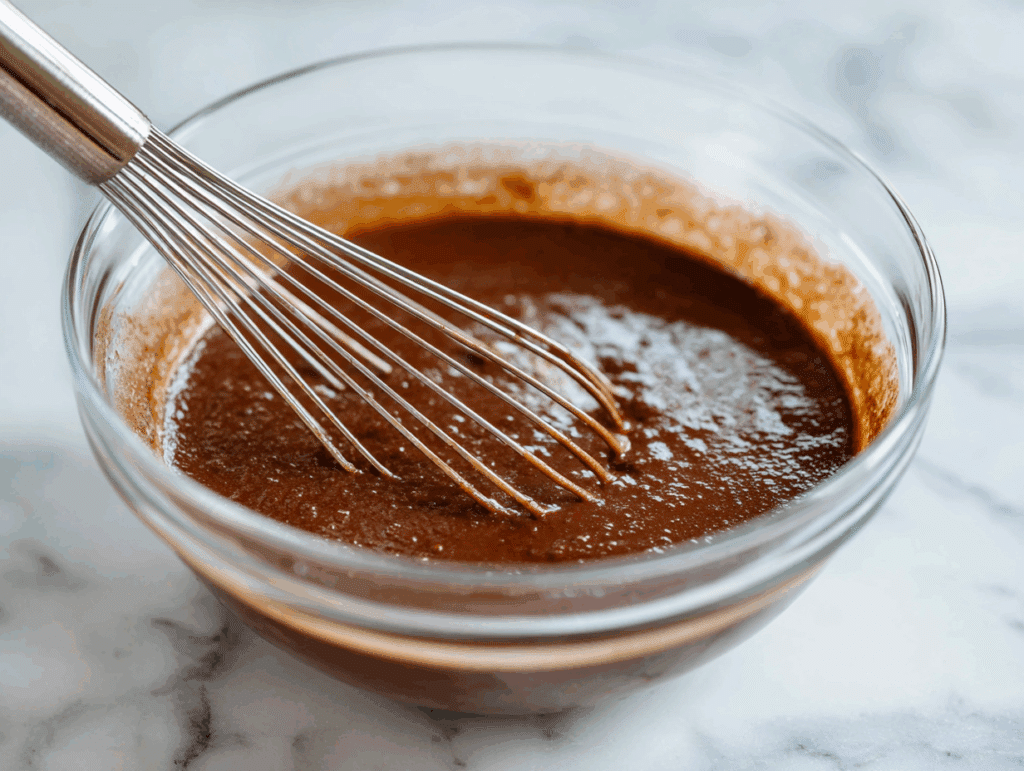
- 3. In a bowl, mix flour, sugar, cocoa, salt, and baking soda.
- 4. Make 1 large and 2 small craters in dry mix.
- 5. Add oil to large crater, vinegar and vanilla to smaller ones.
- 6. Pour water over all ingredients and stir until fully combined.
- 7. Pour into prepared pan and bake for 30–35 minutes.
- 8. Let cool completely and dust with powdered sugar if desired.

4 thoughts on “Gluten Free Wacky Cake – Moist, Easy, Loved by All”