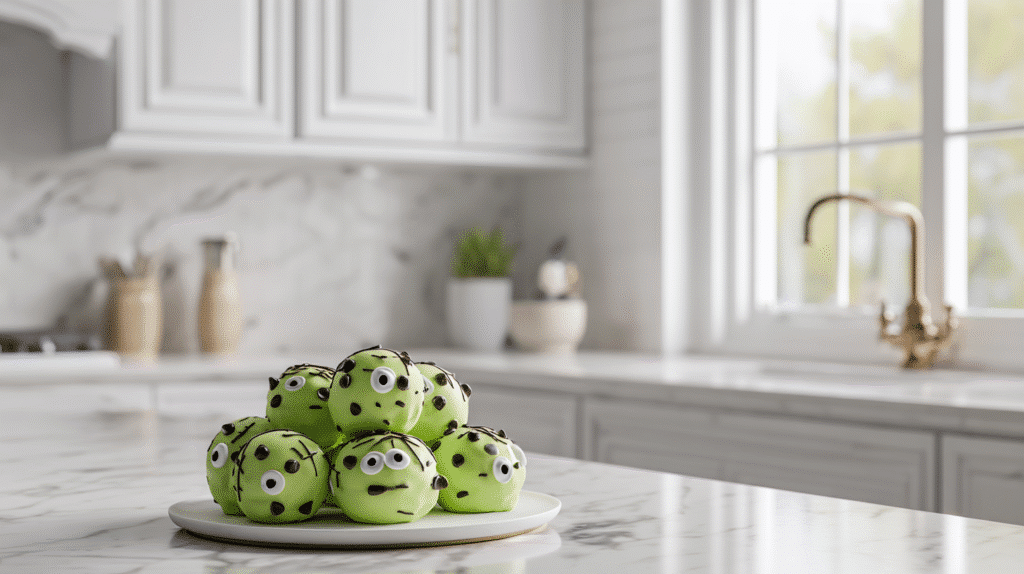
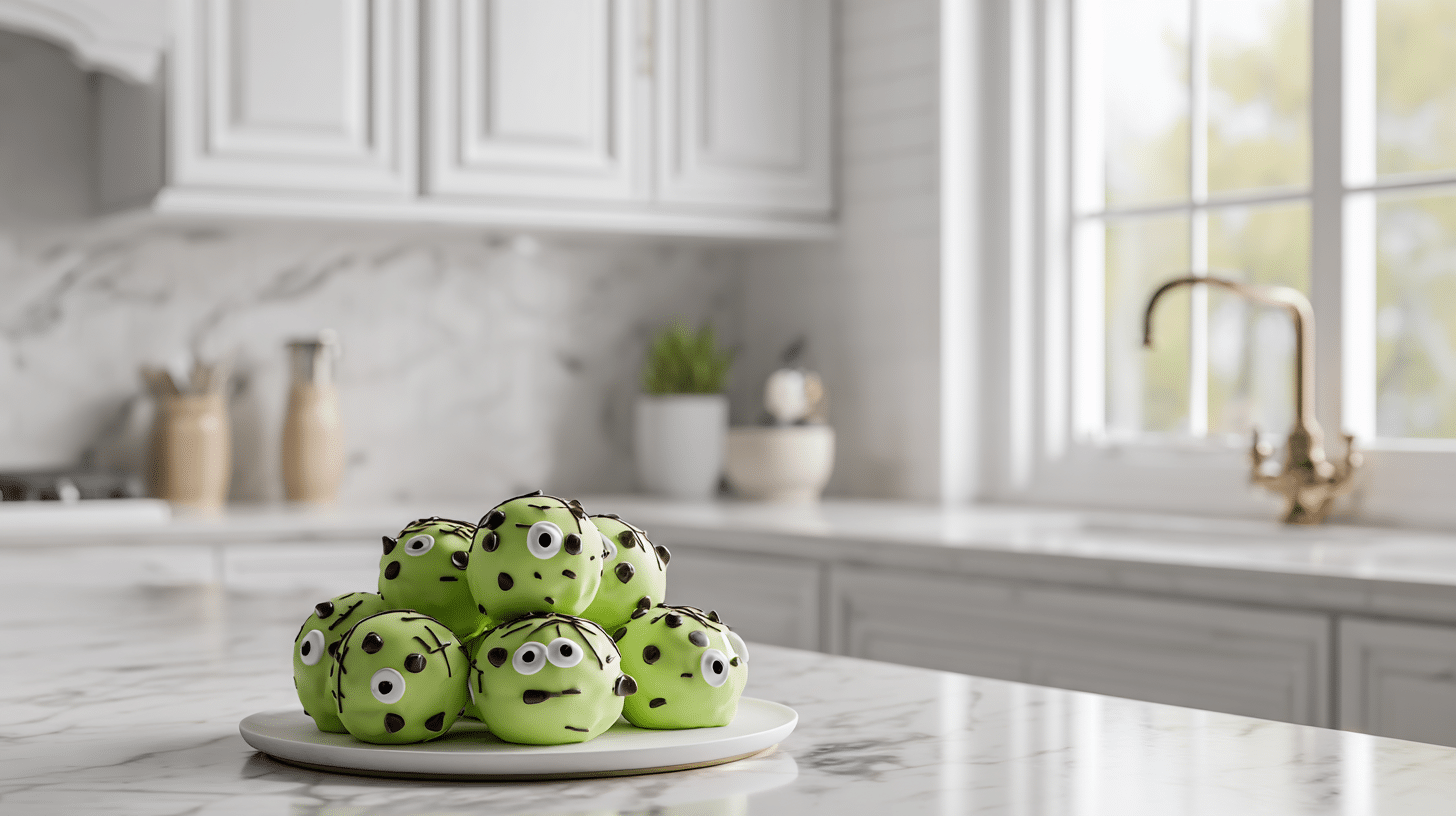
If you’re searching for a no-fuss, festive Halloween treat that’ll charm kids and adults alike, these Frankenstein Cookie Balls are it. Combining creamy Oreo truffle centers with bright green candy coating and those iconic candy eyes, these bite-sized monsters are fun, flavorful, and freakishly easy to make. Whether you’re prepping for a class party, spooky movie night, or need a make-ahead treat that travels well, this sweet little Frankenstein is your guy.
In this guide, we’ll cover everything you need to make perfect Frankenstein Cookie Balls, from shaping tips to icing tricks — and how to store them like a pro.
Why Frankenstein Cookie Balls Steal the Show Every Halloween
A Little Monster With Big Memories
Every Halloween, I get a little nostalgic. The costumes, the cool autumn air, the sugary buzz from too much candy corn — it all brings me back to the kitchen where my mom and I made treats that were more crafty than complicated. That’s exactly how Frankenstein Cookie Balls were born. I was playing around with my no-bake Oreo truffle base (because who has time to bake when you’re busy decorating?), and suddenly thought, “What if this treat looked back at you?” Add some candy eyes, green candy melts, and a few spooky details, and boom — Halloween magic.
The first time I made these, I served them next to a batch of Frankenstein Brownies and Blood Splatter Cookies. Let’s just say… Frankenstein stole the show. The best part? Kids love helping with the decorating — messy chocolate hair and all.
These cookie balls aren’t just cute; they’re made for memory-making. With just a handful of ingredients and no oven required, you’ll go from crushed cookies to ghoulish goodies in under an hour. They’re perfect for party platters or tucked into Halloween treat bags, and always pair well with something like Halloween Dunkaroo Dip for extra flair.
Why These Cookie Balls Are a Must-Make
Aside from their undeniable charm, Frankenstein Cookie Balls are all about approachability. No fancy tools, no tricky baking steps — just simple rolling, dipping, and decorating. They hold up well at room temp, store beautifully in the fridge, and can be customized with fun expressions or silly icing “stitches.” Plus, if you’re making other monster-themed goodies like Monster Eyeballs Truffles, these balls round out the theme perfectly.
How to Make Frankenstein Cookie Balls Without Stress
Simple Ingredients, Spooky Results
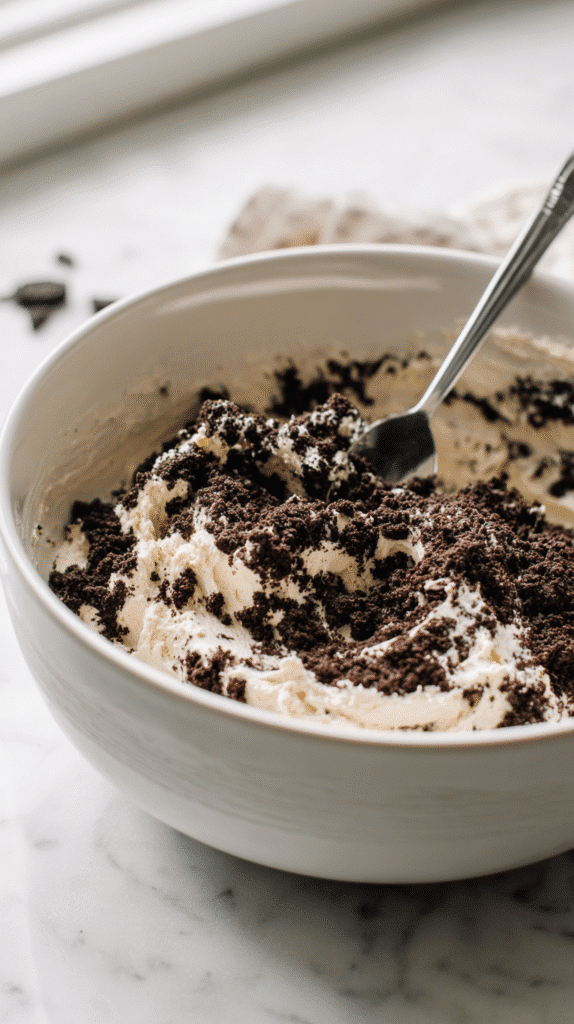
The beauty of Frankenstein Cookie Balls lies in their simplicity. You only need a handful of pantry staples and a touch of Halloween flair. Here’s what goes into the mix:
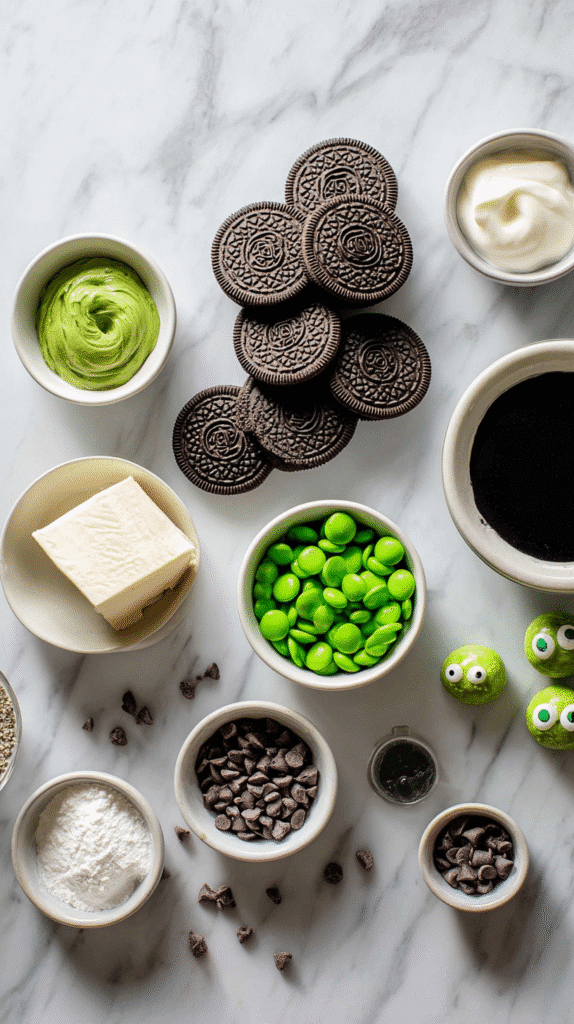
- Oreo cookies – classic or flavored work well
- Cream cheese – softened to blend smoothly
- Green candy melts – for Frankenstein’s skin
- Candy eyes – to bring him to life
- Chocolate or black icing – to draw mouth “stitches”
- Pretzel sticks or sprinkles – for bolts or hair accents
You’ll start by blitzing the Oreos (filling and all) in a food processor until they resemble fine crumbs. Then blend in the cream cheese until you get a smooth, dough-like consistency. From here, the magic begins — roll the mixture into small balls, chill them, then dip into melted green candy coating. Add your candy eyes right away before the coating hardens. You can finish with icing details and sprinkles for personality.
For a twist on flavor, check out these Frankenstein Oreo Balls, which use mint Oreos for an extra ghoulish green punch.
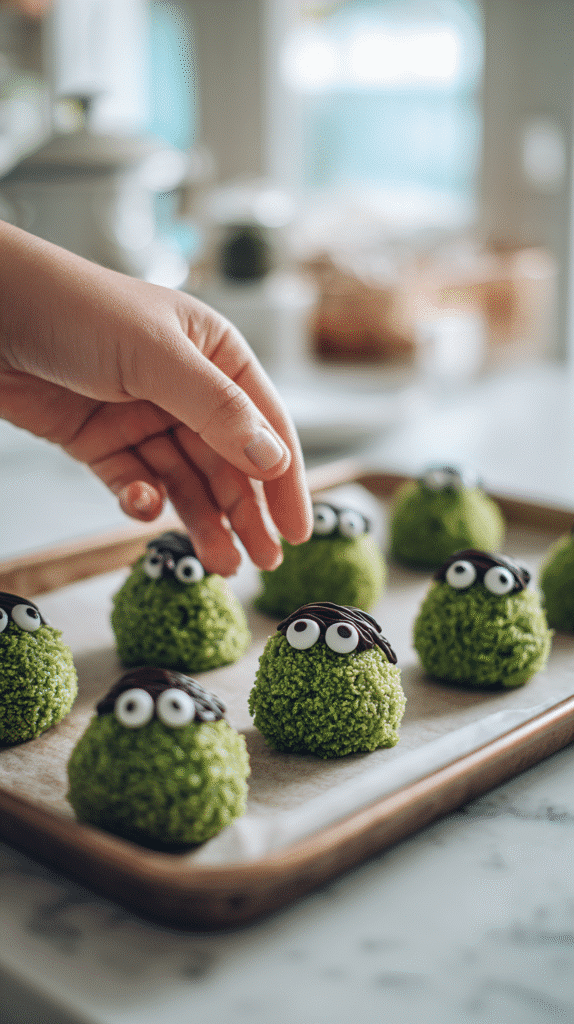
Decorating Frankenstein With Confidence
Once the coating sets, grab your piping bag (or a zip-top bag with the corner snipped) to draw on stitched smiles, scar brows, or lightning-bolt hairstyles. Don’t worry if it’s not perfect — part of the charm of Frankenstein Cookie Balls is how each one has a different “expression.” That’s especially fun if you’re making them alongside little bakers or pairing them with something equally festive like Peanut Butter Spider Cookies.
Pro Tips for Perfect Frankenstein Cookie Balls Every Time
How to Shape Cookie Balls Without Cracks or Chaos
Shaping your Frankenstein Cookie Balls might seem basic, but it’s where many bakers hit a snag. If you’ve ever rolled one that cracked or flattened too fast, you’re not alone. The secret? Chill and consistency.
Start with a cookie scoop to ensure even sizing — it makes a huge difference. Once scooped, roll the dough lightly between your palms. If it starts sticking, dip your hands in a bit of powdered sugar or wear food-safe gloves. Too soft? Chill the mix for 15–20 minutes before rolling. Too firm? Let it sit for 5 minutes.
When they’re uniform and smooth, pop them into the fridge for at least 30 minutes. This not only helps with shaping but also ensures your candy coating sticks beautifully without cracks. Similar shaping tips are used in my Slime Filled Halloween Cookies, which ooze green goodness inside.
Chilling = smooth monsters. Skipping it? Well, that’s when the real horror show begins.
How to Ice Frankenstein Cookie Balls Like a Halloween Pro
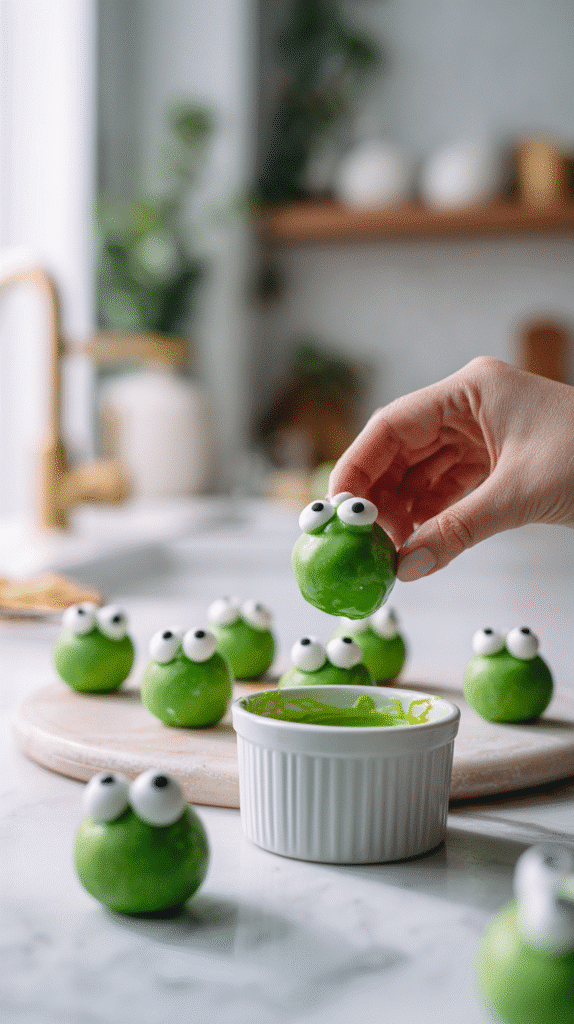
Once your cookie balls are chilled and ready, it’s showtime. The FAQ here is: How to properly ice cookies? The trick for Frankenstein Cookie Balls is to dip, don’t drown. Melt your candy melts until silky but not scorching — if it’s too hot, the coating becomes too thin or slides right off.
Use a fork to dip each ball gently, tap off excess coating, then place it on wax paper. Add candy eyes before the coating sets — you’ve got about 15 seconds. Once dry, pipe on chocolate icing to create stitches, scars, and goofy grins. Need decorating inspo? Check out how I style Halloween Chocolate Cupcakes — same vibe, different medium.
Store, Chill, and Serve Frankenstein Cookie Balls Like a Pro
How to Store Frankenstein Cookie Balls Without Losing the Magic
Once your Frankenstein Cookie Balls are decorated and ready, it’s important to store them properly so they stay as spooky and delicious as when you made them. One of the most common questions I get is, How to store twisted sugar cookies? — and the rules apply here too.
Place the cookie balls in a single layer inside an airtight container. If you’re stacking them, use parchment paper between layers to prevent the candy coating and decorations from smudging. Store them in the refrigerator for up to 7 days.
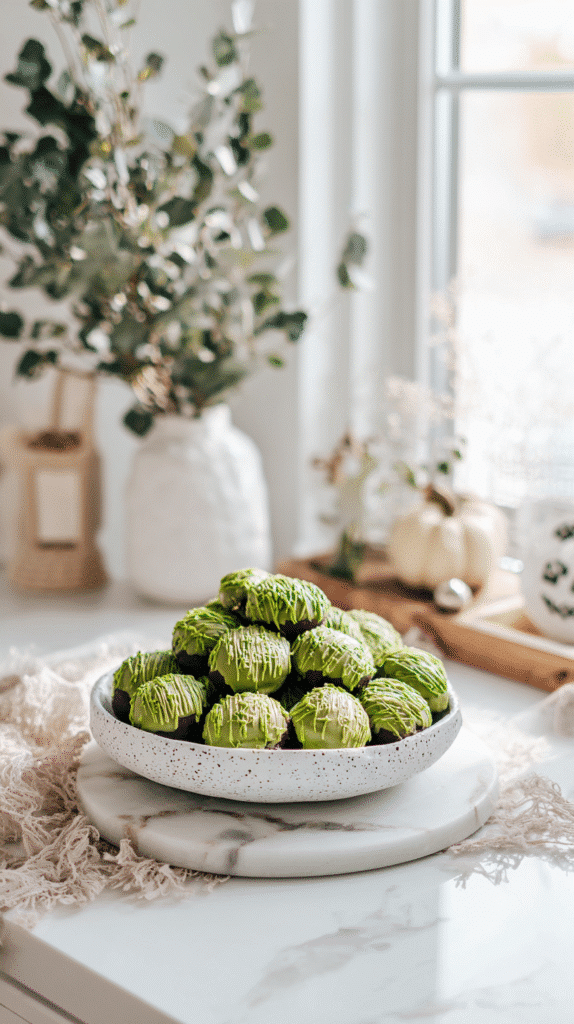
Planning ahead for a Halloween bash? You can make them up to 3 days in advance. Just bring them to room temperature for about 10–15 minutes before serving for the best texture. I love pairing them on a dessert table with something soft and bold like Halloween Dunkaroo Dip or even extra spooky Frankenstein Brownies.
Bonus: they freeze well too! Just skip the final decorations and add those after thawing.
Speed Up Cooling Without Ruining the Design
Now for the practical baker’s FAQ: How to speed up cookie cooling? Here’s the trick — place your tray of freshly rolled or dipped cookie balls on a baking sheet and pop them in the fridge, not the freezer. It cuts chilling time in half and keeps the structure intact.
Want to go even faster? Position a fan near the tray while they’re in the fridge to circulate cool air evenly. Just don’t rush it too much — skipping chill time is the quickest way to end up with icing sliding off like melted monster makeup.
And finally, How long should you wait to ice cookies? For Frankenstein Cookie Balls, give them at least 30 minutes in the fridge after rolling and before dipping. That extra time ensures they stay firm during the candy melt process — and makes the decorating way more fun and way less messy.
Frequently Asked Questions About Frankenstein Cookie Balls
How to shape cookie balls?
Use a cookie scoop for uniform size, chill the dough before rolling, and lightly coat your hands with powdered sugar or gloves to prevent sticking. Roll gently between your palms for a smooth finish.
How to properly ice cookies?
Always chill cookie balls before icing. Melt candy melts until smooth but not too hot. Dip gently using a fork, tap off the excess, and decorate immediately before it hardens.
How to store twisted sugar cookies?
Store in an airtight container at room temperature for up to 5 days or refrigerate to extend freshness. Separate layers with parchment paper.
How long should you wait to ice cookies?
At least 30–45 minutes of chilling is recommended before icing or dipping. This keeps the shape firm and ensures the coating sticks.
Conclusion: Your New Favorite Spooky Bite
Frankenstein Cookie Balls are more than just a fun Halloween treat — they’re a tradition in the making. With simple ingredients, mess-free steps, and decorating that doubles as craft time, these no-bake bites are perfect for parties, kids, and anyone who loves festive sweets without the fuss. Whether you serve them next to Frankenstein Oreo Balls or go all-out with Slime Filled Halloween Cookies, these little monsters are sure to steal the spotlight — and a few hearts.
If you’re inspired to try this recipe, I’d love to see your creations! Share them with me on Facebook or pin your version on Pinterest so we can keep the baking (and sipping) community growing together. With just a few simple steps, you can transform your daily pick-me-up into something extraordinary.
Frankenstein Cookie Balls: The Cutest Spooky Halloween Treat
Ingredients
- 24 Oreo cookies 4 oz cream cheese softened 1 cup green candy melts 24 candy eyes Chocolate or black icing for decoration Optional: pretzel sticks or sprinkles
Instructions
- 1. Crush Oreos into fine crumbs using a food processor. 2. Mix in softened cream cheese until dough forms. 3. Scoop and roll dough into balls. Chill for 30 minutes. 4. Melt green candy melts until smooth. 5. Dip chilled balls using a fork. Tap off excess. 6. Add candy eyes before coating sets. 7. Pipe icing to create stitches and expressions. 8. Let set completely before storing.