The Memory Behind This Treat
The first time I made a filled cupcake, it was purely out of self-defense. I’d promised to bring “something special” to my niece’s school bake sale, then promptly forgot until the night before. All I had was a basic vanilla cupcake recipe, a half-empty jar of raspberry jam, and some white chocolate hiding in the back of the pantry. Instead of panicking, I grabbed a paring knife, carved out little centers, and spooned in the jam. When the kids bit into them and saw that ruby-red surprise, they actually gasped. One teacher pulled me aside and whispered, “What are these?” like I’d smuggled in contraband magic.
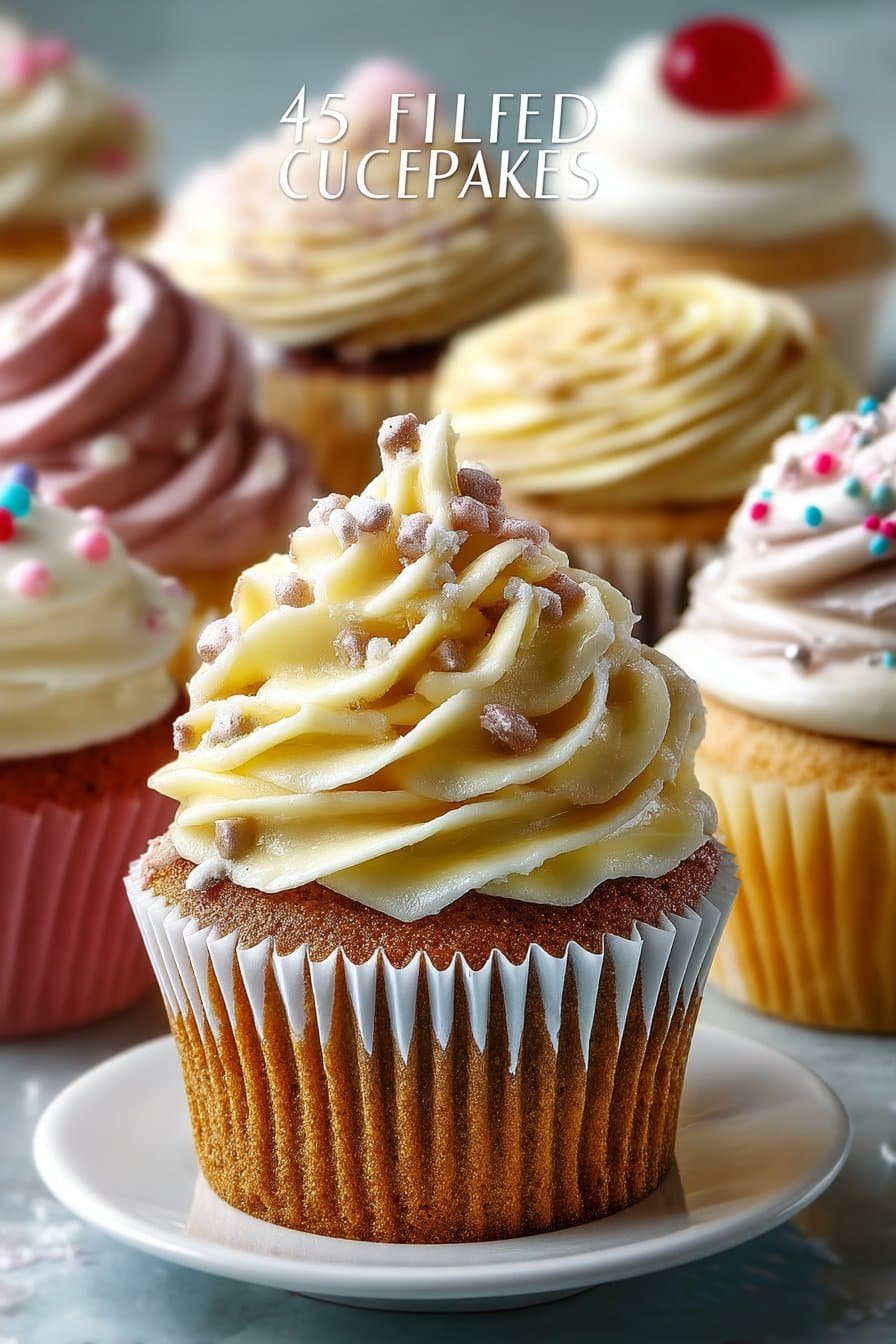
After that, a simple vanilla cupcake never felt quite enough. I loved how a classic sponge, like the one in this collection of filled cupcake recipes, could turn into something layered and almost bakery-fancy with just one extra step. I started experimenting: lemon curd on rainy days, chocolate ganache when I needed comfort, salted caramel when I wanted to impress without making an actual layer cake. The technique stayed the same—bake, cool, core, fill—but the personality changed with every flavor. That’s what I adore about filled cupcakes: they look humble on the outside, but the moment you take a bite, you get that hidden pocket of flavor, like a little secret between you and your dessert.
How To Make It (Mix & Ingredients)
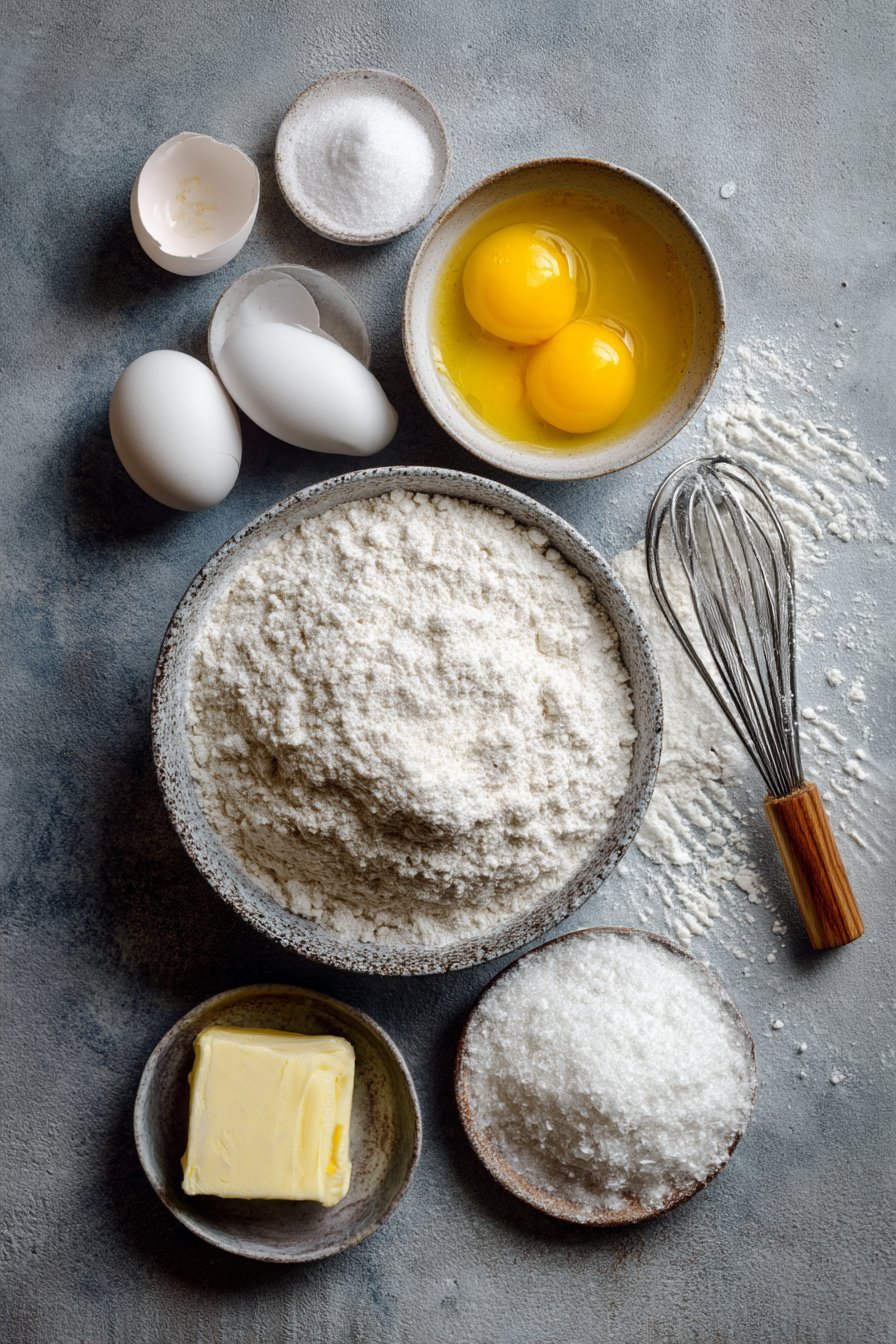
To build a perfect Filled Cupcake, you start with a simple, reliable vanilla base that doesn’t collapse once you tuck that lovely filling inside. In one bowl, whisk together your dry ingredients: all-purpose flour, baking powder, and a pinch of salt, making sure there are no lumps. In a second bowl, cream softened butter and sugar until they’re pale and fluffy; this step traps air and gives your cupcakes that soft, bakery-style crumb. Beat in the eggs one at a time so the batter doesn’t curdle, then add vanilla bean paste for that speckled, ice-cream-shop kind of flavor. Gently alternate adding the dry ingredients and room-temperature milk, mixing just until the batter looks smooth and silky—overmix here and your cupcakes turn dense instead of tender.
Instructions Process of Filled Cupcake
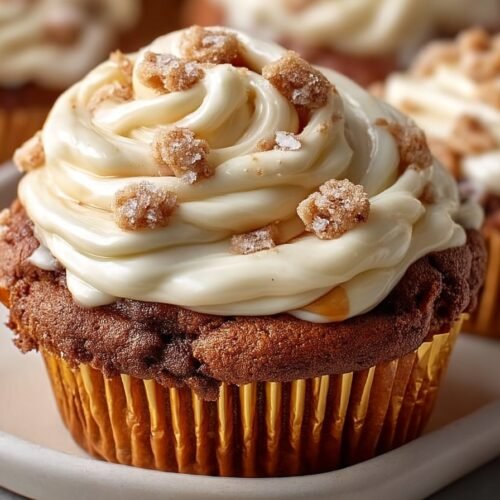
Once you divide the batter evenly into your lined tin and bake, let the cupcakes cool completely before you even think about filling them. A warm cupcake will melt jam, curd, or ganache and make everything soggy in the center. When they’re cool, use a small knife or a cupcake corer to remove a plug from the center of each one, going about two-thirds of the way down. Spoon or pipe in your filling—anything from raspberry jam and lemon curd to chocolate ganache or pastry cream works beautifully in a filled cupcake, just like it does in a classic boston cream or cream-filled chocolate cupcake. Finish with a generous swirl of frosting that matches your mood: white chocolate buttercream, tangy cream cheese, or a simple vanilla cloud. The beauty of this base recipe is that you can mix, match, and layer flavors endlessly, so one easy batter can become a whole parade of filled cupcake favorites.
Make-Ahead & Storage
One of the quiet superpowers of a good filled cupcake is how well it behaves when you plan ahead. For the best texture and flavor, you can bake the cupcake bases 1–2 days in advance, let them cool completely, and store them in an airtight container at room temperature. If your kitchen tends to run warm or humid, slide that container into the fridge so they stay soft but safe. I like to prep my fillings (curds, jams, chocolate ganache, or pastry cream) the day before too—cover them directly with plastic wrap and chill, then give them a quick stir before piping. For extra protection, you can even core the cupcakes ahead, store the little “lids” separately, and assemble right before frosting.
Once your filled cupcake creations are fully assembled and frosted, keep them in an airtight container. Most jam- or chocolate-filled cupcakes can sit at cool room temperature for up to 2 days, but anything with whipped cream, cream cheese, or custard filling belongs in the fridge and should be enjoyed within 3–4 days. If you’re freezing, do it in stages: freeze the plain cupcakes first (well wrapped), then thaw, fill, and frost closer to serving. I don’t recommend freezing delicate toppings like fresh berries or crunchy add-ins—they can turn soggy or weepy. If you’re serving a big dessert spread (say, alongside Oreo cheesecake bars or a rich chocolate layer cake), pull chilled filled cupcakes from the fridge about 30 minutes before serving so the centers soften and the flavors bloom.
Best Ingredients & Party Variations
For the most memorable filled cupcake, start with high-quality basics and then layer in fun, flavorful surprises. Use real unsalted butter, not margarine, and stick with whole milk for a tender, bakery-style crumb. I love vanilla bean paste in the batter because those tiny specks add real depth and look beautiful when you bite into the cake around the filling. For fillings, think about texture as much as flavor: smooth lemon curd, seedless raspberry jam, silky chocolate ganache, or a fluffy cream cheese filling all work differently in the center. If you plan a big party tray, keep fillings similar in consistency so the cupcakes bake and store evenly, even if you change up flavors and toppings.
For party variations, start with your vanilla base and build a filled cupcake “bar.” Make 2–3 fillings—maybe salted caramel, Nutella, and strawberry jam—then let guests choose their center and a frosting from a few options. Mini filled cupcakes are perfect for potlucks or kids’ birthdays: bake the same batter in mini liners, shorten the bake time, and use a smaller piping tip or skewer to poke a tiny tunnel for the filling. For a seasonal spread, you can do fall-spiced cupcakes with apple pie filling, hot cocoa cupcakes with marshmallow cream, or even cookies-and-cream cupcakes with crushed sandwich cookies folded into the frosting. If you’re hosting a more elegant gathering, keep it simple and coordinated: one chocolate hazelnut filled cupcake, one lemon curd filled cupcake, and one berry-and-cream option look gorgeous together on a tiered stand and feel thoughtfully planned without making you bake all day.
Serving of Filled Cupcake
Conclusion
If you’ve made it this far, I hope you’re feeling inspired, maybe a little hungry, and definitely ready to preheat your oven. There’s just something magical about biting into a cupcake and discovering that surprise center – it turns an everyday dessert into a little celebration. Whether you’re baking for a birthday, a cozy movie night, or just because the week’s been “a lot,” a good filled cupcake has a way of making ordinary moments feel special.
These are the kinds of treats that bring people closer: kids peeking over the counter to see what’s inside, friends guessing the flavor before that first bite, partners sneaking one off the cooling rack when they think you’re not looking. Baking like this isn’t just about the final dessert; it’s about the laughter, the taste-tests, the “wow, you made these?” reactions that stay with you long after the last crumb disappears.
So pick a flavor (or three), tie on your apron, and try one from this list. For more delicious recipes like this, follow us on social media!
What makes a filled cupcake different from a regular cupcake?
A filled cupcake starts with a classic, fluffy base, but the magic happens in the center. Instead of just crumb and frosting, you get a hidden pocket of jam, cream, ganache, or curd that adds extra flavor and moisture. You usually bake the cupcakes plain, let them cool completely, then remove a small core and pipe or spoon in the filling. This keeps the structure of the cupcake intact while still giving you that surprise center. Think of it as a cupcake and a mini dessert cup in one bite.
How do I neatly fill cupcakes without them overflowing or falling apart?
Let the cupcakes cool all the way—if they’re even slightly warm, they’ll tear more easily. Use a small knife, apple corer, or cupcake corer to remove a shallow plug about two-thirds of the way down, leaving a base at the bottom. Transfer your filling to a piping bag or a zip-top bag with a small corner snipped. Pipe slowly until the cavity is just full, not mounded, so it doesn’t push out when you frost. If the hole feels too big, trim the removed plug and gently press a “cap” back on top before frosting.
How should I store filled cupcakes so they stay fresh and safe?
Storage depends on the filling: jam and chocolate-based fillings can usually sit at room temperature for up to 2 days in an airtight container. If you use anything dairy-heavy or eggy like pastry cream, whipped cream, or mousse, keep the filled cupcake in the fridge. For chilled cupcakes, let them sit at room temperature for about 30–45 minutes before serving so the crumb softens and flavors bloom. You can also bake the cupcakes a day ahead, store them unfrosted and unfilled, then fill and decorate the day you plan to serve.
Recipe
Raspberry Jam Filled Vanilla Cupcakes with White Chocolate Buttercream
Ingredients
Ingredients
- 1 1/2 cups all-purpose flour
- 1 1/2 teaspoons baking powder
- 1/4 teaspoon salt
- 1/2 cup unsalted butter softened
- 1 cup granulated sugar
- 2 large eggs at room temperature
- 1 teaspoon vanilla bean paste
- 1/2 cup whole milk at room temperature
- 1/2 cup raspberry jam
- 4 ounces white chocolate chopped
- 1/2 cup unsalted butter softened (for frosting)
- 2 cups powdered sugar
- 2 tablespoons heavy cream
- 1 teaspoon vanilla bean paste
- 1/8 teaspoon salt
- Fresh raspberries or white chocolate shavings for garnish
Instructions
- Preheat the oven to 350°F and line a 12-cup muffin tin with paper cupcake liners.
- In a medium bowl, whisk together the flour, baking powder, and salt until well combined.
- In a large bowl, beat 1/2 cup softened butter and granulated sugar with a mixer on medium speed until light and fluffy, about 2 to 3 minutes.
- Add the eggs one at a time, beating well after each addition, then mix in the vanilla bean paste.
- With the mixer on low speed, add the dry ingredients in three additions, alternating with the milk, beginning and ending with the dry ingredients, mixing just until the batter is smooth.
- Divide the batter evenly among the 12 liners, filling each about 2/3 full.
- Bake for 18 to 20 minutes, until a toothpick inserted in the center comes out clean or with a few moist crumbs.
- Let the cupcakes cool in the pan for 5 minutes, then transfer them to a wire rack to cool completely.
- While the cupcakes cool, place the raspberry jam in a piping bag or small zip-top bag and set aside.
- Melt the white chocolate in a heatproof bowl set over a pan of barely simmering water, stirring until smooth, then remove from heat and let cool to room temperature.
- In a large bowl, beat 1/2 cup softened butter for the frosting until creamy, about 1 minute.
- Gradually add the powdered sugar, mixing on low speed until incorporated, then increase to medium and beat until fluffy.
- Add the cooled melted white chocolate, heavy cream, vanilla bean paste, and salt, and beat until the frosting is smooth and light.
- Once the cupcakes are completely cool, use a small knife or cupcake corer to cut a small cylinder out of the center of each cupcake, going about two-thirds of the way down.
- Pipe or spoon raspberry jam into the center of each cupcake cavity until filled, then gently press a small piece of the removed cake back on top if desired.
- Transfer the white chocolate buttercream to a piping bag fitted with a star tip or round tip and pipe swirls of frosting onto each filled cupcake.
- Garnish the tops with fresh raspberries or white chocolate shavings.
- Store the cupcakes in an airtight container at room temperature for up to 2 days or refrigerate for up to 1 week. Bring to room temperature before serving.
Notes
- If the frosting seems too thick, add a small splash of cream; if it is too thin, beat in a little more powdered sugar until it holds peaks.