The Memory Behind This Treat
The very first batch of these Dog Cupcakes happened on my dog Milo’s “gotcha day.” I remember standing in my kitchen with a bowl of whole wheat flour and rolled oats, thinking, “You deserve more than a store-bought biscuit today, buddy.” I wanted something I could actually feel good about feeding him, so I reached for peanut butter, a spoonful of honey, and a big scoop of plain yogurt from the fridge. While the cupcakes baked, the whole kitchen smelled like warm peanut butter bread, and Milo parked himself in front of the oven like he fully understood it was all just for him.
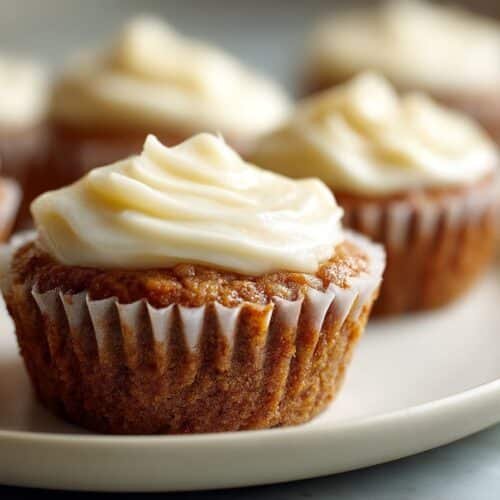
When I pulled the pan out, those golden little cupcakes looked just like the ones I make for humans, only simpler and more wholesome. I let them cool on the counter and Milo kept pacing, nose in overdrive, each sniff a little more dramatic than the last. The first time I set one down for him, he gave it a cautious sniff, took one polite bite, then inhaled the rest like a vacuum. That was my sign: these weren’t just cute—they were keepers. Since then, these Dog Cupcakes have come out for doggy birthdays, new puppy celebrations, and even just “you were extra good today” moments, every time reminding me how baking can show love in the simplest, most tangible way.
Over the years, I’ve tinkered with them the same way I tweak my human desserts, making sure the batter is just moist enough, and the cupcakes bake up tender rather than dry. These days, if I reach for the muffin tin and the peanut butter, Milo starts doing his happy spin in the middle of the kitchen. And honestly, that’s why I keep coming back to this recipe: it turns basic pantry staples into a tradition, a little ritual that says, “You’re family,” in the most delicious, tail-wagging way.
How To Make It (Mix & Ingredients)
To make these Classic Oven-Baked Dog Cupcakes, you’ll start by building a solid, wholesome base. In a large bowl, whisk together whole wheat flour, rolled oats, baking powder, and baking soda until everything looks evenly speckled with oats. This step prevents clumps and helps the dog cupcakes bake up with a consistent texture instead of random flour pockets. If you’ve ever made muffins or banana bread, you’re following the same idea: keep the dry ingredients light and well mixed so the batter stays tender, not dense and gluey.
Instructions Process of Dog Cupcakes
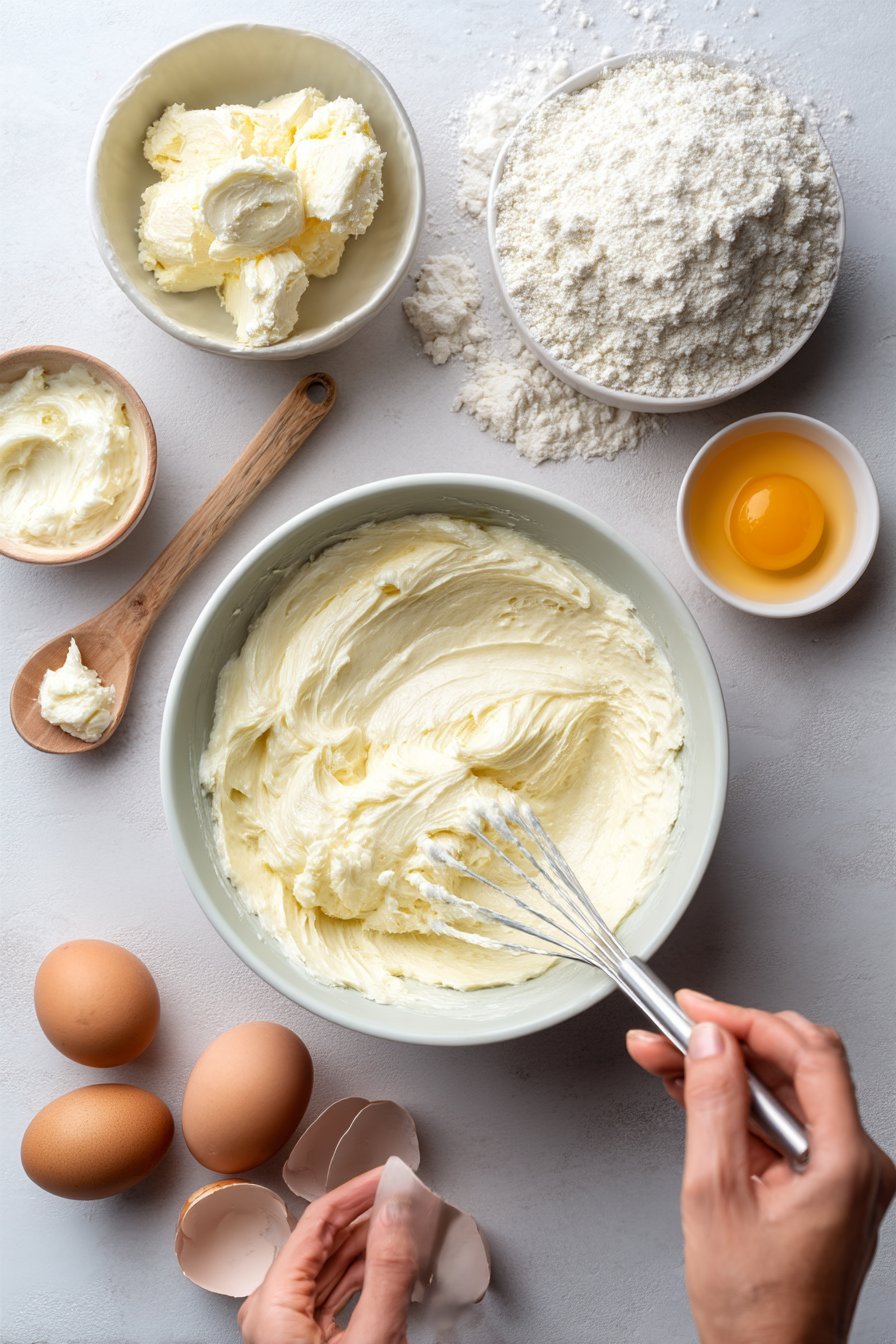
In a separate bowl, whisk the egg, plain yogurt, peanut butter, and honey until smooth and creamy. It will look a bit like a loose peanut butter yogurt—this is what makes the dog cupcakes moist and flavorful without needing sugar or butter. Pour the wet mixture into the dry ingredients and stir gently with a spatula or wooden spoon. You’re aiming for a thick muffin-style batter, not runny cake batter. Slowly add the water, a little at a time, until the batter loosens enough to drop off the spoon but still holds its shape. If it looks like cookie dough, add a splash more water; if it’s soupy, sprinkle in a teaspoon or 2 of flour to bring it back.Once your batter looks right, spoon it into a lined muffin tin, filling each cup about three-quarters full to give them room to rise. If you’re baking for a smaller dog, you can use a mini muffin pan and reduce the bake time slightly—start checking at the 15-minute mark. When they’re done, the tops should feel springy and a toothpick should come out clean or with just a crumb or two. Let the cupcakes cool completely on the counter before you add any dog-friendly yogurt “frosting” or serve; warm treats can burn sensitive noses and tongues, no matter how impatient your pup’s tail is.
Make-Ahead & Storage
One of my favorite things about these Dog Cupcakes is how well they behave when you plan ahead. If you’re throwing a little “barkday” party or celebrating Gotcha Day, you can bake the cupcakes 1–2 days in advance. Let them cool completely, then store them in an airtight container at room temperature for up to 24 hours, or in the fridge for 3–4 days. Because they’re made with yogurt and peanut butter, they stay nicely moist, but you’ll want to avoid leaving them out on the counter for more than a day, especially in warm weather. If you add a yogurt-style frosting on top, always refrigerate them once frosted.
For longer storage, these Dog Cupcakes freeze beautifully. Bake as directed, cool fully, then place the plain cupcakes (no frosting) on a baking sheet and freeze until solid. Transfer them to a freezer-safe bag or container, label with the date, and freeze for up to 2–3 months. To serve, thaw a cupcake in the fridge overnight or let it sit on the counter for about 30–45 minutes until soft; most dogs don’t mind them a little chilly. If your pup has a sensitive tummy, start with a half cupcake after freezing and thawing, just to be sure it agrees with them. Always toss any cupcakes that smell off, feel slimy, or show visible mold—your dog deserves only the good stuff.
Best Ingredients & Party Variations
For the very best Dog Cupcakes, start with dog-safe, simple ingredients. Choose natural, unsalted peanut butter with no xylitol (always check that label—xylitol is dangerous for dogs). Plain yogurt should be unsweetened and preferably low-fat; Greek yogurt works well and makes a thicker, fluffier “frosting” if you dollop it on top. Whole wheat flour and rolled oats give these dog cupcakes a gentle, hearty texture and a bit of fiber, but you can swap in oat flour if your pup is wheat-sensitive. If your dog is very sensitive, skip the honey entirely; the recipe still bakes up beautifully without it.
Once you’ve nailed the base recipe, it’s easy to turn these into party-worthy Dog Cupcakes. For birthdays, bake the batter in mini muffin tins for “pupcake bites” and top each with a small swirl of yogurt and a dog biscuit “candle” pressed into the center. You can stir in finely shredded carrot or a spoonful of mashed banana to add color, natural sweetness, and extra nutrients. For a “pup bakery” look, pipe chilled yogurt on top with a star tip, then garnish with crumbled treats or a single blueberry. Hosting a dog playdate? Bake a batch of plain cupcakes, then set up a little “pup frosting bar” with bowls of yogurt, pumpkin puree, and a sprinkle of crushed dog cookies so each pup parent can decorate their own.

Serving of Dog Cupcakes
Conclusion
I hope you’re feeling inspired, maybe a little flour-dusted, and very ready to celebrate your favorite four-legged friend. There’s something so simple and sweet about taking a bit of time to stir, scoop, and bake a small batch of love in cupcake liners. Watching a tail wag in overdrive as you set that little treat on the floor? That’s the kind of everyday magic I never get tired of.
These little bakes have a way of pulling everyone into the kitchen—kids carefully spooning batter, partners “taste-testing” the frosting (you know who you are), and pups pacing excitedly at your feet. It turns an ordinary afternoon into a mini party, and those are the moments that stick: the laughter, the crumbs on the counter, and the shared joy over something as simple as homemade Dog Cupcakes.
I’d love for you to print this recipe, make it your own, and start your own little tradition with it. For more delicious recipes like this, follow us on social media!
Are these dog cupcakes safe for all dogs?
These dog cupcakes use dog-friendly ingredients like whole wheat flour, oats, plain yogurt, and xylitol-free peanut butter, which are safe for most healthy dogs. Still, every pup is different, so you’ll want to check for any known allergies or sensitivities first. If your dog has issues with grains, dairy, or peanuts, talk with your vet before baking a batch. Start by offering a small piece and watching for any upset stomach, itching, or unusual behavior. When in doubt, your veterinarian is always the best guide for treating your specific dog.
Do I have to use whole wheat flour and unsweetened peanut butter?
Whole wheat flour adds extra fiber and nutrients, but you can substitute all-purpose flour if your vet is comfortable with it for your dog. Avoid self-rising flour, which includes added leaveners and salt that can throw off the recipe. For peanut butter, always choose unsweetened and **xylitol-free** varieties, since xylitol is extremely toxic to dogs, even in tiny amounts. Check the ingredient label carefully for sweeteners and additives. If your dog cannot have peanut butter, ask your vet about using pumpkin puree or mashed banana instead.
How should I store and freeze leftover dog cupcakes?
Let the dog cupcakes cool completely before storing them, so condensation does not make them soggy. Keep them in an airtight container in the refrigerator for up to 4–5 days. For longer storage, place them in a single layer on a tray to freeze, then transfer to a freezer bag or container. They usually keep well for about 2 months in the freezer. Thaw in the fridge or at room temperature, and serve at room temperature for the best texture and smell.
Recipe
Dog Cupcakes
Ingredients
Ingredients
- 1 cup whole wheat flour
- 0.5 cup rolled oats
- 1 teaspoon baking powder
- 0.5 teaspoon baking soda
- 1 large egg
- 0.5 cup plain yogurt
- 0.25 cup creamy peanut butter xylitol-free
- 1 tablespoon honey
- 0.5 cup water
Instructions
- Preheat the oven to 350°F. Line a 12-cup muffin tin with paper cupcake liners or lightly grease the cups.
- In a large bowl, whisk together the whole wheat flour, rolled oats, baking powder, and baking soda until evenly combined.
- In a separate medium bowl, whisk the egg, plain yogurt, peanut butter, and honey until the mixture is smooth and creamy.
- Pour the wet mixture into the bowl with the dry ingredients and stir gently until just combined.
- Add the water gradually, stirring, until you have a thick muffin-style batter that drops easily from a spoon.
- Divide the batter evenly among the 12 muffin cups, filling each about three-quarters full.
- Bake for 20–25 minutes, or until the tops are set and a toothpick inserted in the center of a cupcake comes out clean.
- Remove the pan from the oven and let the cupcakes cool in the tin for 5 minutes.
- Transfer the cupcakes to a wire rack and cool completely before serving to your dog.
Notes
- Store cooled cupcakes in an airtight container in the refrigerator for up to 4 days, or freeze for up to 2 months.