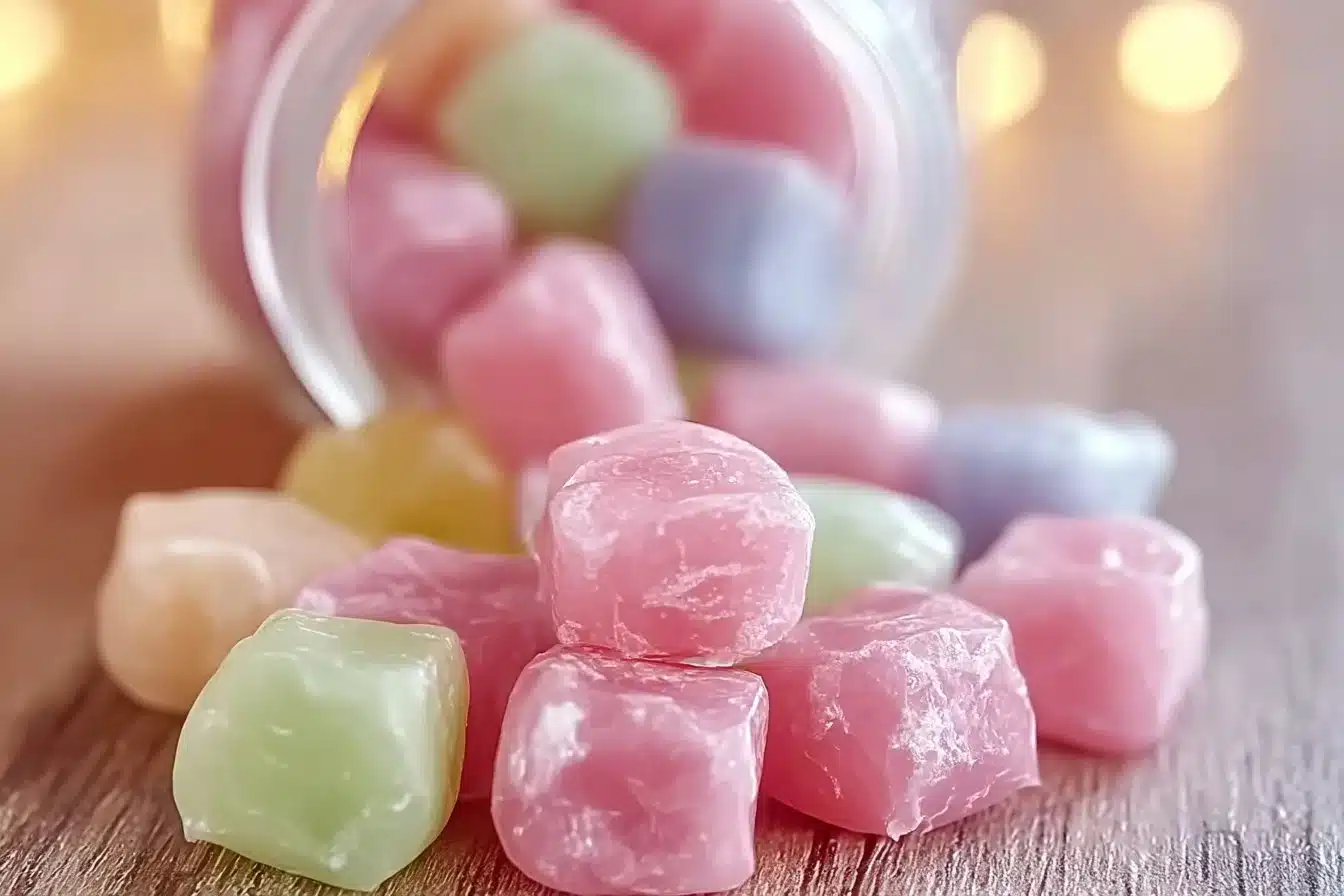
I still remember the first time I stood over a pan of syrupy sugar watching it go glossy and clear — except this time I wasn’t making candy for a cake, I was making bubble gum. It’s a small, satisfying project: a few pantry ingredients, a little heat, and in twenty minutes you can have chewy, brightly flavored gum that pulls glossy strands when you stretch it.
This recipe gives you that classic long chew and a soft, satiny surface rather than a grainy crunch. The corn syrup keeps the texture smooth and pliable, the tiny scoop of bubble gum base gives elasticity, and a teaspoon of flavoring drops turns the whole batch into unmistakable bubble-gum-sweet nostalgia — perfect for a rainy afternoon or a playful addition to a homemade candy tray. If you like playful candy projects, this bubble gum is a natural companion to the whimsical treats in my Bubblegum Cloud Slice roundup.
Why You’ll Love This Recipe
- Simple ingredient list: just sugar, corn syrup and a little bubble gum base—no tempering, no candy thermometer required.
- Chewy, elastic texture: the bubble gum base delivers genuine stretch so pieces hold bubbles without tearing.
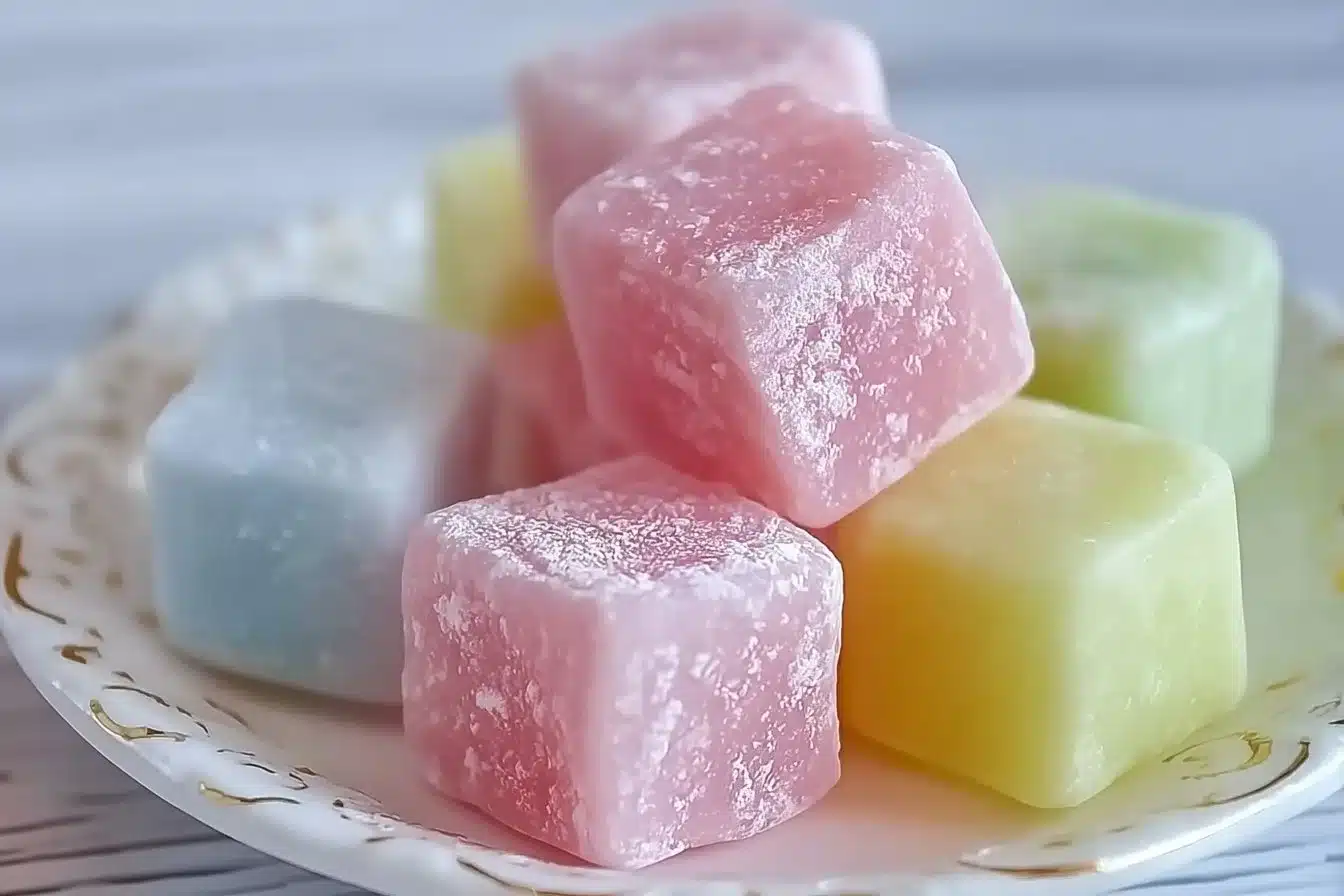
- Customizable flavor and color: one teaspoon of flavoring drops is all you need to make a bright, recognizable bubble-gum taste; food coloring lets you match the look.
- Fast payoff: about 20–30 minutes from start to finish, with most of the time spent cooling and pulling.
- Kid-friendly assembly: kids can pinch bite-size pieces once the mixture is cool enough to handle (supervised when warm).
The Story Behind This Recipe
I developed this small-batch gum because I wanted something hands-on and immediate—no mysterious powders or special equipment, just a clear recipe that yields soft, stretchable gum you can shape and share.
What It Tastes Like
This gum is sweet but not cloying — the sugar and corn syrup give a clean, rounded sweetness while the flavoring drops provide the classic bubble-gum top note. Aroma is sugary and slightly medicinal in that familiar old-fashioned candy way. The chew is soft at first, then opens into a resilient, elastic texture that pulls into shiny ribbons when you stretch it.
Ingredients You’ll Need
The two most important ingredients are the corn syrup and the bubble gum base. Corn syrup keeps the gum syrupy and prevents crystallization so you end up with a smooth, pliable bite rather than a grainy one. The bubble gum base is what creates bounce and elasticity; don’t skimp on it. Flavoring drops concentrate the classic bubble-gum note, and a few drops of gel food coloring will give that cheerful pink sheen if you want it.
- 1 cup Sugar
- 1/2 cup Corn Syrup
- 2 tablespoons Bubble Gum Base
- 1 teaspoon Flavoring Drops
- optional Food Coloring
How to Make Delightful Homemade Bubble Gum Recipe for Fun Family Time
-
Prep your workspace and tools. Wipe your counter clean and lay out a small saucepan, a heatproof spoon or spatula, a heatproof bowl (for occasional warming if needed), and a shallow tray lined with parchment paper for pouring the gum. Having everything ready saves you from rushing once the sugar is warm.
-
Combine sugar and corn syrup in the saucepan and warm gently. Place the sugar and corn syrup over low heat and stir constantly. Look for the sugar crystals to dissolve into a clear, glossy syrup — the texture should be smooth and pourable, not bubbling rapidly. Keep the heat low; you want the dissolve without a hard boil.
-
Remove from heat and add the bubble gum base. Take the pan off the burner and stir in the 2 tablespoons of bubble gum base. The base will soften and melt into the warm syrup; keep stirring until the mixture looks uniform and slightly thicker. If the gum base stays too stiff, warm it in short 5–10 second bursts (off heat) until it blends — avoid prolonged heating.
-
Stir in flavor and color. Add the 1 teaspoon of flavoring drops and any optional food coloring. Mix until the color is even and the aroma of the flavoring is noticeable when you lift the spoon. The mixture should be glossy and vividly colored if you used dye.
-
Pour onto parchment and cool just until touchable. Transfer the warm gum mass onto the prepared parchment. Let it sit until it has cooled enough to touch comfortably but is still soft and pliable — typically a few minutes. The surface will still be glossy but less sloshy.
-
Knead briefly to smooth. With clean hands or a small spatula, knead the mass lightly to smooth out streaks and air pockets. You want a uniform, satiny surface and a single, cohesive piece that’s easy to work with.
-
Pull and fold until elastic and no longer sticky. Stretch, fold, and press the gum repeatedly; this develops the chew and elasticity. When the gum feels springy, stretches into thin ribbons, and is tack-free to the touch, it’s done. If it is still sticky, dust your hands and the gum very lightly with powdered sugar — a little goes a long way.
-
Portion and finish cooling. Pinch off or cut bite-size pieces and place them on the tray to finish cooling and setting. The pieces should hold their shape and have a satiny, slightly matte surface once cooled.
Tips for Best Results
- Dissolve fully: keep stirring while heating the sugar and corn syrup until the mixture is clear and smooth — undissolved sugar will leave a gritty texture in the finished gum.
- Low and slow heat: overheating can make the gum base seize; always keep the pan off high heat and use short warming bursts if needed.
- Watch the feel, not a thermometer: the right moment to remove from heat is when the syrup is glossy and pourable — it’s safer to rely on visual and tactile cues than precise temperatures here.
- Pulling matters: the repetitive stretch-and-fold step is what builds chew. If you skip it, the gum will be soft but won’t hold bubbles well.
- Keep dusting minimal: powdered sugar helps with tackiness, but too much will dry the gum and make the surface powdery — use just enough to prevent sticking.
Variations and Substitutions
- Flavor swaps: you can use other candy or fruit flavor drops, but expect a different character; the classic bubble-gum flavor is concentrated and works best for the expected taste.
- Color choices: gel food coloring gives a brighter, more saturated pink without thinning the gum; liquid food coloring can be used but may slightly affect consistency.
- Texture note: reducing the bubble gum base will give a softer chew but less elasticity; increasing it makes a firmer, longer-lasting chew.
How to Serve It
Serve the gum on a small candy tray or in little paper candy cups so each piece is easy to grab. It’s a fun addition to themed parties, candy boards, or a playful finish after a meal — pair with simple buttery cookies or vanilla ice cream for contrast in texture and flavor.
How to Store It
Store finished pieces in an airtight container at room temperature, separated by parchment to prevent sticking. Avoid the refrigerator, which can make the gum firmer and less pleasant to chew. Make-ahead: this keeps well for about 1–2 weeks if kept dry and cool. If pieces begin to feel tacky, a light dusting of powdered sugar on your hands will refresh them.
Final Thoughts
This small-batch gum is an easy, hands-on project that rewards you with genuine chew and a bright, nostalgic flavor. It’s forgiving, quick, and delightful to share — give it a try the next time you want a crafty candy afternoon.
Conclusion
If you want a fruity, retro-inspired candy to accompany this gum, try the playful ideas from My Favorite Pink Bubblegum Salad: A Nostalgic Fruit Candy Treat! For a scoop of something creamy alongside your chew, see the tips for homemade ice cream at Young’s Homemade Ice Cream. If you’re also experimenting with bubbles and outdoor play after making gum, this DIY Long-Lasting Bubble Solution has simple, practical guidance.