What Makes This Recipe Reliable
I build this Death by Chocolate Cake the same way I would for a bakery prep list, with clear ratios and repeatable steps. The batter uses equal parts flour and sugar, a generous but controlled amount of cocoa, and both baking soda and baking powder for a high, even rise. Hot coffee blooms the cocoa and thins the batter so it spreads in the pan without tunneling or dry pockets. Buttermilk and oil work together, so you get a tender crumb from the acid and deep moisture from the fat, even if you slightly overbake it. If you have baked my chocolate sheet cake or classic chocolate cupcakes, you will recognize this reliable, forgiving structure.
This Death by Chocolate Cake also keeps the ganache frosting simple and stable. I stick to a classic ratio of finely chopped semisweet chocolate to hot heavy cream, which melts smoothly without seizing and sets to a sliceable, glossy finish. You do not need special equipment, just a whisk, a heatproof bowl, and a little patience while the ganache cools to spreading texture. I test for doneness by sight and touch, not just time, so you will know what to look for, from slightly pulling cake edges to a springy center. Every step is there to remove guesswork, so you can bake this bakery style cake on a busy weeknight and trust it will come out with tall layers, deep chocolate flavor, and a clean cut every time.
The Method (Step by Step)
Start by prepping your pans so your Death by Chocolate Cake releases cleanly. Grease two 20 centimeter round cake pans, line the bottoms with parchment, then grease and lightly flour the parchment too. In a large bowl, whisk together the flour, granulated sugar, cocoa powder, baking soda, baking powder, and salt until you see no streaks of cocoa. In a second bowl or large measuring jug, whisk the buttermilk, vegetable oil, eggs, and vanilla bean paste until the mixture looks smooth and slightly thick. Pour the wet ingredients into the dry, whisk just until combined, and scrape the bowl as you go. The batter will be quite thick at this point, which is exactly what you want before adding the hot coffee.
Slowly pour the freshly brewed hot coffee into the batter, whisking gently until it becomes glossy and pourable. It will look a bit thin, but that is the secret to a moist, bakery style Death by Chocolate Cake with a tender crumb. Divide the batter evenly between the prepared pans, tap each pan firmly on the counter a few times to bring any air bubbles to the surface, then bake until the centers spring back lightly and a tester comes out with a few moist crumbs. While the layers cool completely, place the finely chopped semi sweet chocolate in a heatproof bowl. Warm the heavy cream just until it barely simmers around the edges, then pour it over the chocolate, let it sit for 2 to 3 minutes, and stir slowly until you have a smooth, shiny ganache. Let the ganache thicken to a spreadable consistency, then stack and frost the cooled cake layers, using about one third of the ganache between the layers and the rest over the top and sides for that rich, all over chocolate finish.
Keep It Fresh: Timing and Storage
Your Death by Chocolate Cake tastes best once it has fully cooled and the chocolate ganache has set, usually after 1 to 2 hours at room temperature. For the cleanest slices, chill the cake for 30 to 45 minutes before cutting, then let each slice sit out for about 10 minutes so the crumb softens and the chocolate comes back to a silky texture. If you bake the layers ahead, wrap each cooled layer tightly in plastic and keep them at room temperature for up to 1 day, or refrigerate for up to 3 days before frosting. Just bring chilled layers slightly closer to room temperature before stacking and frosting so they do not firm up the ganache on contact.
Once your Death by Chocolate Cake is fully assembled, you can keep it covered at cool room temperature for 1 day, as long as your kitchen stays under about 21 to 22 degrees Celsius and is not humid. For longer storage, cover the cake with an inverted bowl or cake dome, or wrap the whole cake stand in plastic, and refrigerate for up to 5 days. If you plan to serve individual slices over the week, store them in an airtight container with a small piece of parchment between slices so the ganache does not stick. Always let refrigerated cake sit out for 20 to 30 minutes before serving so the frosting softens, the crumb loosens a bit, and the flavors come forward again. For true make ahead prep, you can freeze unfrosted layers for up to 2 months, double wrapped to prevent freezer burn, then thaw in the refrigerator overnight and finish the cake with fresh ganache when you are ready to serve.
Swaps, Variations, and Serving Ideas
If you want to adjust this Death by Chocolate Cake without losing that deep bakery style flavor, start with the cocoa and chocolate. You can swap the unsweetened cocoa for Dutch process cocoa for a slightly darker color and smoother taste, or use a half and half mix if you are unsure. Use any neutral oil you like, such as canola or avocado, and if you are out of buttermilk, mix regular milk with a tablespoon of lemon juice or vinegar and let it sit for 5 minutes. The hot coffee can be decaf or even hot espresso for stronger flavor, or you can use hot water plus a teaspoon of instant coffee if that is what you have on hand. For the ganache, use milk chocolate for a sweeter finish or bittersweet chocolate for a more intense Death by Chocolate Cake that is less sugary.
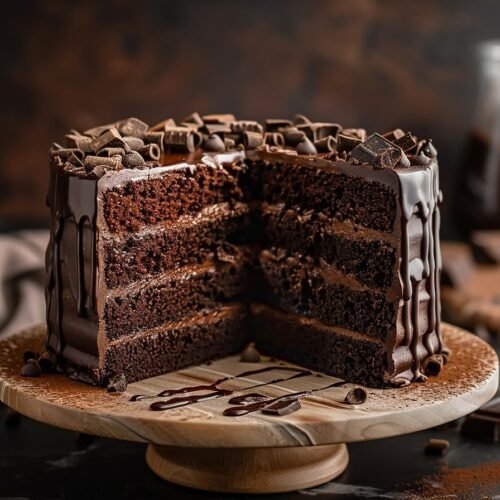
You can easily turn this Death by Chocolate Cake into different shapes and formats. Bake the batter in a 9 by 13 inch pan for a simpler sheet cake, then pour the warm ganache over the top and chill until set. For a celebration, stack it as a 3 layer cake with thinner layers and use extra ganache between each layer, almost like a truffle filling. Add texture with chopped toasted hazelnuts, pecans, or mini chocolate chips pressed into the sides, or swirl a ribbon of salted caramel on top of the ganache before it sets. For serving ideas, pair thin slices with fresh berries, a small scoop of vanilla or coffee ice cream, or a spoonful of lightly sweetened whipped cream to balance the richness and keep each serving of Death by Chocolate Cake from feeling too heavy.
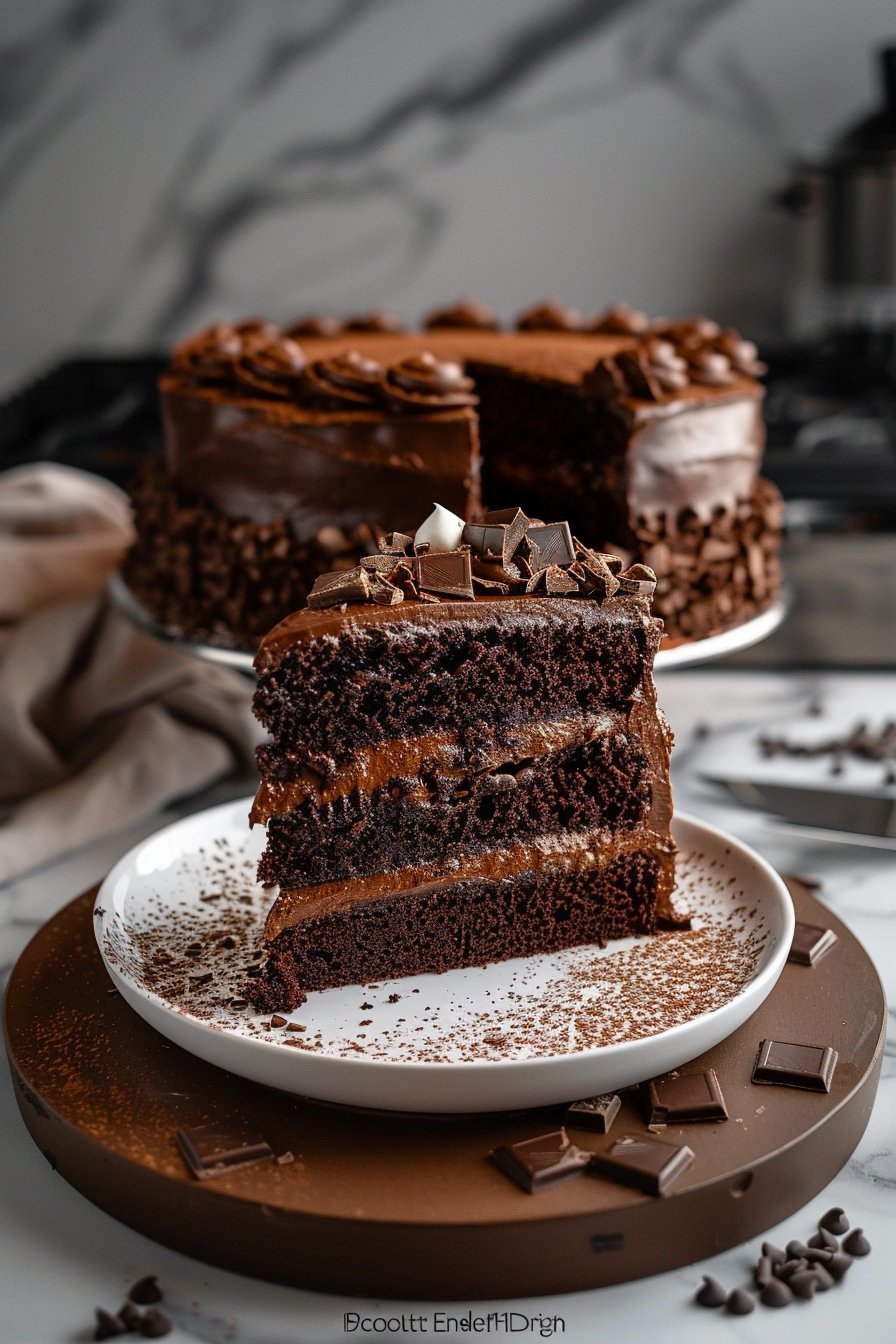
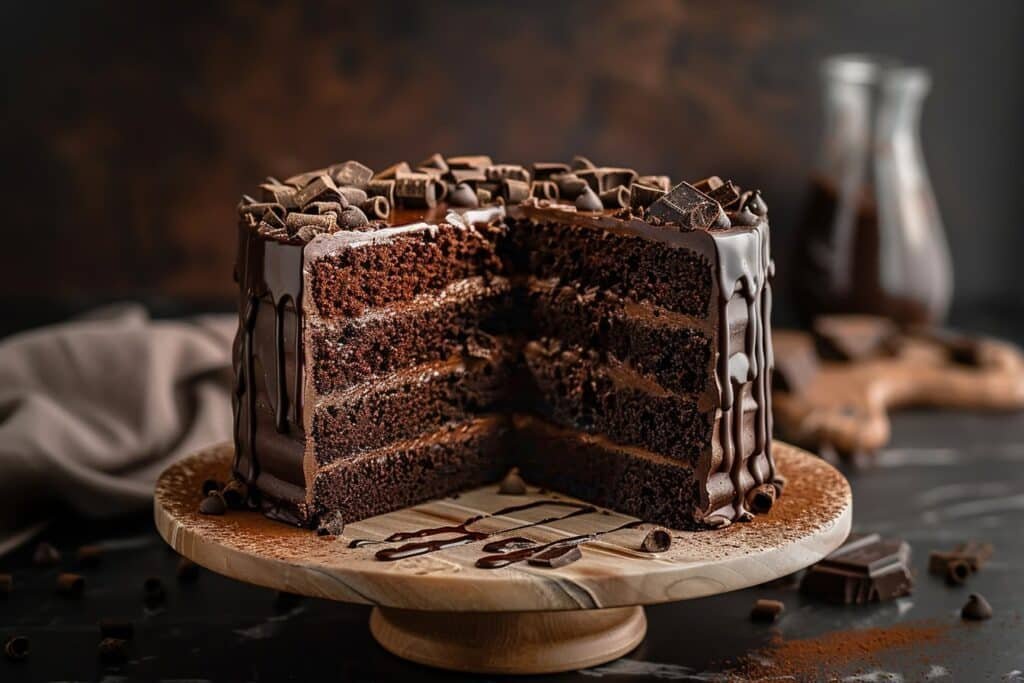
Serving Image of Death by Chocolate Cake
Conclusion
Bringing a cake like this to the table always feels a little bit magical. You see people pause, lean in, and smile before they even take a bite. That is the real joy of baking for me: turning simple ingredients into a shared moment that everyone remembers. Whether you are celebrating a birthday, a promotion, or honestly just making it through a busy week, this rich, multi-layered Death by Chocolate Cake has a way of making the occasion feel special.
I designed this recipe to be achievable for a home kitchen, but impressive enough to rival a bakery case. If you take it one step at a time, you will end up with a tender crumb, silky frosting, and a chocolate finish that looks and tastes like you put in far more effort than you actually did. Do not worry if your layers are not perfect. Once you slice it and pass those plates around, nobody will care. They will just taste the care you put into it.
I hope you save this recipe, make it, and share it with the people you love. For more delicious recipes like this, follow us on Facebook and Pinterest!
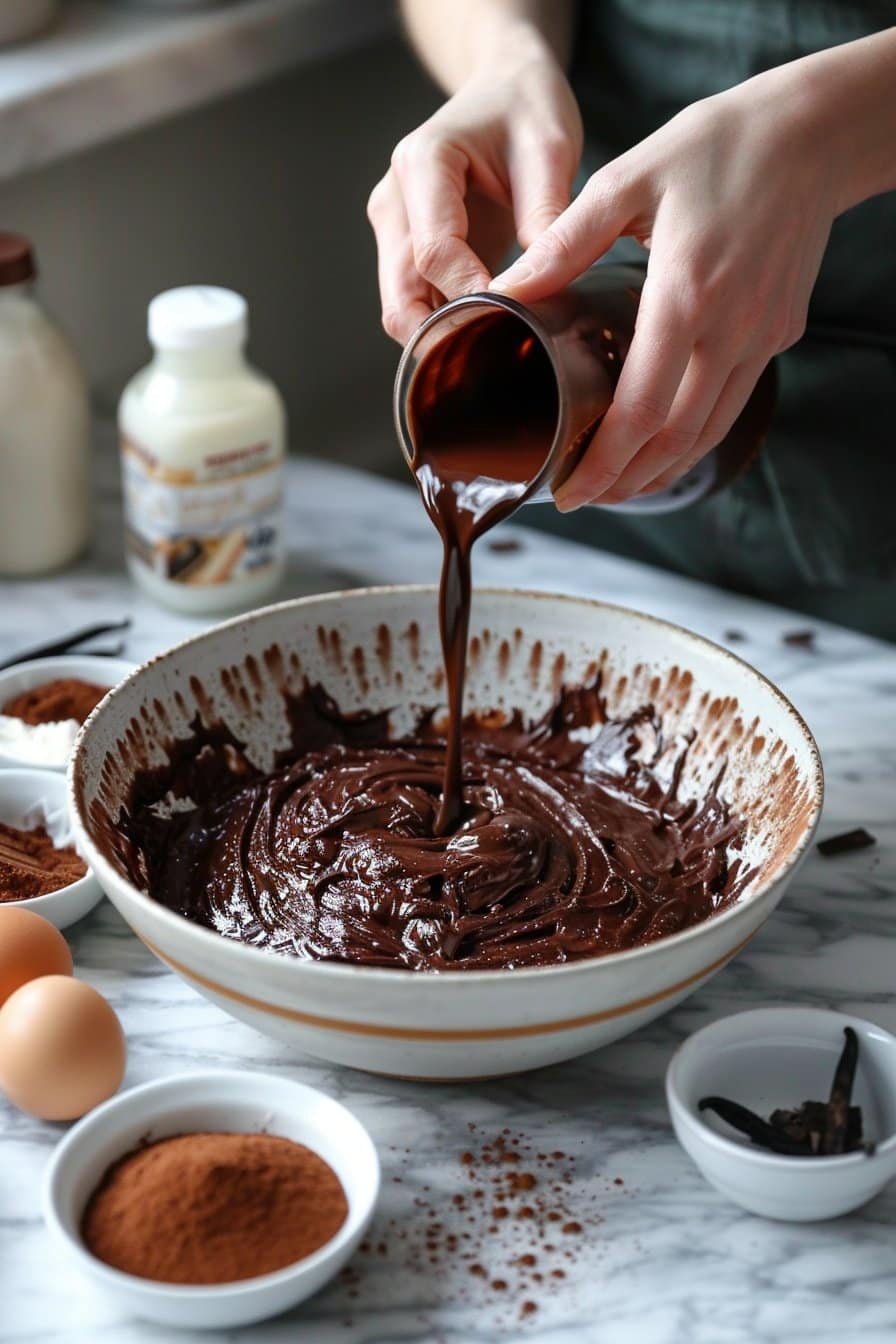
Process Image of Death by Chocolate Cake
Recipe
Death by Chocolate Cake
Ingredients
Ingredients
- 2 cups all-purpose flour
- 2 cups granulated sugar
- 3/4 cup unsweetened cocoa powder
- 2 teaspoons baking soda
- 1 1/2 teaspoons baking powder
- 1 teaspoon salt
- 1 cup buttermilk at room temperature
- 1/2 cup vegetable oil
- 2 large eggs at room temperature
- 1 teaspoon vanilla bean paste
- 1 cup freshly brewed hot coffee
- 12 oz semi-sweet chocolate finely chopped
- 1 1/2 cups heavy cream
Instructions
- Preheat the oven to 350°F. Grease two 8-inch round cake pans, line the bottoms with parchment paper, then grease and lightly flour the parchment and sides.
- In a large bowl, whisk together the flour, granulated sugar, cocoa powder, baking soda, baking powder, and salt until evenly combined and no streaks of cocoa remain.
- In a separate bowl or large measuring jug, whisk the buttermilk, vegetable oil, eggs, and vanilla bean paste until smooth and slightly thick.
- Pour the wet ingredients into the dry ingredients and whisk just until combined, scraping the bowl as needed. The batter will be thick.
- Slowly pour the hot coffee into the batter, whisking gently until the mixture is smooth, glossy, and pourable.
- Divide the batter evenly between the prepared pans and smooth the tops. Tap each pan firmly on the counter several times to release any air bubbles.
- Bake for 30 to 35 minutes, or until the centers spring back when lightly pressed and a tester inserted in the center comes out with a few moist crumbs.
- Transfer the pans to a wire rack and let the cakes cool in the pans for 10 to 15 minutes, then turn them out onto the rack, peel off the parchment, and cool completely.
- While the cakes cool, place the finely chopped semi-sweet chocolate in a heatproof bowl.
- In a small saucepan, heat the heavy cream over medium heat until it just begins to simmer around the edges. Do not let it boil.
- Pour the hot cream over the chocolate, let sit for 2 to 3 minutes, then stir slowly from the center outward until the ganache is smooth and shiny.
- Let the ganache sit at room temperature, stirring occasionally, until it thickens to a spreadable consistency.
- Place one cooled cake layer on a serving plate or stand. Spread about one third of the ganache evenly over the top.
- Top with the second cake layer. Use the remaining ganache to frost the top and sides of the cake until fully covered.
- Let the frosted cake sit at room temperature for 1 to 2 hours, or until the ganache is set enough to slice cleanly.
Notes
- Make sure the cake layers are completely cool before frosting so the ganache does not melt or slide.
- For cleaner slices, chill the frosted cake for 30 to 45 minutes, then let slices sit at room temperature for about 10 minutes before serving.
- You can bake the cake layers 1 day ahead, wrap them tightly in plastic, and store at room temperature before assembling.