Why This One Delivers
This Brownie Cheesecake Birthday Cake gives you bakery style drama with real life effort, which means you can actually pull it off between work, homework, and finding the candles. You build the whole thing in one springform pan, so you get those clean, stacked layers without wrestling separate cake rounds or crumb coats.
The brownie base bakes up dense, fudgy, and sturdy, which keeps every slice standing tall on the plate, no sliding cheesecake or leaning towers. You get that shiny, crackly brownie top on the bottom layer and a creamy, tangy cheesecake on top that slices into neat wedges. I tested every layer in a regular home oven, so you do not need a water bath, a stand mixer with every attachment, or pastry school tricks to make it work. As long as you follow the baking times, chill it fully, and use a hot knife for slicing, your Brownie Cheesecake Birthday Cake will look like it came straight from the bakery case.
I also wanted flavor that feels like a celebration without turning the ingredient list into a science experiment. Real cocoa in the brownie base, plenty of tangy cream cheese in the center, and a smooth chocolate topping give you three distinct chocolate notes that stack instead of blur together. You can play with add ins, like a ribbon of raspberry jam between the brownie and cheesecake, or a handful of sprinkles on top, to make it feel like your own house signature. This Brownie Cheesecake Birthday Cake keeps beautifully in the fridge, so you can bake it the day before and actually enjoy the party instead of guarding the oven. Leftovers taste even better on day two, chilled and dense and just a little dangerous next to a strong cup of coffee, very much like my favorite cold slice of birthday breakfast.
From Prep to Finish
From the moment you whisk the brownie batter to the final swirl of cheesecake, this Brownie Cheesecake Birthday Cake moves in clear, manageable steps. Start by lining your springform pan well and preheating the oven, because the brownie base likes to go into a hot, ready oven for the best shiny top and even bake. Mix your brownie layer until it looks like thick, glossy chocolate lava that slowly ribbons off the whisk. Spread it in a smooth, even layer, right up to the edges, so the cheesecake has a firm, level foundation.
While the brownie bakes and then cools slightly, bring your cream cheese all the way to room temperature. When you press it with a finger, it should give easily and look soft at the edges. That is your cue it will blend into a silky, lump free cheesecake layer. Beat in your sugar until the mixture looks fluffy and lightened in color, then add eggs one at a time until the batter turns smooth and pourable, almost like thick custard. Think of it as building a house for your party: solid brownie base first, velvet cheesecake walls next, and then all the celebratory trim.
Once the brownie base is set at the edges but still feels a little soft in the center, pour on your cheesecake filling and tap the pan gently on the counter to release air bubbles. Bake until the outer edge looks set and matte, and the center still has a soft, wide jiggle when you nudge the pan. It should wobble like set Jell O, not slosh like batter. Cool the Brownie Cheesecake Birthday Cake slowly to avoid cracks: first on the counter until it reaches room temperature, then in the refrigerator. I like to chill it for at least 4 hours, or overnight if I am planning ahead for a birthday, because the texture turns fudgy on the bottom and mousse like on top.
Right before serving, add your finishing touches. You can pipe whipped cream borders, pour on a glossy chocolate drizzle, or scatter colorful sprinkles over the chilled top to make it party ready. If you want extra shine, warm your chocolate topping just until pourable, then let it slowly drip over the edges. By the time you slice through that two tone stack and pull out the first generous wedge, you will have that bakery style reveal. The only hard part will be deciding whether you want a second slice right away or after you finish scooping up the crumbs on your plate.
Timing, Storage, and Make-Ahead
This Brownie Cheesecake Birthday Cake loves a little advance planning, which makes party day feel much calmer. I like to break it into parts. Plan about 30 minutes for mixing and prep, then about 1 hour of bake time between the brownie and cheesecake layers, plus at least 4 hours to cool and chill the cheesecake completely before you decorate. If you can, bake the cake the day before, cool it fully to room temperature, then wrap the pan in plastic and chill overnight. The flavors deepen, the brownie firms up just enough, and the cheesecake sets into that creamy, sliceable texture you see behind bakery glass.
For storage, keep the finished Brownie Cheesecake Birthday Cake covered in the refrigerator. A cake carrier, an inverted large bowl, or a few loose layers of plastic wrap all work. Just avoid pressing anything directly onto whipped cream or soft toppings so they do not smudge. The cake keeps well for about 4 to 5 days in the fridge. For the neatest slices, chill the cake until it feels firm and cold to the touch, then use a long, sharp knife dipped in hot water and dried between cuts. The warm blade glides through the brownie and cheesecake without dragging.
If you like to prep components, you can bake the brownie base ahead, cool it completely, then wrap it tightly in plastic and store at room temperature for up to 1 day before adding the cheesecake layer. That way, on baking day, you only have to mix and bake the cheesecake portion.
To make this birthday cake even more make ahead friendly, you can freeze it. Chill the baked Brownie Cheesecake Birthday Cake until the cheesecake feels firm in the center, then wrap the entire pan or unmolded cake in plastic and a layer of foil. Freeze for up to 1 month. Thaw it overnight in the refrigerator, still wrapped, so condensation forms on the outside, not on the cake. Once thawed, add any fresh toppings, whipped cream swirls, or birthday candles right before serving. If your kitchen tends to run warm, keep the cake chilled until about 20 to 30 minutes before you plan to sing happy birthday. That short rest lets the brownie soften slightly and the cheesecake taste extra silky, while still holding those pretty, clean layers you worked for.
Ingredient Swaps and Serving Options
If you need to lighten things up a bit or work with what is already in your pantry, this Brownie Cheesecake Birthday Cake stays very forgiving.
For the brownie base, you can use melted coconut oil instead of butter for a subtle coconut note, or a light olive oil for a softer, extra fudgy crumb. If someone at your table is gluten sensitive, choose a good 1 to 1 gluten free flour blend and reduce it by about 1 to 2 tablespoons so the brownie layer stays rich and moist, not dry or tough. The batter should still look thick and shiny, not stiff.
For the cheesecake layer, full fat cream cheese gives you that classic bakery flavor and smooth, dense texture. You can swap in a portion of Greek yogurt or mascarpone, up to about one third of the total amount, for a tangier or silkier bite. Make sure any swaps are also at room temperature so the batter blends smoothly. You can also fold in mini chocolate chips, crushed cookies, or a swirl of fruit jam to turn a simple Brownie Cheesecake Birthday Cake into something that feels completely custom. Just keep add ins moderate so the cheesecake still bakes evenly.
For serving, think about who you are celebrating. Keep it simple for weeknights with a light dusting of powdered sugar, a few birthday candles, and a scoop of vanilla ice cream on the side. The warmth of the ice cream against the cold cheesecake is pure magic. If you want more drama, pour a shiny chocolate ganache over the fully chilled cake and let it drip casually over the edges, then add fresh raspberries or rainbow sprinkles right before serving.
For summer birthdays, I love to cut smaller slices and serve them very cold, topped with lightly sweetened whipped cream and fresh berries, like a cousin of my favorite strawberry cheesecake bars. For a crowd of kids, slice the cake into small squares and serve them on cupcake liners or parchment squares so little hands can grab and go without forks or plates. However you dress it up, this Brownie Cheesecake Birthday Cake stays sturdy enough to travel, pretty enough for the center of the table, and flexible enough to match any birthday mood.
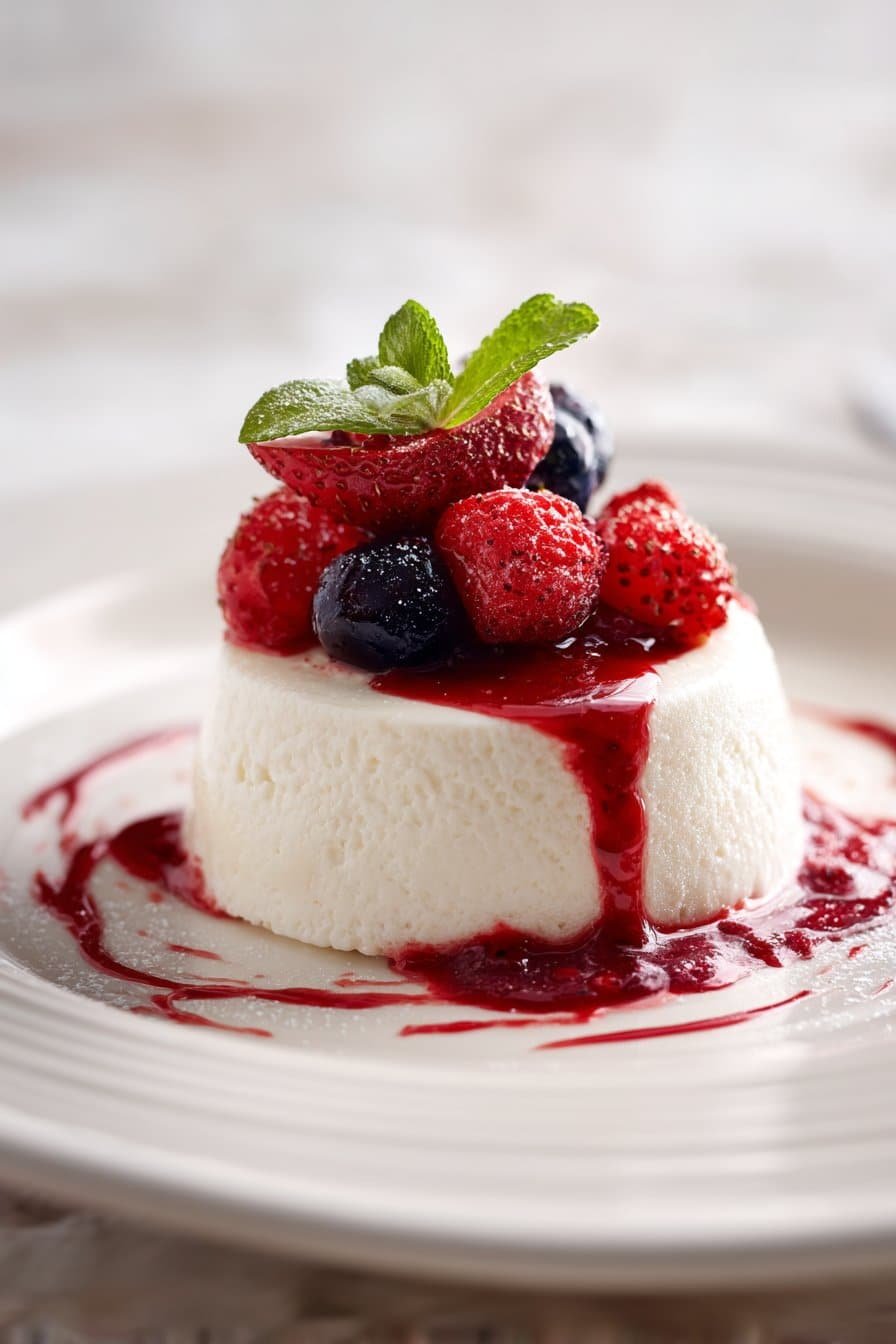
Serving Image of Brownie Cheesecake Birthday Cake
Conclusion
Every time I plate this Brownie Cheesecake Birthday Cake, I think less about the perfect slices and more about the smiles around the table. It is the kind of dessert that makes people lean in, pass plates, and pause for a moment before that first forkful. The fudgy brownie base, creamy cheesecake, and festive finish feel like a little celebration of all the cozy, messy, beautiful moments that happen in a home kitchen.
I hope you feel excited, not intimidated, to try this. You do not need bakery training, just a bit of patience, some good chocolate, and the willingness to make something special for the people you love. Light a candle, sing loudly, snap a photo of the first cut, and let this cake become one of those recipes your friends and family ask for year after year.
If you bake it, I would love to hear how it turned out and who you shared it with. For more cozy dessert ideas and step by step recipes, follow along with Taste to Rate for more recipes and sweet inspiration.

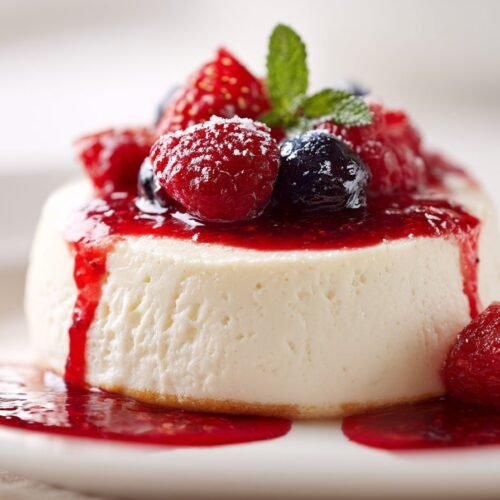
Process Image of Brownie Cheesecake Birthday Cake
Recipe
Brownie Cheesecake Birthday Cake
Ingredients
Ingredients
- 8 tablespoons unsalted butter melted and slightly cooled
- 1 cup granulated sugar
- 2 large eggs room temperature
- 2 teaspoons vanilla bean paste divided
- 1/3 cup unsweetened cocoa powder
- 1/2 cup all purpose flour
- 1/4 teaspoon baking powder
- 1/4 teaspoon fine sea salt divided
- 24 ounces cream cheese softened
- 3/4 cup granulated sugar
- 3 large eggs room temperature
- 1/2 cup sour cream room temperature
- 1/3 cup heavy cream
- 1 cup semisweet chocolate chips
- 1/2 cup heavy cream hot
- 2 tablespoons rainbow sprinkles for garnish
- Nonstick spray for pan
- Parchment paper for pan
Instructions
- Preheat the oven to 350°F. Spray a 9 inch springform pan with nonstick spray, line the bottom with a round of parchment, and wrap the outside of the pan in a double layer of aluminum foil to catch any drips.
- In a medium bowl whisk together the melted butter and 1 cup granulated sugar until glossy and well combined.
- Whisk in 2 eggs, one at a time, then add 1 teaspoon vanilla bean paste and mix until the mixture looks thick and shiny.
- Sift in the cocoa powder, flour, baking powder, and 1/8 teaspoon salt, then whisk just until a thick, smooth brownie batter forms.
- Scrape the brownie batter into the prepared springform pan and smooth it into an even layer, spreading all the way to the edges.
- Bake the brownie base for 18 to 20 minutes, until the edges are set and the center looks slightly puffed and shiny but still soft.
- Remove the pan from the oven and let the brownie cool in the pan on a wire rack for 10 to 15 minutes while you prepare the cheesecake filling. Reduce the oven temperature to 325°F.
- In a large bowl beat the softened cream cheese with a hand mixer or stand mixer on medium speed until completely smooth and creamy, about 2 minutes, scraping the bowl as needed.
- Add 3/4 cup granulated sugar and beat until the mixture looks lightened and fluffy, about 1 to 2 minutes.
- Beat in 3 eggs, one at a time, on low speed, mixing just until each egg is incorporated before adding the next.
- Add the sour cream, 1/3 cup heavy cream, remaining 1 teaspoon vanilla bean paste, and remaining 1/8 teaspoon salt, then mix on low speed until the batter is smooth and pourable with no visible lumps.
- Tap the bowl gently on the counter a few times to release excess air bubbles, then pour the cheesecake filling over the slightly cooled brownie layer in the springform pan.
- Smooth the top of the cheesecake with an offset spatula and tap the pan firmly on the counter 3 to 4 times to bring more air bubbles to the surface.
- Place the springform pan on a rimmed baking sheet and bake at 325°F for 45 to 50 minutes, until the outer 2 inches look set and matte and the center jiggles in a wide, soft wobble when you gently shake the pan.
- Turn off the oven, crack the oven door several inches, and let the cheesecake cool inside the oven for 30 minutes to help prevent cracks.
- Remove the pan from the oven and transfer it to a wire rack; cool the cheesecake to room temperature, about 1 1/2 to 2 hours.
- Once the cheesecake reaches room temperature, cover the pan loosely with plastic wrap and refrigerate for at least 4 hours, or until thoroughly chilled and set.
- For the chocolate ganache, place the chocolate chips in a heatproof bowl. Pour the 1/2 cup hot heavy cream over the chocolate, let sit for 2 minutes, then whisk until smooth and glossy.
- Let the ganache cool until thickened but still pourable, about 10 to 15 minutes at room temperature, stirring occasionally.
- Remove the chilled cheesecake from the refrigerator, run a thin knife around the edge, then release and remove the sides of the springform pan.
- Pour the cooled ganache over the top of the cheesecake, spreading gently with an offset spatula and allowing a few drips to run over the edges for a bakery style look.
- Immediately scatter rainbow sprinkles over the ganache for a birthday cake finish, then return the cake to the refrigerator for 20 to 30 minutes to let the ganache firm slightly.
- When ready to serve, slice the Brownie Cheesecake Birthday Cake with a large, sharp knife dipped in hot water and wiped dry between cuts for the cleanest slices.
- Store any leftover cake covered in the refrigerator for up to 4 days.
Notes
- Do not overbake the cheesecake; a soft jiggle in the center means it will finish setting as it cools and stay creamy.
- For even cleaner layers, chill the brownie base for 15 minutes in the refrigerator before pouring the cheesecake batter over it.
- You can make the full Brownie Cheesecake Birthday Cake a day ahead and chill overnight for easier slicing and deeper flavor.