If you’ve ever tried to make black icing and ended up with murky grey sludge or bitter-tasting frosting, you’re not alone. Black icing is a game-changer for cookies, cakes, and show-stopping Halloween bakes, but getting it right takes more than dumping in a bottle of food coloring.
In this guide, we’ll walk through how to make truly rich, jet-black icing without the weird aftertaste—and why it’s worth mastering. Whether you’re decorating spooky cupcakes or elegant gothic wedding cakes, this post will cover everything from base recipes to storage tips. Let’s turn your next bake into a masterpiece.
A Halloween Party That Changed My Frosting Game
I’ll never forget the year I hosted a Halloween get-together in my tiny Brooklyn apartment. I’d spent hours baking sugar cookies shaped like bats, pumpkins, and little ghosties. My goal? Dramatic, deep black icing to make those shapes pop. But what did I end up with? A dull gray mess that stained everything it touched—and tasted like chemicals. That flop haunted me.
Fast forward a few years (and plenty of trial and error), and now I’ve nailed the formula. Whether it’s velvety buttercream or snappy royal icing, black icing is now one of my secret weapons. It’s not just for Halloween either—think chic birthday cakes, moody floral cupcakes, or anything that needs a modern twist.
At Taste to Rate, I’ve tested dozens of versions. This one? It’s the easiest, boldest, and most delicious of them all. And yes, it actually tastes like frosting, not food dye.
Why Black Icing Is More Than Just Food Coloring
Here’s the thing: black icing isn’t just colored frosting—it’s a vibe. It’s what makes elegant monochrome cakes or playful themed desserts stand out. But it takes balance: too much dye ruins the flavor, while too little leaves you with grey.
That’s why the right base recipe and coloring technique matter. You’ll need a deep cocoa base, patience, and a touch of chemistry (don’t worry—it’s simpler than it sounds). We’ll also talk about what brands to trust (spoiler: skip liquid colors), how to let it deepen overnight, and when to frost for max vibrancy.
For more decorating ideas using bold colors, check out my favorite cake styling tips and cookie decorating guides.
How to Make Black Icing the Right Way
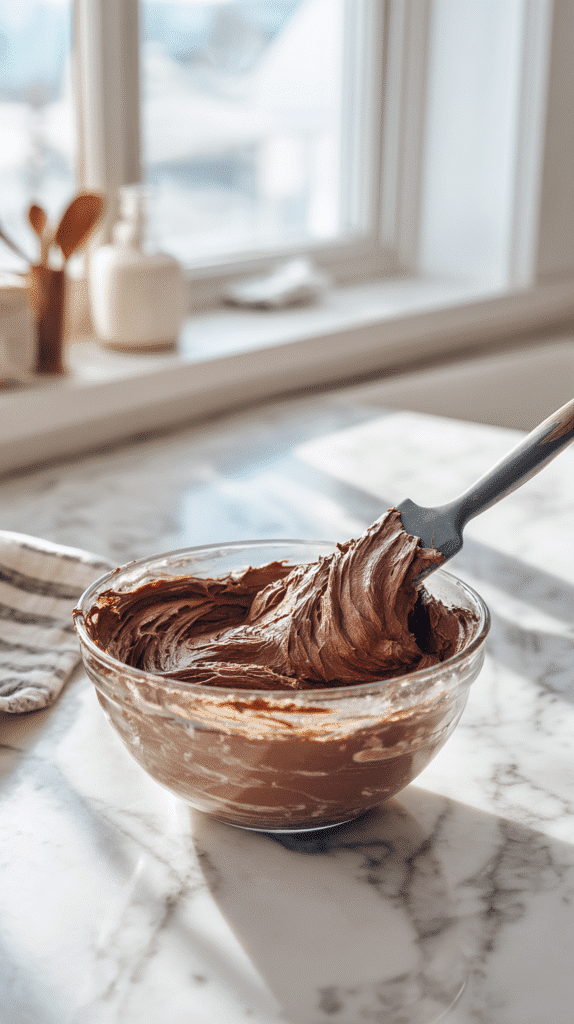
Getting black icing right starts with what’s underneath the color. A lot of beginner bakers try adding black food coloring straight into plain white buttercream and wonder why it turns out grey or bitter. The trick? Use a naturally dark base. Chocolate buttercream is ideal. It gives you a head start with color and depth while adding richness that masks any food dye aftertaste.
For a smooth texture and bold flavor, start with American-style chocolate buttercream. Cocoa powder already pushes the base to a deep brown, so you don’t need nearly as much black food gel. This also means the color has fewer chances to affect the taste. Want a dairy-free version? Use a shortening-based frosting instead. It holds color well and is great for warmer environments.
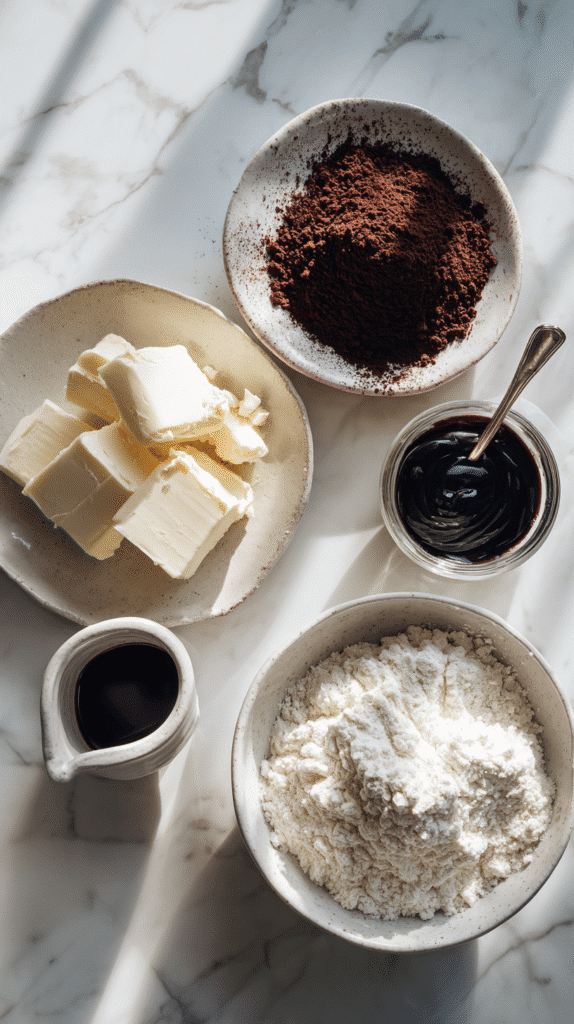
Let’s talk coloring. Gel food colors are far superior to liquid ones. They’re more concentrated, require less product, and don’t water down your icing. Brands like Americolor and Chefmaster offer intense black gels that work quickly. To build a richer shade, add the black coloring gradually and let it sit — yes, time is your friend here. Black deepens as it rests. Make your icing a few hours in advance or the night before for the boldest result.
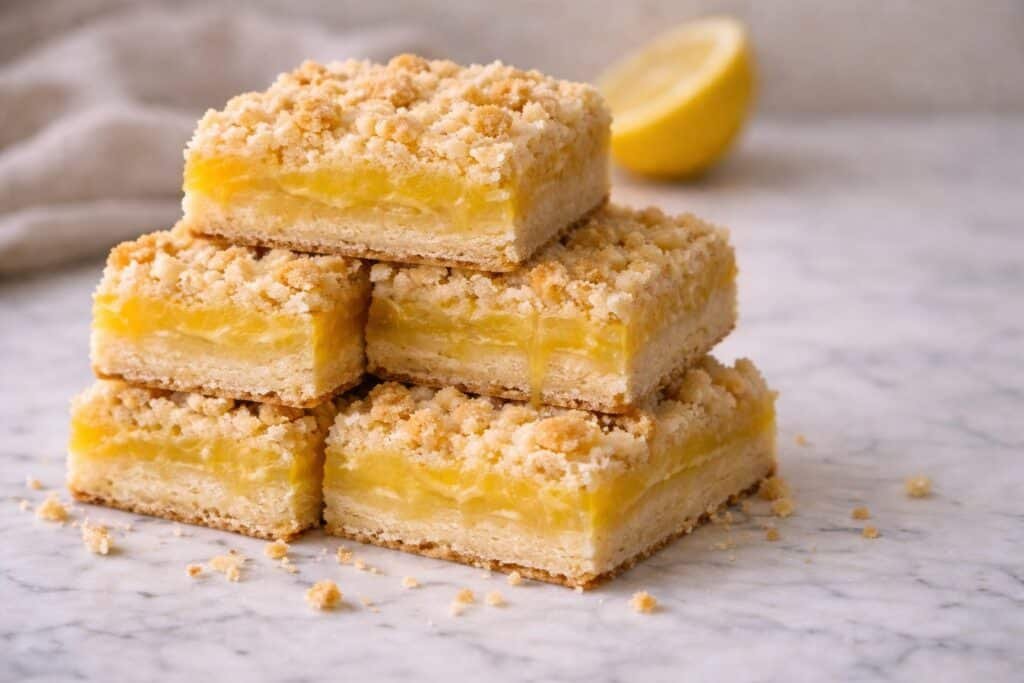
Want a natural alternative? Try activated charcoal or black cocoa powder. They won’t give you jet-black results instantly, but they’re great for a smokier tone — especially when you’re aiming for something like these Wicked Witch Fudge squares or Halloween Spooky Black Lemonade, where flavor and vibe matter more than perfect pigmentation.
Decorating with Black Icing Like a Pro
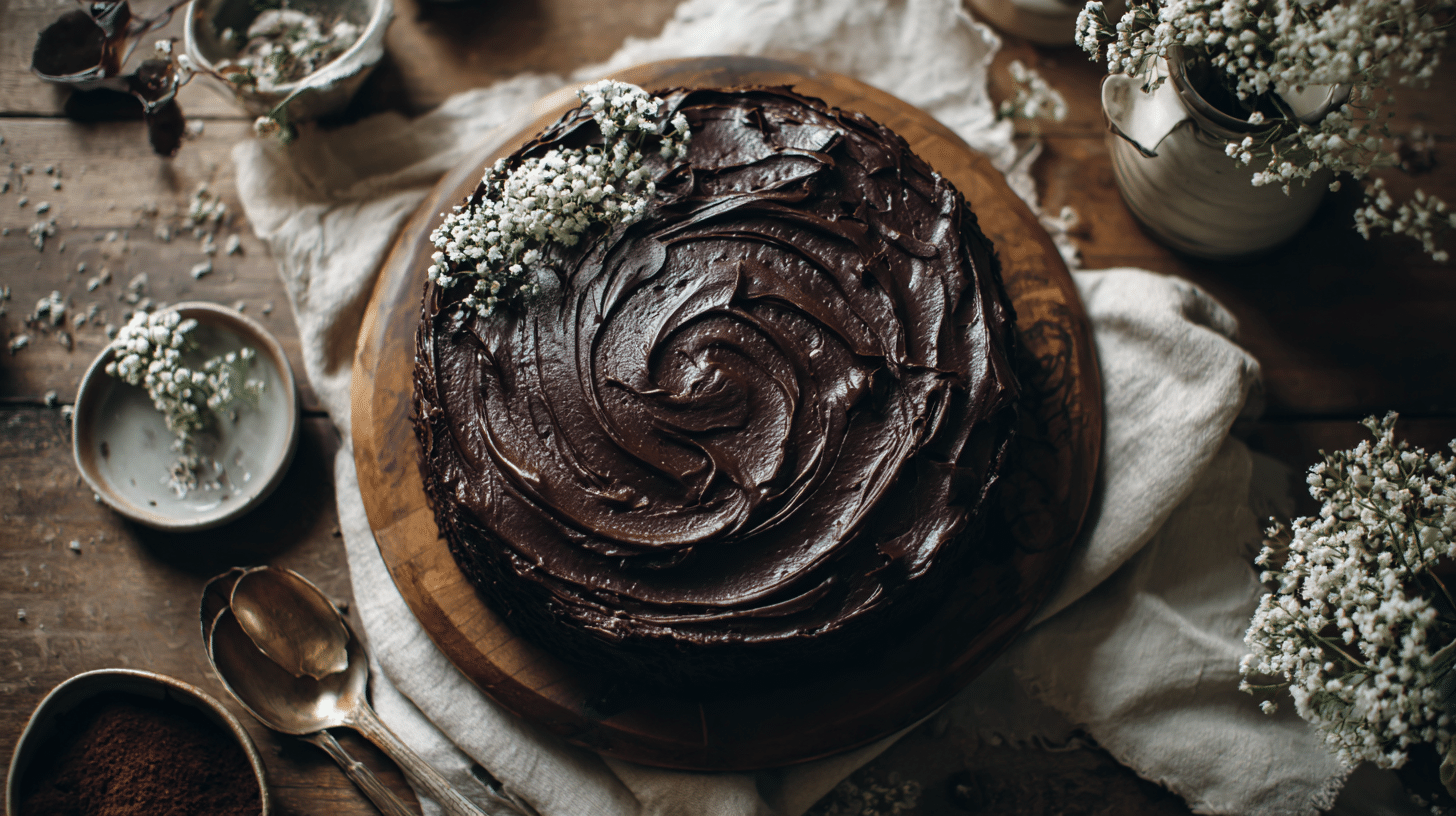
Once you’ve got the perfect batch of black icing, the fun begins — decorating. Black icing makes a bold statement whether you’re outlining sugar cookies, piping Halloween spiderwebs, or creating moody cake drips. For cookies, use a slightly thicker consistency to hold detailed shapes and crisp edges. For cakes, thin it just enough to spread or drip, depending on your design.
Pair it with pops of gold, silver, or white for high contrast. Try piping it onto pastel backgrounds for a modern, artsy twist — I’ve done this for gothic-chic bridal showers and quirky birthdays with fabulous results. You can even marble black icing with lighter colors to create a dreamy, cloudy swirl effect, perfect for spooky treats like Frankenstein Brownies or galaxy-themed cupcakes.
If you’re frosting cupcakes or brownies in advance, remember: black icing can sometimes stain or “bleed” onto lighter elements. To prevent this, decorate shortly before serving and avoid overly humid environments. Want a glossy finish? A gentle mist of baking spray after decorating can enhance the shine — especially on cookies or detailed piping.
Now, let’s tackle the common mistakes. First, over-coloring. If you add too much gel in a rush, your icing might separate or taste off. Instead, start with a small amount, mix thoroughly, then let it rest — it’ll deepen over time. Second, graininess. This usually means your buttercream wasn’t mixed long enough or your cocoa powder wasn’t sifted. Fix it by beating longer or adding a touch of milk to smooth it out.
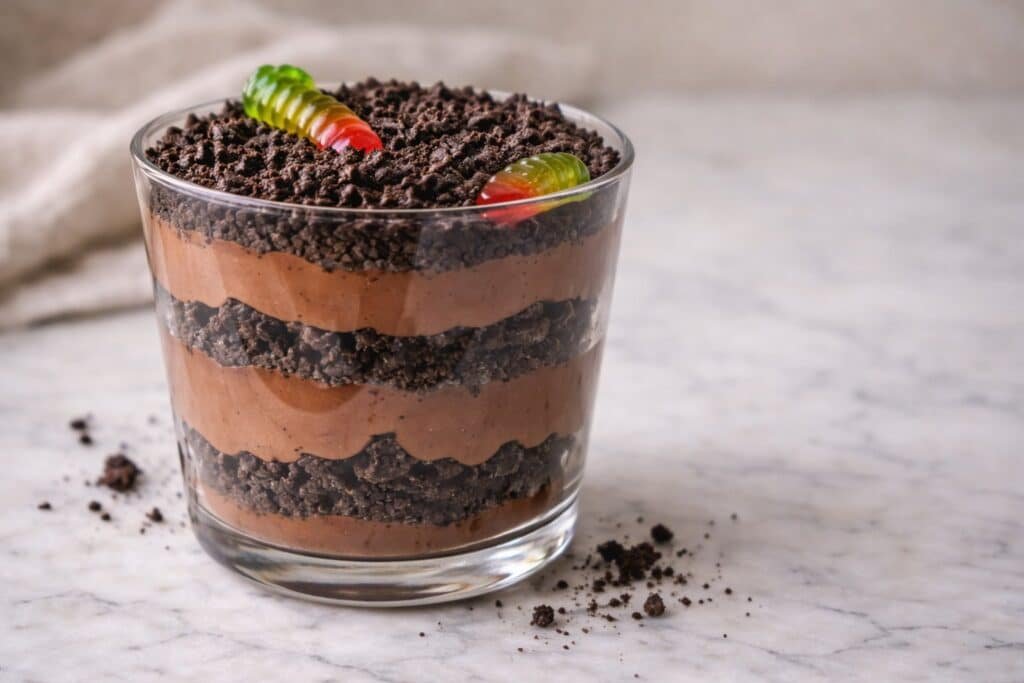
Black icing can feel intimidating, but with a few tricks and the right tools, it becomes a striking and versatile addition to your baking toolkit — especially when paired with bold themes like Graveyard Dirt Brownies or Halloween Dunkaroo Dip.
Storing and Reusing Black Icing
Black icing takes a bit of effort to get just right, so the last thing you want is to waste it. The good news? You can absolutely make it ahead and store it without sacrificing texture or color.
To store black icing, place it in an airtight container and keep it in the fridge for up to 1 week. Before using again, let it come to room temperature and re-whip it to restore fluffiness. You’ll notice the color deepens a bit more as it rests, especially if you used a chocolate or cocoa base. For longer storage, freeze it for up to 2 months. Just make sure it’s tightly sealed to prevent freezer burn or off-flavors.
If you’ve got leftovers, don’t toss them! Use black icing for quick weekday treats. Pipe creepy eyes onto store-bought donuts, spread it on graham crackers with sprinkles for a fast snack, or drizzle it over brownies for a dramatic finish. One of my favorite hacks is turning it into a rich frosting swirl for Spooktacular Halloween Brownies. It’s an easy way to make something simple feel themed without starting from scratch.

Cleanup tip: black food gel can stain counters and fingers, so wipe surfaces immediately after use. Wash piping bags and bowls with warm soapy water and a bit of vinegar or lemon juice to cut through any dye residue. If you’re decorating with kids (or just messy like me), keep wet paper towels nearby to prevent stains from setting.
FAQs About Black Icing
How do I make my kitchen look boho farmhouse?
Start with a neutral palette — whites, creams, and wood tones are your base. Then layer in texture: think rattan baskets, ceramic containers, and open shelving. Mix rustic wood with sleek black or brass fixtures. Add greenery or dried flowers for a pop of life. The idea is casual, cozy, and lived-in — a little like how black icing adds a handmade charm to an otherwise polished dessert.
What colors work in a boho farmhouse kitchen?
Earthy tones work best. Think terracotta, muted greens, soft gray-blues, and classic black for contrast. Black icing’s vibe actually mirrors this — bold yet understated when paired with neutrals. These tones ground your space while still feeling creative and collected.
Can I do boho farmhouse style on a budget?
Absolutely. Thrift stores, Facebook Marketplace, and a few DIY projects go a long way. Paint outdated cabinets white, swap drawer pulls for antique brass, or create a feature wall with peel-and-stick wallpaper. Even a batch of homemade cookies with chic black icing can feel like home décor if styled just right on your counter.
Conclusion
Black icing isn’t just a Halloween gimmick — it’s a baker’s secret weapon for drama, elegance, and a bit of whimsy. From spooky sweets to sophisticated showstoppers, it brings depth and contrast to any dessert. With the right base, smart coloring tips, and a few pro tricks, you’ll never look at icing the same way again.
And if you’re someone who loves flavor, color, and cozy chaos in equal measure — whether in your bakes or your home — black icing might just be your new favorite detail.
If you try this recipe, I’d love to see how you make it your own—share your creations with me on Facebook or pin it to your favorite board on Pinterest. Together, we can spread a little more color and joy, one glass at a time.
Black Icing Recipe: Pro Tricks For Bold, Beautiful Desserts
Ingredients
- 1 cup unsalted butter softened
- 3 cups powdered sugar
- 1/2 cup unsweetened cocoa powder or black cocoa
- 2 tbsp heavy cream or milk
- 1 tsp vanilla extract
- 1/4 tsp salt
- Black gel food coloring to color
Instructions
- 1. Beat softened butter until smooth and fluffy.
- 2. Sift in powdered sugar and cocoa powder.
- 3. Add cream, vanilla, and salt; beat until incorporated.
- 4. Add black gel food coloring gradually until desired darkness is reached.
- 5. Let rest overnight for deeper color.
- 6. Re-whip before using if needed.