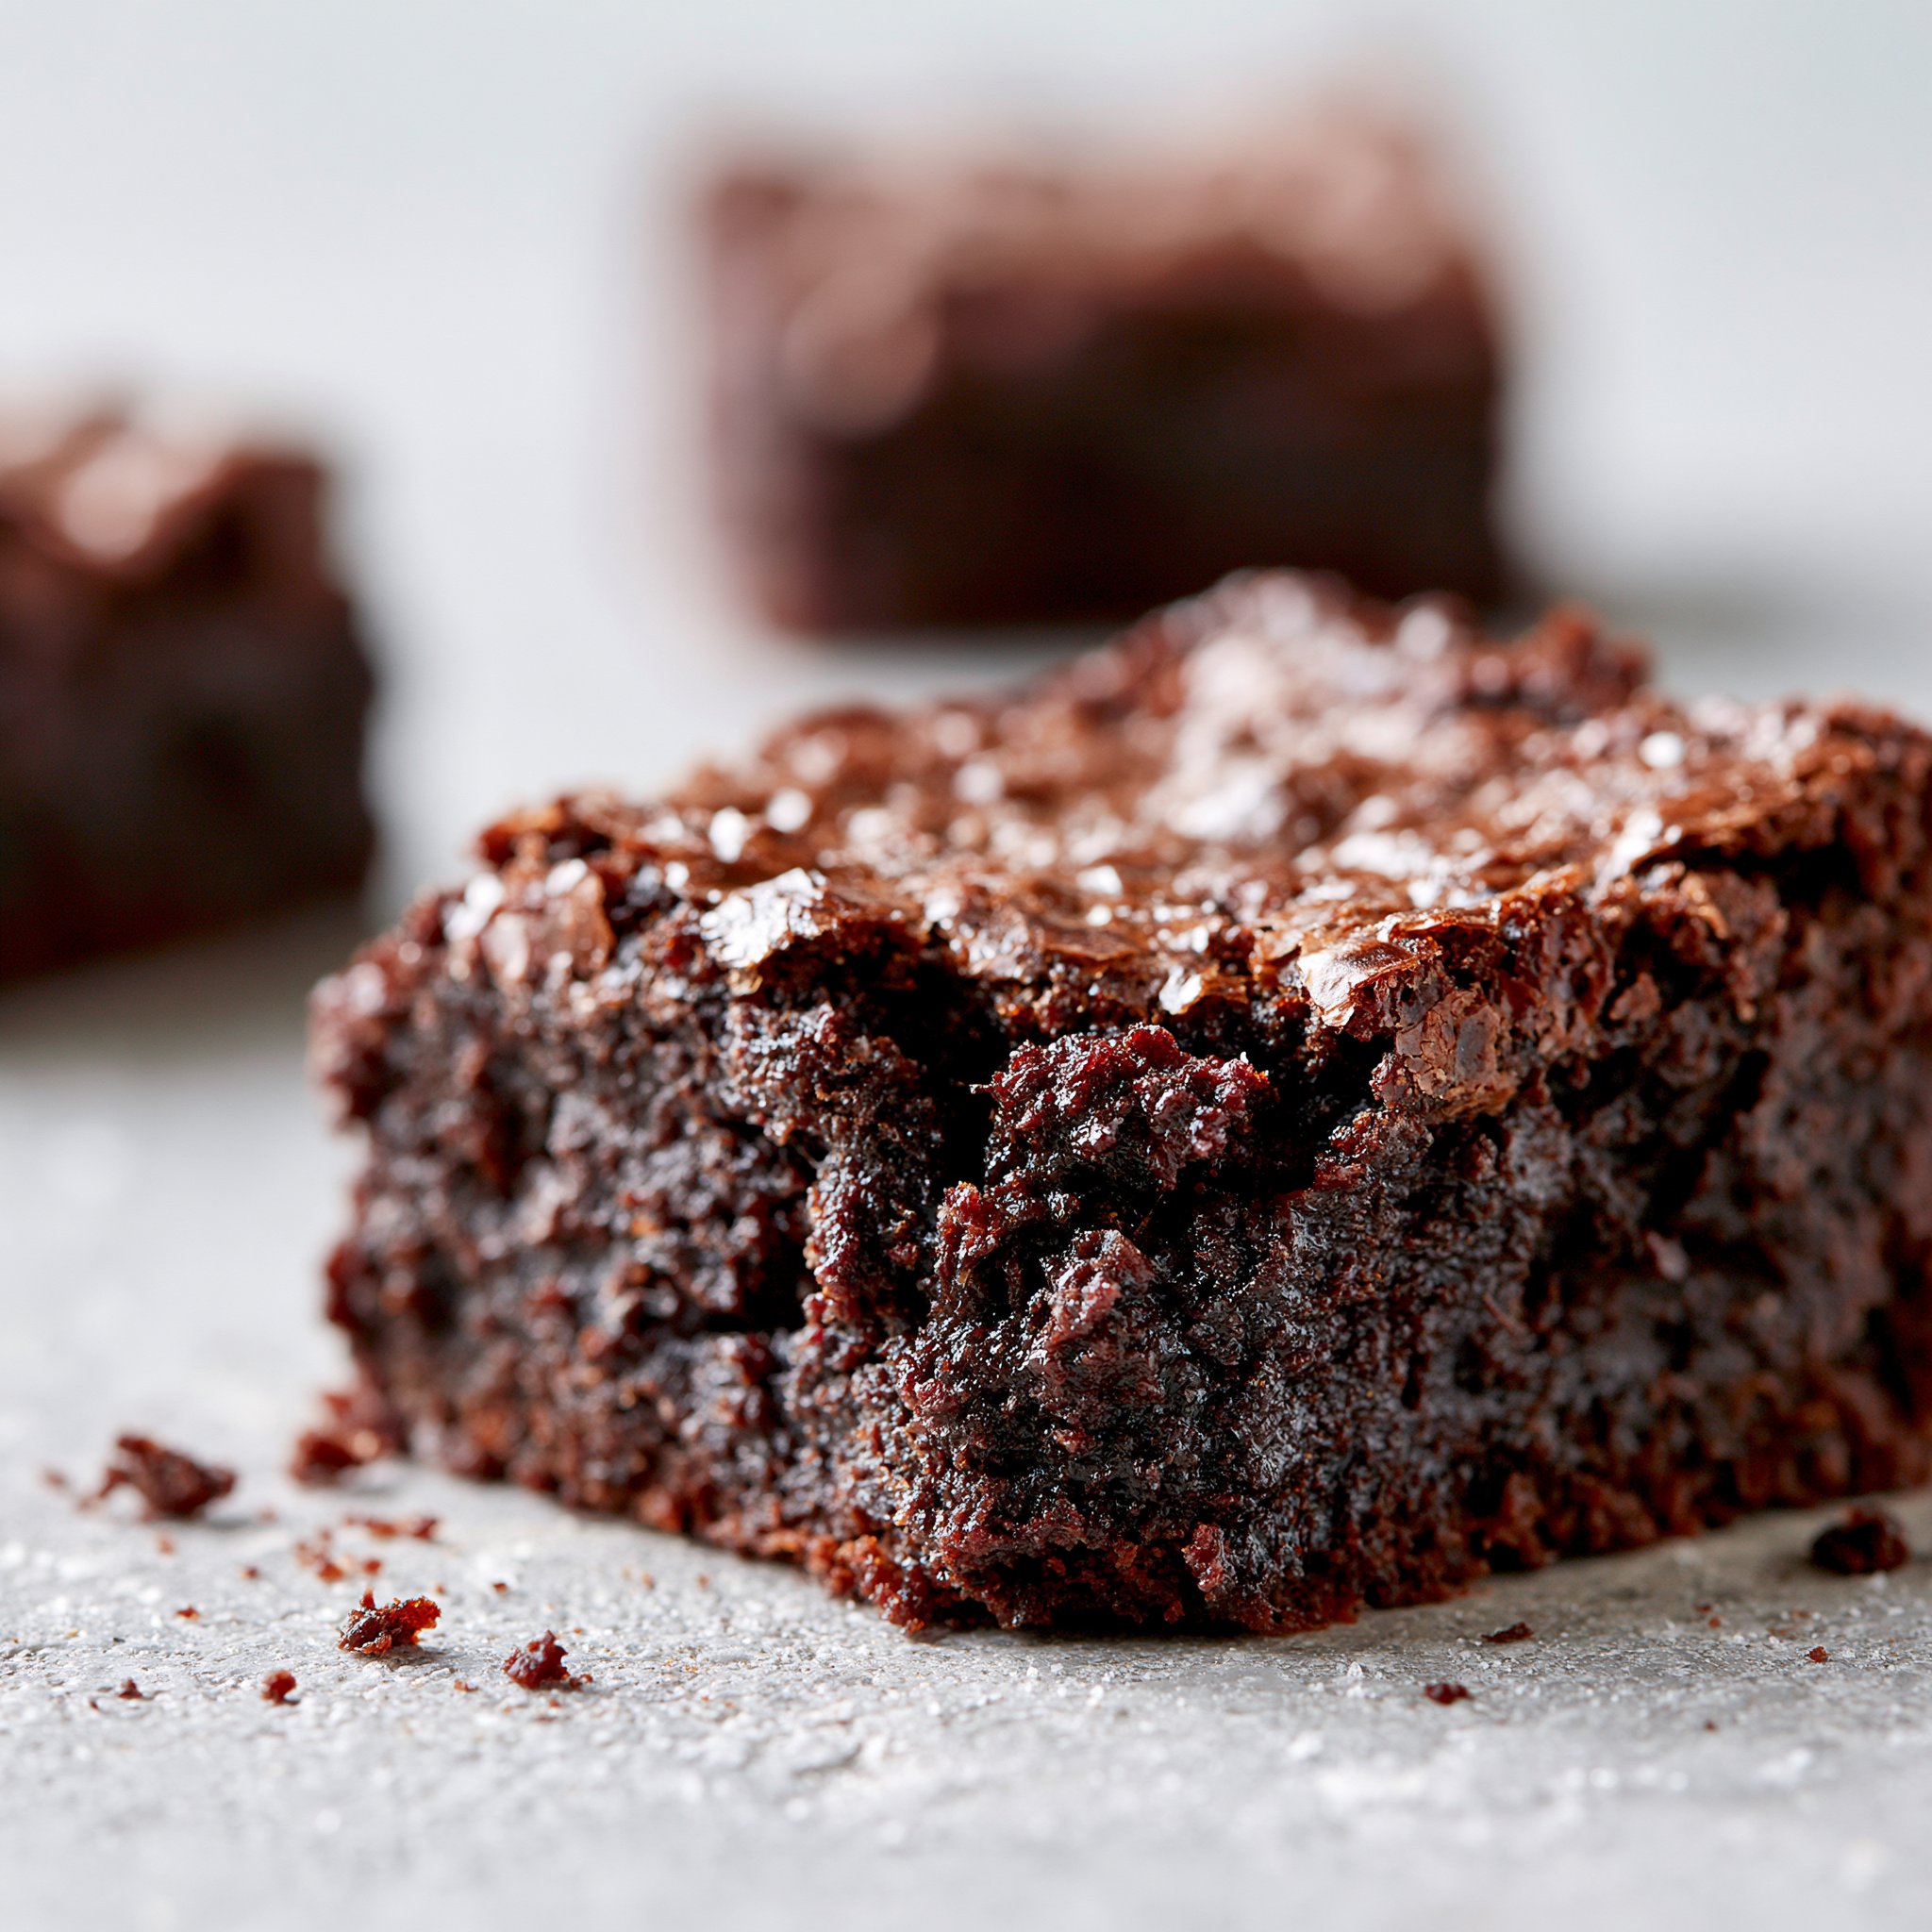
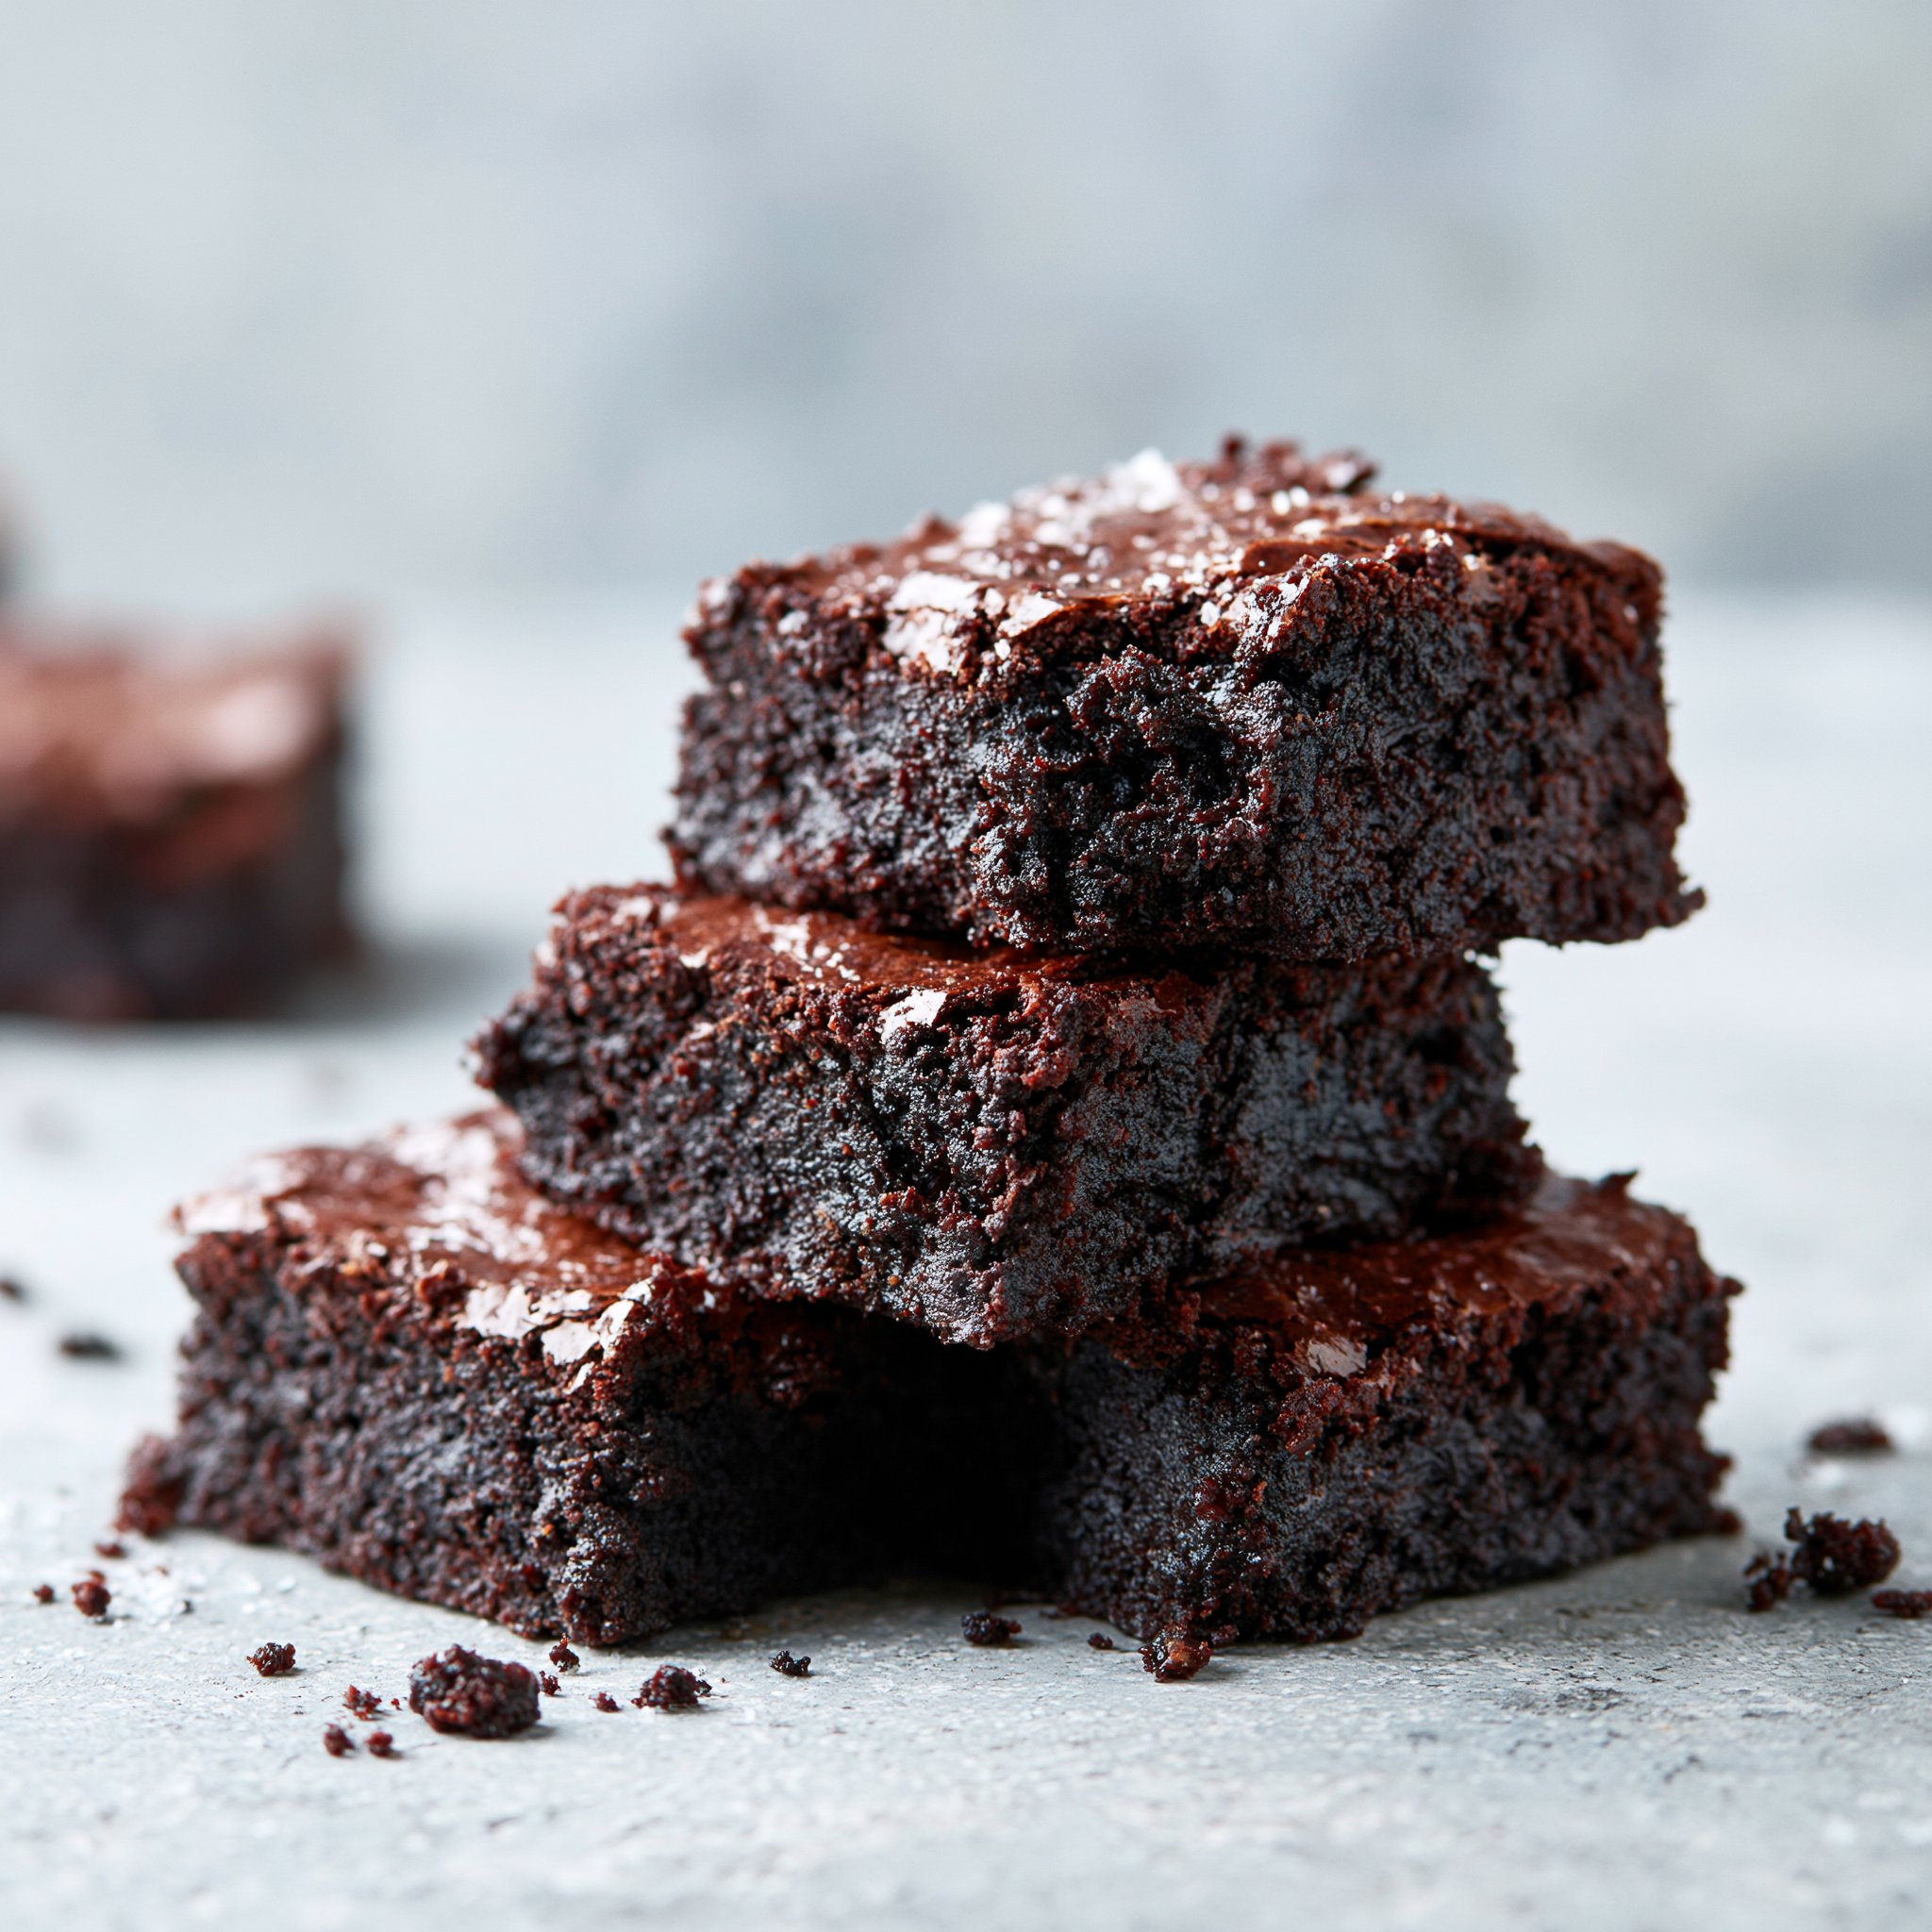
There’s something quietly perfect about brownies baked in a mini muffin tin: you get crisp little edges all the way around, and each one pops out like a single-serve treat—no cutting board, no messy slices. These are the gluten-free brownies I make when I want that deep cocoa hit and a soft, cake-leaning center without fuss.
The batter comes together in two bowls, and the brown sugar does a lot of heavy lifting here—giving the tops a slightly shiny look and a warmer, caramel-leaning sweetness under the cocoa. If you’re on a gluten-free dessert streak, these sit right alongside my gluten-free wacky cake when you need something fast and reliable.
Why You’ll Love This Recipe
- Bakes as mini brownie bites, so you get extra edge-to-center ratio and easy portioning.
- Uses cocoa powder (not melted chocolate) for a bold, straightforward chocolate flavor and a lighter, less heavy finish.
- The combo of granulated sugar + brown sugar creates a sweeter, rounder brownie with a subtle molasses warmth.
- Only 12–15 minutes in the oven, which makes these great for last-minute guests or a quick weeknight bake.
- Butter or coconut oil both work, so you can choose the flavor you want (butter = classic, coconut oil = slightly sweeter aroma).
- A simple whisk-and-stir method—no mixer—similar “easy comfort baking” energy to my gluten-free pumpkin donuts.
The Story Behind This Recipe
I tested these specifically as mini muffins because gluten-free batters can be a little unforgiving in a big pan—brownie bites bake quickly and evenly, and it’s easier to nail that just-done center without drying anything out.
What It Tastes Like
These taste like classic cocoa brownies with a noticeable brown-sugar warmth: sweet but not tooth-aching, with a vanilla-cocoa aroma as they cool. The texture is tender and dense-ish (not gooey-fudge), with little crisp edges around the outside from the muffin tin and a soft middle that stays pleasant once cooled.
Ingredients You’ll Need
This recipe is built around a simple dry mix (gluten-free flour, cocoa, sugars) and a quick wet mix (melted butter or coconut oil, eggs, vanilla). The baking powder gives just a touch of lift so the centers don’t feel tight, while salt keeps the cocoa flavor from tasting flat. If you use coconut oil, expect a slightly sweeter aroma; butter reads more classic and “brownie shop” familiar.
- 1 cup gluten free all-purpose flour
- 1/2 cup cocoa powder
- 1/2 cup sugar
- 1/2 cup brown sugar
- 1/4 cup melted butter or coconut oil
- 2 large eggs
- 1 tsp vanilla extract
- 1/2 tsp baking powder
- 1/4 tsp salt
How to Make Gluten Free Brownies
- Preheat and prep the pan. Heat the oven to 350°F (175°C). Grease a miniature muffin tin well so the brownie bites release cleanly (those cocoa-heavy edges like to cling).
- Whisk the dry ingredients. In a medium bowl, whisk together the gluten free flour, cocoa powder, sugar, brown sugar, baking powder, and salt until the cocoa looks evenly dispersed and you don’t see streaks of brown sugar clumps.
- Mix the wet ingredients. In a second bowl, stir together the melted butter (or coconut oil), eggs, and vanilla until smooth and glossy. (If your butter/oil is piping hot, let it cool briefly so it doesn’t shock the eggs.)
- Combine—briefly. Pour the wet mixture into the dry ingredients and stir just until you don’t see dry pockets. The batter will look thick and dark, like soft frosting. Stop mixing as soon as it comes together—overmixing can make gluten-free bakes turn a bit tough.
- Fill the tin. Spoon batter into the greased wells, filling each about 3/4 full. (They’ll rise a bit, but not dramatically.)
- Bake. Bake for 12–15 minutes. You’re looking for tops that look set (not wet or shiny) and a toothpick inserted in the center that comes out clean.
- Cool slightly, then remove. Let the brownie bites cool in the tin for a few minutes so the edges firm up, then gently lift them out. They’ll smell deeply cocoa-forward as they cool—don’t be surprised if the chocolate aroma gets stronger after a few minutes on the counter.
Tips for Best Results
- Whisk the cocoa thoroughly into the dry mix. Cocoa loves to hide in dry pockets; whisk until the color is uniform for consistent chocolate flavor in every bite.
- Aim for “just combined” batter. Once the last streak of flour disappears, stop. That’s the difference between tender centers and a chewy, tight crumb.
- Grease generously. Mini muffin tins have lots of surface area; good greasing helps you keep those crisp brownie edges intact when unmolding.
- Don’t chase extra bake time. These are small—an extra minute can push them from soft-centered to dry. If the toothpick is clean, pull them.
- Let them set before removing. A short cool (even 5 minutes) helps them release without crumbling, similar to how I handle bars like gluten-free pumpkin squares.
Variations and Substitutions
- Butter vs. coconut oil: Butter gives a more classic brownie flavor; coconut oil adds a faint coconut sweetness in the background. Both bake up well with this batter.
- Sugar balance: Keeping the full amount of brown sugar is worth it here—it supports a softer bite and a warmer flavor alongside the cocoa.
How to Serve It
Serve these slightly warm for the softest centers, or fully cooled if you want cleaner edges and a more defined bite. They’re great piled on a plate for sharing (the mini muffin shape makes them feel a little “bakery case”), and they pair nicely with other gluten-free treats like my Caribbean coconut sugar cake candy when you want a dessert spread without extra work.
How to Store It
Once completely cooled, keep the brownie bites in an airtight container at room temperature for a couple of days so they don’t dry out. For longer keeping, refrigerate in a sealed container and bring to room temp before eating for the best cocoa flavor and softer texture. They also freeze well: let them cool, freeze in a sealed container, and thaw on the counter when you want a quick chocolate fix—handy if you’re also the type to stash “future desserts” like gluten-free tiramisu brownies.
Final Thoughts
If you’re craving a straightforward, cocoa-rich brownie without gluten (and without a complicated method), these mini brownie bites deliver—crisp edges, tender centers, and that warm brown-sugar finish that keeps you reaching for “just one more.”
Conclusion
If you’d like to compare styles—especially if you’re chasing a fudgier center—these three guides are genuinely helpful: The Best Gluten-Free Brownie Recipe (Ultimate Fudgy!), Gluten-Free Brownies, and Fudgy Gluten Free Brownies – Eat With Clarity.