

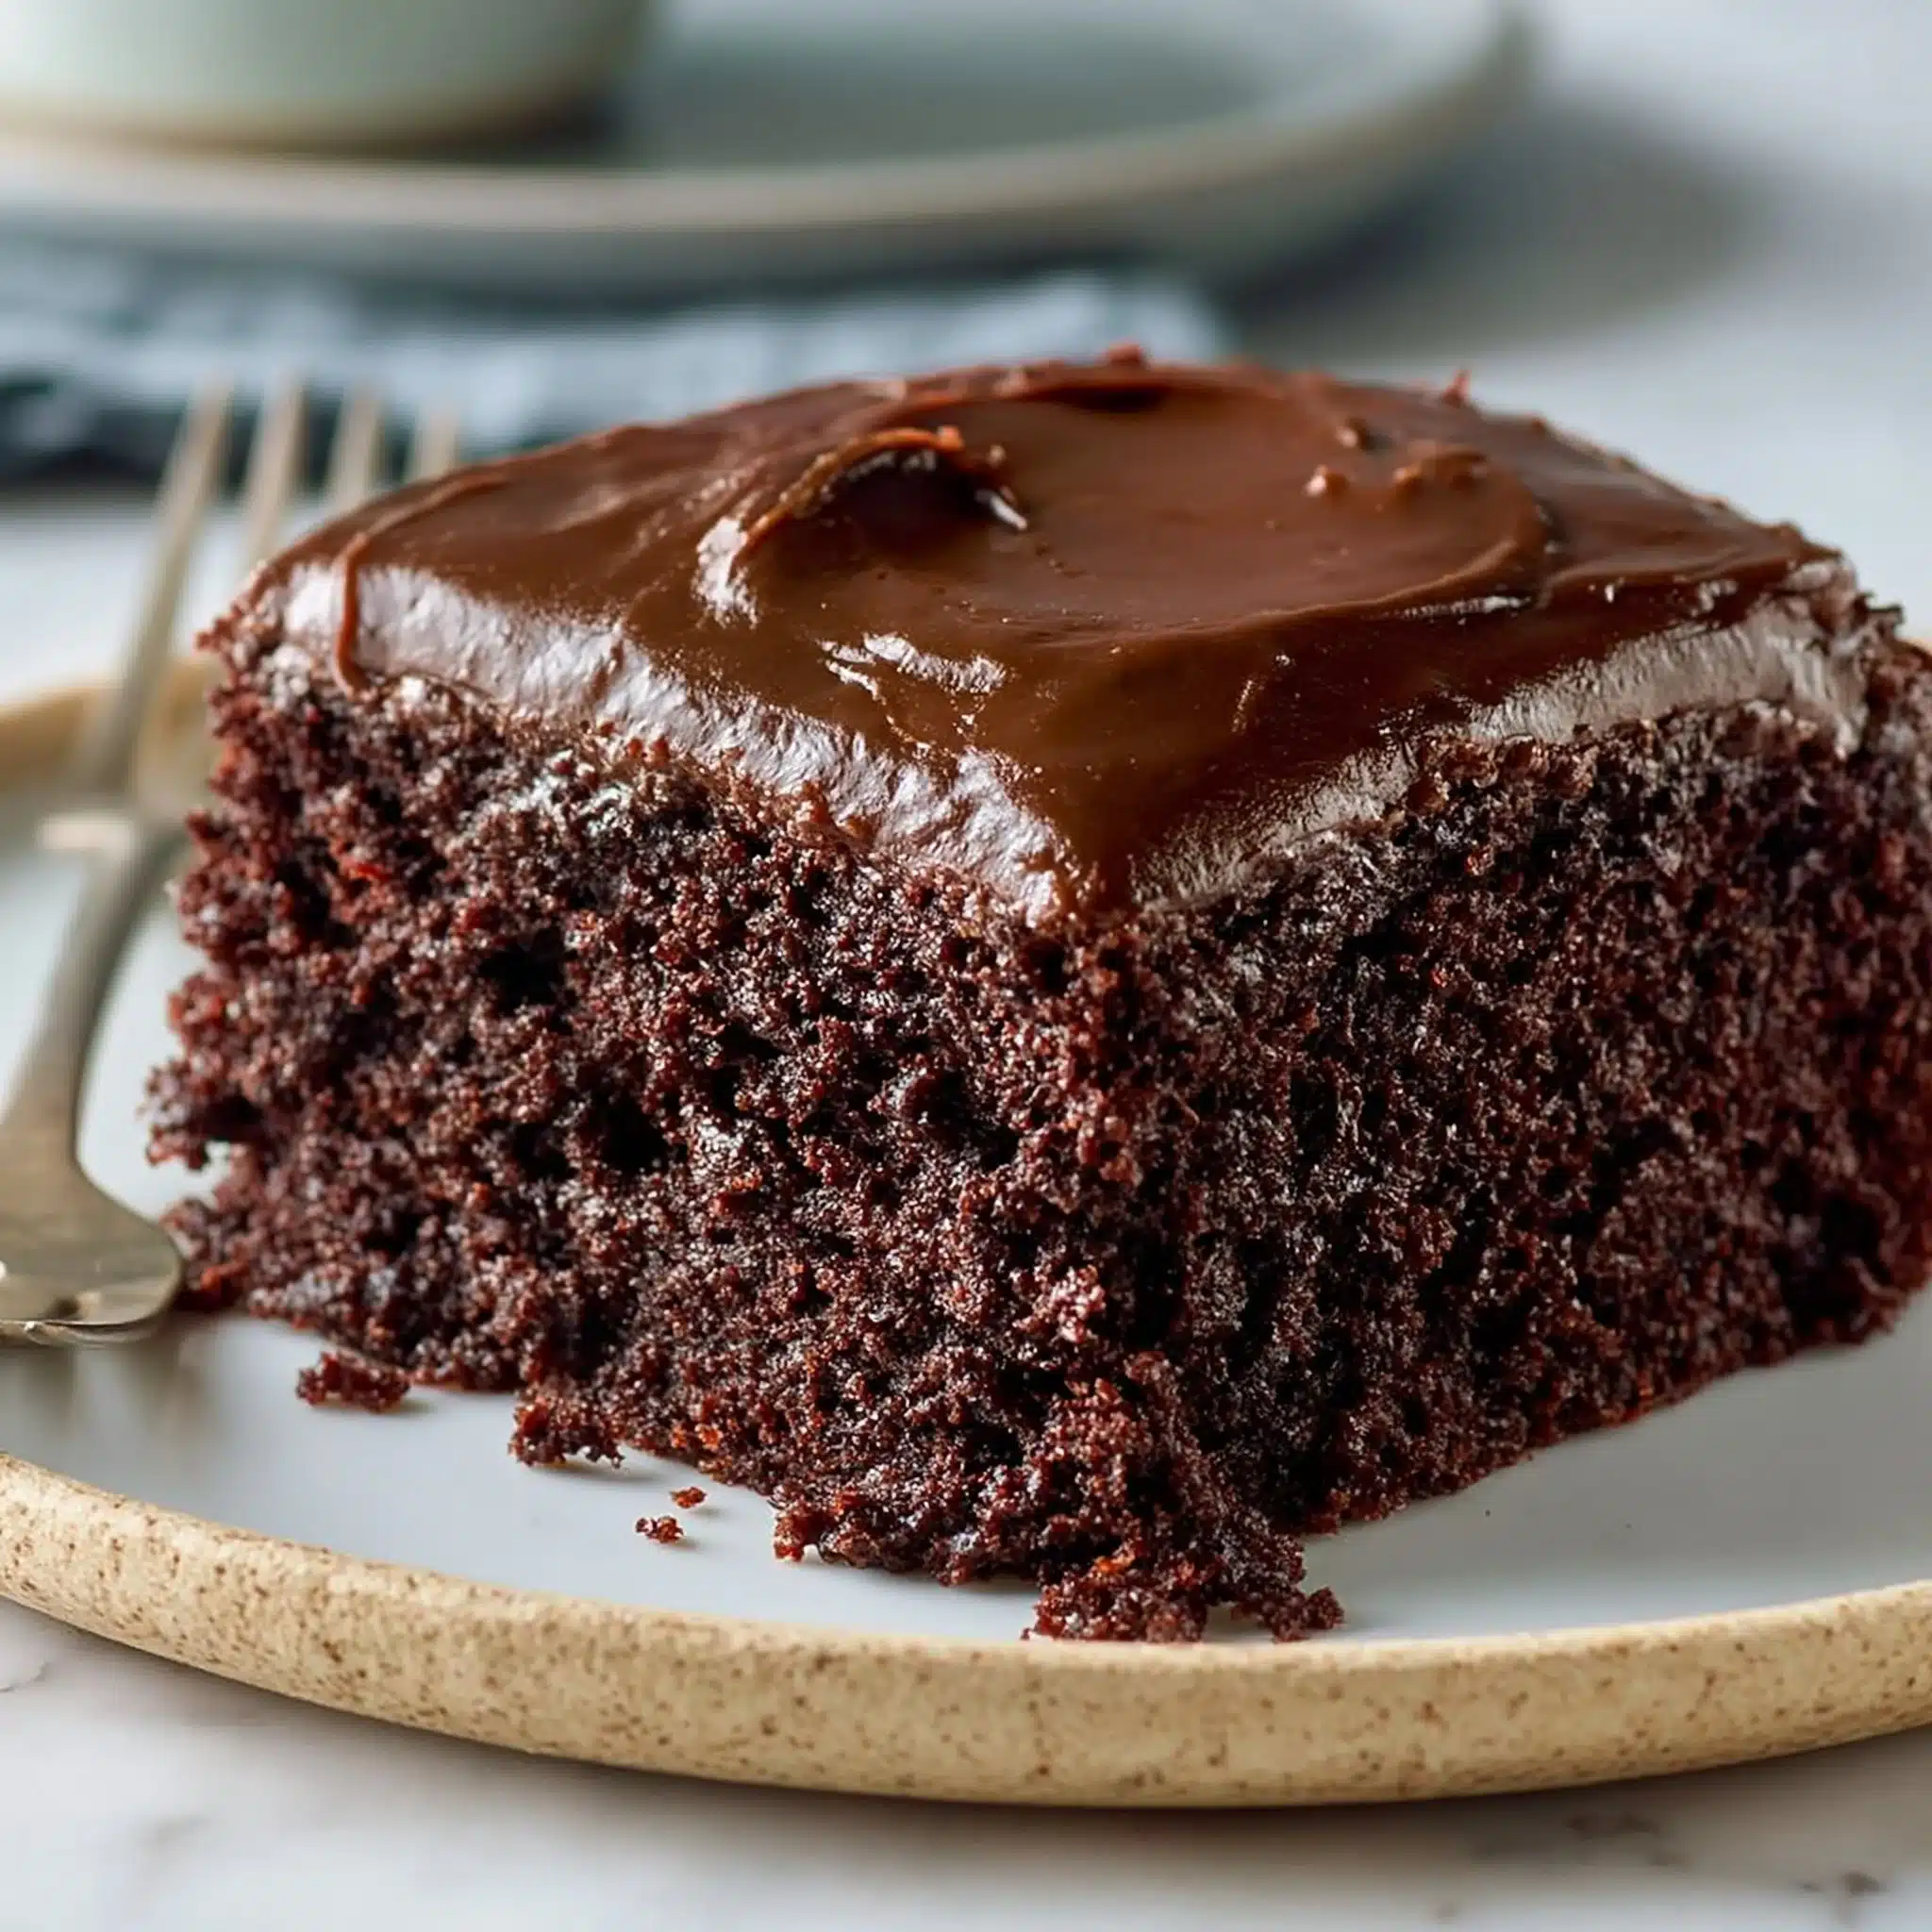
The first time I made this buttermilk chocolate cake, I did a double-take at the batter—once you stir in the boiling water, it turns almost pourable. Don’t panic. That thin batter is exactly what bakes up into two surprisingly tender 9-inch layers with a soft, velvety crumb.
The payoff is a deep cocoa flavor that doesn’t taste dusty or flat, plus a gently tangy edge from the buttermilk that keeps the sweetness in check. If you love a straightforward chocolate layer cake (the kind that slices cleanly and stays moist), this one belongs in your regular rotation—right alongside my chocolate cake with cherry pie filling when you want something a little more “dessert table” dramatic.
Why You’ll Love This Recipe
- The cocoa comes through boldly, but the buttermilk keeps it from tasting one-note or overly sweet.
- Boiling water blooms the cocoa and makes a thin batter that bakes into a notably moist, tender crumb.
- Two 9-inch layers bake evenly and stack well once fully cooled—great for clean slices.
- Oil (instead of butter) makes the cake stay soft even after it’s been refrigerated.
- The method is simple: one bowl for dry, then mix in the wet ingredients—no fussy creaming step.
- It pairs beautifully with frosting, but the cake itself is flavorful enough to stand on its own (even as a simple snack cake slice).
The Story Behind This Recipe
I wanted a chocolate layer cake that felt classic but not heavy—something I could bake without hauling out extra equipment or doing a complicated mixing routine, the way I might for my chocolate caramel toffee crunch cake. This version hits that sweet spot: easy, reliable, and deeply chocolate, with that subtle buttermilk tang that makes you go back for a second forkful.
What It Tastes Like
This cake tastes like rich cocoa with a warm vanilla back note and a faint, pleasant tang from the buttermilk. It’s sweet (there are 2 cups of sugar), but it doesn’t read as cloying because the cocoa and leaveners keep it balanced. The texture is plush and moist with a fine crumb—soft enough to melt a little on the tongue, but sturdy enough to frost and slice neatly.
Ingredients You’ll Need
Buttermilk is the key to this cake’s tender crumb and subtle tang, and the combination of baking powder + baking soda gives it a strong, even rise. Unsweetened cocoa powder brings the chocolate flavor (no melted chocolate needed), and boiling water wakes that cocoa up—expect a thinner batter after you add it. If you don’t have a stand mixer, a hand mixer works well here since you’re mixing for a full 2 minutes to fully hydrate the dry ingredients.
- 1 3/4 cups all-purpose flour
- 3/4 cup unsweetened cocoa powder
- 2 cups granulated sugar
- 1 1/2 teaspoons baking powder
- 1 1/2 teaspoons baking soda
- 1 teaspoon salt
- 2 large eggs
- 1 cup buttermilk
- 1/2 cup vegetable oil
- 2 teaspoons vanilla extract
- 1 cup boiling water
How to Make Buttermilk Chocolate Cake
- Prep the oven and pans. Heat the oven to 350°F (175°C). Grease and flour two 9-inch round cake pans, tapping out any excess flour so you don’t get white patches on the baked layers.
- Whisk the dry ingredients well. In a large mixing bowl, whisk together the flour, cocoa powder, sugar, baking powder, baking soda, and salt. Take an extra 20–30 seconds here—cocoa loves to clump, and a thorough whisk helps the cake bake evenly.
- Add wet ingredients and mix for structure. Add the eggs, buttermilk, oil, and vanilla extract. Mix on medium speed for 2 minutes, until the batter looks smooth and slightly thicker, with no dry pockets hiding at the bottom of the bowl. (Set a timer—2 minutes is longer than it feels.)
- Stir in the boiling water. Carefully pour in the boiling water and stir until fully combined. The batter will look thin and glossy—more like a loose brownie batter than a thick cake batter. That’s exactly right.
- Divide and pour. Pour the batter evenly into the prepared pans. If you’re eyeballing it, look for the batter to sit at the same height in each pan so the layers bake at the same pace.
- Bake. Bake for 30–35 minutes, or until a toothpick inserted in the center comes out clean. The tops should look set (not wet in the middle) and spring back lightly when touched.
- Cool properly before frosting. Let the cakes cool in the pans for 10 minutes, then turn them out onto a wire rack to cool completely. Don’t rush this—warm layers + frosting = slipping and melting.
- Frost and finish. Once fully cooled, frost with chocolate frosting as desired. If you’re going for neat layers, handle the cake gently—it’s tender and can tear if you press too hard.
Tips for Best Results
- Use real boiling water. Warm or hot tap water won’t bloom the cocoa the same way; boiling water helps deepen the chocolate flavor and creates that signature thin batter.
- Mix for the full 2 minutes (but not longer). The batter should look smooth and cohesive before the water goes in; overmixing past that can make the crumb tougher.
- Watch the edges at 30 minutes. When the cake is done, the edges will look slightly pulled from the pan and the center won’t look shiny or wet.
- Cool completely before frosting. These layers hold moisture well (thanks to oil + buttermilk), so they can feel “soft” even when done—give them time on the rack to firm up.
- Grease and flour thoroughly. Cocoa cakes are notorious for sticking; the flour coating is your insurance for a clean release.
Variations and Substitutions
- Make it a sheet cake instead of layers: You can bake the batter in a single pan rather than two rounds, but keep the oven temperature the same and rely on visual cues (set center, clean toothpick) since bake time will change.
- Swap the frosting style, not the cake. This cake works with anything from a simple swoosh of chocolate frosting to a taller, piped finish—similar to how I top my bonfire chocolate Nutella cupcakes when I want a more decadent look.
How to Serve It
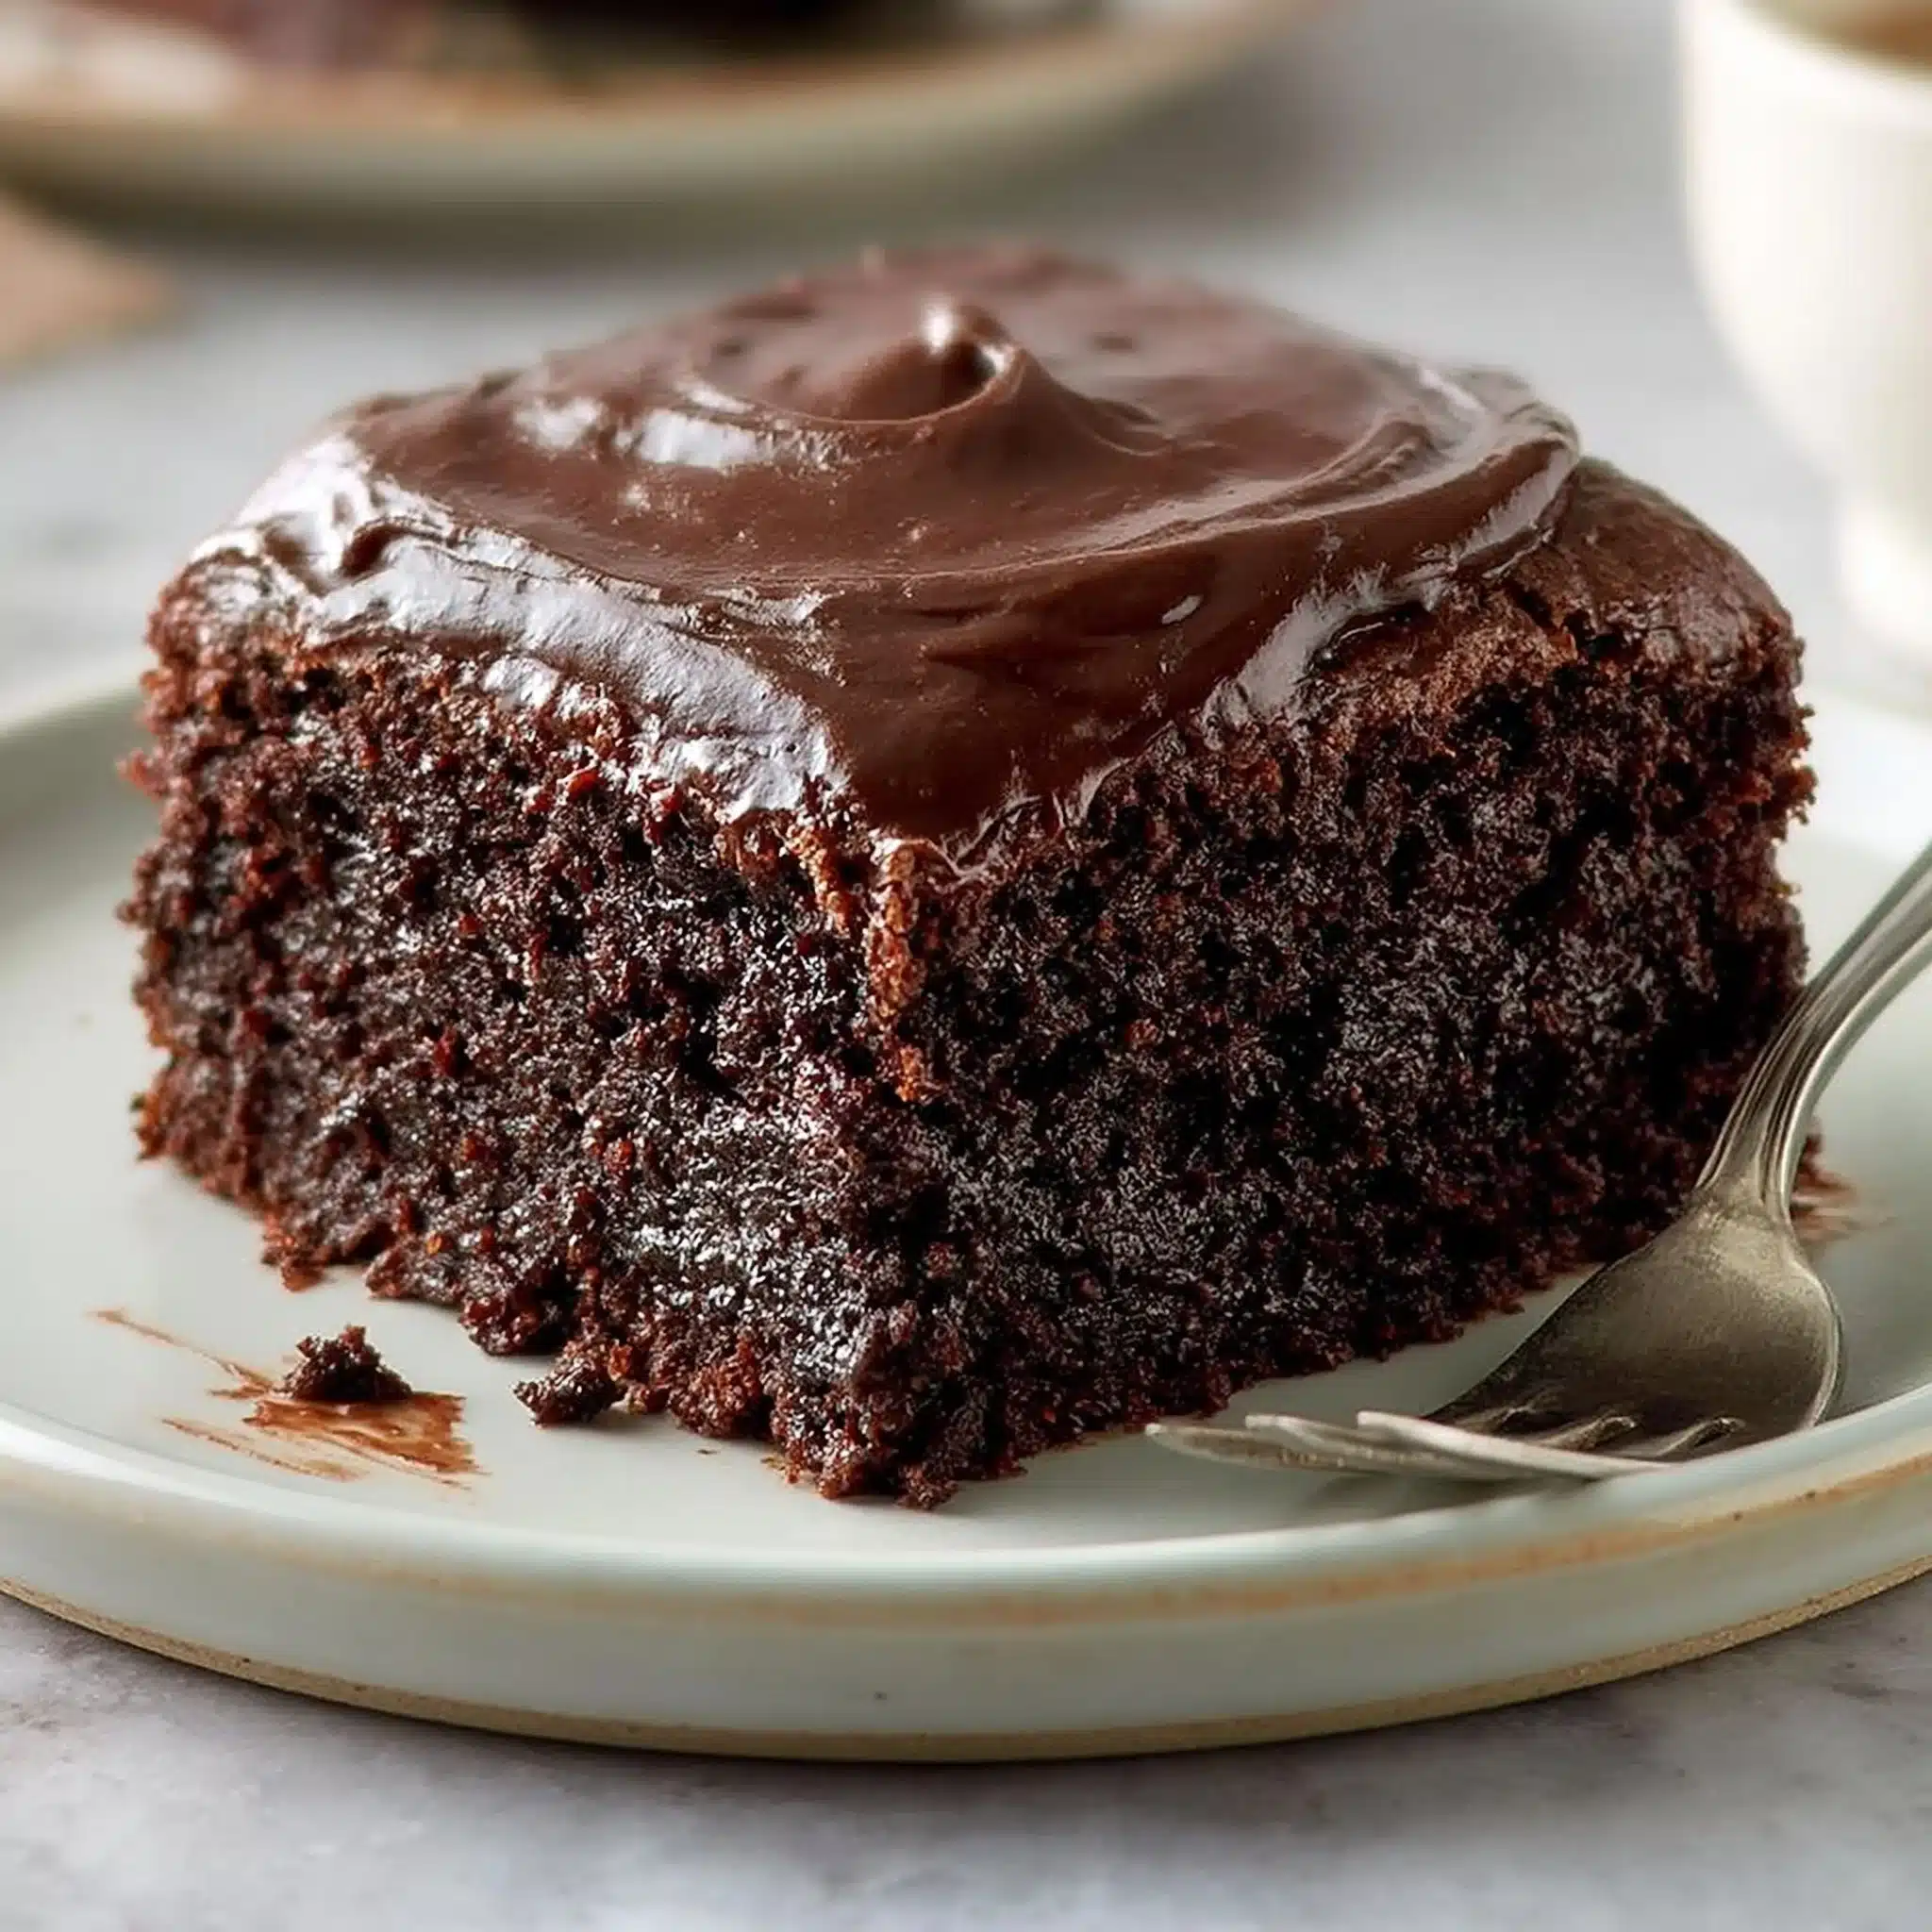
Serve thick slices at room temperature for the softest crumb and strongest cocoa aroma. For a cleaner, sharper slice (especially if you’ve frosted it generously), chill the cake briefly, then cut with a long knife wiped clean between cuts. If you’re serving it as part of a bigger spread—say, with brunch baking like my buttermilk blueberry breakfast cake—I like cutting smaller wedges since this one is rich and deeply chocolate.
How to Store It
Store the frosted or unfrosted cake covered to protect the tender crumb from drying out. If it’s frosted, refrigeration helps it hold its shape; let slices sit out for a few minutes before serving so the texture softens again. For longer storage, wrap cooled layers well and freeze; thaw still wrapped so condensation forms on the wrap, not the cake. If you’re planning ahead, you can bake the layers in advance and frost later—similar to the make-ahead approach I use for chocolate caramel dump cake, where timing is all about serving when it tastes freshest.
Final Thoughts
If you’re craving a true cocoa-forward layer cake that stays moist, slices cleanly, and doesn’t require any fancy steps, this buttermilk chocolate cake is a keeper—especially once you see how that thin batter turns into such plush, sturdy layers.
Conclusion
If you’d like to compare notes with other bakers, I also recommend reading Buttermilk Chocolate Cake – Southern Bite, Buttermilk Chocolate Cake – Olives + Thyme, and 1886 Chocolate Buttermilk Cake – My Texas Kitchen—it’s a fun way to see how small method choices shape the final crumb and chocolate intensity.
Buttermilk Chocolate Cake
Ingredients
Dry Ingredients
- 1 3/4 cups all-purpose flour
- 3/4 cup unsweetened cocoa powder
- 2 cups granulated sugar
- 1 1/2 teaspoons baking powder
- 1 1/2 teaspoons baking soda
- 1 teaspoon salt
Wet Ingredients
- 2 large eggs
- 1 cup buttermilk
- 1/2 cup vegetable oil
- 2 teaspoons vanilla extract
- 1 cup boiling water
Instructions
Preparation
- Preheat the oven to 350°F (175°C). Grease and flour two 9-inch round cake pans, tapping out any excess flour.
- In a large mixing bowl, whisk together the flour, cocoa powder, sugar, baking powder, baking soda, and salt until well combined.
Mixing
- Add the eggs, buttermilk, oil, and vanilla extract. Mix on medium speed for 2 minutes until the batter looks smooth and slightly thicker.
- Carefully stir in the boiling water until fully combined. The batter will look thin and glossy.
Baking
- Divide the batter evenly into the prepared pans.
- Bake for 30–35 minutes, or until a toothpick inserted in the center comes out clean.
- Let the cakes cool in the pans for 10 minutes, then turn them out onto a wire rack to cool completely.
Finishing
- Once fully cooled, frost with chocolate frosting as desired, handling gently to avoid tearing.


