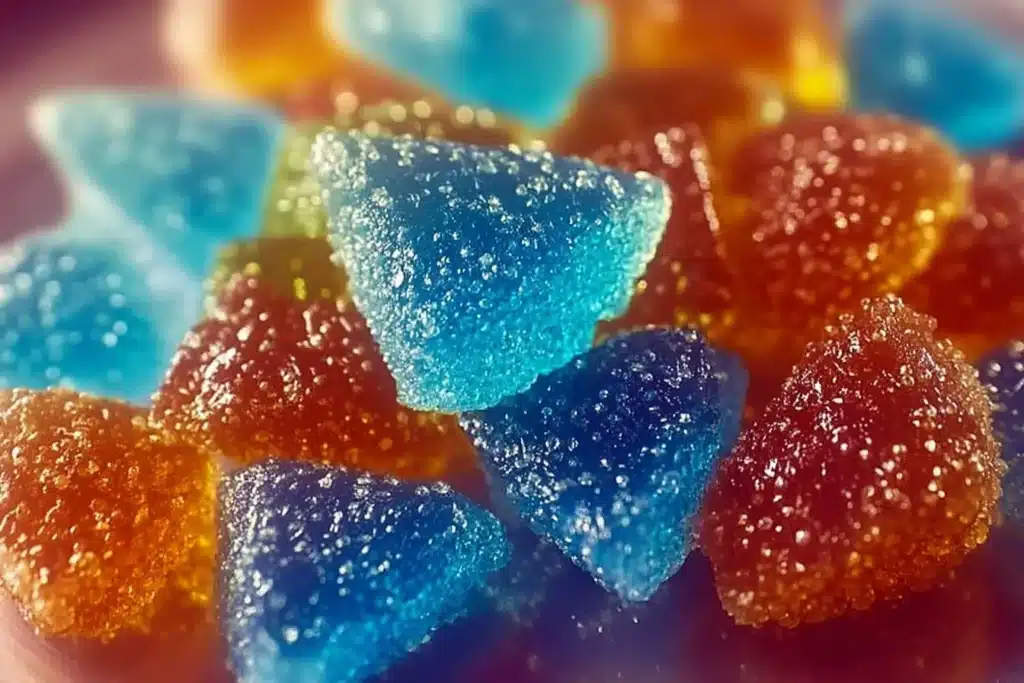
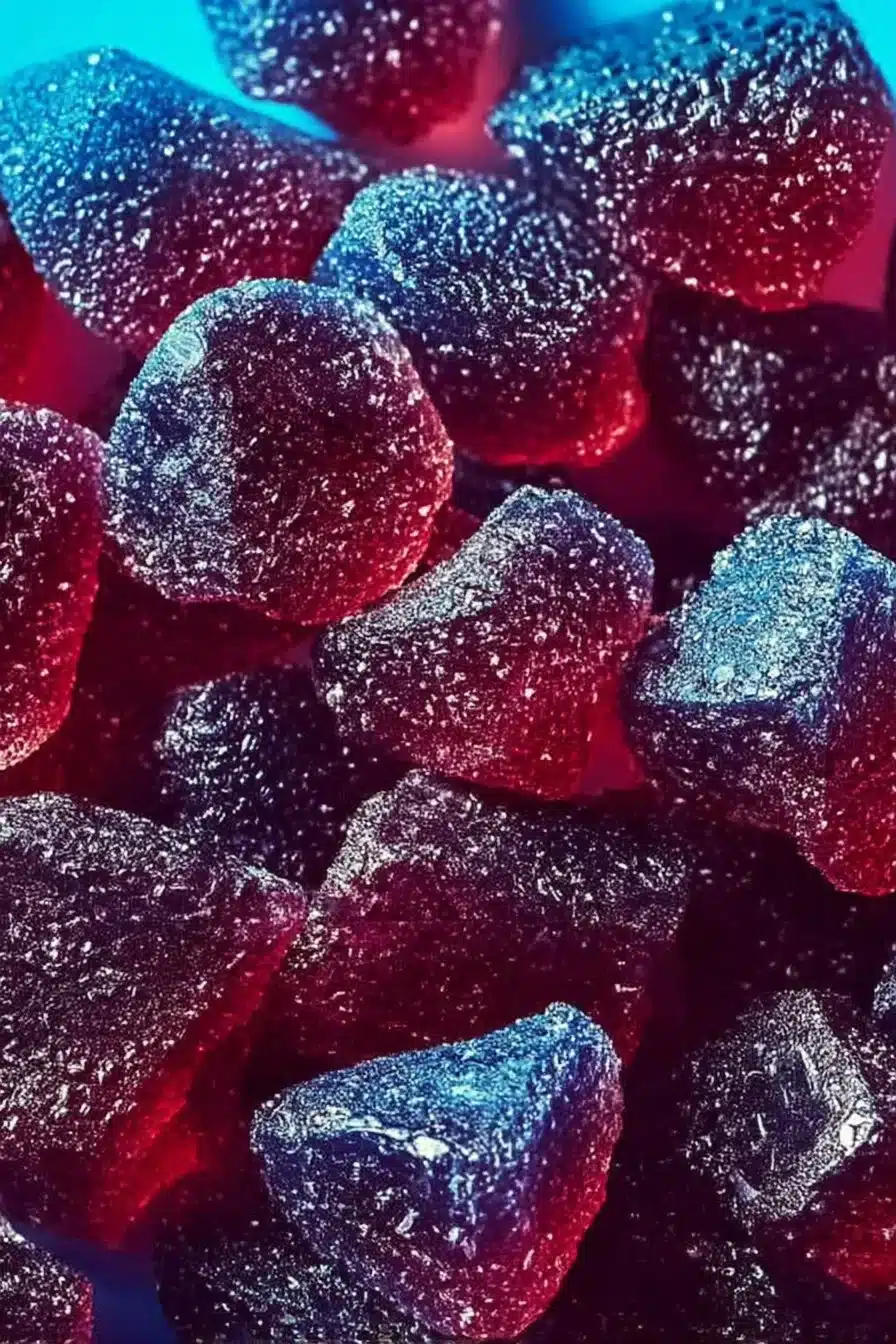
You won’t believe how much fun you can make from pantry staples. This homemade Pop Rocks recipe turns plain sugar and corn syrup into crisp, popping shards that fizz on your tongue—brilliant for adding a playful crunch to cocktails, cupcakes, or a midnight snack. The payoff is pure sensory: a hard, glassy candy that snaps cleanly and crackles with tiny bursts when it meets moisture.
It’s fast, oddly scientific, and very Instagram-friendly. The mixture cooks to the hard‑crack stage, puffs briefly when you stir in baking soda, and sets into translucent, jewel-like pieces you can break by hand. If you like playful frozen treats, try pairing these with something cool and creamy like my brownie popsicles for a hot‑and‑cold contrast.
Why You’ll Love This Recipe
- Instant novelty: the shards crack sharply and produce audible pops when they hit a damp surface—great for surprising guests or topping desserts.
- Clean, focused flavors: a 1/4 teaspoon of concentrated flavoring (cherry, grape, etc.) gives a punch of fruit without muddling the sweet, glassy candy.
- Quick to make: from stove to sheet in under 15 minutes, and the active cooking time is mostly watching the boil.
- Bright presentation: add a few drops of food coloring for candy‑bright pieces that lighten up a platter. Try a salty-sweet pairing—these work especially well beside something savory like my bloody red velvet popcorn.
- Flexible fizz: sprinkling citric acid right before serving lets you control the tang and the initial sizzle.
The Story Behind This Recipe
This is a straightforward pantry experiment that leaned on simple chemistry—heat, sugar, a little baking soda—and rewarded me with candy that pops. No specialty ingredients beyond concentrated flavor and citric acid are required.
What It Tastes Like
Sweet and clean, with a clear cooked‑sugar backbone and a bright hit of whatever flavor you choose. The aroma while it boils is warm, toffee‑like, but the finished pieces are not caramelized—think glassy sweetness with an immediate, brittle snap and a fizzy, tangy finish when you sprinkle the citric acid.
Ingredients You’ll Need
A quick note on the ingredients: sugar and corn syrup form a non‑crystalline, glassy candy when cooked to 300°F. The baking soda is what gives the shards their airy microstructure—stirred in hot, it creates tiny bubbles that make the candy feel lighter and give space for popping. The flavoring is concentrated—use 1/4 teaspoon of a clear extract (cherry, grape, etc.) so it doesn’t add extra water. Citric acid is sprinkled at the end for immediate fizz; don’t mix it into the boiling sugar.
- 1 cup sugar
- 1/2 cup corn syrup
- 1/4 cup baking soda
- 1/4 teaspoon flavoring (like cherry, grape, or other)
- 1/4 teaspoon citric acid (for fizz)
- food coloring (optional)
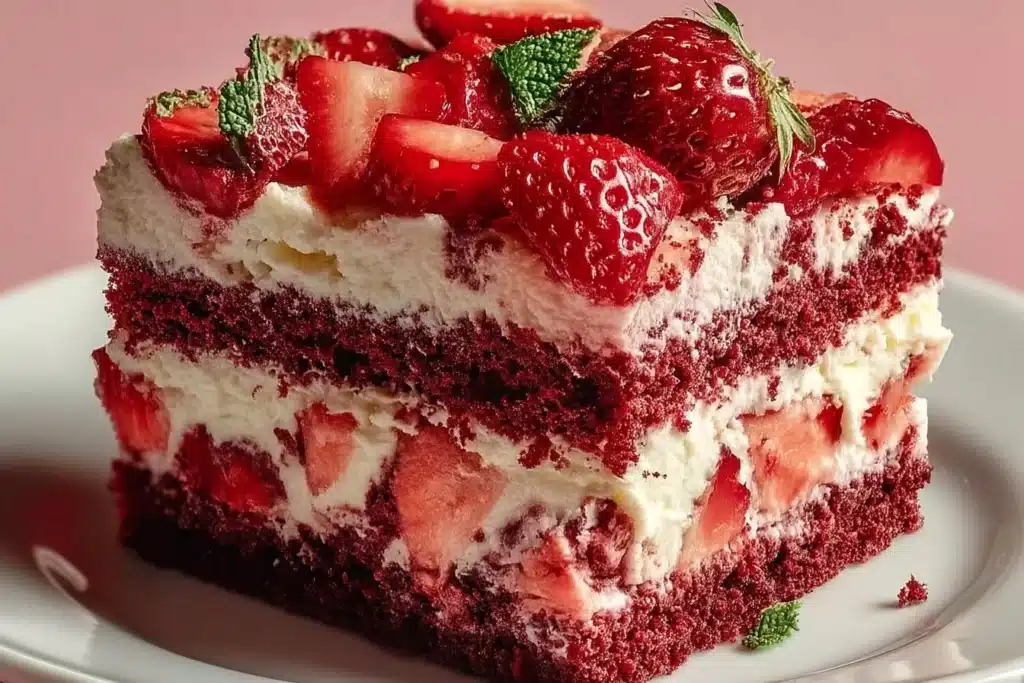
If you enjoy bold fruit flavors elsewhere, you might also like the cherry and berry notes in my amazing homemade strawberry Italian cream pound cake.
How to Make Homemade Pop Rocks
- Prepare your work area: grease a rimmed baking sheet lightly so the cooked candy won’t stick, and have a candy thermometer, your flavoring, baking soda, and food coloring ready and within arm’s reach. Once the sugar hits high heat you’ll need to move quickly.
- Combine sugar and corn syrup in a medium saucepan over medium heat. Stir until the sugar dissolves and the mixture looks smooth and glossy—no visible granules.
- Increase heat slightly to bring the syrup to a steady, rolling boil. Stop stirring once it’s boiling; agitation can encourage graininess. Clip a candy thermometer to the pan and let it climb to 300°F (the hard‑crack stage). The syrup will go from pale and glossy to a light golden transparency as it approaches 300°F.
- Remove the pan from the heat immediately when the thermometer reads 300°F. Working quickly, sprinkle in the 1/4 cup baking soda and the 1/4 teaspoon flavoring and stir briskly. The mixture will foam and puff noticeably—this is expected and creates the tiny bubbles that help the candy pop. (Expert warning: the syrup is extremely hot and foams up; keep faces and bare arms back.)
- If you want color, add a drop or two of food coloring now and fold in just until streaks disappear—don’t overmix. The foam will subside as you stir and the texture will look airy and clouded.
- Immediately pour the foamed mixture onto the greased baking sheet and spread it thin with a greased spatula or by tilting the sheet. Aim for an even layer; thinner pieces will be more brittle and produce sharper pops. The surface should look glassy and begin to dull as it sets.
- Let the candy cool completely at room temperature until hard and brittle—this can take a while depending on thickness, but you’ll know it’s done when a fingernail won’t dent it. Break into pieces by hand or tap the back of the sheet with a rolling pin.
- Right before serving, sprinkle the 1/4 teaspoon citric acid over the pieces for an extra fizzy blast. Enjoy immediately for the strongest popping effect.
Tips for Best Results
- Use a candy thermometer: 300°F is precise—too low and the candy is sticky; too high and it can burn or taste bitter. A quick, accurate read matters.
- Work fast when you add baking soda: it foams and sets quickly. Have your baking sheet ready and your spatula oiled to avoid sticking.
- Keep pieces thin and uniform: aim for shards 1/8"–1/4" thick—thinner equals crisper, louder snaps.
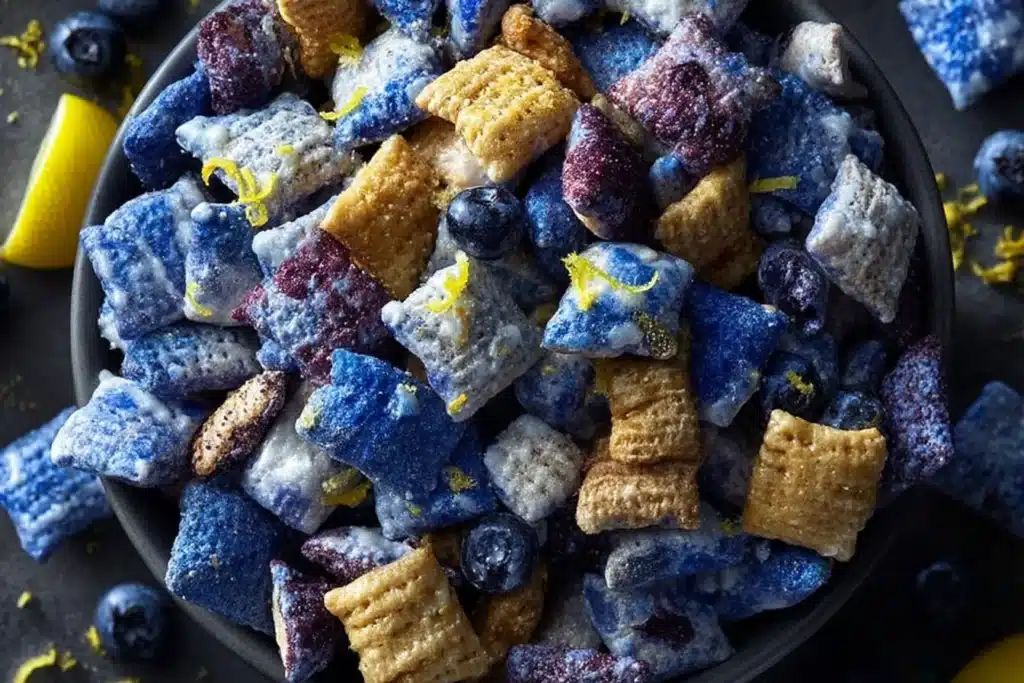
- Shield from humidity: sugar candies pick up moisture and lose their snap. Store in a cool, dry place in an airtight container. For a serving centerpiece, add citric acid at the last minute to revive fizz. Also consider pairing a small pile with salty or creamy bites that contrast the texture, like the tartness in my best homemade blueberry upside-down cake.
- Safety first: hot sugar sticks like glue and causes bad burns—use long sleeves and a steady hand when pouring.
Variations and Substitutions
- Flavor swaps: cherry and grape are obvious choices, but try cinnamon or orange extract for a different profile—use the same 1/4 teaspoon.
- Color ideas: gel or concentrated liquid food coloring gives the brightest hues without thinning the syrup; a little goes a long way.
- Citric acid timing: if you want more persistent fizz rather than a one‑time burst, dust citric acid onto a small portion of pieces and leave others plain.
How to Serve It
Serve a small bowl of shards as a playful garnish over whipped cream, folded into the rim of a cocktail glass, or scattered atop cupcakes for texture and show. For a party platter, offer a few flavored piles so guests can try different pops against creamy or salty bites.
How to Store It
Keep finished Pop Rocks in an airtight container at room temperature away from heat and humidity. Do not refrigerate—cold fridge air can introduce condensation and make pieces chewable. Stored properly, expect crispness to last a couple of weeks; refresh the fizz by sprinkling a tiny pinch of citric acid on pieces right before serving.

Final Thoughts
This recipe is a fun kitchen experiment with a reliably dramatic result: glassy, snapping candy that actually pops on the tongue. It’s quick, uses simple pantry ingredients, and rewards careful timing and a steady hand—go make a batch and keep the baking soda and thermometer close.
Conclusion
For more inspiration and step‑by‑step variations from other makers, see A Fun Homemade Pop Rocks Recipe – Craftsy, try the detailed photo walk‑through at Homemade Fizzy Pop Rocks Candy!!! – Instructables, or read the science behind the technique at How to Make Homemade Pop Rocks Candy – Science Notes.