I made this bubblegum fudge on a whim for a pink-themed party and ended up eating more than I handed out. It takes classic no-bake fudge into playful territory: glossy white chocolate flecked with candy-colored swirls, a heady bubblegum scent, and a melt-in-your-mouth texture that sets firmly in the fridge. If you like straight-up sweet with a nostalgic chew of bubblegum in the aroma, this is worth making tonight.
This recipe is fast — no tempering, no oven — and it gives you neat, firm squares that photograph like candy shop confections. It’s a fun cousin to my airy cloud-like treats, but denser and creamier; see how the color holds in the chilled fudge by comparison in my bubblegum cloud slice post.
Why You’ll Love This Recipe
- Real bubblegum flavor: 1 teaspoon of bubblegum extract gives a clear, candy-like aroma without watering down the white chocolate base.
- Smooth, sliceable texture: sweetened condensed milk and butter combine with the chips to create a dense, glossy fudge that keeps sharp edges when chilled.
- No-bake and quick: the stovetop comes together in about 10 minutes; the hands-off chill time is the only wait.
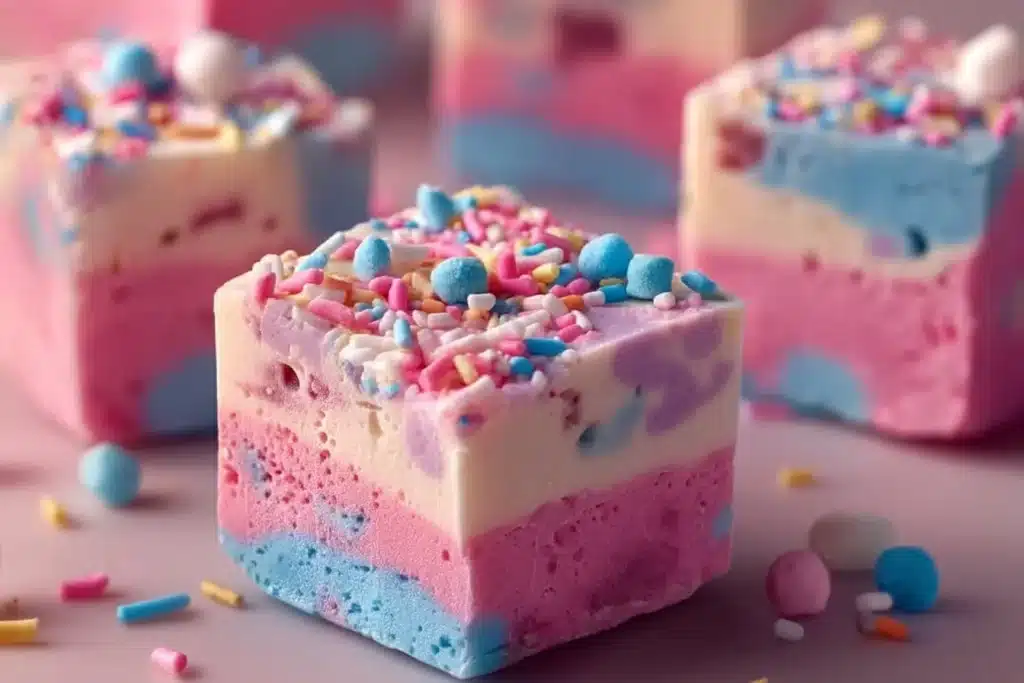
- Custom color and presentation: add pink, blue, or multi-color swirls and top with sprinkles for a party-ready look similar to my colorful chocolate coconut fudge photos.
- Make-ahead friendly: the fudge firms in the fridge and stores well for gifting or a dessert tray.
The Story Behind This Recipe
I was chasing a bright, bubblegum-forward treat that didn’t taste waxy — the white chocolate and condensed milk give a rich, creamy canvas that carries the bubblegum flavor cleanly without being one-note.
What It Tastes Like
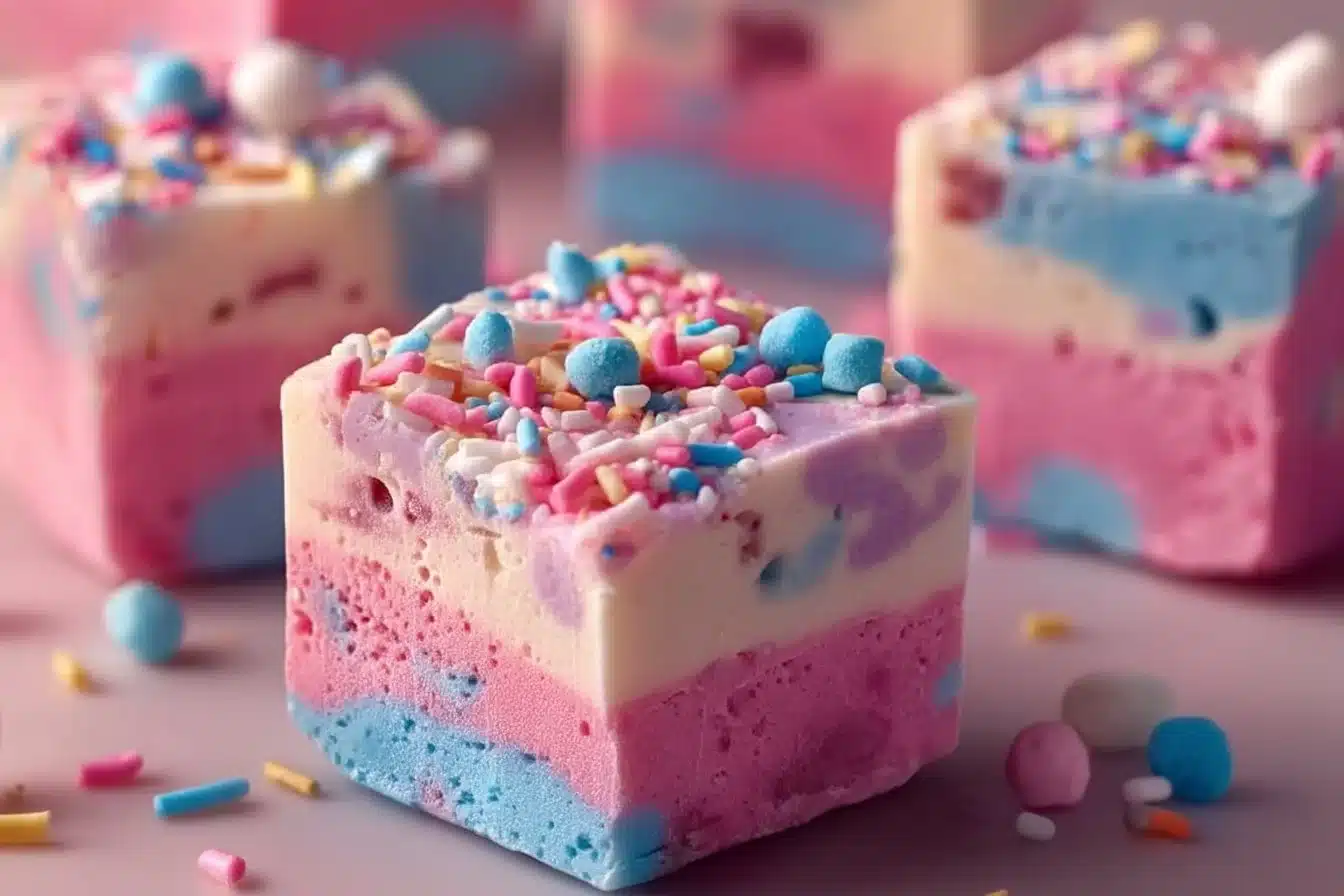
Sweet and intensely white-chocolate-forward, with a distinct bubblegum perfume on the nose. The texture is dense and creamy, not cakey — each bite gives a soft, firm chew that melts on the tongue. The sprinkles add a light crunch and visual contrast to the pale, glossy surface.
Ingredients You’ll Need
The most important ingredients are the white chocolate chips (they provide body and snap when chilled) and the sweetened condensed milk (it keeps the fudge creamy and helps it set without baking). Use a good brand of chips so the chocolate melts smoothly, and measure the bubblegum flavor carefully — a little goes a long way.
- 2 cups white chocolate chips
- 1 can sweetened condensed milk
- 1/4 cup butter
- 1 teaspoon bubblegum flavoring
- Food coloring (pink, blue, or colors of your choice)
- Sprinkles (optional)
How to Make Bubblegum Fudge
- Line an 8×8 inch baking dish with parchment paper, letting the paper overhang two opposite sides to create tabs for lifting the set fudge. This makes clean removal much easier.
- Combine the white chocolate chips, the entire can of sweetened condensed milk, and the 1/4 cup butter in a medium heavy-bottomed saucepan. Heat over medium, stirring constantly with a heatproof spatula. The chips should soften, then melt into the condensed milk — look for a thick, glossy, homogeneous mixture with no dry streaks of chocolate (about 5–8 minutes depending on your stove).
- Expert warning: keep the heat at medium and stir steadily; white chocolate can seize if it gets too hot. If you see graininess, remove from heat immediately and keep stirring — residual heat will usually smooth it out.
- Remove the pan from the heat as soon as the mixture is smooth and glossy. Stir in 1 teaspoon bubblegum flavoring, mixing until the scent is even and the liquid is uniform.
- Divide the mixture into bowls if you want multiple colors. Add a few drops of food coloring to each portion and stir until the color is even. For swirls, pour alternating spoonfuls into the prepared pan rather than fully mixing the colors together. The batter should be thick but pourable — if it sets too quickly, work faster while it’s still warm.
- Pour or spoon the fudge into the lined 8×8 pan and spread it evenly with an offset spatula or the back of a spoon. Tap the pan once or twice on the counter to level the surface and release any trapped air bubbles. If using sprinkles, scatter them on top now so they adhere while the surface is still tacky.
- Refrigerate the pan uncovered for about 2 hours, or until the fudge is firm to the touch and the center no longer yields when pressed gently. Done looks like a glossy, solid slab that holds its shape when lifted on the parchment tabs.
- Use the parchment tabs to lift the fudge from the pan. Transfer to a cutting board and slice into squares with a sharp knife; warming the blade briefly under hot water and wiping it dry between cuts will give the cleanest edges. Serve chilled or at cool room temperature.
Tips for Best Results
- Use a heavy-bottomed saucepan so the chocolate melts evenly and doesn’t scorch.
- Chop any oversized chips slightly if they’re very large; this helps them melt faster and more uniformly.
- Measure the bubblegum flavor by teaspoon — adding more will intensify the candy perfume but can become artificial-tasting quickly.
- For the cleanest slices, chill until fully firm (the center should be no longer jiggly) and warm a sharp knife between cuts to avoid tearing the surface. Consider placing the fudge back in the fridge between slicing sessions.
- If your mixture looks grainy after melting, keep stirring off the heat — gentle residual warmth usually brings the shine back. For persistent graininess, straining can remove a few lumps but is rarely necessary.
Variations and Substitutions
- Color play: split the batch into two bowls and tint one pink and one blue for a marbled, two-tone look.
- Leave out sprinkles if you prefer a clean, candy-shop surface — the fudge will be just as flavorful.
- Use a different extract (vanilla or almond) in place of bubblegum if you want the same texture but a classic flavor; the visual charm will be different but the technique remains the same.
How to Serve It
Cut into small 1-inch squares and arrange on a plate for a party platter, or wrap individual pieces in small squares of parchment for gifts. The chilled fudge pairs nicely with a bitter coffee or plain shortbread to offset the sweetness, and the glossy colored surface makes it a centerpiece on a candy table. 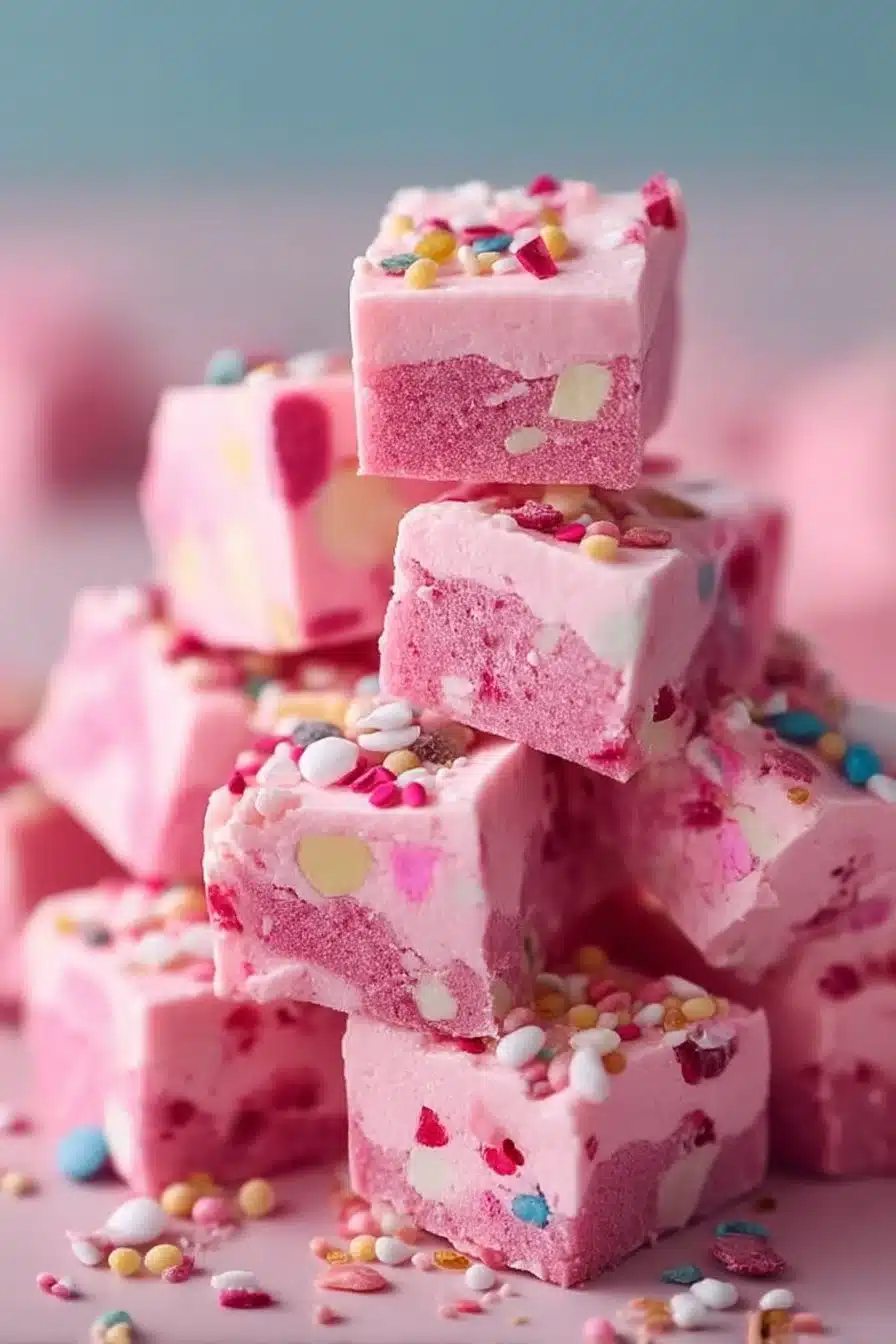
How to Store It
Store fudge in an airtight container in the refrigerator for up to 2 weeks — layer parchment between pieces to prevent sticking. For longer storage, freeze for up to 2 months; thaw in the fridge before serving. Add sprinkles right before serving if you want them to stay crisp — refrigeration can soften certain decorations.
Final Thoughts
This bubblegum fudge is a quick, no-fuss treat that delivers strong bubblegum aroma, creamy white-chocolate richness, and candy-perfect presentation with minimal effort. It’s an easy make-ahead sweet that holds up well for parties or gifting.
Conclusion
If you want extra party inspiration for pink or Barbie-themed treats, see the playful presentation ideas at Fab Everyday’s Bubblegum Fudge party ideas. For a slightly different take on candy-inspired fudge, check out the version shared by The TipToe Fairy’s bubblegum fudge. And if you’re curious about using flavorings similar to the bubblegum extract here, LorAnn Oils’ bubble gum fudge recipe has helpful notes on flavoring ratios.