
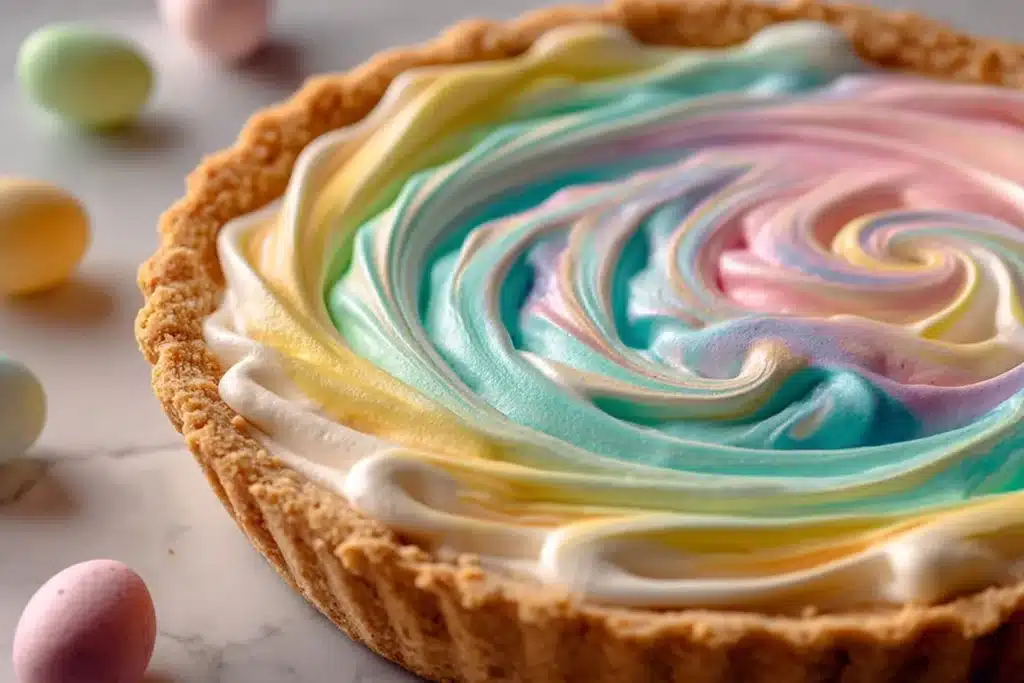
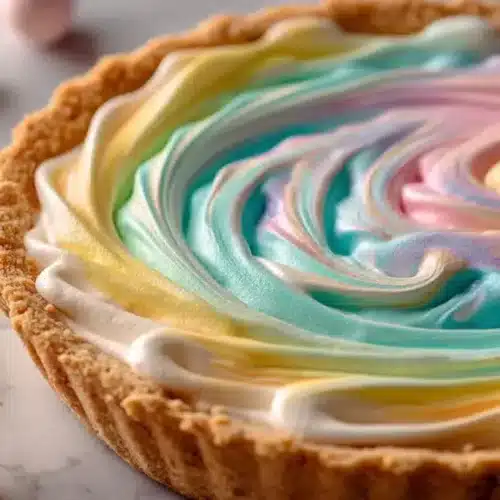
The quickest way to make a dessert table look “planned” is to bring something with color—and this Easter Swirl Pie does it with almost no effort. You get a buttery graham cracker crust (baked just long enough to smell toasty) topped with a fluffy cream cheese filling swirled in soft pastel ribbons.
It slices clean after a good chill, and every piece looks different in the best way. If you like the idea of a cheesecake-style pie without the fuss of a water bath or long bake, this is the kind of recipe you’ll make once and then keep in your back pocket; I keep a version noted in my recipe box and on my site at Easter Swirl Pie for exactly that reason.
Why You’ll Love This Recipe
- The graham cracker crust is baked for 8–10 minutes, so it sets up crisp and fragrant instead of tasting raw or sandy.
- The filling is cream cheese + whipped cream, which makes it lighter than a dense cheesecake—more like a mousse-meets-cheesecake texture.
- Pastel food coloring turns the filling into a marbled swirl that looks fancy, even if your swirling is a little messy.
- It’s a great make-ahead dessert: a 3-hour chill does the work while you do literally anything else.
- No special tools required—just a bowl, a spoon, and a knife or skewer to drag through the colors.
- Each slice has that satisfying contrast: buttery crunch on the bottom, cool and creamy on top.
The Story Behind This Recipe
I developed this one for the moment when you want an Easter dessert that’s cheerful and pretty but still realistic on a busy day—bake a quick graham crust, beat a simple cream cheese base, then swirl in a few pastel shades and let the fridge handle the “set.”
What It Tastes Like
Think classic sweetened cream cheese with a clear vanilla aroma, folded with whipped cream so it’s airy and soft rather than heavy. The sweetness is noticeable but not loud, and the best part is the texture shift: a crisp, buttery graham base against a chilled filling that melts quickly on your tongue. The pastel swirls don’t change the flavor much—they’re mainly for the look—but they make each bite feel a little more playful.
Ingredients You’ll Need
This pie is built on two simple parts: a graham cracker crust held together with melted butter and sugar, and a cream cheese filling lightened with whipped cream. Use softened cream cheese so it beats smooth (lumps are hard to fix later), and add the food coloring gradually—you want gentle Easter tones, not neon.
- 1 1/2 cups graham cracker crumbs
- 1/4 cup sugar
- 1/2 cup melted butter
- 300g cream cheese, softened
- 1/2 cup sugar
- 1 teaspoon vanilla extract
- 1 cup whipped cream or whipped topping
- Food coloring (pastel colors like pink, yellow, blue, green)
How to Make Easter Swirl Pie Recipe
Preheat the oven to 180°C (350°F).
You’re only baking the crust here, so this is a quick in-and-out situation.Mix the crust.
In a bowl, stir together the graham cracker crumbs, 1/4 cup sugar, and melted butter until the crumbs look evenly damp—like wet sand that holds together when you press it.Press into a pie dish.
Tip the mixture into your pie dish and press firmly across the bottom and up the sides. You’re aiming for an even thickness so it bakes and slices cleanly. (If you leave thin spots, they can crumble when you serve.)Bake for 8–10 minutes, then cool.
Bake just until the crust smells toasty and looks a shade darker. Let it cool completely—if the crust is warm, the filling can loosen and slide instead of setting up nicely. For another approach to this same idea, I also keep notes on a one-pan swirl pie method.Beat the cream cheese base until smooth.
In a bowl, beat the softened cream cheese with 1/2 cup sugar and the vanilla until it looks creamy and lump-free. Stop once it’s smooth—overmixing can make it looser than you want.Fold in the whipped cream.
Gently fold in the whipped cream (or whipped topping) until the mixture looks uniform and airy. You want it light and spoonable, not runny.Divide and tint with food coloring.
Split the filling into separate bowls and add a small amount of food coloring to each. Mix until you get soft pastel shades—go slowly; it’s easier to add than to fix an over-bright color.Dollop the colors into the cooled crust.
Spoon alternating dollops of each color into the crust. Don’t overthink it—random placement is what creates that marbled look.Swirl lightly.
Use a knife or skewer to drag through the dollops with a few gentle passes. Fewer swirls = clearer ribbons; too much swirling blends everything into one color.Chill until set (at least 3 hours).
Refrigerate until the top feels firm and the pie doesn’t wobble like a liquid when you nudge the dish. This chill time is what makes clean slices possible.Slice and serve.
Cut into slices and enjoy the color reveal. If you’re planning an Easter dessert spread, this pairs well with simple no-bake treats like Rice Krispies Easter egg treats.
Tips for Best Results
- Cool the crust completely before adding filling. Even slight warmth can soften the filling and blur your swirls.
- Soften the cream cheese fully so it beats smooth; any lumps will show up as little white specks in your pastel colors.
- Fold (don’t beat) the whipped cream in. Gentle folding keeps the filling fluffy; vigorous mixing can deflate it.
- Swirl with restraint. A few deliberate passes give you distinct ribbons; over-swirling turns the filling into one muddy shade.
- Chill the full 3 hours (or longer if your fridge runs warm) for tidy slices that hold their shape on the plate.
Variations and Substitutions
- Whipped cream vs. whipped topping: either works here; whipped topping tends to set a bit more firmly, while whipped cream feels a touch lighter.
- Color palette: stick to pastel shades (pink, yellow, blue, green) for the classic Easter look, or use fewer colors for bolder, cleaner swirls.
- If you’re in a pie mood, this has the same fun, sliceable vibe as my birthday cake pie, just with a cooler, creamier finish.
How to Serve It
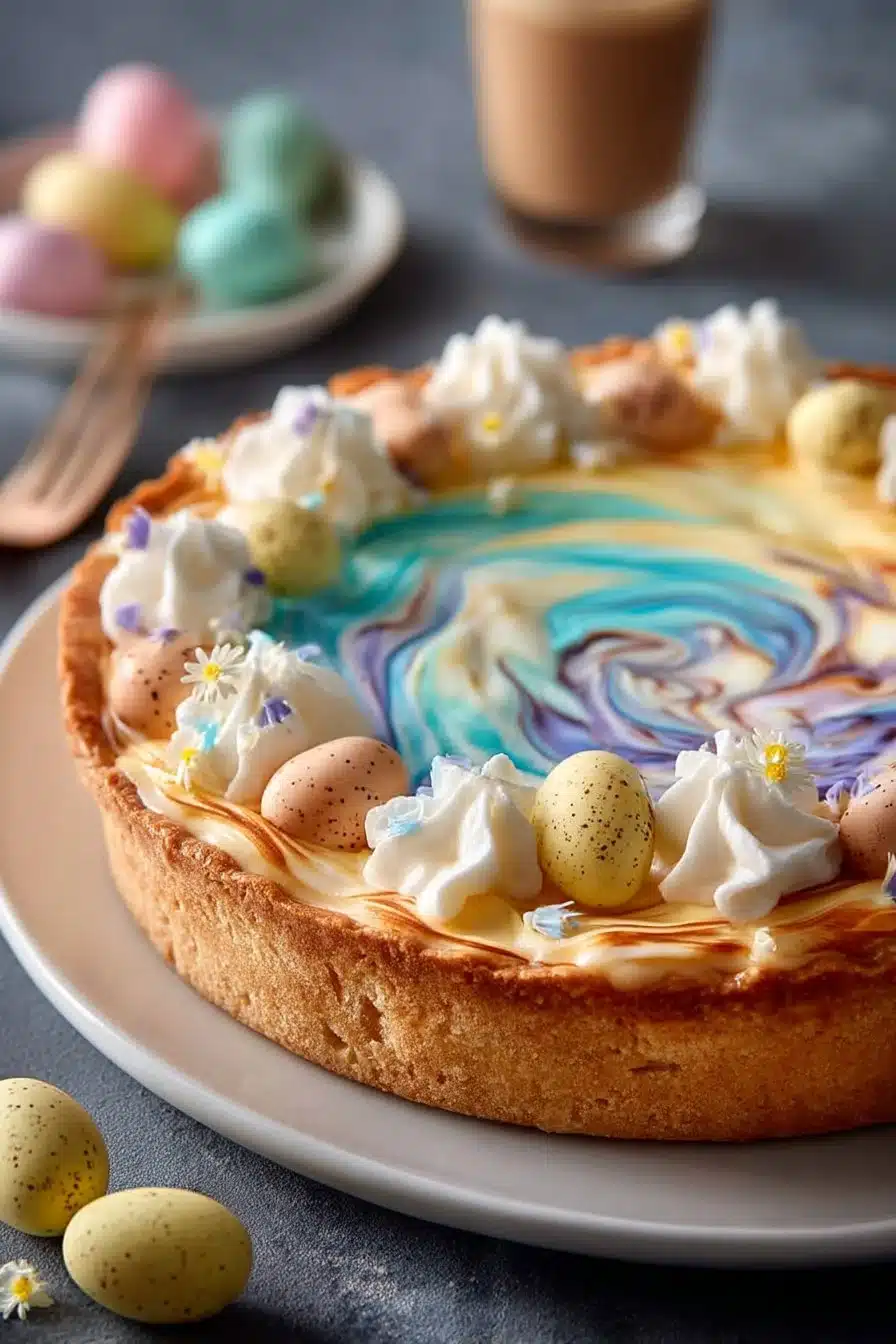
Serve this pie well-chilled so the filling stays fluffy and the slices keep their clean edges. I like cutting modest slices because it’s rich, then letting the swirl pattern be the “decoration.” If you’re building a no-bake dessert lineup, adding something bite-sized alongside—like banana pudding Easter truffles—makes the whole table feel intentional without extra oven time.
How to Store It
Store the pie covered in the refrigerator so the filling stays firm and the crust doesn’t pick up fridge odors. Since it needs at least 3 hours to set anyway, it’s an easy make-ahead dessert—make it earlier in the day and slice right before serving for the cleanest swirl definition.

Final Thoughts
If you want an Easter dessert that looks like you spent more time than you did, this swirl pie is the move: crisp graham crust, vanilla-scented cream cheese filling, and those pastel marbles that make every slice a little different.
Conclusion
If you’d like to compare swirl patterns and color techniques, this Swirl Easter Cheesecake Pie guide is a helpful reference. For another take on the same springy idea, check out Easter Swirl Pie variations. And if you’re into swirled, chilled pies in general, you might also enjoy this no-bake fudge swirl pie for a deeper, richer flavor direction.
Easter Swirl Pie
Ingredients
For the crust
- 1 1/2 cups graham cracker crumbs
- 1/4 cup sugar
- 1/2 cup melted butter Use unsalted butter for best flavor.
For the filling
- 300 g cream cheese, softened Ensure it is at room temperature for easy mixing.
- 1/2 cup sugar
- 1 teaspoon vanilla extract
- 1 cup whipped cream or whipped topping Either can be used, but whipped topping sets a bit more firmly.
- Food coloring (pastel colors like pink, yellow, blue, green) Add gradually for desired color.
Instructions
Preparation
- Preheat the oven to 180°C (350°F).
- In a bowl, stir together the graham cracker crumbs, 1/4 cup sugar, and melted butter until the crumbs look evenly damp.
- Press the mixture firmly into a pie dish across the bottom and up the sides.
- Bake for 8–10 minutes until the crust smells toasty and looks a shade darker. Let it cool completely.
Filling
- In a bowl, beat the softened cream cheese with 1/2 cup sugar and vanilla until smooth.
- Gently fold in the whipped cream until the mixture is light and uniform.
- Divide the filling into separate bowls and tint with pastel food coloring, mixing gently.
- Dollop the colored fillings into the cooled crust in alternating patterns, creating a marbled look.
- Use a knife or skewer to swirl lightly through the dollops.
Chilling and Serving
- Chill the pie for at least 3 hours until set.
- Slice and serve well-chilled, enjoying the visual reveal of the colorful filling.


