Why This One Delivers
Glowing Bouncy Moon Rocks turn a regular afternoon into a glowing, bouncy mini science lab that keeps kids happily busy while you stay mostly mess free. You get a project that feels magical and hands on, but uses the same kind of pantry and craft staples you already keep around the house.
The simple pantry style ingredients mean you probably already have most of what you need, from white glue to cornstarch, so you can go from idea to action in minutes. The fizz when the vinegar hits the baking soda creates a tiny kid safe science show and buys you a few solid minutes of wide eyed focus. Then the glow in the dark powder steps in and turns the whole project into a nighttime event instead of a one and done craft. It transforms easily into a themed play night, just like when we turn simple sugar cookies into galaxy cookies with extra sprinkles and imagination.
From a practical parent point of view, Glowing Bouncy Moon Rocks respect your time and your floors. You work in one mixing bowl over a plastic tray, and washable glue keeps cleanup from becoming a quick path to frustration. The mixture starts as a stir in bowl project, then becomes a hands in squishy dough that doubles as sensory play while the kids form their moon rocks. Once shaped, the rocks simply air dry, or you can tuck them into a low oven to speed it along while you prep something fun like galaxy popcorn or no churn ice cream for a little space themed dessert break. The finished glowing rocks do not crumble like chalk, they stay sturdy enough for repeated play missions to the moon, and they invite the same kind of cozy, creative time in the kitchen that you get from rolling truffles or scooping cookie dough together.
From Prep to Finish
Think of making Glowing Bouncy Moon Rocks as a craft night with a side of kitchen science. Start by covering your table with newspaper or a plastic cloth, just like you would before a serious cookie decorating session. Set a large mixing bowl over a tray or baking sheet to catch any stray splatters.
Measure your white glue the same way you would measure honey, then level the cornstarch as you would flour. Whisk the glue and water together until the mixture looks smooth and glossy, with no streaks of thick glue at the bottom of the bowl. When you sprinkle in cornstarch, add it slowly and stop when the texture feels like slightly sticky bread dough. If the kids get excited and over pour, just add a pinch more cornstarch and keep kneading until it pulls away from the sides of the bowl and leaves only a light film on your fingers.
The magic moment for these Glowing Bouncy Moon Rocks happens with the vinegar and baking soda. I like to have everyone step back just a bit and lean in to watch the fizz, the way you might watch a soufflé rise through the oven window. Sprinkle the baking soda over the surface, pour the vinegar around the edges, and let the bubbles do their thing. Wait for the bubbling to calm down before you stir again, then work in the glow powder until the color looks even and a little mysterious. Scrape around the bottom and sides of the bowl so no streaks of plain dough hide underneath. Let the bowl rest for about 5 minutes. That breathing time lets the mixture thicken, just like letting pancake batter sit before you cook.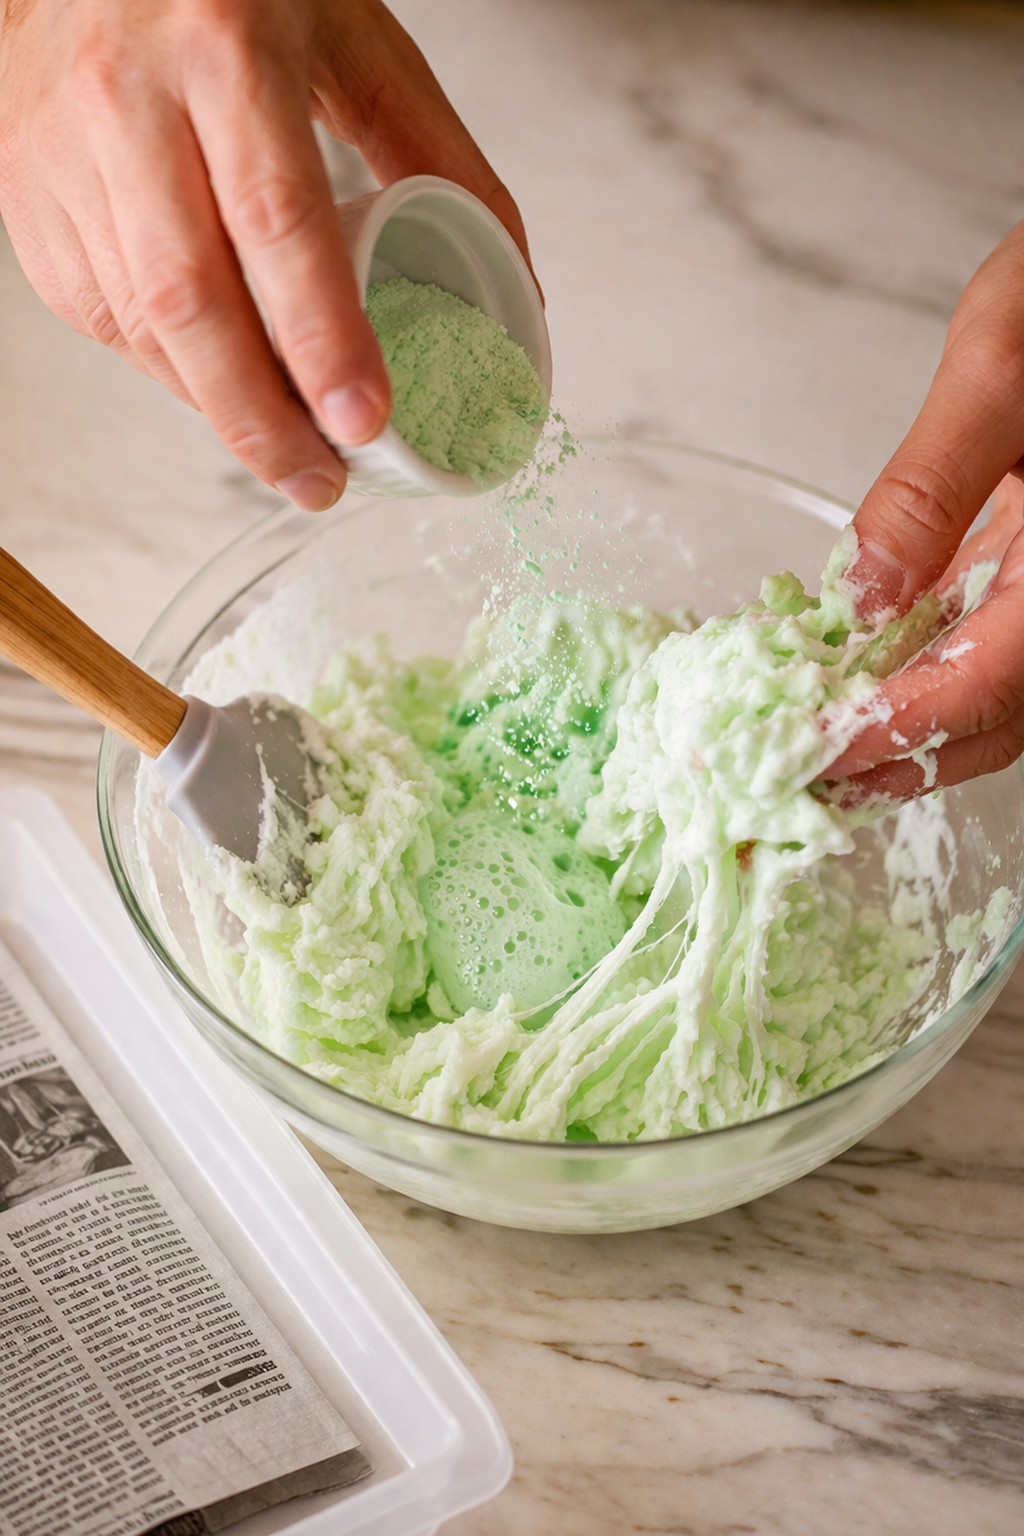
Process Image of Glowing Bouncy Moon Rocks
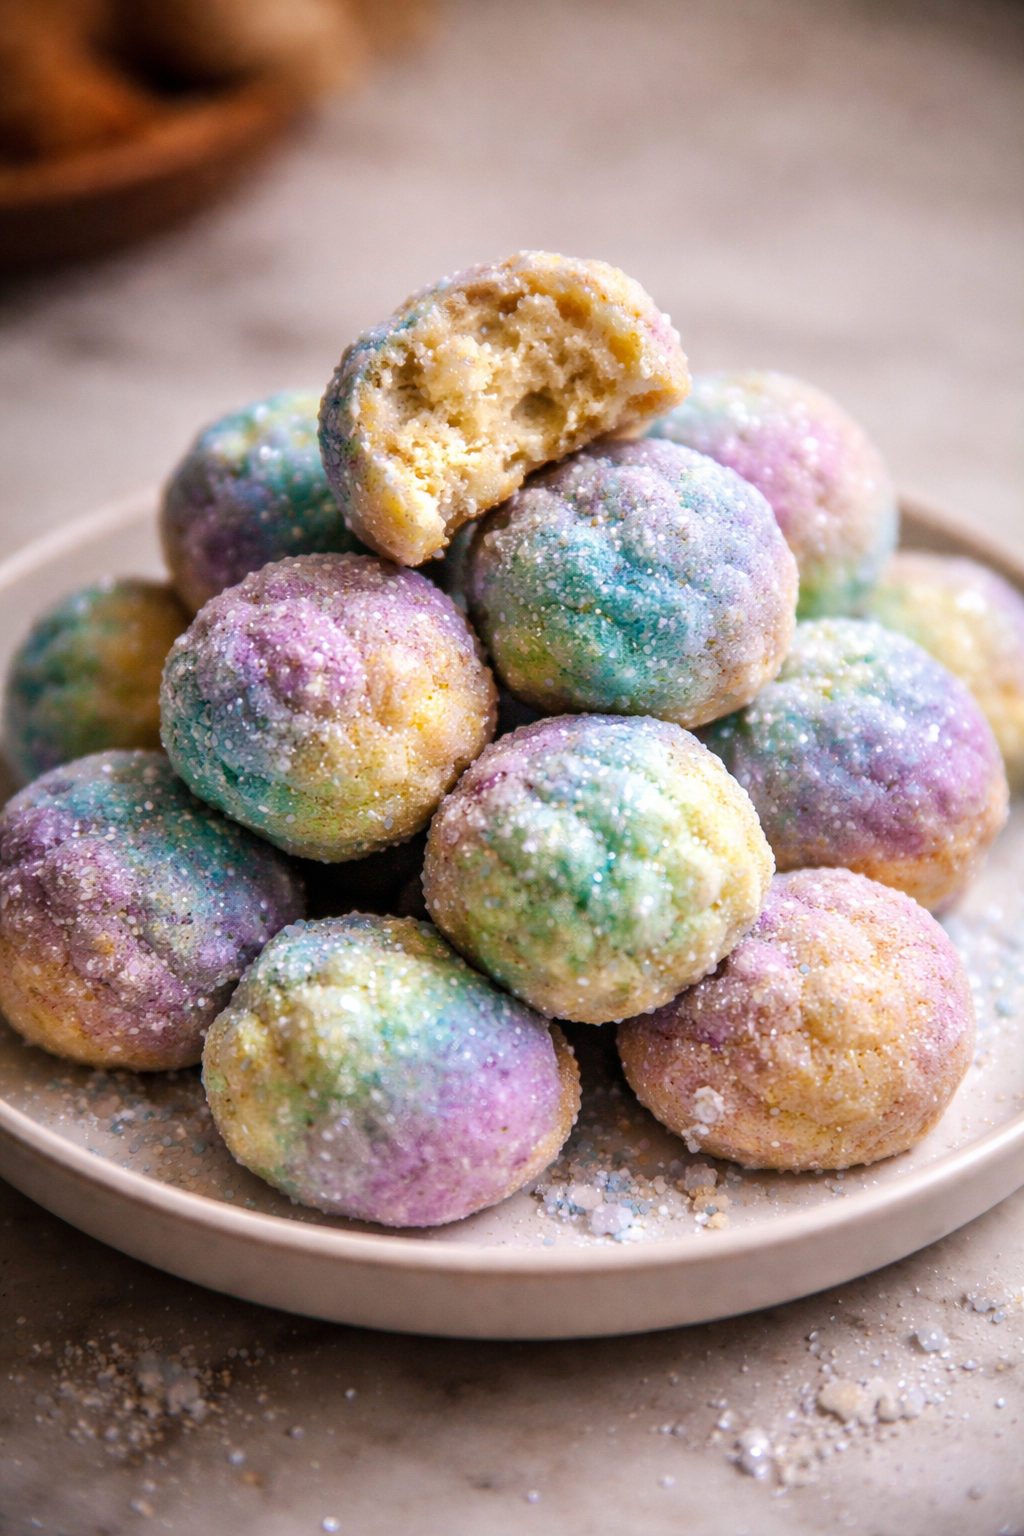
Now you are ready to shape your moon rocks. Scoop tablespoon sized portions and roll them lightly between your hands, the way you would form small truffles or cookie dough balls. If the dough sticks, dust your palms with a tiny bit of cornstarch. Press in a few craggy edges or dimples so they look like tiny moons instead of perfect marbles. Place each rock on a plastic tray or parchment lined baking sheet so they have room to dry without touching.
You can air dry them for a full day, or speed things up by using a warm oven on its lowest setting with the door slightly ajar, the way you would gently dry meringues. Rotate the tray halfway through drying so they set evenly. Once they feel firm and a little springy, turn off the lights, charge them under a lamp, and bring out your glowing galaxy of bouncy fun.
Timing, Storage, and Make-Ahead
Glowing Bouncy Moon Rocks reward a little patience. Plan for about 20 minutes of active making time, then at least 24 hours of drying for the outside to set. If your kitchen is humid, they may need closer to 36 hours, and you can flip them halfway through drying to keep the bottoms from staying tacky. For a quicker set, place them on a parchment lined tray and put them in a very low oven, around the warming setting, for 30 to 45 minutes, then let them finish air drying on the counter. You will know they are ready when the surface feels firm and only the very center gives a tiny bit when you squeeze.
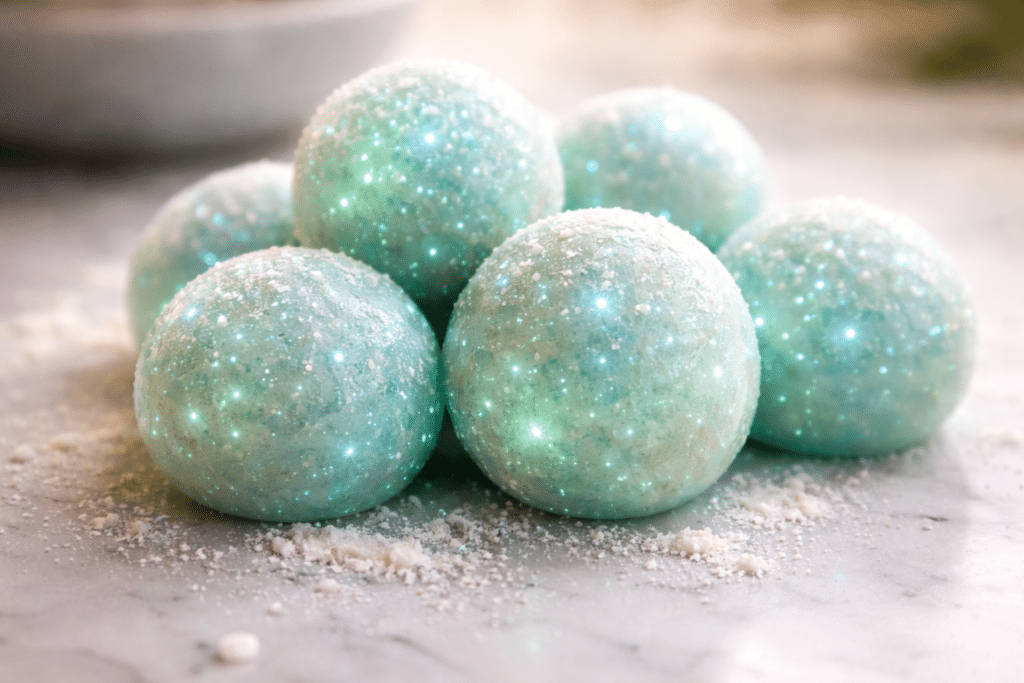
Once your Glowing Bouncy Moon Rocks are dry, keep them in a cool, dry spot away from direct sunlight so the glow stays bright longer. I like to store them in a shallow container with the lid slightly ajar, or in a paper bag tucked into a cabinet, which prevents moisture from building up. Avoid sealing them tightly in plastic for long stretches, since that can make them soften or turn a little sticky over time. These are best within about one week for the ideal bouncy, rubbery texture, after that they will slowly get harder and a bit more crumbly.
If you want them for a birthday party or a nighttime glow treasure hunt, you can absolutely make Glowing Bouncy Moon Rocks ahead. Shape them 2 to 3 days before you need them, let them dry completely, then store them as described so they are ready to glow when the lights go out. Right before playtime, you can charge them by holding them under a bright lamp or sunlight for 10 to 15 minutes, just like you would with glow in the dark cookies or galaxy cupcakes. For especially eager kids, it can help to make one small test batch first, so everyone can see how the texture and glow change from day one to day three.
Ingredient Swaps and Serving Options
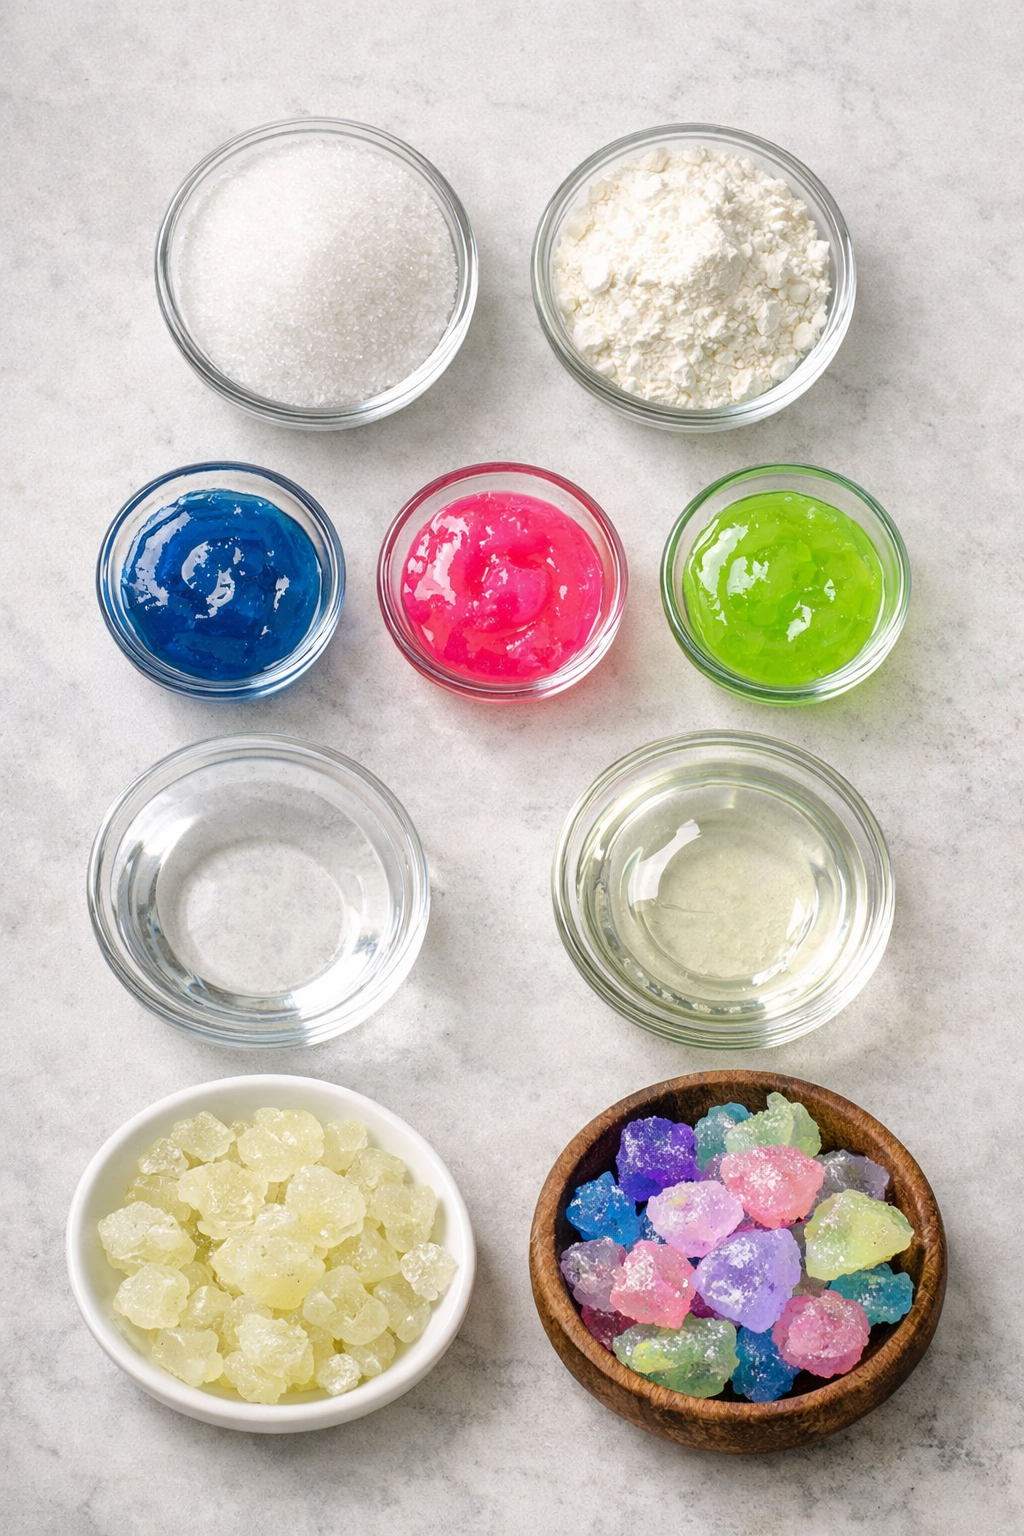
Ingredients Image of Glowing Bouncy Moon Rocks
If you are missing an ingredient for your Glowing Bouncy Moon Rocks, you can still keep the fun going. You can swap cornstarch for an equal amount of all purpose flour, just know the dough may feel a little stickier, so add a spoonful of extra flour if needed. Clear glue also works instead of white glue, which gives your moon rocks a more crystal like glow. If you cannot find glow in the dark powder, try neon craft paint or bright food coloring for color, then use a black light to make them pop. For kids sensitive to vinegar smells, lemon juice gives a gentler scent and a slightly less dramatic fizz.
You can serve these glowing moon rocks in all sorts of playful ways that feel a bit like setting out dessert, just without the sugar. Arrange finished rocks in muffin tins or silicone cupcake liners and let kids choose their flight of rocks to explore, a trick I also use with small candy clusters in my kitchen. Hide dry Glowing Bouncy Moon Rocks in a bin of rice, dried beans, or clean play sand for a glowing treasure hunt. For a nighttime version, place them on a lined baking sheet, turn off the lights, and bring out a flashlight or black light for a backyard moon walk. If you want to build a whole glowing themed afternoon, pair this activity with something sweet and simple such as no bake cereal clusters or easy chocolate dipped pretzel rods so your little crafters can taste a treat while their rocks dry.
Serving Image of Glowing Bouncy Moon Rocks
Conclusion
The best part of a project like this is not just the glowing surfaces or the bouncy, rubbery feel. It is the way a simple kitchen craft can turn an ordinary afternoon into something you remember. Whether you are making these with wide eyed kids, a curious friend, or just keeping yourself company in a quiet kitchen, you are creating a tiny bit of magic with every batch of Glowing Bouncy Moon Rocks.
As you roll the dough and watch the colors come to life in the dark, you are not just mixing glue and cornstarch. You are building traditions, stories, and little in jokes that only your favorite people understand. I hope you print this one, tuck it into your project box, and pull it out whenever you want the day to feel a little more playful and bright.
If your fingers are already itching, take this as your sign to cover the table, grab the glue, and give Glowing Bouncy Moon Rocks a try. Then tell me how it went and what memories you shaped into your batch. For more playful, cozy desserts and baking inspiration, follow along with me for more recipes and sweet ideas.
Recipe Card Image of Glowing Bouncy Moon Rocks
Recipe
Glowing Bouncy Moon Rocks
Ingredients
Ingredients
- 1 cup white washable glue
- 1/2 cup cornstarch
- 1/2 cup water
- 2 tablespoons vinegar
- 1 tablespoon baking soda
- 3 tablespoons glow-in-the-dark powder
- 1 plastic tray
- 1 mixing bowl
- 1 plastic tablecloth or newspaper for workspace covering
- 1 baking sheet or additional tray for drying
Instructions
- Cover your workspace with a plastic tablecloth or newspaper and place a plastic tray underneath a mixing bowl to catch any drips.
- Pour the white glue into the mixing bowl, then add the water and stir until the mixture looks smooth and evenly combined.
- Gradually add the cornstarch while stirring until a thick, dough-like mixture forms that pulls away from the sides of the bowl.
- Sprinkle the baking soda evenly over the surface of the dough.
- Pour the vinegar around the baking soda in the bowl and allow the mixture to fizz until the bubbling mostly stops.
- Stir the mixture again until the baking soda and vinegar are fully incorporated and the dough is smooth.
- Add the glow-in-the-dark powder to the bowl and knead or stir until the glow powder is evenly distributed throughout the dough.
- Let the mixture rest in the bowl for 5 minutes so it can thicken slightly and become easier to shape.
- Scoop out tablespoon-sized portions of the mixture and roll each portion between your hands to form balls or irregular moon rock shapes.
- Place each shaped moon rock on a clean plastic tray or baking sheet so they are not touching.
- Leave the moon rocks at room temperature to air dry for at least 24 hours, turning them once halfway through drying to help them dry evenly.
- Once dry and slightly bouncy, charge the moon rocks under a bright light for several minutes before turning off the lights to enjoy their glow.
Notes
– If the dough feels too sticky while shaping, lightly dust your hands with a small amount of cornstarch.
– For quicker drying, place the rocks on a tray in a very low warm oven with the door slightly open for 30 to 45 minutes, then finish drying at room temperature.
– Store completely dry moon rocks in a cool, dry place away from direct sunlight to help preserve their glow.