The Practical Why Behind It
No Bake Peanut Butter Oat Cups are the kind of treat that quietly earns a permanent place in your rotation because they solve several everyday problems at once. You get a built in portion snack that feels like a bakery treat, without turning on the oven or dirtying a sink full of dishes. The base uses pantry staples you probably already have, so when the late night sweet craving hits or you need a lunchbox treat in the morning, you can have a batch in the freezer in about 15 minutes. They also keep well, so you can make them on Sunday and have grab and go bites ready all week instead of rummaging for cookies or candy.
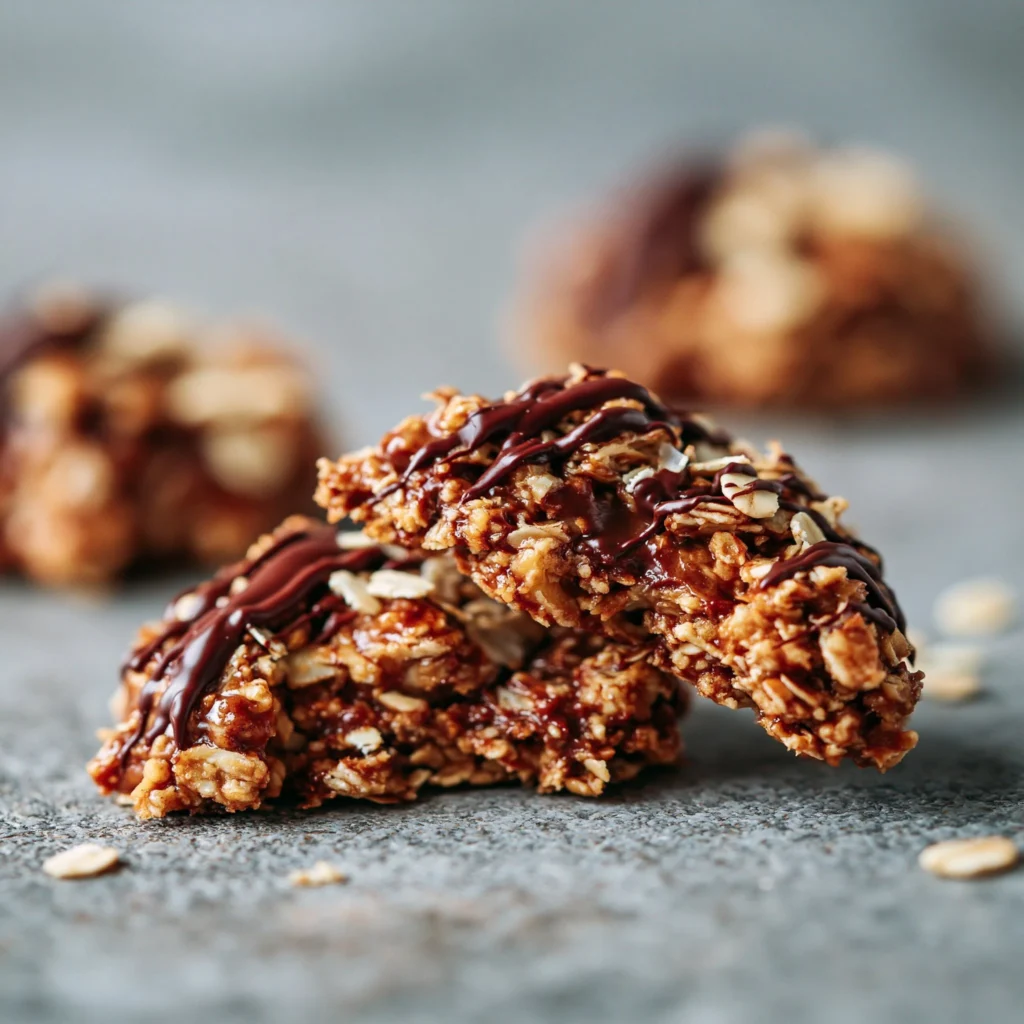
There is also a very practical texture and nutrition reason this recipe works so well. The peanut butter, coconut oil, and oats firm up when chilled, so your cups slice cleanly, travel well, and do not crumble into your bag or onto the car seat. You get satisfying chew from the oats, slow burning richness from the peanut butter, and that thin snap of chocolate on top that scratches the dessert itch. Compared to many baked peanut butter desserts, these No Bake Peanut Butter Oat Cups stay moist and fudgy straight from the fridge, no reheating or softening required. If you already love simple treats like peanut butter oatmeal bars or classic rice cereal clusters, this recipe hits that same nostalgic note, only with a more intentional, bakery worthy finish.
Step-by-Step Method
Start by lining a standard 12 cup muffin tin with paper or silicone liners, and set it aside so you are ready to move quickly once your base is mixed. In a medium mixing bowl, whisk together the peanut butter, maple syrup, melted coconut oil, vanilla bean paste, and a pinch of salt until the mixture looks glossy and smooth. Take a second to scrape down the sides of the bowl so everything blends evenly.
Pour in the rolled oats and stir until every flake is coated and the mixture feels thick and sticky, similar to a very soft granola bar mix that just holds together when pressed. Scoop about 2 tablespoons of this mixture into each muffin liner, then use the back of a spoon or your fingertips to press it firmly and evenly into a compact base. You want a flat, tight layer without loose oats on top. Pop the pan into the freezer so the base can firm up while you prepare the chocolate for your No Bake Peanut Butter Oat Cups.

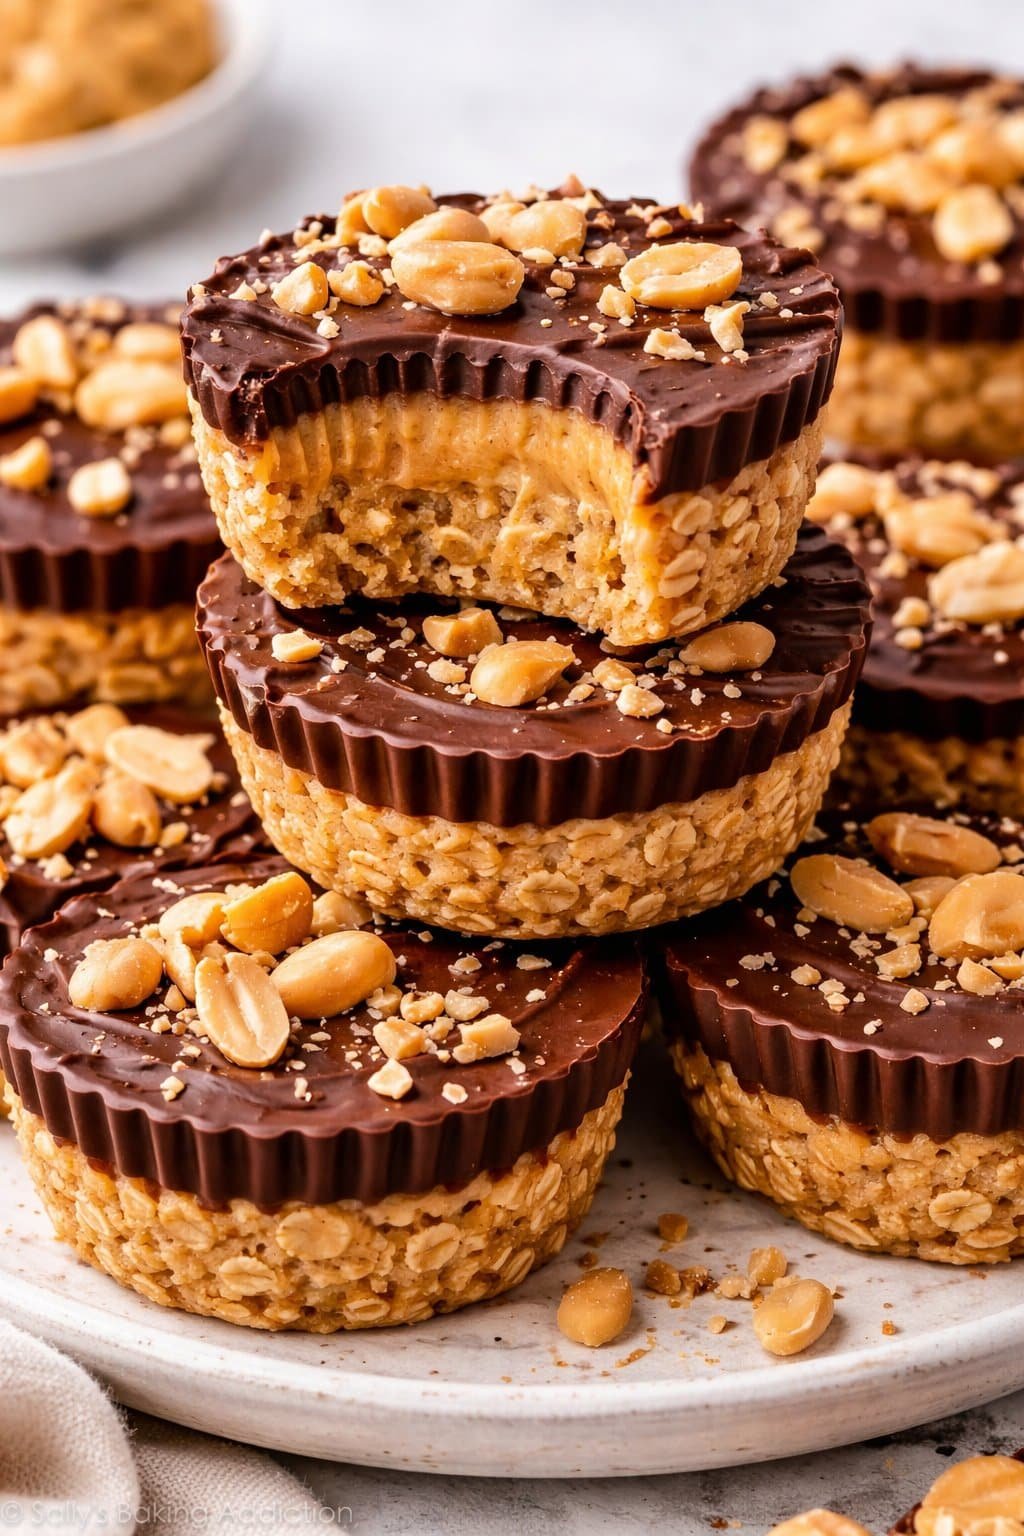
Process Image of No-Bake Peanut Butter Oat Cups
For the topping, place the chocolate chips and coconut oil in a microwave safe bowl and heat in 30 second bursts, stirring well between each round, until completely melted and smooth. The chocolate should look shiny and flow easily off the spoon. If you prefer the stovetop, you can melt the chocolate over a pot of gently simmering water and keep stirring so it does not scorch or seize.
Remove the chilled bases from the freezer and spoon the melted chocolate on top of each one. Tilt the pan slightly or nudge the chocolate with the back of the spoon so it spreads into an even layer that reaches the edges. While the chocolate is still soft, sprinkle on a pinch of flaky sea salt to add contrast and bring out the peanut flavor. Return the pan to the freezer for 15 to 20 minutes, until the chocolate sets and the No Bake Peanut Butter Oat Cups come out of the liners in one solid, tidy piece. At this point they are ready to enjoy or to tuck into the fridge for later.
Make-Ahead and Storage Notes
No Bake Peanut Butter Oat Cups were made for planning ahead, which makes them perfect for busy weeks, lunch boxes, and late night cravings. You can prepare the full batch, let them set completely in the freezer, then transfer the cups to an airtight container. I like to stack them in layers separated with parchment so the chocolate tops stay smooth and the peanut butter oat base does not stick. In the refrigerator, these cups keep their texture and flavor for about 1 week, and they stay pleasantly firm yet chewy. If you know you want a longer stash, freeze half the batch so you are not racing the clock to finish them.
For longer storage, freeze your No Bake Peanut Butter Oat Cups in a single layer until solid, then move them to a freezer bag or lidded container. Press out extra air, label the container, and you are set for up to 2 months. When you are ready to enjoy, let a cup sit at room temperature for 10 to 15 minutes or pop it in the fridge to thaw for about 30 minutes, until the chocolate topping softens slightly and the center loses its icy chill. If your kitchen runs warm, store them in the refrigerator instead of on the counter, or the chocolate can smudge and the coconut oil can soften too much. These same storage tips also work beautifully for similar treats like chocolate peanut butter bars or your favorite no bake granola clusters, so once you have a system you can keep a little dessert treasure box in your freezer at all times.
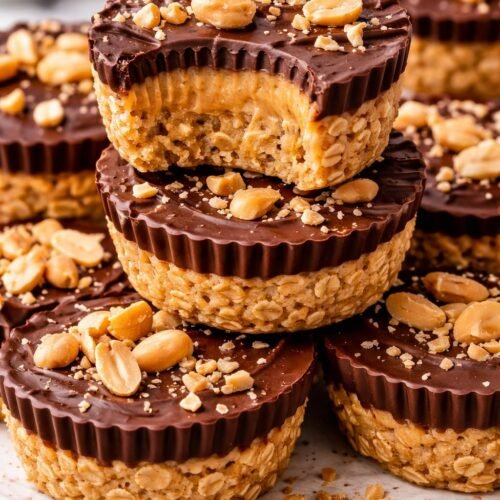
Variations and How to Serve It

Serving Image of No-Bake Peanut Butter Oat Cups
You can take these No Bake Peanut Butter Oat Cups in a lot of directions without losing that bakery style feel. For a classic twist, swap the peanut butter for almond or cashew butter, and use dark chocolate chips for a slightly more grown up flavor. Stir in 2 to 3 tablespoons of mini chocolate chips or chopped peanuts with the oats for extra texture, or add a handful of shredded coconut to the base for a more tropical version. If you want these closer to a breakfast bite, cut the chocolate layer in half, use unsweetened peanut butter, and drizzle a little honey over the top instead of a full shell of chocolate. For a kid friendly batch, leave off the flaky salt and finish with a few colorful sprinkles scattered over the still warm chocolate.
When it comes to serving, treat these No Bake Peanut Butter Oat Cups like you would a really good peanut butter brownie or fudge bar. Serve them chilled from the fridge for a firm, chewy bite, or let them sit at room temperature for about 5 minutes if you prefer a softer, almost truffle like texture. I love putting them out on a dessert board with fresh strawberries, sliced bananas, and something crunchy like pretzels so everyone can mix sweet, salty, and fruity in one plate.
For a make ahead dessert, stack the cups between small pieces of parchment in a container, then pass them around with coffee after dinner. If you are planning a baking day with other easy treats, these pair beautifully with simple no bake bars and chocolate peanut clusters, and they always disappear first. You can even tuck one into a lunchbox next to apple slices for a sweet little surprise.
Conclusion
Every time I make a batch of these, I am reminded that the sweetest kitchen moments rarely require a mixer, a timer, or a perfect plan. A few simple ingredients, a small saucepan, and ten calm minutes on the counter can turn into an afternoon snack with your kids, a surprise treat for a friend, or a cozy bite shared on the couch after a long day. These little cups feel casual enough for everyday, but special enough to say, “I made this just for you.”
If you have been craving something easy, comforting, and just a little nostalgic, this is your sign to give these No Bake Peanut Butter Oat Cups a try. Pull out your muffin pan, invite a helper or two into the kitchen, and let this be the reason you pause and snack together. I hope this recipe brings as much warmth to your home as it has to mine, one bite at a time.
For more delicious recipes like this, follow Taste to Rate on Facebook and Pinterest so you never miss a new cozy dessert.
Recipe Card Image of No-Bake Peanut Butter Oat Cups
Recipe
No-Bake Peanut Butter Oat Cups
Ingredients
Ingredients
- 1 cup creamy peanut butter
- 1/4 cup pure maple syrup or honey
- 1/4 cup melted coconut oil
- 1 1/2 cups old-fashioned rolled oats
- 1/2 teaspoon vanilla bean paste or vanilla bean paste
- 1/8 teaspoon fine salt
- 1 cup semi-sweet chocolate chips or dark chocolate chips
- 1 tablespoon coconut oil
- 1/2 teaspoon flaky sea salt
Instructions
- Line a standard 12-cup muffin tin with paper or silicone liners and set aside.
- In a medium bowl, stir together the peanut butter, maple syrup, 1/4 cup melted coconut oil, vanilla bean paste, and fine salt until smooth and glossy.
- Add the rolled oats to the peanut butter mixture and stir until all of the oats are evenly coated and the mixture is thick and sticky.
- Scoop about 2 tablespoons of the oat mixture into each muffin cup, dividing it evenly among the 12 liners.
- Use the back of a spoon or your fingertips to press the mixture firmly into an even, compact layer in the bottom of each liner.
- Place the muffin tin in the freezer for 10 minutes to allow the base layer to firm up.
- In a microwave-safe bowl, combine the chocolate chips and 1 tablespoon coconut oil.
- Microwave the chocolate mixture in 30-second intervals, stirring after each, until the chocolate is fully melted and smooth.
- Remove the muffin tin from the freezer and spoon the melted chocolate over each oat base, dividing it evenly and tilting or spreading so the chocolate covers the surface.
- While the chocolate is still soft, sprinkle a small pinch of flaky sea salt over the top of each cup.
- Return the muffin tin to the freezer for 15 to 20 minutes, or until the chocolate is fully set and the cups are firm.
- Once set, remove the cups from the muffin tin and store them in an airtight container in the refrigerator until ready to serve.
Notes
- For longer storage, freeze the cups in a single layer until solid, then transfer to a freezer-safe container and freeze for up to 2 months.
- Let frozen cups sit at room temperature for 10 to 15 minutes before serving for the best texture.
- Use natural or regular creamy peanut butter, but avoid very dry or oily jars that do not stir together smoothly.