Why This Recipe Works
This Millionaire Cheesecake starts with a simple graham cracker crumb and butter crust that never turns tough or dry, because the high butter content helps the crumbs fuse together into a firm but tender base. Pressing the crumbs firmly into the springform pan creates a sturdy foundation that holds up to slicing, so you get those clean bakery style layers instead of crumbling edges. Using a 9 inch springform pan also keeps the cheesecake tall and impressive, without risking overflow in the oven.
The filling uses full fat cream cheese, sugar, and eggs in just the right ratio to give you a smooth, creamy texture that sets gently without curdling. Mixing the eggs in on low speed and only until combined avoids whipping in too much air, so your Millionaire Cheesecake bakes up with a level top instead of a puffy center and deep cracks. Baking at 325°F keeps the heat gentle enough for even cooking, so the edges do not overbake before the center is almost set.
Vanilla bean paste adds tiny specks of flavor packed seeds, so even with a short ingredient list, the cheesecake tastes as rich as one from a high end bakery. A full chill time in the refrigerator gives the texture a chance to tighten and turn velvety, which is what makes each slice hold its shape. Finishing with a glossy caramel sauce on top mimics millionaire shortbread flavors in cheesecake form, without needing extra layers of ganache or candy, so you get that decadent finish with very little effort.
How to Make It
You will start your Millionaire Cheesecake with the crust, since that sets the stage for everything else. Stir the finely crushed graham cracker crumbs with the melted butter until the mixture looks like wet sand and holds together when you pinch it. If it seems too dry and dusty, add another spoonful of melted butter, then press it firmly into a 9 inch springform pan, really packing it up the sides with the bottom of a measuring cup. You want a tight, even layer so it slices cleanly and does not crumble. Pop the crust in the fridge while you make the filling, which gives it a head start on setting.

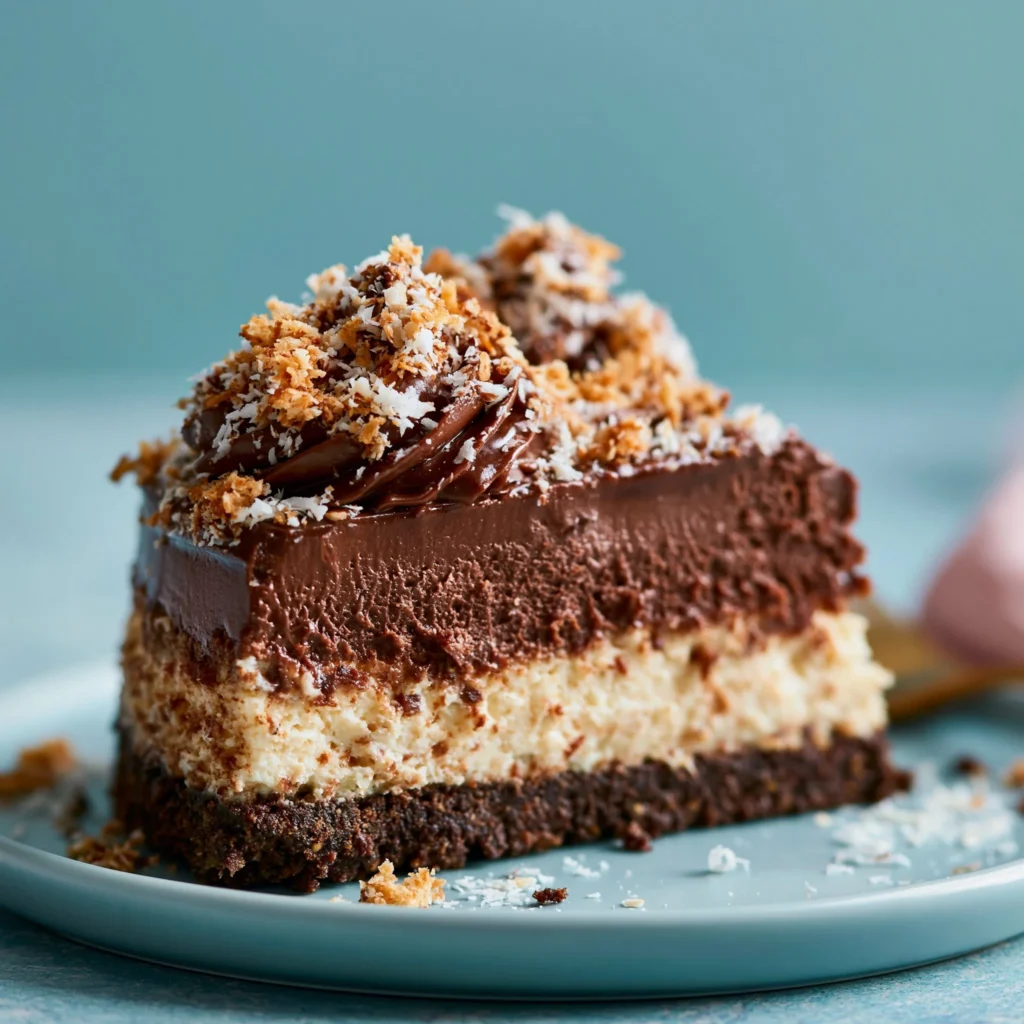
Process Image of Millionaire Cheesecake
For the cheesecake layer, beat the softened cream cheese with the sugar until completely smooth, creamy, and free of little lumps. Scrape the bowl several times, then add the eggs one at a time, mixing on low so you do not whip in too much air and risk cracks later. Blend in the vanilla bean paste until the batter is thick and satiny, then pour it gently over your chilled crust. Give the pan a little wiggle on the counter to smooth the top and release any obvious bubbles. Bake at 325°F until the edges are set and the center still has a soft wobble, then cool it at room temperature until the pan is no longer warm. After that, chill for at least 4 hours, or overnight if you can wait, and only then drift a glossy layer of caramel sauce over the cold cheesecake so it stays stunning, rich, and worthy of the name Millionaire Cheesecake.
Time, Prep, and Storage Plan
This Millionaire Cheesecake asks for a little patience, but it nicely breaks into doable stages. Plan about 30 minutes of active prep, then 45 minutes of baking, plus at least 4 hours of chill time, ideally overnight. If you are baking for a birthday dinner or holiday, I like to make the cheesecake the day before, then add the caramel topping right before serving so it stays glossy and fresh. You can also prep the crust in the morning, cover the pan, and mix and bake the filling later that afternoon if your day is busy. If you already love planning ahead for desserts like layered brownies or a classic cheesecake, this recipe will slide right into your routine.
Once baked and fully cooled, chill your Millionaire Cheesecake uncovered in the fridge for about an hour so condensation does not drip on the surface, then cover the pan tightly with plastic wrap or foil. It will keep in the refrigerator for 4 to 5 days, and the texture actually improves in the first 24 hours as the flavors settle. Store leftover slices in an airtight container, with a piece of parchment between slices if you want very neat edges. You can also freeze the cheesecake without the caramel for up to 2 months. Wrap the chilled cheesecake, still in its springform base, in plastic, then in a layer of foil, thaw overnight in the fridge, and add the caramel before serving for that true Millionaire Cheesecake sparkle.
Flexible Options and Serving Notes

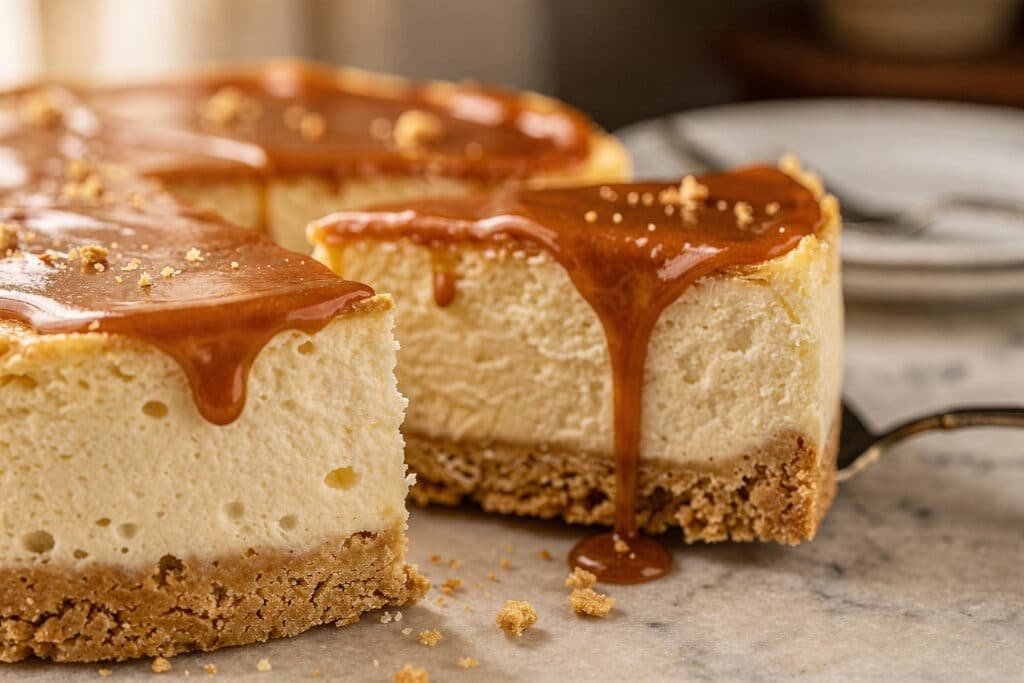
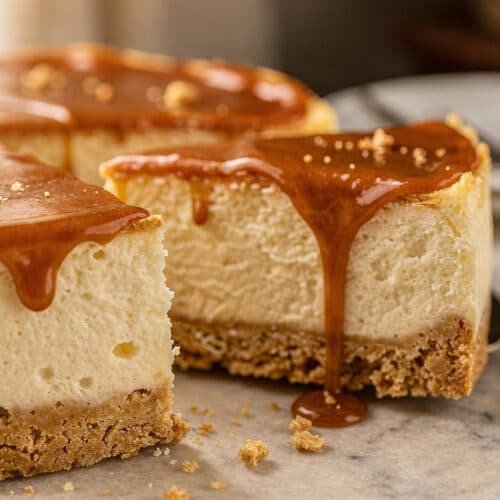
Serving Image of Millionaire Cheesecake
You can dress this Millionaire Cheesecake up or down depending on the crowd and the occasion. For a more classic look, keep the smooth caramel topping as is, or swirl in a spoonful of melted dark chocolate for a marbled effect. If you prefer a little crunch, sprinkle chopped toasted pecans, hazelnuts, or honey roasted peanuts over the caramel while it is still slightly warm. Want to lighten the texture a bit? Fold a quarter cup of sour cream or Greek yogurt into the cheesecake batter for a silkier, slightly tangier finish. You can also swap the graham crackers for chocolate cookies if you love a richer cookie base, or shortbread crumbs for that true millionaire bar vibe.
Serving this Millionaire Cheesecake is all about temperature and timing. The flavors are at their best when the cheesecake is gently chilled, not icy cold, so let it sit at room temperature for about 20 minutes before slicing. Use a long, sharp knife warmed in hot water and wiped dry between cuts for those clean, bakery style slices. This dessert plays beautifully with a tiny pinch of flaky sea salt on top, a drizzle of extra caramel, or a dollop of softly whipped cream. For a party, cut the cheesecake into small squares instead of wedges, just like you might serve a pan of rich brownies, and you effectively turn it into bite size millionaire cheesecake bars that disappear from the plate. If you love a dessert platter, pair small slices of this with something lighter, like a simple fruit salad or a batch of classic chocolate chip cookies, so guests can build their own cozy dessert trio.
Conclusion
The first time I pulled this cheesecake from the oven, my whole kitchen went quiet for a second. Then the caramel bubbled softly, the chocolate softened into a glossy blanket, and I knew this was one of those desserts that turns an ordinary evening into a tiny celebration. That is what I hope this recipe does for you, whether you are baking for a birthday, a date night at home, or just because a Tuesday needed something sweet.
When you hand someone a slice of this creamy, crunchy, perfectly over the top cheesecake, you are not just serving dessert. You are sharing time, conversation, and a little bit of “wow, you made this?” around the table. These are the treats people remember, the ones that have everyone lingering for just one more bite and one more story.
I hope you print this, bookmark it, and come back to it whenever you want to feel like a pastry chef in your own kitchen. Take a deep breath, preheat your oven, and give this Millionaire Cheesecake a try. Then tell me how it went and what you celebrated with it.
For more delicious recipes like this, follow us on Facebook and Pinterest!
Recipe
Millionaire Cheesecake
Ingredients
Ingredients
- 2 1/2 cups graham cracker crumbs
- 3/4 cup unsalted butter melted
- 24 oz cream cheese softened
- 1 cup granulated sugar
- 3 large eggs
- 1 teaspoon vanilla bean paste
- 1 cup caramel sauce
Instructions
- Preheat the oven to 325°F. Lightly grease a 9-inch springform pan.
- In a medium bowl, combine the graham cracker crumbs and melted butter and stir until the mixture resembles wet sand.
- Press the crumb mixture firmly into the bottom and slightly up the sides of the prepared springform pan, creating an even crust. Chill the crust in the refrigerator while you make the filling.
- In a large mixing bowl, beat the softened cream cheese and granulated sugar together until completely smooth and creamy, scraping down the sides of the bowl as needed.
- Add the eggs one at a time, mixing on low speed after each addition just until incorporated. Do not overmix.
- Mix in the vanilla bean paste until evenly combined and the batter is smooth and thick.
- Pour the cheesecake batter over the chilled crust and smooth the top with a spatula if needed.
- Place the pan on the center oven rack and bake for 45 minutes, or until the edges are set and the center still has a slight wobble when gently shaken.
- Remove the cheesecake from the oven and let it cool in the pan on a wire rack until it reaches room temperature.
- Once cooled, cover the pan and refrigerate the cheesecake for at least 4 hours, or until thoroughly chilled and set.
- Just before serving, remove the sides of the springform pan, then pour the caramel sauce over the top of the chilled cheesecake, spreading it into an even layer.
- Slice into 12 pieces with a sharp knife, wiping the blade between cuts for neat slices, and serve chilled.
Notes
- Avoid overbaking; a slight jiggle in the center means the cheesecake will finish setting as it cools.
- For cleaner slices, chill the cheesecake overnight and cut it with a warm knife.
- You can use homemade or store-bought caramel sauce for the topping.