
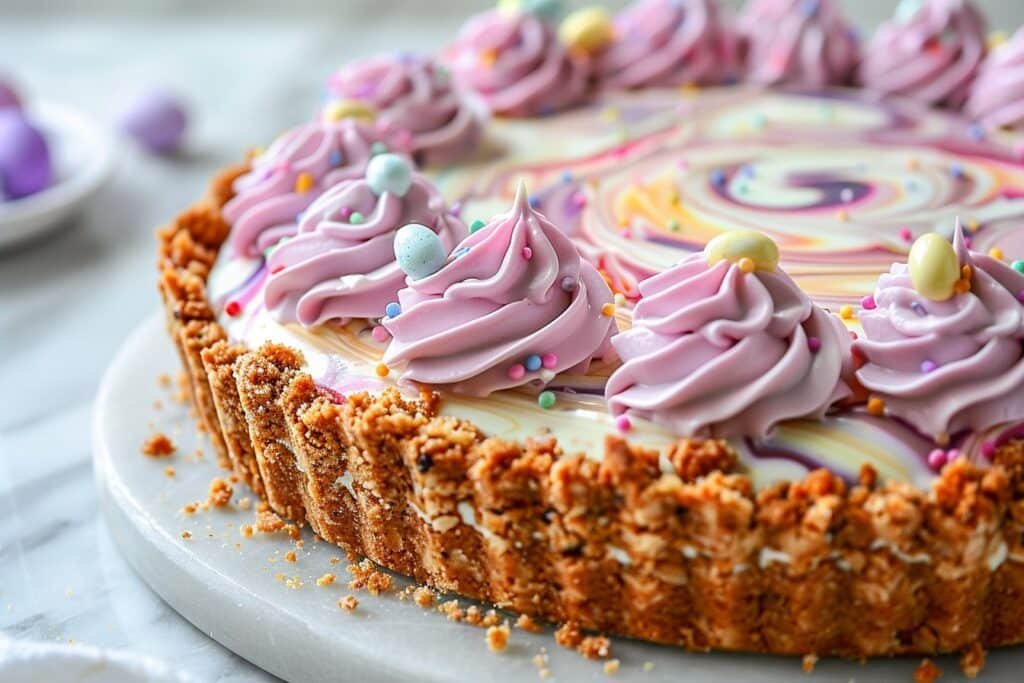
Why This Easter Pie Works
This Easter Swirl Pie – A No-Bake Pastel Dessert works so well at home because the structure is simple, but the result looks like you spent all afternoon in a pastry kitchen. The graham cracker crust uses that classic wet sand texture, so it packs tightly into the pie dish and holds up without a trip to the oven. The filling layers real whipped cream with cream cheese and sweetened condensed milk, which gives you a rich, velvety texture that sets beautifully in the fridge. No agar-agar powder and no baking means fewer things to mess up, which is exactly what you want when you are juggling family, guests, and an already full oven on a holiday. It is the kind of dessert you can make ahead in the morning, forget about for a few hours, then pull out when you are ready for a showy finish.
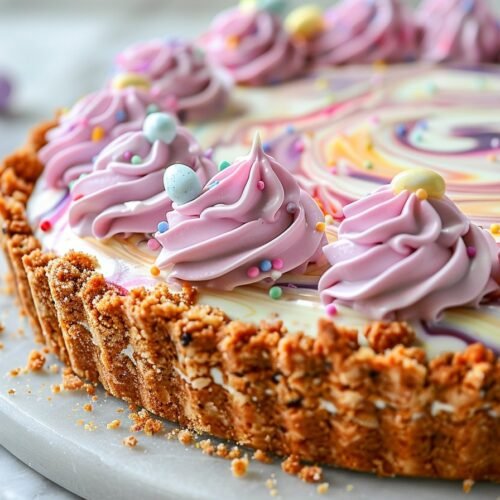
The swirling effect feels fancy, but the method is very forgiving, so kids can help without risking dessert disaster. You simply divide the pastel tinted filling into bowls, then drop spoonfuls into the crust and swirl gently with a toothpick. Even if the pattern is not perfect, the colors blend into that dreamy marbled look that makes this Easter Swirl Pie – A No-Bake Pastel Dessert the star of the table. The recipe also uses ingredients you probably buy anyway for holiday baking, like cream cheese, butter, and graham crackers, which keeps it budget friendly and low stress. You can swap vanilla cookie crumbs for the graham crackers if that is what you already have, and decorate with whatever pastel candies your family loves. It feels special and celebratory, yet stays practical, reliable, and easy enough for even a brand new home baker.
How to Make It
You will start your Easter Swirl Pie – A No-Bake Pastel Dessert by building the crust, then mixing a fluffy cheesecake style filling that you color and swirl. First, stir the graham cracker crumbs, sugar, and melted butter together until every crumb looks glossy and the texture feels like wet sand that holds a squeeze in your hand. Press this firmly into the bottom and up the sides of a 9 inch pie dish, using the flat bottom of a measuring cup to really pack it tight so it does not crumble later. Slide the crust into the fridge for at least 15 minutes while you make the filling. If you like playing with textures, you can set aside a tablespoon of crumbs to sprinkle lightly over the top of the finished pie for a bit of crunch.
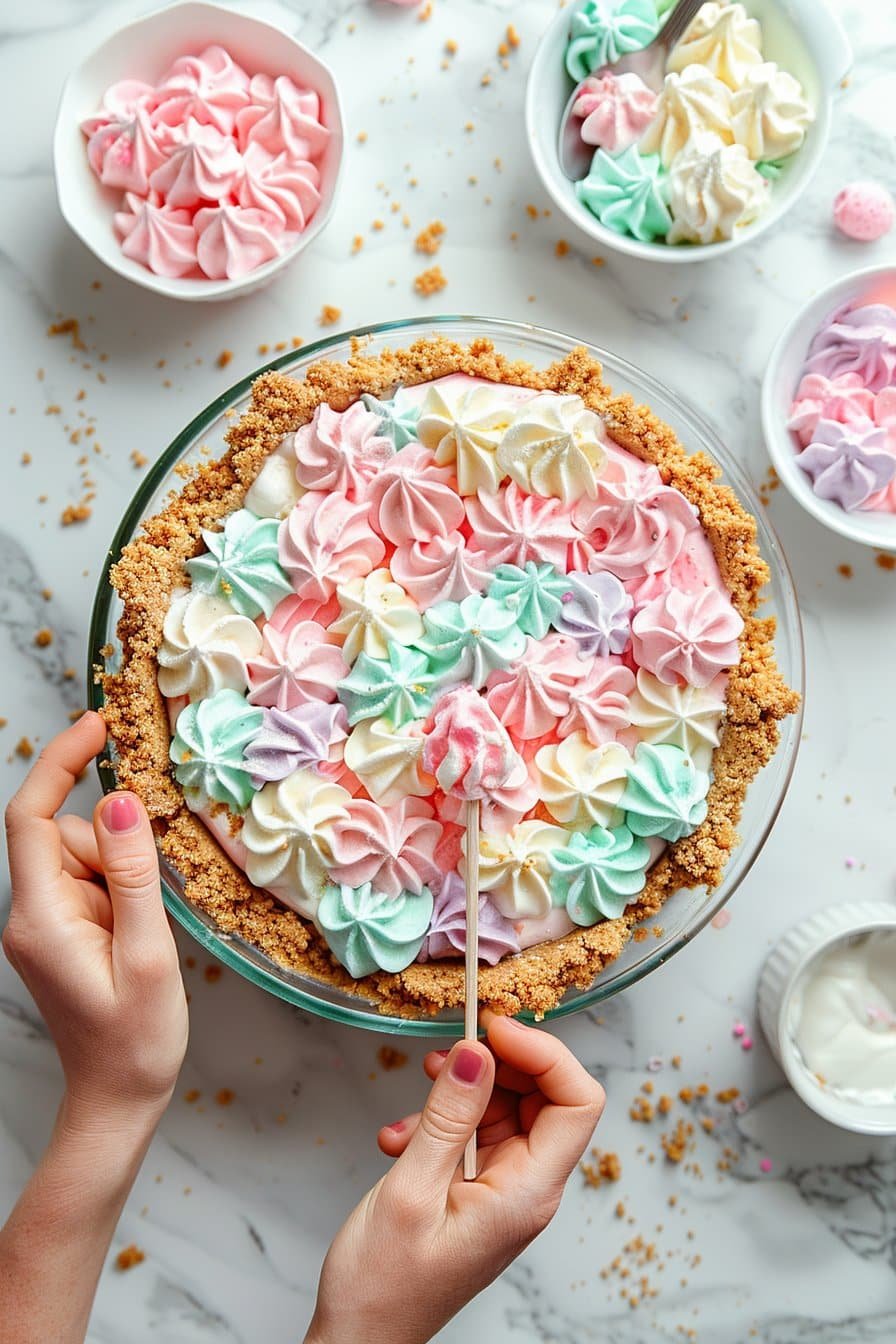
Process Image of Easter Swirl Pie – A No-Bake Pastel Dessert
While the crust chills, beat the softened cream cheese in a large bowl until completely smooth with no little lumps hiding at the bottom. Add the powdered sugar, vanilla bean paste, and sweetened condensed milk, then mix until silky and well blended. In a separate bowl, whip the heavy cream to stiff peaks, which means the cream stands straight up on the beater without flopping over. Gently fold this whipped cream into the cream cheese mixture so you do not lose the air you just worked in, and stop as soon as it looks smooth and fluffy. Divide the filling into four small bowls, tint each one with a few drops of pastel gel food coloring, then spoon random dollops of each color into your chilled crust. Take a toothpick or skewer and lightly swirl through the layers for a marbled pattern, being careful not to over swirl, then chill the pie for at least 4 hours until set. Before serving, crown your Easter Swirl Pie – A No-Bake Pastel Dessert with whipped cream, Easter sprinkles, and mini chocolate eggs for that final basket ready finish.
Time, Prep, and Storage Plan
You can have this Easter Swirl Pie – A No-Bake Pastel Dessert assembled in about 20 minutes, but the real key is chill time. The crust needs at least 15 minutes to set while you tint and swirl the filling, so I like to start the crust first, then leave it in the fridge while I mix everything else. Once you swirl the pretty pastel layers, the pie must chill at least 4 hours, but overnight gives you the cleanest slices and the firmest texture. If you are hosting a big brunch, make this dessert the night before and simply decorate with whipped cream, sprinkles, and mini eggs right before serving. Plan to pull it from the fridge about 10 minutes before slicing so it is easier to cut but still nicely chilled.
For storage, keep the finished pie covered in the refrigerator for up to 3 days. I use either a pie keeper or an upside down large bowl so the whipped cream decorations do not get smashed. If you want to work ahead, you can make and chill just the crust up to 2 days in advance, then prepare and swirl the filling the day before Easter. You can also freeze the undecorated Easter Swirl Pie – A No-Bake Pastel Dessert for up to 1 month, well wrapped in plastic and foil, and thaw it overnight in the fridge before topping and serving. Leftovers still taste lovely on day 3, though the colors may soften slightly, so this is a great dessert to enjoy over the weekend with coffee or as a reward after cleaning up all that Easter confetti.
Flexible Options and Serving Notes
You can take this Easter Swirl Pie – A No-Bake Pastel Dessert in a lot of directions, depending on what you already have in the pantry. If graham crackers are missing, use vanilla cookies, chocolate wafers, or even crushed shortbread for a richer, buttery base. For a lighter twist, swap part of the cream cheese with Greek yogurt, just know the filling will taste a bit tangier and slightly softer. You can also switch vanilla bean paste for regular vanilla bean paste or almond extract if you love that bakery style flavor. If you cannot find gel colors, use a tiny bit of liquid food coloring, just keep the drops light so you do not water down the filling.
When it is time to serve your Easter Swirl Pie – A No-Bake Pastel Dessert, cut it straight from the fridge so the slices hold those pretty pastel ribbons. I like to run a sharp knife under warm water, dry it, then slice for clean edges, especially if you went heavy on the sprinkles and candies. Keep your toppings flexible, too, whipped cream and mini eggs are classic, but you can use jelly beans, pastel marshmallows, or crushed chocolate bunnies from the kids baskets. For a bigger dessert spread, pair slices with something chocolatey like a simple brownie tray or a bright fruit forward treat such as a lemon bar or berry crumble. Any leftovers keep well in the fridge, and if you freeze individual slices on a sheet pan before wrapping, you have make ahead treats ready for surprise guests or late night sweet tooth raids.
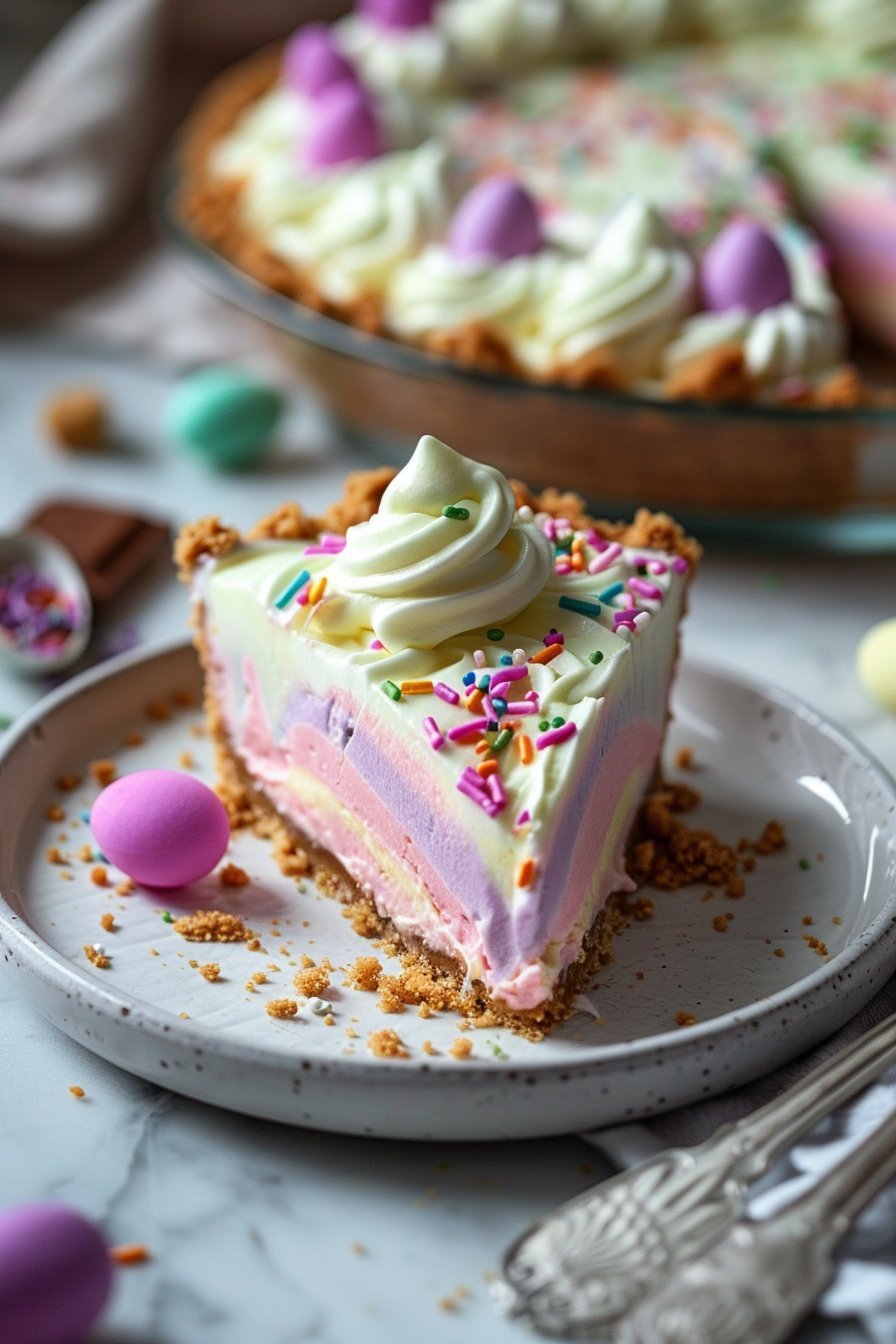
Serving Image of Easter Swirl Pie – A No-Bake Pastel Dessert
Conclusion
If you ask me, the best Easter memories rarely come from perfect table settings. They come from sticky fingers, colorful desserts, and everyone crowding into the kitchen to sneak a taste. This Easter Swirl Pie – A No-Bake Pastel Dessert has that magic built right in. It is easy enough for a busy weekday evening, pretty enough for a holiday table, and simple enough that kids, grandparents, and everyone in between can help swirl and decorate.
I love how a recipe like this turns “just dessert” into a little moment of celebration. You pour, swirl, chill, and suddenly you have a soft, creamy, pastel pie that makes people light up when you carry it to the table. If you have been looking for a fun but low stress Easter dessert, this one is absolutely worth a spot in your tradition list.
I hope you give it a try, make it your own, and share it with people you love. Snap a picture, share your swirl, and let me know how it goes. For more delicious recipes like this, follow us on Facebook and Pinterest!
Recipe
Easter Swirl Pie – A No-Bake Pastel Dessert
Ingredients
Ingredients
- 2 1/2 cups graham cracker crumbs
- 1/2 cup unsalted butter melted
- 2 tablespoons granulated sugar
- 8 ounces cream cheese softened
- 1 cup heavy whipping cream
- 1/2 cup powdered sugar
- 1 teaspoon vanilla bean paste
- 1/2 cup sweetened condensed milk
- 4 to 6 drops assorted pastel gel food coloring
- 1 cup whipped cream for topping
- 2 tablespoons Easter sprinkles for garnish
- 1/2 cup mini chocolate eggs or pastel candies for garnish
Instructions
- In a medium bowl, combine graham cracker crumbs, granulated sugar, and melted butter, stirring until the mixture resembles wet sand.
- Press the crumb mixture firmly and evenly into the bottom and up the sides of a 9 inch pie dish.
- Refrigerate the crust for at least 15 minutes while you prepare the filling.
- In a large mixing bowl, beat the softened cream cheese with an electric mixer until completely smooth and creamy.
- Add the powdered sugar, vanilla bean paste, and sweetened condensed milk to the cream cheese and beat until smooth and well combined.
- In a separate bowl, whip the heavy whipping cream to stiff peaks.
- Gently fold the whipped cream into the cream cheese mixture until the filling is smooth and fluffy.
- Divide the filling evenly into four small bowls and tint each portion with a few drops of different pastel gel food colorings, stirring gently to blend.
- Spoon dollops of each colored filling randomly into the chilled pie crust, alternating colors to create layers.
- Use a toothpick or skewer to gently swirl through the filling to create a marbled effect, being careful not to overmix the colors.
- Refrigerate the pie for at least 4 hours, or until fully set.
- Just before serving, top the pie with whipped cream, Easter sprinkles, and mini chocolate eggs or pastel candies.
Notes
- For the cleanest slices, chill the pie overnight and wipe the knife clean between cuts.


