
Why This One Delivers
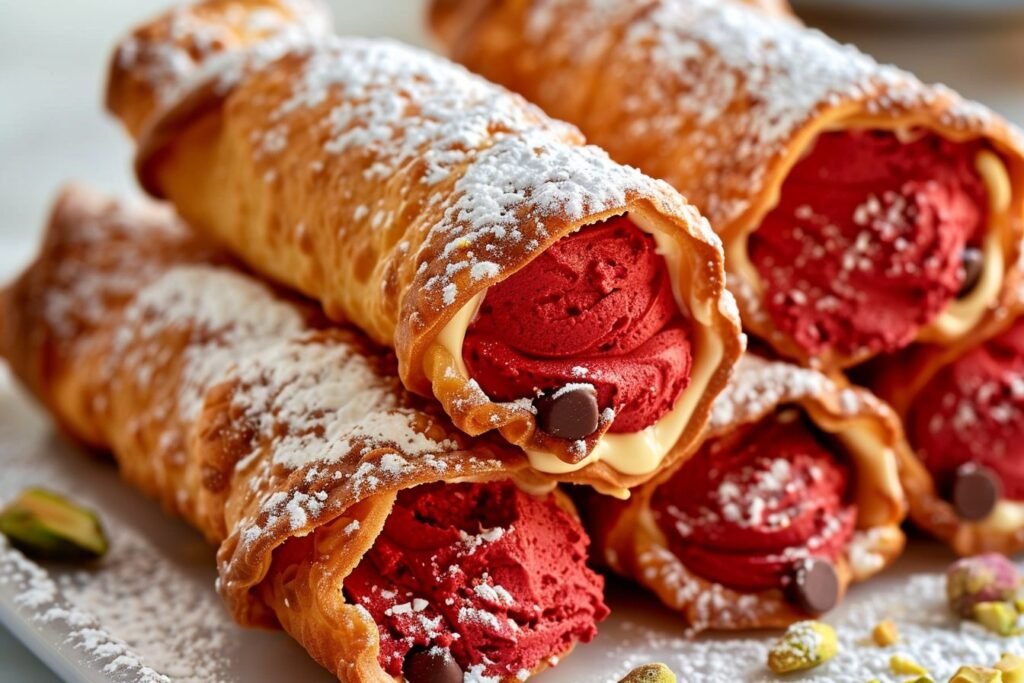
These Red Velvet Cannoli – Globnem taste like you walked them home from a fancy bakery, but you still get to do it all in your own kitchen with one mixing bowl and very familiar ingredients. You end up with crisp, ruby red shells and a silky cream cheese filling that gives you that classic red velvet flavor in a neat, handheld bite.
This Red Velvet Cannoli – Globnem recipe actually earns its bakery style promise because it focuses on texture first, then drama second. The shells fry up ultra crisp and flaky thanks to cold butter and a quick cook time, while cocoa and red gel coloring give them that playful red velvet look you almost never see in a store case. Inside, the filling leans closer to a classic red velvet frosting than a heavy cannoli cream, thanks to full fat cream cheese, vanilla bean paste, and just enough cream to make it pipeable and cloud light. When you bite in, you get a clean snap from the shell, then a smooth, tangy, not overly sweet center that tastes like a slice of red velvet in handheld form.
From a home baker point of view, the method for this Red Velvet Cannoli – Globnem keeps things very doable, even if you are new to cannoli. You mix the dough in one bowl, chill once, and roll to a forgiving one eighth inch, so it is not fussy pastry chef territory. The vinegar keeps the shells tender and adds that subtle red velvet tang, and using gel food coloring means your dough stays workable instead of sticky and soft. The filling chills while the shells cool, which turns downtime into built in prep instead of wasted waiting. It is the kind of recipe you can tackle for a holiday dessert tray or a date night, knowing it looks restaurant fancy but uses familiar pantry ingredients and simple steps.
From Prep to Finish
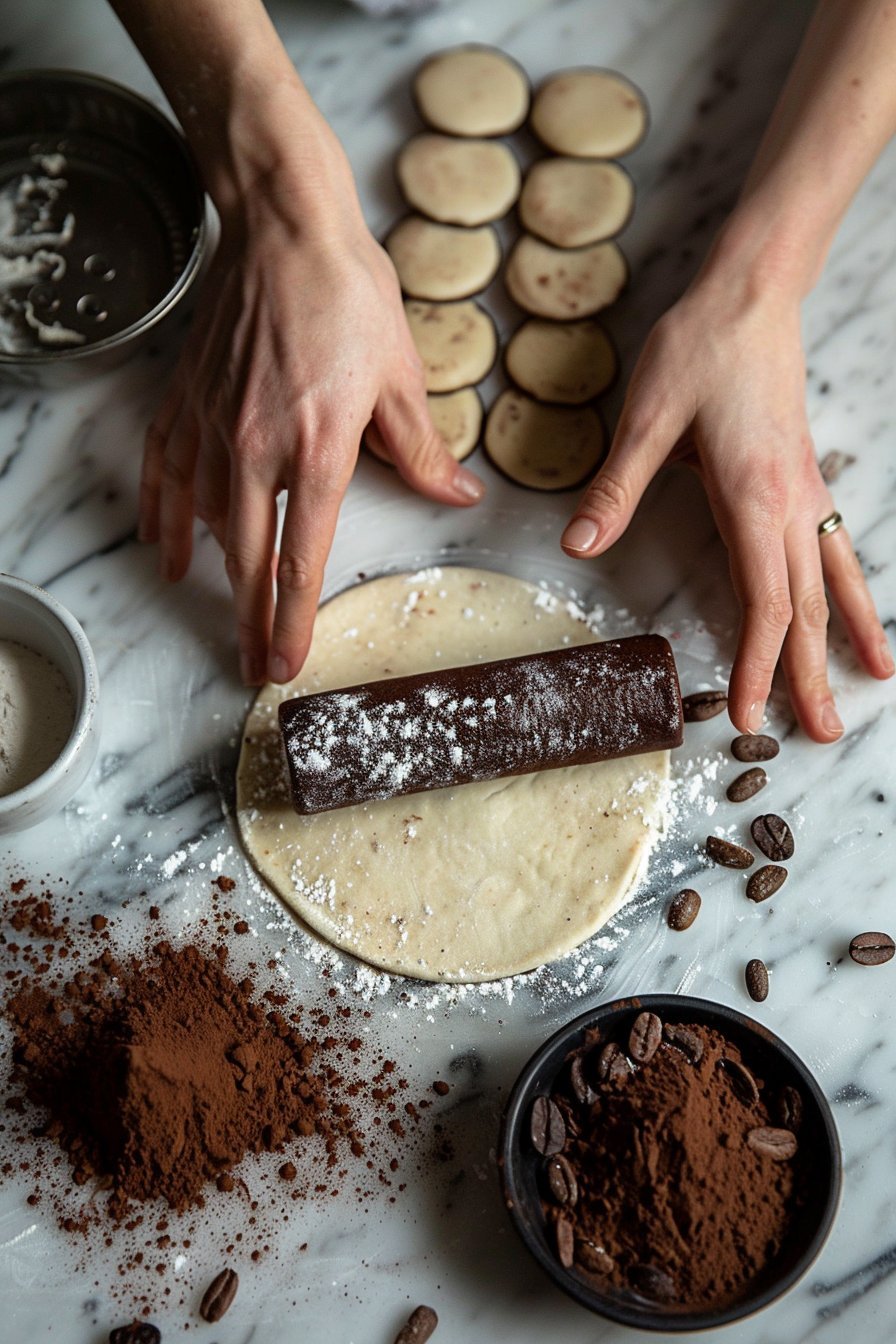
From the first scoop of flour to that final snowy dusting of powdered sugar, Red Velvet Cannoli – Globnem is a project you want to pace, not rush. I like to start by setting up a clean, cool work surface and chilling my butter well, since cold butter keeps the shells crisp and flaky. As you cut the butter into the flour, look for a texture that reminds you of coarse sand with a few pea sized bits of butter left. When you add the vinegar, gel food coloring, and ice water, do it slowly, just a spoonful at a time, until the dough gathers in the bowl and feels smooth but not sticky. The rest in the fridge is not negotiable. That hour lets the dough relax so you can roll it thin without it snapping back.
When you roll the dough for your Red Velvet Cannoli – Globnem, check the thickness with your fingertips. It should feel like a sturdy tortilla, about ⅛ inch. Cut even circles, then wrap them snugly around well greased cannoli tubes, sealing the edges with a swipe of water or egg wash so they do not open in the oil. Keep your oil right around 350°F. Too cool and the shells soak up grease, too hot and they brown before they set. Work in batches so you do not overcrowd the pot, and let each shell reach a deep, even color before you pull it out.
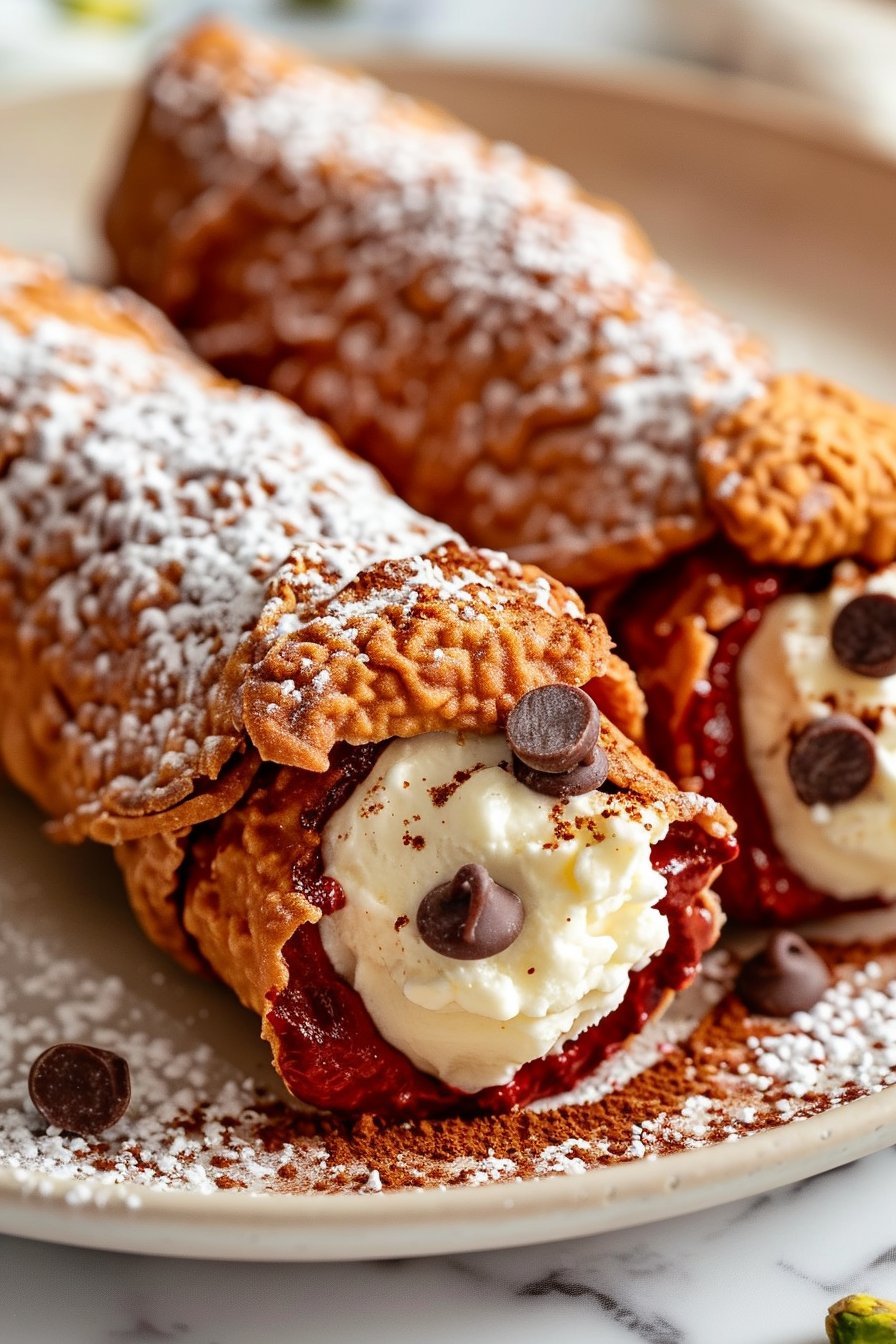
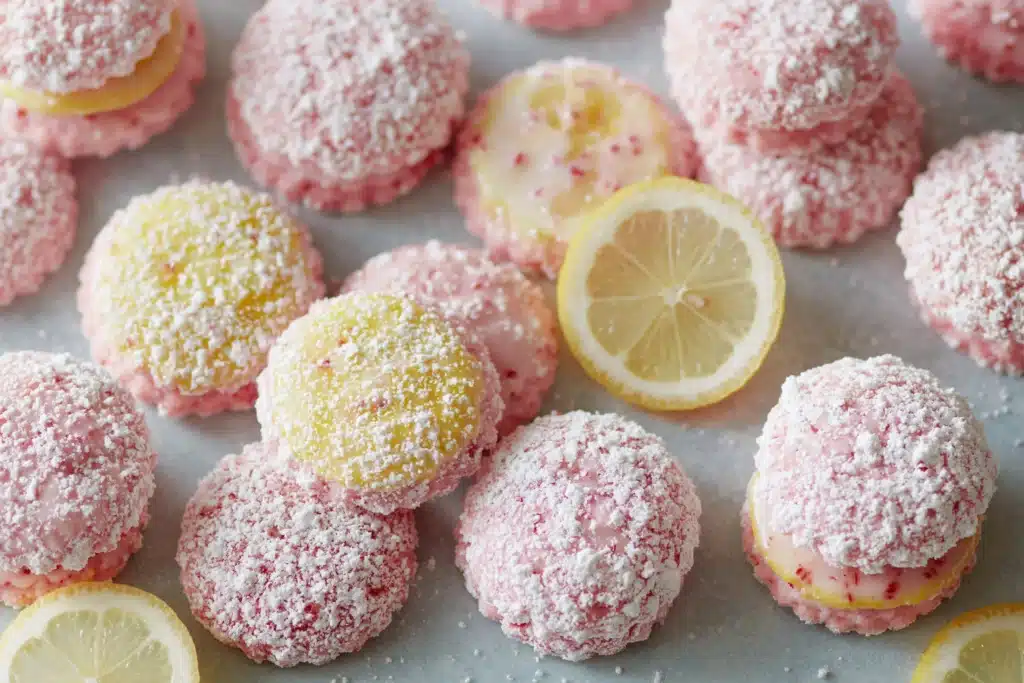
While the shells cool on a rack, beat the cream cheese filling until it looks fluffy and satiny, with no tiny lumps clinging to the beaters. Scrape the bowl a couple of times so every bit turns smooth. Chill the filling so it holds its shape, then pipe into completely cooled shells, letting that rich cream peek just a bit from each end before dipping into pistachios or chocolate chips. A final soft sift of powdered sugar and cocoa makes them bakery pretty. If you want a similar showpiece for your table next time, tuck this recipe alongside your favorite holiday cannoli or cheesecake desserts for easy inspiration.
Timing, Storage, and Make-Ahead
Once you get a batch of Red Velvet Cannoli – Globnem under your belt, timing becomes your best friend. Plan for about 1 hour of chill time total, since both the dough and the cream cheese filling need to rest before you can fry and pipe. You can fry all the shells up to 2 days ahead, let them cool fully, then store them in an airtight container at room temperature with a paper towel inside. Keep the container in a cool, dry spot and avoid the fridge, since moisture turns those crisp red shells soft. If you live in a very humid climate, you can tuck a little packet of food safe desiccant into the container to help keep things snappy.
For the filling, mix it up and chill it, then keep it covered in the refrigerator for up to 3 days before using. You can even transfer the filling to a piping bag, twist the top tightly, and store the whole bag in a zip top bag so it is instantly ready when you want to assemble your Red Velvet Cannoli – Globnem. Once filled, cannoli are best within 2 hours, though they will stay tasty, just softer, for about 1 day in the refrigerator. If you want them for a party, fry the shells and make the filling in advance, then plan a quick fill and garnish session just before serving, the same strategy I use for my make ahead tiramisu cups and mini cheesecake bars. Leftovers should be stored covered in the fridge, and you can perk the flavor back up with a fresh dusting of powdered sugar and cocoa just before you plate them.
Ingredient swaps and serving ideas
If you love to tinker, Red Velvet Cannoli – Globnem is very forgiving with thoughtful ingredient swaps. For the shells, you can use cake flour for a slightly lighter, more tender crunch, or blend in up to 25 percent whole wheat flour if you like a hint of nuttiness, though the shells will be a bit sturdier. If you do not use red gel food coloring, choose powder or oil based color and add it gradually, since liquid color can throw off the dough texture. Full fat cream cheese gives the silkiest filling, but you can swap in Neufchâtel or a half and half mix of cream cheese and mascarpone for a softer, slightly tangier bite. Dairy free bakers can try a high quality plant based cream cheese and coconut cream in place of the heavy cream. Just chill the filling well so it pipes cleanly.
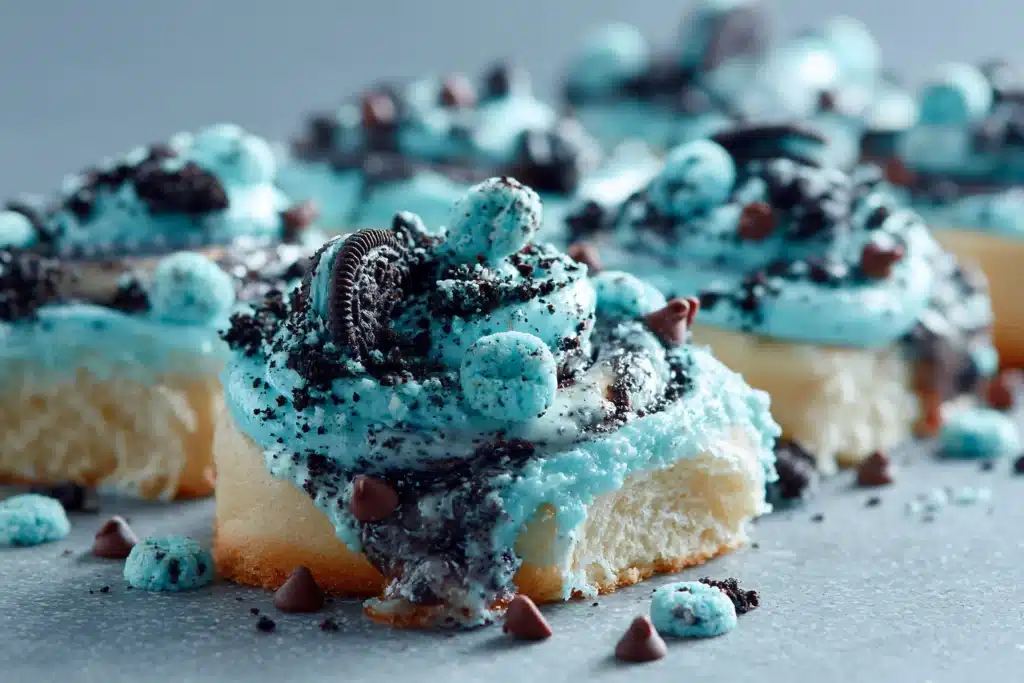
You can also have fun with the garnish and the way you serve these Red Velvet Cannoli – Globnem. Trade the mini chocolate chips for white chocolate shavings, crushed freeze dried raspberries, or toasted pecans if you are not a pistachio fan. For a birthday style moment, dip the ends in white chocolate and sprinkle on colorful nonpareils, much like you might with funfetti sugar cookies. Serve the cannoli on a platter with extra filling in a small bowl, so guests can add a little more cream at the table. If you want a deconstructed party dessert, break a few empty shells into shards and layer them with the cream cheese filling in small glasses, tiramisu style, which is especially handy when a shell or two cracks during frying.
Serving of Red Velvet Cannoli – Globnem
Conclusion
Every time I pull a tray of these homemade cannoli shells from the oven and fill them with that tangy cream cheese goodness, I am reminded why I fell in love with baking in the first place. There is something so special about taking a classic, dressing it up in its red velvet best, and watching faces light up at the first bite. This Red Velvet Cannoli – Globnem recipe is more than a dessert. It is a little invitation to slow down, share a plate, and make an ordinary day feel like a celebration.
I hope you feel excited, not intimidated, to try these at home. Put on some music, line up your cooling racks, and let your kitchen smell like a cozy bakery for an afternoon. Invite your kids to help dust the powdered sugar, surprise a neighbor, or plate a few for a date night in. However you serve them, you are creating memories as much as you are making dessert.
Instructions Process of Red Velvet Cannoli – Globnem
Recipe

Red Velvet Cannoli – Globnem
Ingredients
Ingredients
- 2 cups all-purpose flour
- 2 tbsp unsweetened cocoa powder
- 1 tbsp granulated sugar
- 1/2 tsp baking soda
- 1/4 tsp salt
- 1/2 cup cold unsalted butter cubed
- 1 tsp white vinegar
- 3 drops red gel food coloring
- 5 tbsp ice water
- Vegetable oil for frying
- 16 oz full-fat cream cheese softened
- 1 cup confectioners’ sugar sifted
- 1/4 cup heavy whipping cream
- 1 tsp vanilla bean paste
- 1/8 tsp salt
- 3 drops red gel food coloring optional, for filling
- 1/2 cup mini chocolate chips
- 1/4 cup finely crushed pistachios
- 2 tbsp powdered sugar for dusting
- 1 tbsp Dutch-process cocoa powder for dusting
Instructions
- In a large bowl, whisk together the flour, cocoa powder, granulated sugar, baking soda, and 1/4 tsp salt.
- Cut in the cold cubed butter with a pastry cutter or your fingertips until the mixture resembles coarse meal with a few pea-sized bits of butter.
- Stir in the white vinegar and 3 drops of red gel food coloring.
- Add the ice water 1 tbsp at a time, stirring after each addition, until the dough forms a smooth, cohesive ball.
- Shape the dough into a disk, wrap tightly in plastic wrap, and refrigerate for 1 hour.
- After chilling, lightly flour a cool work surface and roll the dough to 1/8 inch thickness.
- Cut the dough into 4 inch circles using a round cutter or a template and knife.
- Wrap each dough circle around a greased metal cannoli tube, overlapping the edges slightly. Brush the overlap with a little water or egg wash and press to seal firmly.
- Pour vegetable oil into a deep, heavy pot to a depth of about 2 inches and heat to 350°F over medium heat.
- Fry the wrapped cannoli shells 2 to 3 at a time for 3 to 4 minutes, turning occasionally, until crisp and deep golden.
- Carefully remove the shells from the oil with tongs or a slotted spoon and drain on a paper towel lined rack. Let cool slightly, then gently slide out the cannoli tubes and let the shells cool completely.
- For the filling, place the softened cream cheese in a mixing bowl and beat with an electric mixer on medium speed until completely smooth and creamy.
- Add the confectioners’ sugar, vanilla bean paste, and 1/8 tsp salt. Beat on low at first, then increase to medium until smooth and combined.
- Pour in the heavy cream and beat until the filling is thick, fluffy, and holds soft peaks.
- If desired, tint the filling with 3 drops of red gel food coloring and mix until the color is even.
- Cover the bowl and refrigerate the filling for 1 hour to firm up.
- Once the shells are fully cool and the filling is chilled, transfer the filling to a piping bag fitted with a large round or star tip.
- Pipe the cream cheese filling into each cannoli shell from one end until filled halfway, then pipe from the opposite end to fill the center.
- Immediately dip each end of the filled cannoli into mini chocolate chips and crushed pistachios so they adhere to the filling.
- Arrange the cannoli on a serving platter and dust the tops with powdered sugar and Dutch-process cocoa powder just before serving.
Notes
- Keep the butter and water cold to help the shells fry up crisp and flaky.
- Do not overfill the shells; excess filling can crack them.
- Fill shells close to serving time; aim to fill no more than 2 hours before serving for maximum crunch.
- Maintain oil temperature between 345°F and 355°F while frying for even cooking.
- Unfilled shells keep in an airtight container at room temperature for up to 1 week or frozen for up to 3 months; re-crisp in a 300°F oven for 3 to 5 minutes if needed.
- For extra flavor, add a splash of buttermilk or a drop of almond extract to the cream cheese filling.


cool