
The Practical Why Behind It
If you love bakery-style desserts but don’t want to fuss with the oven, this KitKat Cheesecake gives you that “wow” moment with almost no stress. You get clean slices, a creamy filling, and that dramatic KitKat wall—all built from simple, no-bake steps you can absolutely handle in a home kitchen.
Let’s talk about why this KitKat Cheesecake works so well beyond “it looks amazing on the table.” The Oreo-and-butter base gives you a sturdy, no-bake crust that chills into something almost like a cookie fudge layer—firm enough to slice cleanly, but soft enough that your fork glides through without a wrestling match. Using room-temperature cream cheese is not just a fussy detail; it lets you beat out every little lump so the filling turns out silky and bakery-smooth instead of grainy. And because we whip the cream directly into the cream cheese mixture, we build in lightness and structure without agar-agar powder, making the texture cloud-like but still rich.
There’s also a method to the KitKat madness. Lining the outside of the pan with KitKat fingers before you add the filling creates an edible “wall,” so the cheesecake sets with perfectly straight sides and a showy, bakery-style finish—no special equipment, just chocolate bars doing double duty as décor and support. Folding small KitKat pieces into the creamy filling ensures that every bite has a mix of crunch and cream instead of all the chocolate sitting on top. The long chill time (ideally overnight) lets the flavors meld and the cheesecake firm up so you get neat, confident slices that don’t slump or ooze on the plate. And because it’s completely no-bake, the only real “baking skill” you need here is patience—and maybe enough willpower not to eat the KitKats before they make it into the pan.
Step-by-step method for a flawless KitKat Cheesecake
Start by preparing your base so your KitKat Cheesecake has something sturdy to sit on. Line and lightly grease a 22 cm springform pan (or a loose-bottom tin), making sure the base is covered and the sides are smooth. Crush the Oreos into fine crumbs (a food processor is easiest, but a zip-top bag and rolling pin work too) and mix them with the melted butter until the texture feels like damp sand. Tip the mixture into the pan and press it down firmly with the back of a spoon or the base of a flat glass, getting right into the edges so there are no gaps. Press until the surface feels compact and even. Pop the tin in the fridge to chill while you work on the KitKat “wall” and filling.
Next, build the classic bakery-style KitKat border that makes this cheesecake look so impressive. Take your KitKat fingers and stand them upright all the way around the inside edge of the pan, chocolate-side facing out and the writing showing if you’d like that pretty detail. Press each one gently into the Oreo crust so they stand secure, using about 300 g of KitKats; keep the bars snug against each other so there are no gaps. Return the pan to the fridge so everything firms up.
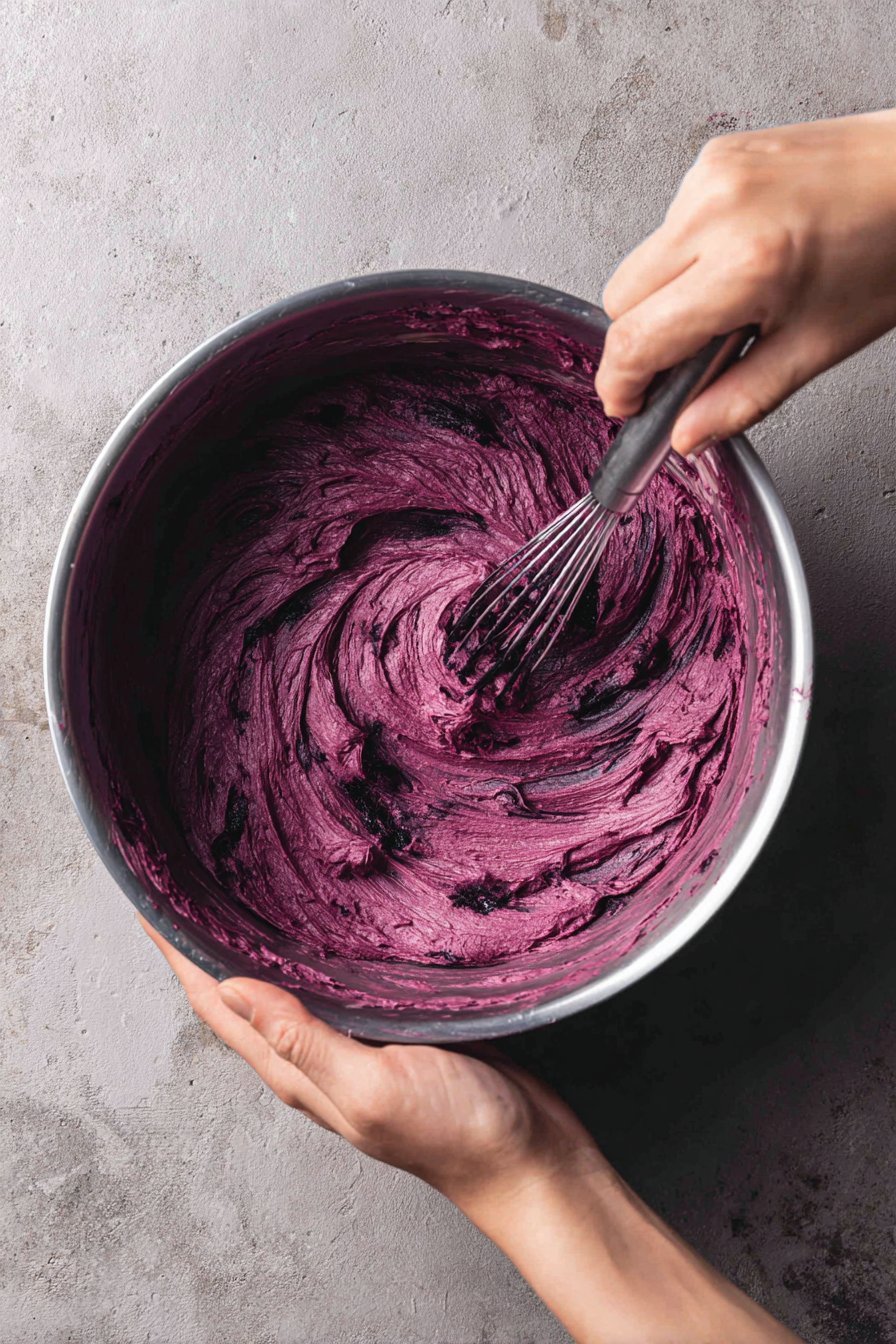
For the filling, beat the softened cream cheese until completely smooth and lump-free—scrape the bowl a couple of times so no thick streaks hide at the bottom. Add the icing sugar and vanilla bean paste, then beat again until the mixture looks glossy and silky. Pour in the cold cream and whip the mixture until it becomes thick, creamy, and holds soft peaks—think mousse rather than runny sauce. Stop and check often; if you overwhip, it can turn grainy.
Now for the best part: fold in roughly chopped KitKat pieces so every slice of your KitKat Cheesecake has crunchy chocolate surprises. Lightly crush 190–200 g of KitKats into small chunks and stir them through the cream cheese filling, using a spatula and a gentle folding motion so you don’t knock out too much air. Make sure the pieces spread evenly through the bowl.
Pour the filling over the chilled Oreo base, smoothing the top with an offset spatula or the back of a spoon so it reaches right to the KitKat edge. Tap the pan lightly on the counter once or twice to release any large air bubbles. Refrigerate for at least 4 hours, but overnight will give you cleaner slices and a firmer texture.
Just before serving, decorate the top with more chopped KitKats—go neat with rows of pieces or casual with a generous scatter, the way I often do with my over-the-top brownie pies—and then release the springform ring slowly to reveal your bakery-style showstopper. If any KitKat bar clings to the ring, gently nudge it back into place with your fingers or a small knife.
Make-Ahead and Storage Notes for Your KitKat Cheesecake
This no-bake KitKat Cheesecake actually tastes better when you make it ahead, which makes it a dream dessert for parties and holidays. Once you’ve poured the filling into the Oreo base and ringed the pan with KitKat fingers, let it chill for at least 4 hours, but I strongly recommend overnight so it can fully set and slice into neat, bakery-style wedges. You can prepare the entire cheesecake up to 2 days in advance; just cover the pan tightly with plastic wrap, then a layer of foil to keep fridge smells out.
For the best texture, add the final crushed KitKat topping on the day you plan to serve, so it stays crisp and doesn’t soften from condensation. If you love other no-bake treats like my chocolate biscuit cake or peanut butter pie, you’ll find this fits into the same make-ahead-friendly category.
To store leftover KitKat Cheesecake, keep it in the fridge, covered, for up to 4 days. I like to transfer individual slices to an airtight container so the KitKat sides don’t get knocked around when people open and close the fridge. The Oreo crust and creamy filling hold up well, though the KitKat edges will gradually lose a little snap each day—still delicious, just slightly softer.
If your kitchen runs warm, don’t leave slices out on the counter for more than 60–90 minutes; the filling is stable but can start to soften and lose its sharp edges if it sits in the heat too long.
Freezing is possible: chill the cheesecake fully, slice it, then wrap each slice well in plastic wrap and place in an airtight container. Label the date so you remember when you tucked them away. Thaw slices in the fridge overnight and know that the texture will be a bit firmer and the KitKats slightly chewier, but still very satisfying for a make-ahead dessert craving.
Variations and How to Serve It
You can have a lot of fun playing with this KitKat Cheesecake without losing that bakery-style drama. For a milk-chocolate lover’s twist, stick to the classic KitKat bars as written, but try swapping the Oreo base for crushed digestives or graham crackers if you want something a little lighter and less rich. If your crowd loves contrast, use half classic KitKats and half dark chocolate ones in the filling so every slice has a sweet-and-slightly-bitter balance.
You can also drizzle the set cheesecake with warm ganache, salted caramel, or even a thin peanut butter sauce for an extra layer of flavor and shine. Let any warm sauce cool slightly so it doesn’t melt the top of the cheesecake. For smaller celebrations, press the crust and filling into individual jars or muffin liners to make mini KitKat cheesecakes that look like they came straight from a dessert bar and are easy to serve without slicing.
Serving this no-bake KitKat Cheesecake is all about keeping those clean slices and dramatic edges. Chill it overnight if you can, then run a thin knife around the inside edge before unclipping your springform pan so the KitKat wall releases neatly. Use a long, sharp knife dipped in hot water and wiped dry between cuts for crisp wedges that show off the creamy filling and cookie base.
I like to add fresh whipped cream, extra chopped KitKats, and maybe a sprinkle of sea salt right before it hits the table, especially if I’m pairing it with something simple like vanilla ice cream or a cup of strong coffee. If you somehow have leftovers, cover the pan tightly and refrigerate for up to 3 days—or freeze individual slices so you can enjoy a cold, slightly firmer KitKat Cheesecake straight from the freezer on a movie night.
Serving of KitKat Cheesecake
Conclusion
Every time I set this beauty on the table, I’m reminded that dessert isn’t just about sugar and chocolate—it’s about moments. The quiet pause before the first slice, the way everyone leans in to see those creamy layers and crunchy bits, the chorus of little “oh wow”s after the first bite. That’s the real magic of this KitKat Cheesecake: it turns an everyday night into something just a little bit special, without you ever turning on the oven.
I hope this no-bake dessert gives you an easy, playful reason to gather your favorite people—whether it’s a birthday, movie night, or just a Tuesday that needs celebrating. Don’t worry about perfection here; if your slices aren’t picture-perfect, they’ll still disappear just as fast. The important part is that you made it, you shared it, and you enjoyed it.
Now it’s your turn—chill it, slice it, and watch it disappear.
Instructions Process of KitKat Cheesecake
How long should I chill the KitKat Cheesecake so it sets properly?
For a clean, bakery-style slice, chill your KitKat Cheesecake for at least 4 to 6 hours. I strongly recommend letting it rest overnight if you can, because the filling firms up more and the flavors meld. If it still feels a bit soft in the center, give it another hour or two. Keep it on a flat shelf in the fridge so the filling sets evenly. Only remove the springform ring once the cheesecake feels firm around the edges and in the middle.
Can I freeze leftover KitKat Cheesecake?
Yes, this KitKat Cheesecake freezes surprisingly well in individual slices. First, chill it fully, then cut and wrap each slice tightly in plastic wrap, and pop them into an airtight container. Freeze for up to 1 month for the best texture and flavor. To serve, thaw the slices in the refrigerator for several hours or overnight, not at room temperature. The KitKat pieces stay a bit firmer, but the cheesecake itself will return to its creamy, smooth texture.
Recipe
KitKat Cheesecake
Ingredients
Ingredients
- 14.2 oz Oreos crushed (about 3 standard sleeves)
- 4 tbsp unsalted butter melted
- 24 oz cream cheese softened to room temperature
- 1 cup heavy whipping cream cold
- 1/2 cup powdered sugar
- 2 tsp vanilla bean paste or vanilla bean paste
- 22.5 oz KitKat bars divided (about 640 g total)
Instructions
- Line the base of a 9-inch springform pan with parchment paper and lightly grease the sides.
- In a medium bowl, combine the crushed Oreos and melted butter and mix until the crumbs are evenly moistened.
- Press the Oreo mixture firmly and evenly into the bottom of the prepared pan to form a compact crust, then refrigerate while you prepare the KitKats and filling.
- Stand KitKat fingers upright around the inside edge of the pan, pressing the bottoms gently into the Oreo crust to form a tight chocolate border, using about 10.5 oz (300 g) of the KitKats. Refrigerate the pan again.
- In a large mixing bowl, beat the softened cream cheese with an electric mixer until completely smooth and no lumps remain, scraping down the sides of the bowl as needed.
- Add the powdered sugar and vanilla bean paste and beat again until the mixture is smooth and creamy.
- Pour in the cold heavy cream and beat on medium-high speed until the filling is thick, creamy, and holds soft peaks.
- Roughly chop 6.8 to 7 oz (190 to 200 g) of KitKats into small pieces, then gently fold them into the cheesecake filling until evenly distributed.
- Pour the filling over the chilled Oreo crust, spreading it into an even layer all the way to the KitKat border and smoothing the top.
- Tap the pan lightly on the counter a few times to release any large air bubbles, then cover and refrigerate for at least 4 hours or overnight until fully set.
- Just before serving, chop the remaining KitKats and scatter them generously over the top of the cheesecake, then carefully release the springform ring and transfer the cheesecake to a serving plate.
- Slice with a sharp knife, wiping the blade clean between cuts for neat slices.
Notes
- Chill the cheesecake overnight whenever possible for the cleanest bakery-style slices and a fully set, creamy texture.


