
What Makes This Recipe Reliable and Bakery-Quality
This Tiramisu Cold Brew Coffee Cheesecake gives you bakery-style slices without turning on the oven and without any fussy water baths or mystery techniques. You get clean layers, a smooth coffee kick, and a no-bake cheesecake that sets up firmly enough to slice like a dream.
When I call this a Bakery-Style Tiramisu Cold Brew Coffee Cheesecake, it’s because I’ve built it the same way a pastry chef thinks: simple structure, controlled flavors, repeatable results. The base follows a classic, dependable ratio—enough melted butter to bind 5 cups of graham cracker crumbs or biscotti so your crust holds together and cuts cleanly instead of shattering. The filling uses full-fat cream cheese and a generous amount of cold heavy cream, whipped separately, so you get a stable, airy texture that sets beautifully in the fridge without agar-agar, agar-agar powder, or any baking guesswork. Because it’s a no-bake cheesecake, you sidestep the two most common failure points: overbaking and water-bath drama.
The coffee component is just as dialed in. You use strong cold brew coffee in two intentional ways: half is beaten into the cream cheese mixture so you get bold coffee flavor without watering it down, and the other half is reserved solely for dipping the ladyfingers. Those quick dips keep the cookies tender and coffee-soaked without turning them into soggy sponges that swallow your crust. The layering—crust, dipped ladyfingers, then mousse-like coffee cheesecake—is forgiving, so even if your layers aren’t perfectly even, the chilled cake still slices into impressive, café-style wedges.
I’ve tested this Tiramisu Cold Brew Coffee Cheesecake with both graham crackers and biscotti, and both hold up beautifully in structure and flavor, so you can confidently use what you already have in the pantry. A good chill—at least 4 hours and ideally overnight—lets the filling firm up and the flavors deepen, just like a classic tiramisu. If you’ve made my no-bake espresso cheesecake or mocha icebox cake, you’ll recognize the same dependable rhythm here: whip, fold, layer, chill, and let time do its quiet magic.
The Method (Step-by-Step)
Start by building a sturdy, flavorful base for your Tiramisu Cold Brew Coffee Cheesecake. In a mixing bowl, combine the graham cracker crumbs or crushed biscotti with the melted butter. Stir until the mixture looks like damp sand and clumps together easily when you press it between your fingers. Pour it into a 9‑inch springform pan and press it firmly into an even layer, using the bottom of a glass or measuring cup to really pack it down and get into the corners so you don’t end up with a thick rim and thin center. Slide the pan into the fridge for about 10 minutes so the crust can firm up; this quick chill makes it much easier to build neat layers on top.
For the creamy cheesecake layer, add the softened cream cheese and powdered sugar to a large bowl. Beat until the mixture looks smooth, glossy, and lump-free. Mix in the vanilla bean paste and half of the cold brew coffee, scraping down the sides of the bowl so everything blends evenly; the mixture will loosen slightly, which is exactly what you want at this stage. In a separate cold bowl, whip the heavy cream to stiff peaks—when you lift the beaters, the peaks should stand straight up without collapsing. Gently fold the whipped cream into the coffee-spiked cream cheese mixture in two or three additions, using a spatula and light, sweeping motions. You want to keep the mixture billowy and mousse-like, not deflated.
Now bring in the tiramisu spirit. Pour the remaining cold brew coffee into a shallow dish. Working with one ladyfinger half at a time, quickly dip it into the coffee—just a fast in-and-out so it absorbs some liquid but doesn’t fall apart. Arrange the dipped ladyfinger halves in a single, even layer over the chilled crust, breaking pieces as needed to fill any gaps. Spoon the cheesecake filling over the ladyfingers and spread it gently to the edges, nudging it into all the corners. Smooth the top with an offset spatula or the back of a spoon for that clean bakery-style finish. Cover the pan and refrigerate for at least 4 hours, or overnight if you have the time, to let the cheesecake fully set and the flavors meld. Just before serving, dust the top generously with cocoa powder, release the springform ring, and slice with a long, sharp knife dipped in hot water and wiped dry between cuts. Serve your chilled Tiramisu Cold Brew Coffee Cheesecake in neat, luscious wedges.
Keep It Fresh: Timing and Storage
Your Tiramisu Cold Brew Coffee Cheesecake tastes its absolute best once it has chilled for at least 4 hours, but I love it most after a full overnight rest. During that time, the crust finishes hydrating, the cheesecake layer firms up to a sliceable texture, and the coffee flavor settles into a smooth, velvety richness. For the cleanest slices and prettiest layers, plan to serve it within 24 hours of assembling, and dust the cocoa powder right before you bring the cheesecake to the table so it stays dry and even. If you’re hosting, you can assemble the entire dessert the night before, then simply dust, slice, and garnish when guests arrive. It’s the kind of make-ahead showstopper that quietly waits in the fridge until you’re ready.
To store your Tiramisu Cold Brew Coffee Cheesecake, cover the pan tightly with plastic wrap or an airtight lid, making sure it doesn’t press directly onto the surface and smudge your cocoa. Keep it in the refrigerator for up to 4 days; after day 3, the ladyfingers will soften more, but the flavor will stay lovely and coffee-forward. If you’ve already sliced it, tuck individual slices into airtight containers, or line a container with parchment and nestle the slices close together so the edges don’t dry out. Try to avoid freezing the whole cheesecake if you can, because the cold brew–enriched cream layer may lose some of its silky texture once thawed. In a pinch, you can freeze well-wrapped individual slices for up to 1 month; thaw them overnight in the fridge, then dust with fresh cocoa before serving. Whether you’re savoring it on day one or spoiling yourself with a leftover slice on day three, a little gentle handling will keep that bakery-style texture intact.
Swaps, Variations, and Serving Ideas for This Coffee Cheesecake
You can gently bend this Tiramisu Cold Brew Coffee Cheesecake to match what’s in your pantry or what your crowd craves. For the crust, use crushed biscotti, vanilla wafers, or chocolate graham crackers if you want a deeper mocha note. If you don’t have vanilla bean paste, pure vanilla bean paste works just fine—start with ¾ teaspoon and adjust to taste. Any strong-brewed cold brew or espresso will work here; just keep it bold so the coffee flavor doesn’t fade once you mix it into the cream. If you want something a touch lighter and closer to classic tiramisu, swap half of the cream cheese for mascarpone. You’ll get a silkier, slightly tangier bite that feels very dessert-shop.
You can also play with the layers and toppings to give your Tiramisu Cold Brew Coffee Cheesecake its own personality. Sprinkle a thin layer of finely grated dark chocolate or chocolate shavings over the coffee-soaked ladyfingers before you add the cheesecake mixture for an extra hit of bittersweet richness. Turn each slice into a mini tiramisu moment by piping soft whipped cream rosettes on top and finishing with a dusting of cocoa powder or a pinch of finely grated espresso beans just before serving. For a brunch or afternoon coffee spread, slice thinner wedges and pair them with a bowl of fresh berries or sliced stone fruit to balance the richness. If you love contrast in desserts, drizzle individual plates with a ribbon of warm chocolate sauce or salted caramel, then set each chilled slice on top so every forkful brings cool creaminess and glossy sauce together.
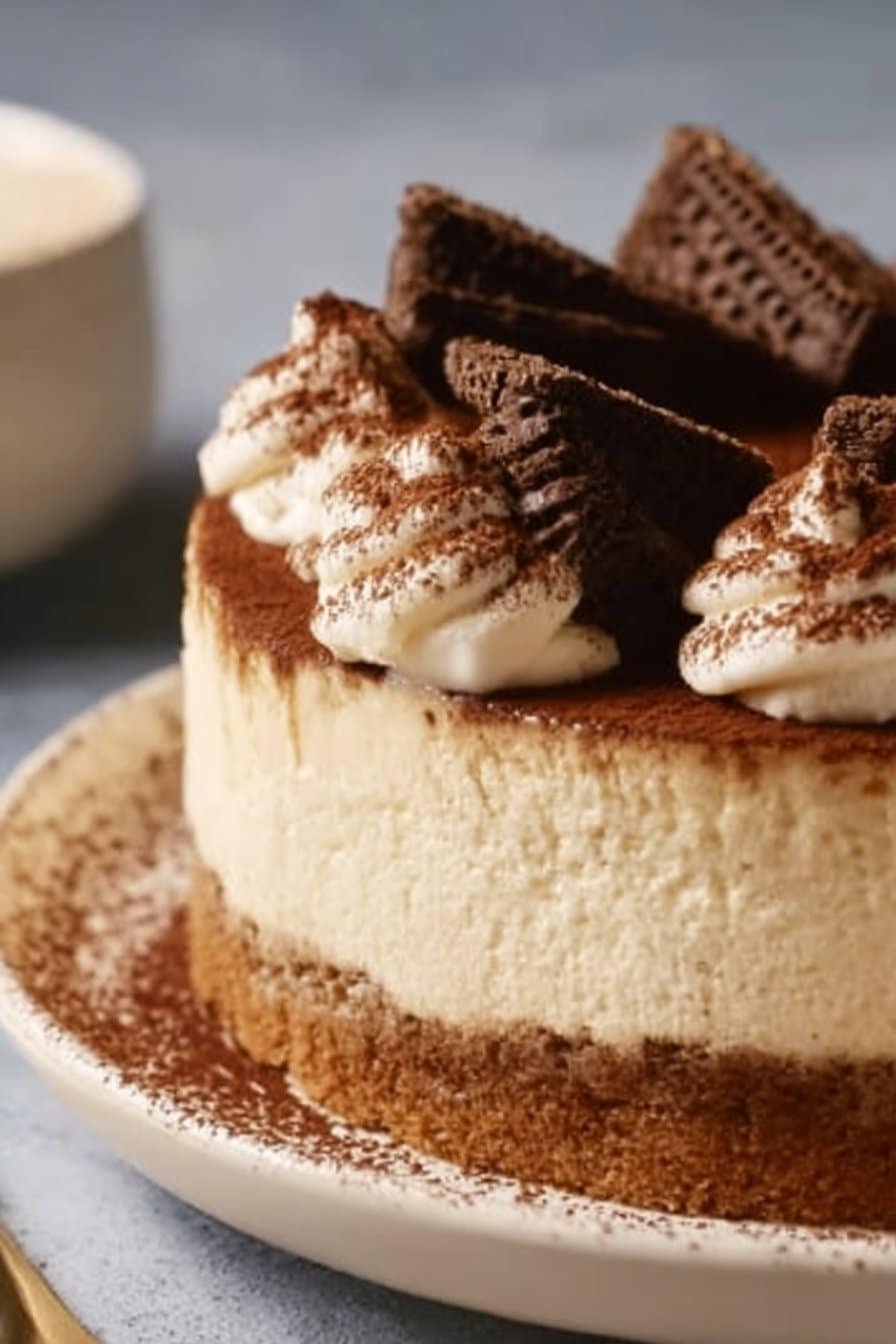
Serving of Tiramisu Cold Brew Coffee Cheesecake
Conclusion
Whenever I make this Tiramisu Cold Brew Coffee Cheesecake, it has a way of turning an ordinary afternoon into one of those “remember when…” moments. There’s the clink of forks on plates, the soft hum of conversation, and that shared pause after the first bite when everyone looks up with the same quietly delighted expression. Desserts like this don’t just taste good; they gently pull people toward the table and keep them there a little longer.
I hope you feel ready—and completely capable—to get this cheesecake chilling in your own fridge. Don’t wait for a holiday or a big celebration; make it for a slow Sunday, a friend who needs a little comfort, or a week when you want something special waiting for you after dinner. And if your cocoa dusting isn’t perfectly even or your layers lean a bit to one side, that only makes it more yours.
If you do make it, I’d truly love to hear how it went and who you shared it with.
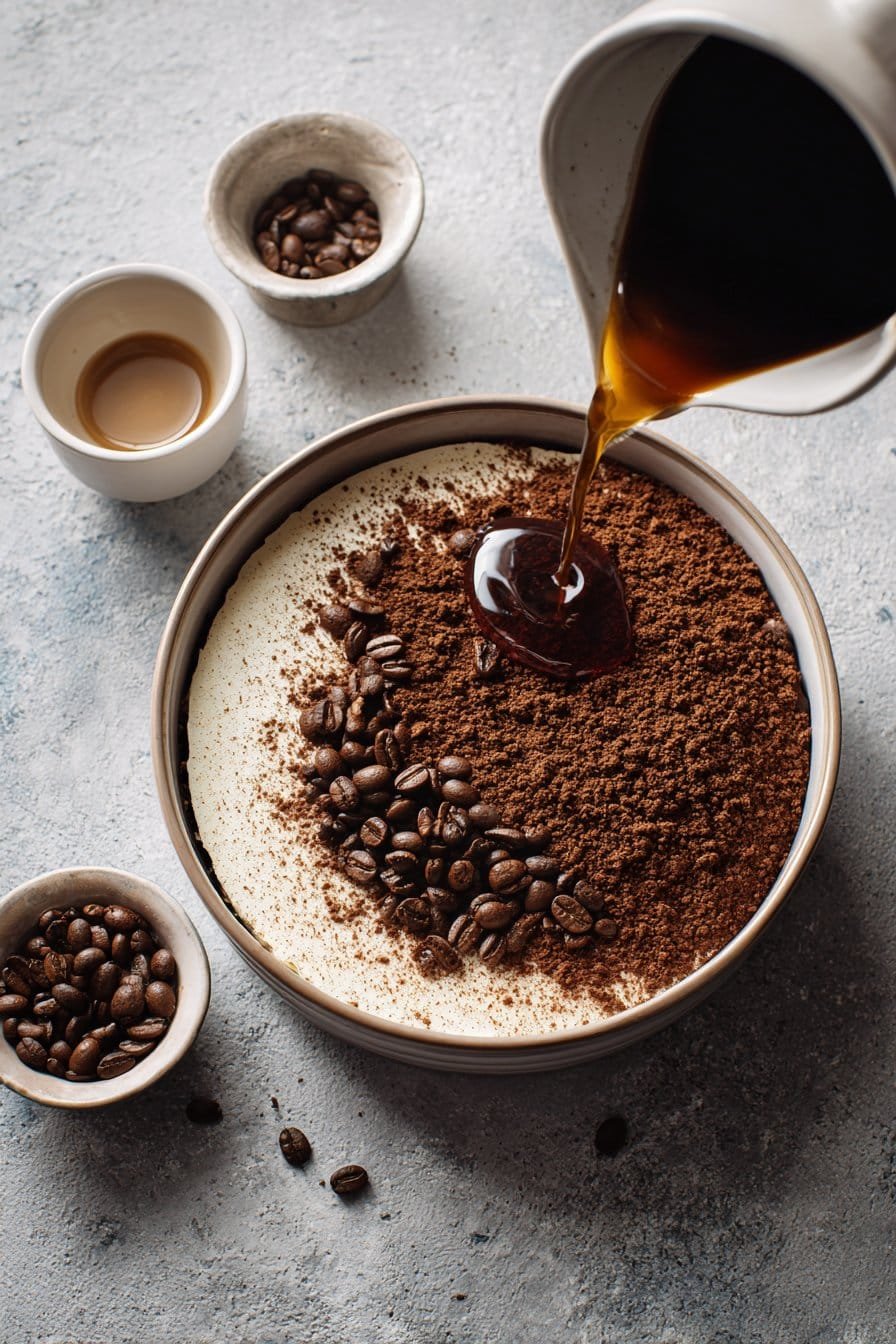
Instructions Process of Tiramisu Cold Brew Coffee Cheesecake
What exactly is Tiramisu Cold Brew Coffee Cheesecake?
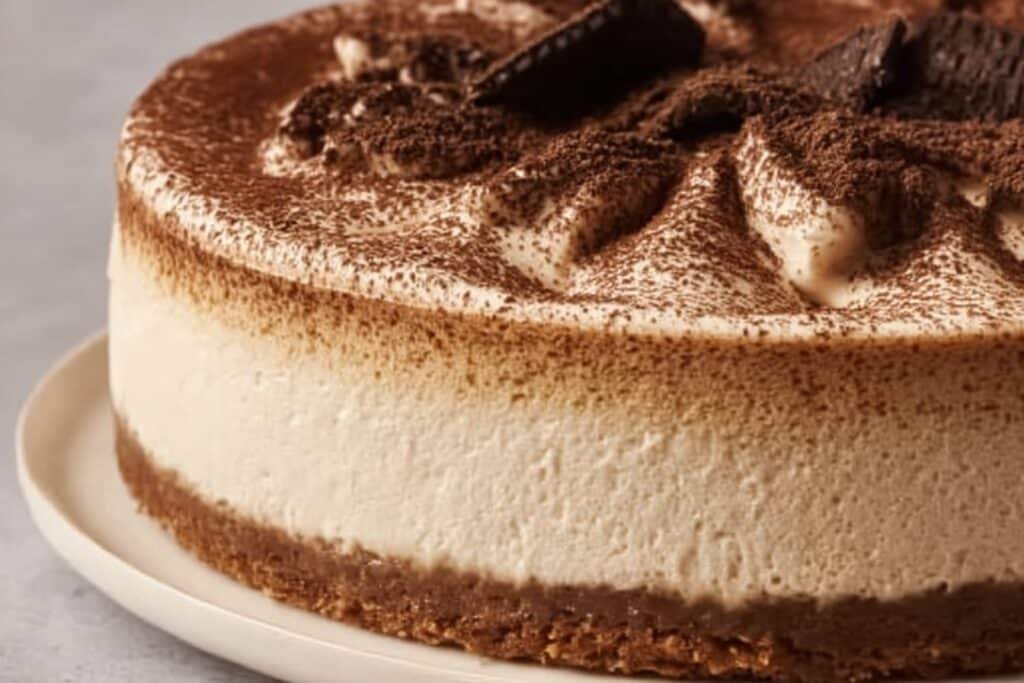
Tiramisu Cold Brew Coffee Cheesecake is a no-bake, layered dessert that combines the best parts of classic tiramisu and creamy cheesecake. It starts with a buttery graham cracker or biscotti crust, then a layer of cold brew–soaked ladyfingers, and finally a cloud-like cream cheese filling whipped with heavy cream. The cold brew adds a deep, smooth coffee flavor without harsh bitterness, and a final dusting of unsweetened cocoa powder gives it that unmistakable tiramisu finish. It slices like a cheesecake but tastes like your favorite coffeehouse dessert in cake form.
Can I use regular coffee or espresso instead of cold brew?
You can absolutely use strong brewed coffee or espresso if you don’t have cold brew on hand. Just make sure it cools completely before you dip the ladyfingers or mix it into the filling, or you’ll risk melting the cream and loosening the texture. Aim for a bold, double-strength brew so the coffee flavor still stands out against the rich cream and crust. If you use espresso, dilute it slightly with water so it doesn’t turn overly bitter. Cold brew naturally tastes smoother and less acidic, so the flavor will be a bit different, but still very delicious.
How far in advance can I make this cheesecake?
This Tiramisu Cold Brew Coffee Cheesecake is a true make-ahead dessert and actually improves as it rests. You can prepare the full cheesecake up to 24 hours in advance and keep it covered in the refrigerator. That chill time lets the layers firm up and gives the coffee, vanilla, and cocoa flavors time to meld. If you like to work in stages, make the crust up to 2 days ahead, then add the ladyfingers and cheesecake filling the day before serving. For the sharpest look, dust the cocoa powder on top just before you bring it to the table.
Recipe
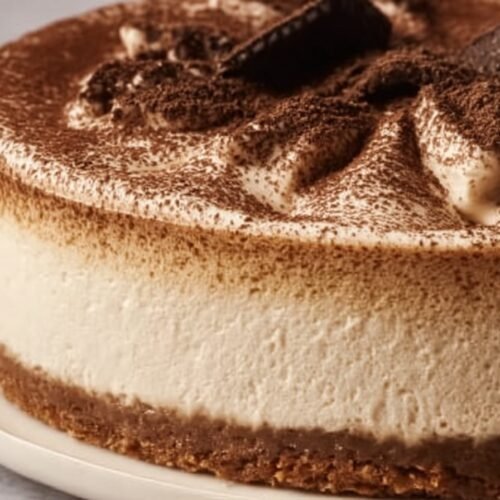
Tiramisu Cold Brew Coffee Cheesecake
Ingredients
Ingredients
- 5 cups graham cracker crumbs or crushed biscotti
- 6 tbsp unsalted butter melted
- 16 oz cream cheese softened
- 3/4 cup powdered sugar
- 1 cup cold brew coffee strongly brewed, divided
- 1 tsp vanilla bean paste
- 5 cups heavy whipping cream cold
- 12 ladyfingers cut in half
- 2 tbsp unsweetened cocoa powder
Instructions
- In a mixing bowl, combine the graham cracker crumbs or crushed biscotti with the melted butter and stir until evenly moistened.
- Press the crumb mixture firmly into the bottom of a 9-inch springform pan to form an even crust, then refrigerate for 10 minutes to set.
- In a large bowl, beat the softened cream cheese and powdered sugar together until smooth and creamy.
- Add 1/2 cup of the cold brew coffee and the vanilla bean paste to the cream cheese mixture and beat until fully combined, scraping down the sides of the bowl.
- In a separate chilled bowl, whip the cold heavy whipping cream to stiff peaks using a hand mixer or stand mixer.
- Gently fold the whipped cream into the coffee cream cheese mixture in 2 to 3 additions until smooth and well combined without deflating the mixture.
- Pour the remaining 1/2 cup cold brew coffee into a shallow dish.
- Working one piece at a time, quickly dip each ladyfinger half into the cold brew coffee and arrange them in a single layer over the chilled crust, trimming or breaking pieces as needed to cover the surface.
- Spoon the cheesecake mixture over the layer of coffee-soaked ladyfingers and spread it into an even layer, smoothing the top with a spatula.
- Cover the pan tightly and refrigerate the cheesecake for at least 4 hours, or until firm enough to slice.
- Just before serving, dust the top of the cheesecake evenly with unsweetened cocoa powder.
- Release the springform ring, slice the cheesecake with a sharp knife, and serve chilled.
Notes
- Chill the mixing bowl and beaters before whipping the cream to help it whip faster and hold stiff peaks.
- Dip the ladyfingers very quickly to prevent them from becoming overly soggy and collapsing.
- For the cleanest slices, run your knife under hot water and wipe it dry between cuts.


