The Memory Behind This Treat
The very first time I tested this Mint Chocolate Cheesecake, it was December, my kitchen was a mess of ribbon and tape, and I was “in charge of bringing something chocolate but not too heavy” to my family’s holiday get-together. That is, as you know, the world’s vaguest assignment. I remember standing at the counter, crushing Oreo cookies with a rolling pin because my food processor had just given up on life, and thinking, “Chocolate, mint, and cheesecake — how could anyone complain about that?” As the crust baked, the house filled with that warm, cocoa-cookie smell that always takes me straight back to childhood, when Oreo crumbs on your fingers were kind of a weekend uniform. By the time the mint filling was in the oven, my kitchen smelled like a mash-up of a bakery and a candy shop.
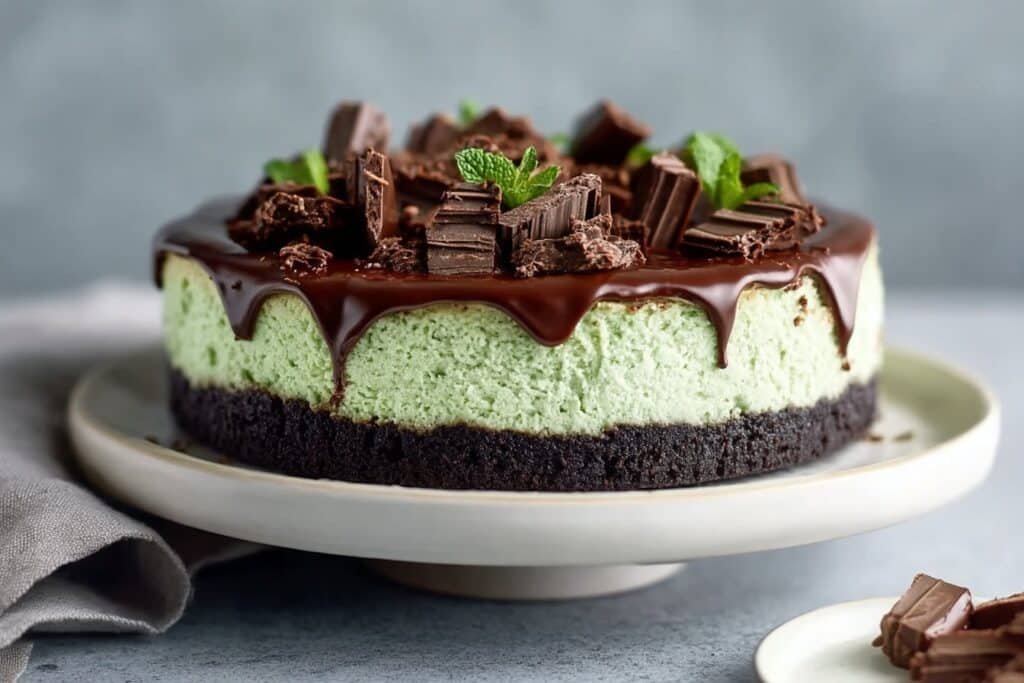
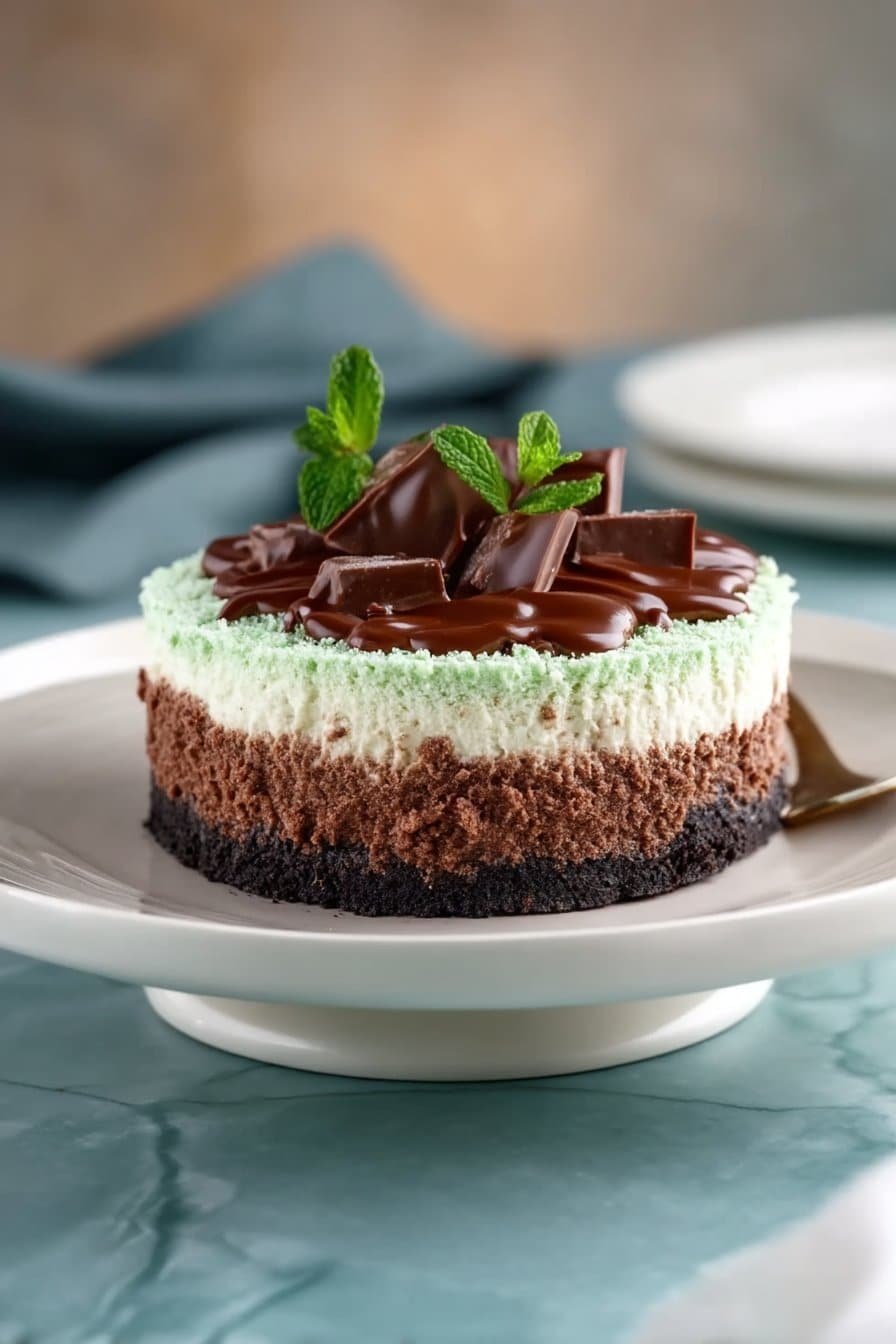
This recipe actually grew out of my mom’s tradition of keeping a bowl of Andes mints by the door in December. My dad would sneak them by the fistful, and my sisters and I would unwrap them slowly, just to savor that cool, creamy mint and thin chocolate layers. When I started working as a food stylist, I used those same mints in a shoot and thought, “These belong in a cheesecake, not just a candy dish.” So I played: a thicker Oreo crust for a bit of crunch, extra vanilla bean paste in the filling for warmth, and a glossy chocolate ganache to make it feel special enough for company. The first time I sliced into it and saw that pale green, minted center under the dark chocolate, everyone around the table went quiet for a moment — the best kind of compliment.
Now this Mint Chocolate Cheesecake comes out anytime someone requests a “birthday version of a thin mint,” or when I want a dessert that feels both cozy and a little dramatic. I love how the cool mint filling cuts through the richness, so even after a big meal, people somehow find room for a slice. If you’ve tried my chocolate cheesecake or my no-bake peppermint pie, this one feels like their more sophisticated cousin with a playful streak. It’s the kind of dessert that turns into a family tradition without anyone officially deciding it — it just keeps being requested, year after year, until suddenly, it’s not a recipe anymore, it’s “our cheesecake.”
How To Make It (Mix & Ingredients)
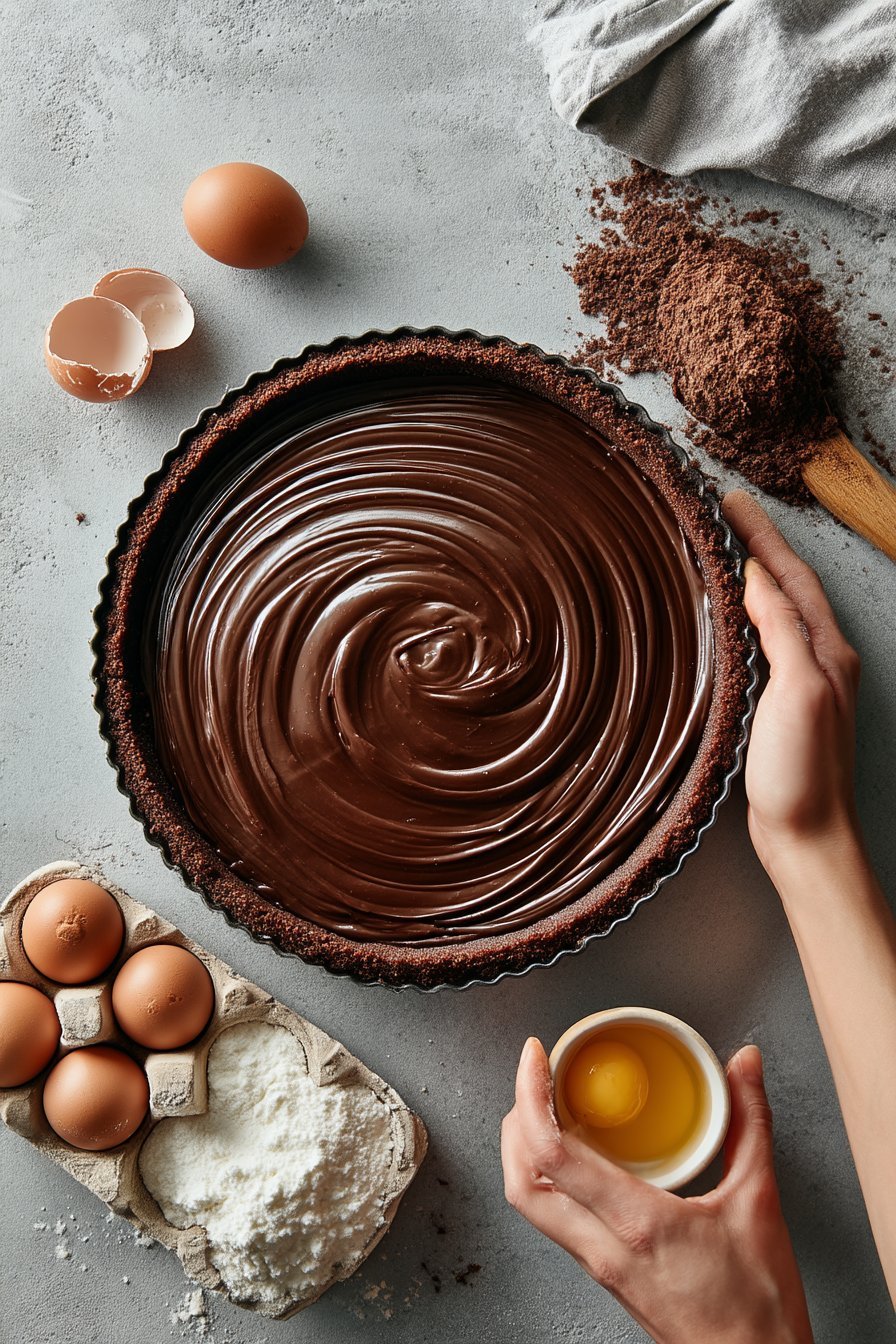
For this Mint Chocolate Cheesecake, I like to set up a little “assembly line” on the counter before I start. Crush your Oreo cookies into fine, sandy crumbs (a food processor makes this fast, but a zip-top bag and rolling pin work too), then stir in the melted butter until every crumb looks slightly damp. Press this mixture firmly into the bottom and slightly up the sides of a 9-inch springform pan; use the flat bottom of a measuring cup to really pack it in so it doesn’t crumble later. Bake the crust just until fragrant, then drop the oven temperature so it’s ready for the gentle bake your cheesecake filling needs.
Instructions Process of Mint Chocolate Cheesecake
For the filling, make sure your cream cheese, sour cream, and eggs are truly at room temperature; cold ingredients cause lumps and overmixing. Beat the cream cheese and granulated sugar until smooth and fluffy, then mix in the sour cream, vanilla bean paste, mint or peppermint extract, and a pinch of salt. Add the eggs one at a time on low speed, just until they disappear into the batter—think slow and steady rather than whipping in lots of air. Tint the batter with a few drops of green food coloring until it’s a soft minty shade, then gently fold in the chopped Andes mints so you get little pockets of chocolate in every slice.Before you pour the batter in, wrap the outside of the pan in a few layers of foil for a simple water bath; this keeps your Mint Chocolate Cheesecake creamy and helps prevent cracks. Once baked and fully chilled, you’ll whisk together chocolate and heavy cream for a glossy ganache, then finish with a lightly sweet mint whipped cream tinted the palest green. A final sprinkle of crushed Oreos or extra Andes mints on top adds texture and makes each piece look bakery-pretty, the same way I’d plate it for a dinner party or special holiday dessert.
Make-Ahead & Storage
This Mint Chocolate Cheesecake is one of those desserts that actually tastes better the next day, so it’s perfect for making ahead. For the easiest timeline, bake the cheesecake up to 2 days in advance, let it cool completely, and chill it (covered) in the fridge without the ganache or whipped cream. Add the chocolate ganache the day before serving so it has time to set, then finish with the mint whipped cream and toppings within a few hours of when you plan to slice. If you’re prepping for a busy holiday, you can even make just the Oreo crust and cheesecake layer, freeze it, and save the decorations for later.
Store leftover Mint Chocolate Cheesecake tightly covered in the refrigerator for up to 5 days. I like to keep it in the springform pan with plastic wrap over the top, or transfer slices to an airtight container so they don’t pick up fridge odors. The whipped cream holds up well, but if you know you’ll have leftovers, you can pipe whipped cream only on the slices you’ll serve right away and store extra whipped cream separately to refresh the look later. If you love stocking your freezer with desserts (like you might with a chocolate peppermint pie or other holiday treats), this cheesecake freezes beautifully: chill it fully, skip the whipped cream, wrap it well in plastic and then foil, and freeze for up to 2 months. Thaw overnight in the fridge, add fresh whipped cream and Andes mints, and you’re ready to serve.
Best Ingredients & Party Variations
For the best Mint Chocolate Cheesecake, start with full-fat cream cheese at true room temperature so the batter stays silky and lump-free. I love using vanilla bean paste instead of extract here because those tiny specks add a little “fancy restaurant” moment to each slice. Go for a good-quality mint or peppermint extract (not mint oil unless you reduce the amount) so the flavor tastes cool and creamy, not toothpaste-y. Oreo brand cookies give you a consistent crust, but any similar chocolate sandwich cookie works as long as you crush them very fine so the base packs tightly and doesn’t crumble. For the ganache, use real chocolate chips or chopped bar chocolate with at least 50–60% cocoa for that rich, smooth finish that stands up to the mint without tasting bitter.
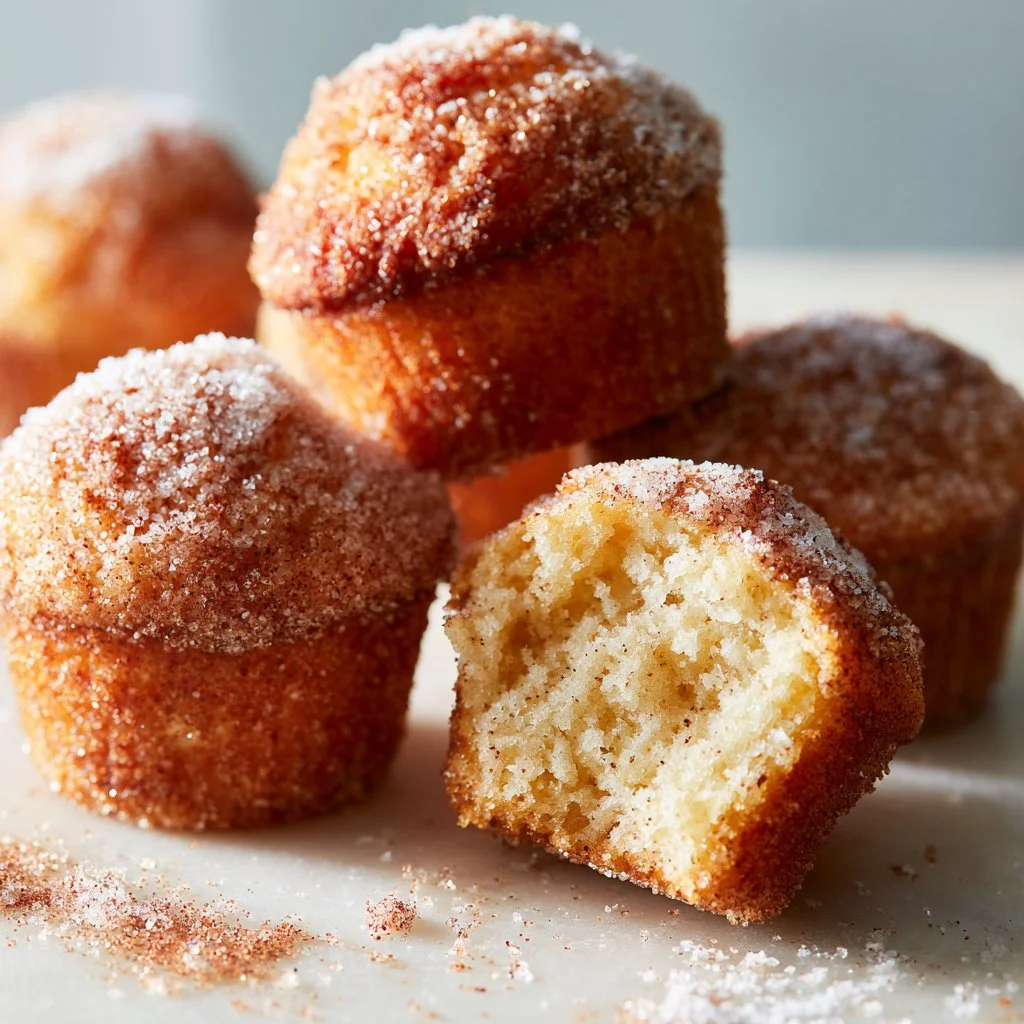
Once you’ve nailed the classic Mint Chocolate Cheesecake, it’s such a fun party dessert to dress up. For holidays, add a few drops of extra green to the whipped cream, then top the cheesecake with crushed candy canes for a festive peppermint crunch. For a kid’s birthday, skip the green food coloring in the filling and swirl it just into the whipped cream so you get that mint-chocolate contrast without going full “shamrock shake.” You can also turn this into mini cheesecakes by baking the crust and filling in muffin tins (reduce bake time to about 18–22 minutes) for easy, hand-held party servings next to your other desserts. And if you’re doing a dessert table, pair this with something simple and comforting—like a classic vanilla bean cheesecake or rich chocolate brownies—so guests can choose between “refreshing minty” and “deep chocolate” moods.
Serving of Mint Chocolate Cheesecake
Conclusion
The things I remember most about holidays and family birthdays aren’t the gifts or the decorations—it’s the dessert plates licked clean and the sound of people going “oh wow” after the first bite. This Mint Chocolate Cheesecake has that same kind of magic built in. It brings together the cookie-crisp base, cool mint filling, and silky ganache into one of those desserts that makes people lean in closer around the table and stay just a little longer.
If you’ve made it this far, I hope you feel excited, not intimidated. Cheesecake looks fancy, but you absolutely can do this. Take your time, follow each step, and let the process be part of the fun—the quiet whisking, the gentle jiggle test, the moment you pour that glossy chocolate over the chilled cake. That’s where the memories settle in, right alongside the chocolate and mint.
When you’re ready, print the recipe, preheat your oven, and treat yourself and your favorite people to a slice (or two). Then tell me how it went—I love hearing your tweaks, wins, and “we ate it for breakfast” stories.
For more delicious recipes like this, follow us on social media!
Can I use peppermint extract instead of mint extract in Mint Chocolate Cheesecake?
Yes, you can absolutely swap peppermint extract for mint extract in this Mint Chocolate Cheesecake. Peppermint has a sharper, cooler flavor, so I recommend starting on the low end and tasting as you go. For the filling, begin with 1 tsp, then add another 1/4–1/2 tsp only if you want a stronger mint kick. Keep the mint extract in the whipped cream lighter so it doesn’t compete with the cheesecake itself. Remember, it’s much easier to add more mint than to fix an overly strong, toothpaste-y flavor.
Why do I need a water bath for baking this Mint Chocolate Cheesecake?
A water bath helps your Mint Chocolate Cheesecake bake gently and evenly, which is the secret to that ultra-creamy texture. The steam from the water keeps the oven environment moist and prevents the top from drying out and cracking. It also slows down baking along the edges, so they don’t overcook while the center is still setting. Make sure your springform pan is wrapped tightly in heavy-duty foil so no water sneaks in. If you’re nervous, you can also place the foil-wrapped pan inside a larger oven-safe bag or pan for extra protection.
How far in advance can I make Mint Chocolate Cheesecake?
This Mint Chocolate Cheesecake is a dream make-ahead dessert and actually tastes better the next day. You can bake it up to 2 days in advance, chill it, and add the ganache and whipped cream the day you plan to serve. If you’d like to work even further ahead, bake and chill the cheesecake, then wrap it well and refrigerate for up to 3 days before topping. Just be sure it’s fully cooled before wrapping so condensation doesn’t drip onto the surface. Add your Andes mints or Oreo garnish right before serving so they stay crisp and pretty.
Recipe

Mint Chocolate Cheesecake
Ingredients
Ingredients
- 30 Oreo cookies
- 1/4 cup unsalted butter melted
- 32 oz cream cheese softened
- 1 cup granulated sugar
- 2/3 cup sour cream room temperature
- 2 tsp vanilla bean paste
- 1 1/2 tsp mint or peppermint extract
- 1/4 tsp salt
- 4 large eggs room temperature
- Several drops green food coloring
- 1 cup chopped Andes mints
- 1 cup chocolate chips or chopped chocolate
- 3/4 cup heavy cream for ganache
- Pinch salt for ganache
- 3/4 cup heavy cream for whipped cream
- 2 tbsp confectioners’ sugar
- 1/4 tsp mint or peppermint extract for whipped cream
- 2 to 3 drops green food coloring for whipped cream
- Andes chocolate mints or Oreo crumbs for topping
Instructions
- Preheat the oven to 350°F. Lightly grease a 9-inch springform pan.
- Crush the Oreo cookies into fine crumbs using a food processor or a rolling pin and bag.
- In a bowl, combine Oreo crumbs and melted butter and stir until evenly moistened.
- Press the crumb mixture firmly into the bottom and slightly up the sides of the springform pan.
- Bake the crust for 10 minutes, then remove from the oven and reduce the temperature to 325°F.
- In a large mixing bowl, beat the softened cream cheese and granulated sugar together until smooth and creamy.
- Add the sour cream, vanilla bean paste, mint extract, and salt to the cream cheese mixture and beat until combined.
- Add the eggs one at a time, mixing on low speed just until each egg is incorporated. Do not overmix.
- Add several drops of green food coloring and mix briefly until the batter is evenly tinted a pale mint green.
- Fold in the chopped Andes mints with a spatula until evenly distributed.
- Wrap the outside of the springform pan tightly in several layers of aluminum foil to prevent water from leaking in.
- Place the foil-wrapped pan in a large roasting pan and pour the cheesecake batter into the crust, smoothing the top.
- Pour hot water into the roasting pan until it reaches about halfway up the sides of the springform pan, creating a water bath.
- Carefully transfer the pan to the oven and bake at 325°F for about 70 minutes, until the edges are set and the center still jiggles slightly.
- Turn off the oven, crack the oven door open, and let the cheesecake cool inside for 30 minutes.
- Remove the cheesecake from the water bath, discard the foil, and place the pan on a wire rack to cool at room temperature for 1 hour.
- Cover the cheesecake and refrigerate for at least 4 hours, or until thoroughly chilled, preferably overnight.
- For the ganache, place the chocolate chips or chopped chocolate in a heatproof bowl.
- Heat 3/4 cup heavy cream in a small saucepan over medium heat until it just begins to simmer, then immediately pour it over the chocolate.
- Let the mixture sit for 2 to 3 minutes, then add a pinch of salt and stir until smooth and glossy.
- Pour the ganache over the chilled cheesecake and spread it into an even layer. Refrigerate for about 30 minutes, or until the ganache is set.
- For the whipped cream, add 3/4 cup heavy cream, confectioners’ sugar, and 1/4 tsp mint extract to a chilled mixing bowl.
- Beat the mixture on medium-high speed until medium to stiff peaks form.
- Add 2 to 3 drops of green food coloring and beat briefly until evenly tinted.
- Pipe or spoon the mint whipped cream onto the top of the chilled, ganache-topped cheesecake.
- Garnish with additional Andes chocolate mints or Oreo crumbs.
- Store the cheesecake covered in the refrigerator until ready to serve, then slice and serve chilled.
Notes
- Avoid overmixing once the eggs are added to prevent cracks and a dense texture.
- A water bath helps the cheesecake bake gently and evenly and reduces the chance of cracking.
- Chill the cheesecake fully before adding ganache and whipped cream for clean layers and neat slices.
- Run a thin knife around the edge of the pan after chilling to release the cheesecake before removing the springform ring.