The Memory Behind This Treat
The very first batch of Pink Velvet Cheesecake Bites happened on a night when my kitchen looked more like a craft store than a place to cook. I had a half-open box of graham crackers, a lonely block of cream cheese, and exactly 40 minutes before friends showed up for a movie night. Turning on the oven felt like a commitment I wasn’t willing to make, so I reached for my trusty 9-inch square pan, melted some butter, and decided these were going to be “fancy” whether they liked it or not. I still remember tapping the graham crust flat with the bottom of a measuring cup, thinking, “Well, at least the crust looks professional.”
What surprised me most wasn’t how pretty these Pink Velvet Cheesecake Bites turned out, but how fast they disappeared. Everyone kept asking if I’d spent all day baking, while I quietly thought about how I’d just beaten cream cheese, powdered sugar, and heavy cream together in one big bowl and called it magic. That gentle tang of cream cheese against the sweet vanilla reminded me of birthday parties growing up, where the frosting was always thick, a little extra, and absolutely perfect. The next time I made them was for my niece’s birthday—this time with extra sprinkles and smaller, kid-sized squares so her little hands could grab them easily. Now they’ve become one of those reliable, no-bake desserts I pull out when I want something that looks special, tastes dreamy, and doesn’t ask me to preheat a thing.
How To Make It (Mix & Ingredients)
To get started on your Pink Velvet Cheesecake Bites, set out your cream cheese first so it can fully soften; this is the secret to a silky, lump-free filling. While it warms up, stir together your graham cracker crumbs, granulated sugar, and melted butter until the mixture looks like damp sand and holds together when you pinch it. Press this mixture firmly into a lined 9-inch square pan using the bottom of a measuring cup or glass, making sure you get into the corners for an even crust that won’t crumble when you slice. Pop the pan in the fridge while you work on the filling so the butter has a chance to firm up and create that sturdy, sweet base.
Instructions Process of Pink Velvet Cheesecake Bites
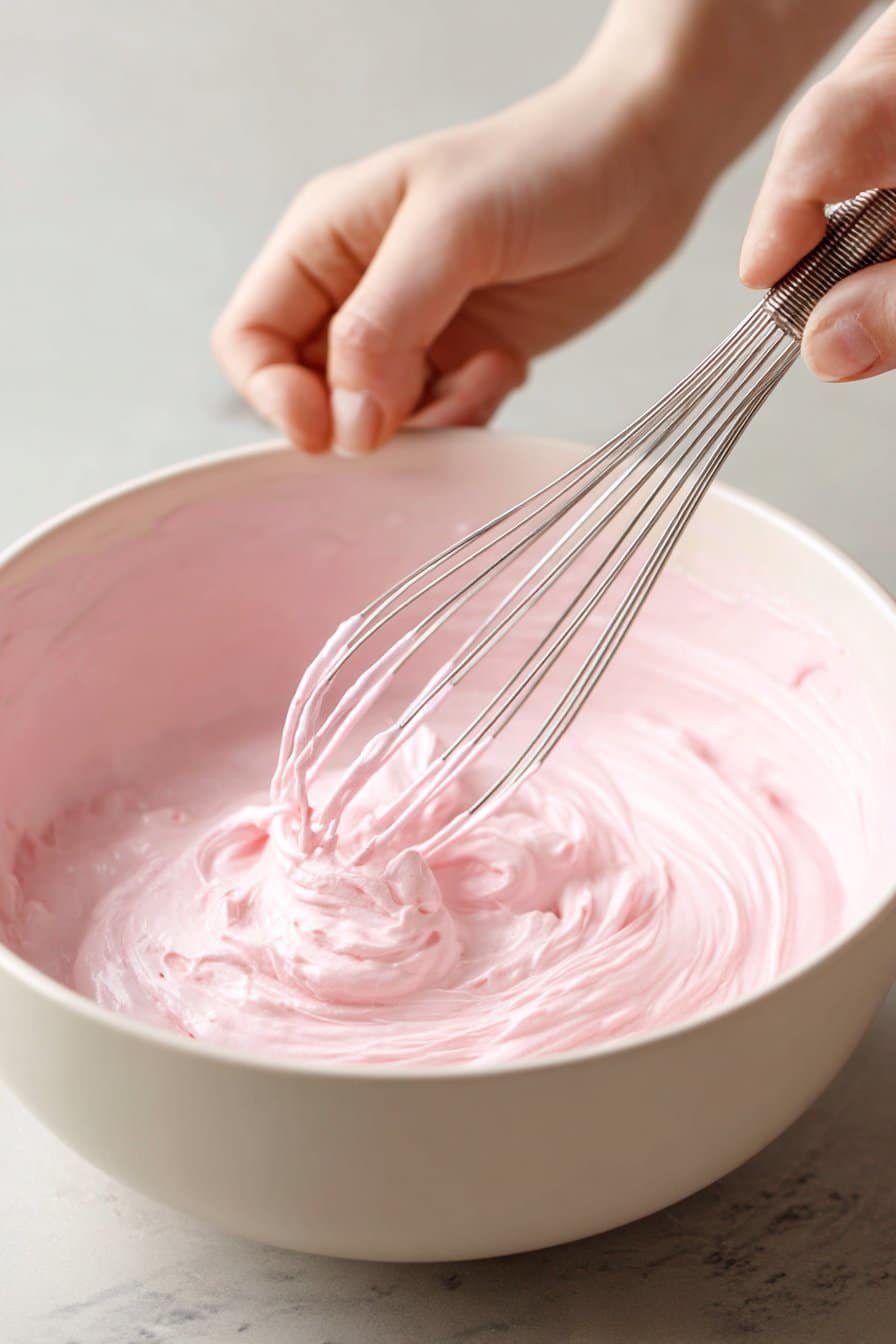
For the cheesecake layer, beat the softened cream cheese on medium speed until it’s completely smooth and fluffy, scraping down the sides of the bowl so no sneaky lumps hide at the bottom. Add the powdered sugar, heavy cream, vanilla bean paste, and pink food coloring all at once, then mix on low at first (to avoid a sugar cloud) before increasing the speed. Keep beating until the mixture looks thick, creamy, and evenly pink—think soft cotton-candy blush, not neon. If you’re used to making no-bake bars like Oreo cheesecake squares, you’ll know it’s ready when it holds soft peaks on the beater and doesn’t look runny. Spread the filling over the chilled crust, smoothing the top with an offset spatula, then refrigerate for at least 4 hours. Once set, top with a cloud of whipped cream and a scatter of sprinkles, then slice into neat little squares—these Pink Velvet Cheesecake Bites should lift cleanly from the pan and hold their shape on the plate.
Make-Ahead & Storage
These Pink Velvet Cheesecake Bites are a make-ahead dream, especially when you’re hosting and don’t want to be whipping cream at the last minute. You can assemble the crust and filling up to 2 days in advance, then cover the pan tightly with plastic wrap and refrigerate until set. For the best texture, wait to add the whipped cream and sprinkles until a few hours before serving so the topping stays fluffy and the colors don’t bleed. If you’re planning a dessert spread with other bite-sized treats, like mini cheesecakes or truffles, you can prep everything the night before and simply slice and garnish these pretty pink squares right before guests arrive.
Stored properly, your Pink Velvet Cheesecake Bites will keep well in the fridge for 4–5 days. Cut them into squares, then store them in a single layer in an airtight container, or separate layers with parchment so the tops don’t stick together. Keep them toward the back of the fridge where the temperature is more consistent; a spot near the door can cause the filling to soften and weep a bit from temp changes. If your fridge tends to run cold and they feel a touch too firm, let them sit at room temperature for about 10 minutes before serving for the creamiest, melt-in-your-mouth texture.
You can also freeze these for longer storage, which makes Pink Velvet Cheesecake Bites perfect for holidays or busy weeks. Freeze the pan (without whipped cream) until firm, then cut into squares and freeze them again on a parchment-lined baking sheet until solid. Once they’re frozen, move the bites to a freezer bag or airtight container and freeze for up to 2 months. Thaw them in the fridge overnight, then add whipped cream and sprinkles right before serving. The color and texture hold up beautifully, so you still get that velvety, show-stopping bite even days—or weeks—after you make them.
Best Ingredients & Party Variations
For the creamiest Pink Velvet Cheesecake Bites, start with full-fat cream cheese at room temperature so it blends silky smooth and doesn’t go grainy. I love using vanilla bean paste instead of regular extract here—the tiny specks make the pale pink filling look extra dreamy and taste richer. Use heavy cream (not half-and-half or milk) so the filling sets thick without needing gelatin. For the color, a gel or concentrated liquid pink food coloring works best; it gives a vibrant hue without watering down your batter. And don’t skimp on the graham cracker crumbs—if they’re too coarse or too few, your crust may crumble instead of slicing cleanly into neat bites.
Once your base recipe is solid, you can take these Pink Velvet Cheesecake Bites in a dozen party-ready directions. For a birthday or kids’ party, swirl 2 different shades of pink into the pan and top with rainbow sprinkles for a confetti cheesecake bite moment. For a bridal shower or baby shower, skip the sprinkles and add tiny white chocolate curls or crushed freeze-dried strawberries for a soft, elegant finish. Around Valentine’s Day, press the crust and filling into a mini muffin pan with liners, then top each bite with a single raspberry or heart-shaped sprinkle. You can even add a thin layer of chocolate ganache on top of the chilled cheesecake, then slice into small squares for a richer, more grown-up dessert bar that still keeps that pink velvet charm.
Serving of Pink Velvet Cheesecake Bites
Conclusion
When I think about these little bites, I picture a tray of them disappearing faster than you can set it down. There’s something about a pretty, creamy treat that feels both nostalgic and a tiny bit fancy—and that’s the magic here. These Pink Velvet Cheesecake Bites aren’t just dessert; they’re an excuse to slow down, gather in the kitchen, and sneak “just one more” together over shared stories and laughter.
I hope this recipe becomes one you reach for when you want something easy, make-ahead, and a little special. Let it be your go-to for birthdays, sleepovers, baby showers, or those random Tuesday nights when you just need a sweet moment. Don’t overthink it—just grab your ingredients, line your pan, and enjoy the process. You might be surprised how proud you feel pulling them out of the fridge and watching everyone’s eyes light up.
For more delicious recipes like this, follow us on social media!
What are Pink Velvet Cheesecake Bites, exactly?
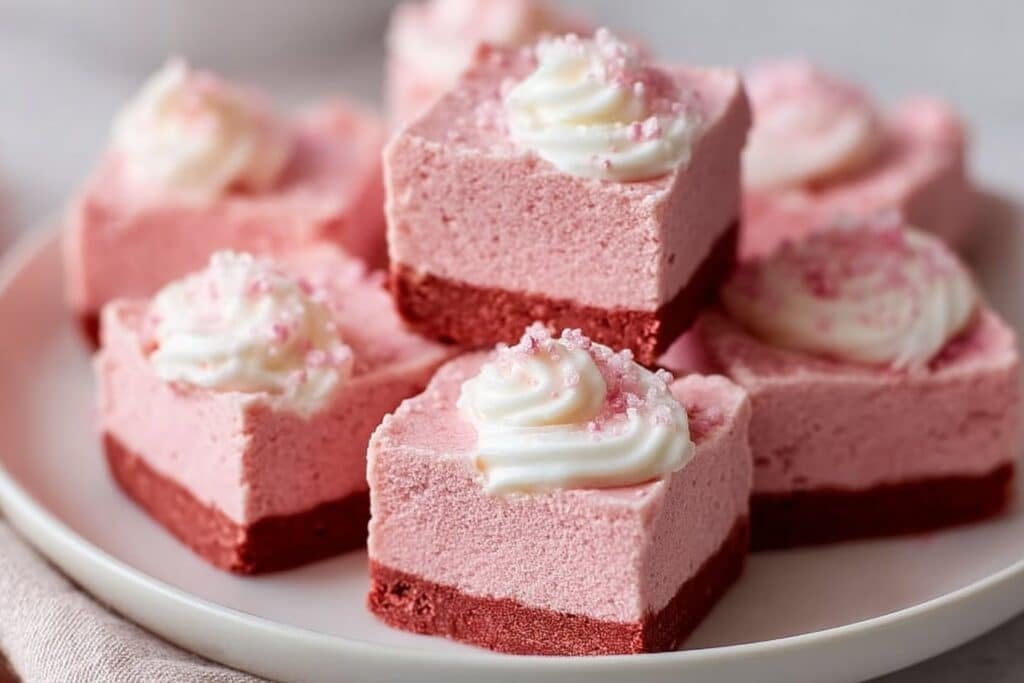
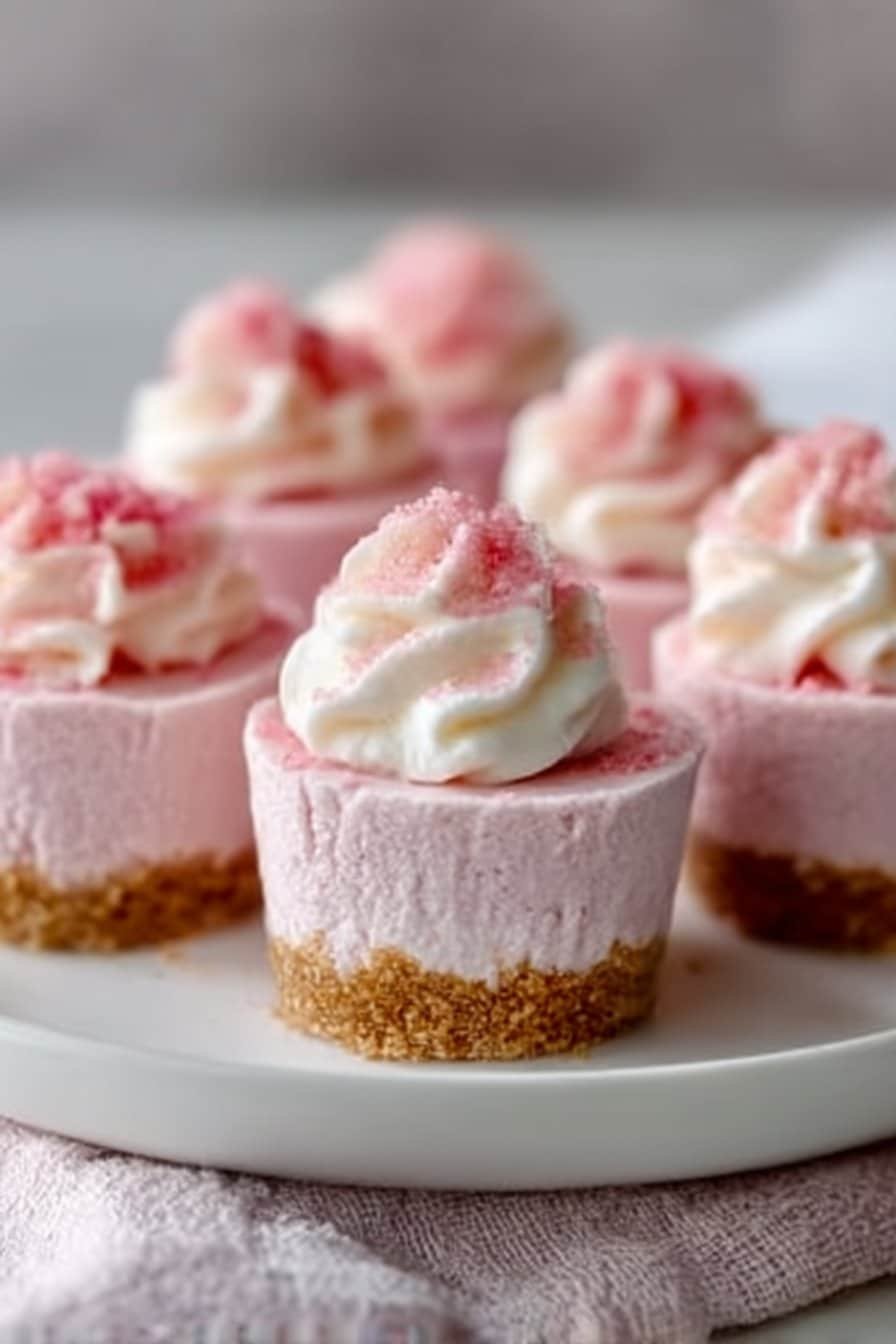
Pink Velvet Cheesecake Bites are creamy, no-bake mini desserts made with a buttery graham cracker crust and a velvety pink cheesecake layer. The filling is whipped from cream cheese, powdered sugar, heavy cream, vanilla bean paste, and pink food coloring for that signature blush color. Once chilled and set, you slice them into bite-sized bars that are easy to pick up and eat. A swirl of whipped cream and a shower of sprinkles on top makes them feel party-ready, even on a Tuesday.
Do I really not need to bake these cheesecake bites?
You do not need to turn on the oven at all for these Pink Velvet Cheesecake Bites. The crust gets its structure from melted butter and a firm chill in the refrigerator, so it holds together without baking. The cheesecake layer thickens as the cream cheese and heavy cream firm up in the cold. As long as you give everything enough time to chill, the bites will cut cleanly and keep their shape.
How long should Pink Velvet Cheesecake Bites chill before serving?
Plan for at least 4 hours of chilling time, but overnight gives you the best texture and cleaner slices. The filling should feel firmly set to the touch and not jiggle in the center when you gently nudge the pan. If your kitchen runs warm or you used slightly more cream, lean toward the longer chill time. You can always make them the night before, then slice and decorate right before guests arrive.
Recipe
No-Bake Pink Velvet Cheesecake Bites
Ingredients
Ingredients
- 1 cup graham cracker crumbs
- 1/4 cup granulated sugar
- 1/2 cup unsalted butter melted
- 16 oz cream cheese softened
- 1 cup powdered sugar
- 1/2 cup heavy cream
- 1 tsp vanilla bean paste
- 1 tbsp pink food coloring
- 1/2 cup whipped cream
- 2 tbsp sprinkles
Instructions
- Line a 9-inch square baking dish with parchment paper, leaving an overhang for easy lifting.
- In a medium bowl, combine the graham cracker crumbs, granulated sugar, and melted butter and stir until the crumbs are evenly moistened.
- Press the crumb mixture firmly and evenly into the bottom of the prepared baking dish to form a compact crust, making sure to press into the corners.
- Refrigerate the crust while you prepare the filling.
- In a large mixing bowl, beat the softened cream cheese with an electric mixer on medium speed until completely smooth and creamy.
- Add the powdered sugar, heavy cream, vanilla bean paste, and pink food coloring to the cream cheese.
- Mix on low speed until the powdered sugar is incorporated, then increase to medium speed and beat until the mixture is thick, smooth, and evenly pink.
- Pour the cheesecake filling over the chilled crust and spread it into an even layer with a spatula.
- Refrigerate for at least 4 hours, or until the cheesecake is firm and set.
- Once set, spread the whipped cream evenly over the top of the cheesecake layer.
- Sprinkle the sprinkles evenly over the whipped cream.
- Use the parchment overhang to lift the cheesecake from the pan, then cut into 16 bite-sized squares and serve chilled.
Notes
- These cheesecake bites can be made up to 2 days in advance; add whipped cream and sprinkles the day you plan to serve.
- Store leftovers in an airtight container in the refrigerator for up to 5 days.
- Use gel food coloring for a more vibrant pink color without thinning the filling.